Genshin Impact Moontide Sea Puzzle Guide: Find Pioneer Source Structures
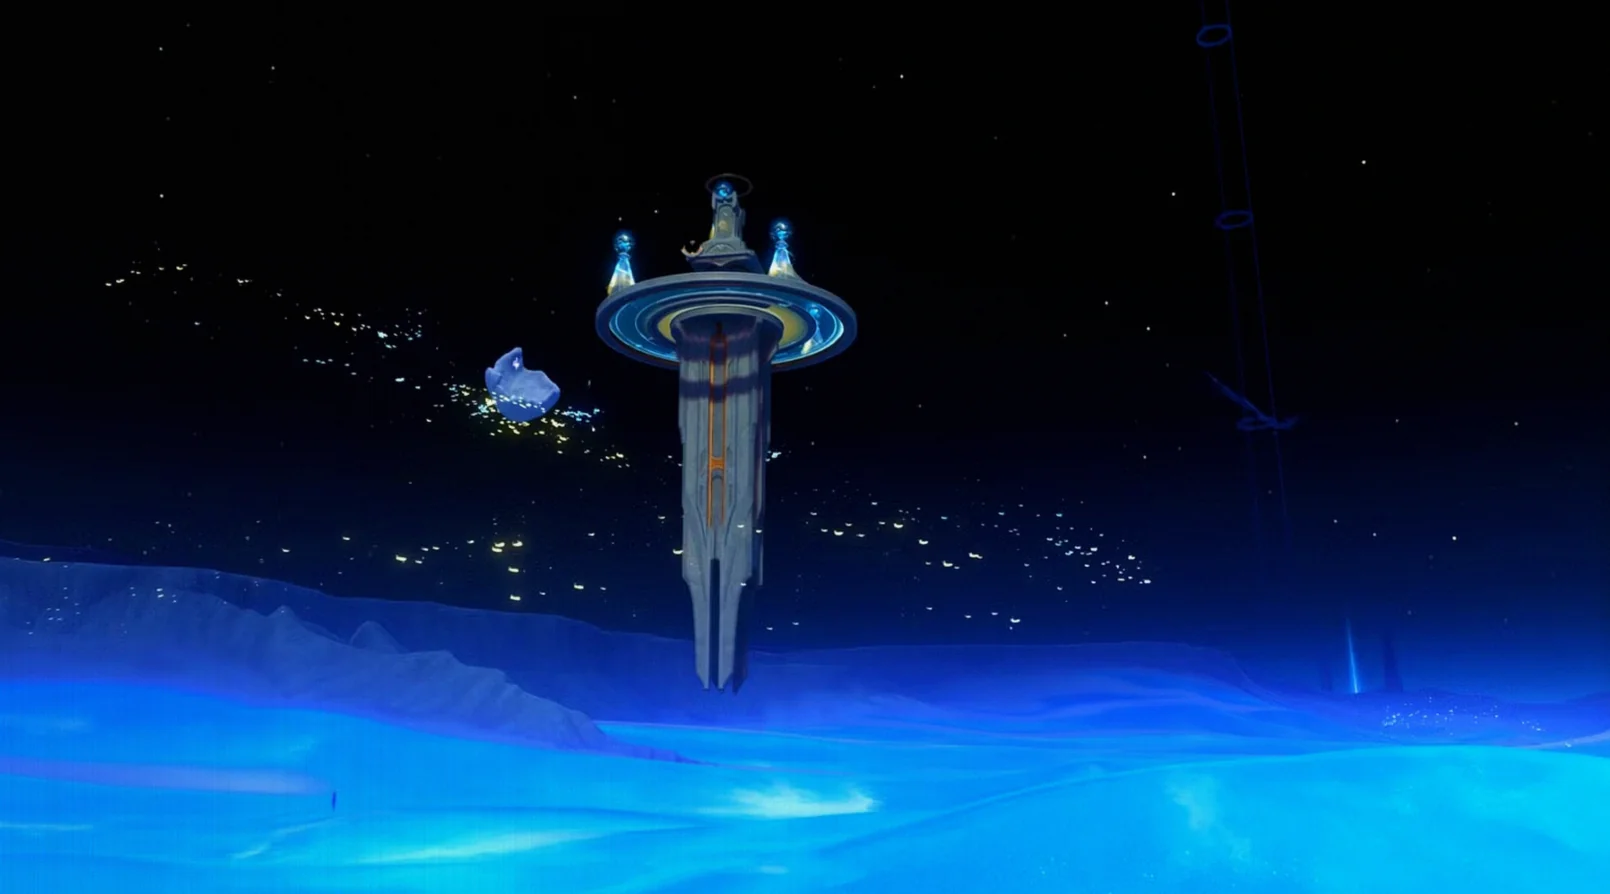
The Moontide Sea puzzle in Genshin Impact is finished by locating the missing Pioneer Source Structures, which then lets a tower come into view. You can find what you need right nearby: a couple of ruins are already set up to hide the required structures, so you don’t have to move to another region. Below is a complete walkthrough for every Pioneer Source Structure location to solve the Moontide Sea puzzle.
Release and availability details
This guide is for Genshin Impact, a live-service action RPG available on multiple platforms (including PC and consoles). The steps below focus on the in-world puzzle progression tied to the Moontide Sea area and the Golden Hall waypoint unlock.
How To Solve The Moontide Sea Puzzle In Genshin Impact
Pioneer Source Structure Location #1
Head to the northern ruins and activate a lift to descend. Collect energy from the cube, then activate the sphere standing beside it—even though it will turn out to be an incomplete Pioneer Source Structure. The structure will rise and hover, pausing while you handle the enemies that spawn.
Use the lift again to go back up, then jump through the swarm above you. Those creatures are the ones guarding the missing component. After you complete the Pioneer Source Structure, it will drift over to the center and settle on one of the pedestals.
Pioneer Source Structure Location #2
From the Moontide Sea puzzle area, face southwest. You should spot a wandering Pioneer Source Structure moving an Ancient Moon Pearl. Take the energy from the structure to release the energy sphere, then push that sphere toward the empty pedestal that’s buried underground.
A chest will appear, alongside a deactivated source structure. Grab energy from any available sphere and throw it at the deactivated structure to power it on. Once activated, it will travel to the center and trigger another pedestal.
Pioneer Source Structure Location #3
For the last Pioneer Source Structure, go to the northeastern ruins. You’ll find an empty pedestal and two red structures patrolling nearby. If you continue to the far end of the ruins while moving northeast, you should see several energy spheres.
Your job is to maneuver one of those spheres over to the pedestal while avoiding the patrolling structures, since they will steal the pearl if you let them.
If the spheres don’t spawn correctly due to a glitch, try teleporting to a different waypoint outside the Blue Moon, then return and check whether the objects have appeared. If they still aren’t there, fully quit the game and load back in.
Once you get the sphere onto the pedestal, fly down and open the large chest to obtain an energy source. Take that energy and throw it at the inactivated structure to switch it on.
The activated structure will move to the center, completing the Moontide Sea puzzle in Genshin Impact.
After the short cutscene ends, move to the middle and use the lift to rise and reveal an exquisite chest. If you head east, you’ll reach a small floating platform packed with spheres—throw energy at them to uncover both a luxurious chest and a precious chest.
Finally, make use of the nearby portal to travel down the lane and end up outside the map, where you can find another precious chest along with a common chest.
Genshin Impact
WHERE TO PLAY
Available on multiple platforms including PC and consoles.


