Mass Effect 3 N7 Cerberus Lab Guide: Items, Combat Tips, Key Decisions
This Mass Effect 3 wiki guide page breaks down the N7: Cerberus Lab side mission, covering everything from where key items are hidden to how to handle each combat push—plus which decisions matter for your run.
WARNING
Even though this side mission itself doesn’t time out, the “Citadel: Alien Medi-Gel Formula” task you can make progress on during it does expire after “Priority: Tuchanka.” If you want to finish that related objective, make sure you turn it in before you move past Priority: Tuchanka.
Looking for something specific? Jump to the sections you need: Mission Stats, Travel to Decoris, Pick Up Reaper Artifacts, Defend Extraction Area, or Back on the Normandy.
Mission Stats
Video Guide
Mission Rewards
- Experience: 1,000 XP
- Reputation: +5
- Mission Credits: 10,000 credits
- Found Credits: 10,000 credits
- Mod: Sniper Rifle Enhanced Scope
- War Asset: Cerberus Research Data (50 TMS)
Mission Enemies
- Assault Trooper
- Centurion
- Guardian
- Combat Engineer
Travel to Decoris
- Prerequisite: Complete “Priority: The Citadel 1”
- Location: Sigurd’s Cradle – Decoris – Sanctum
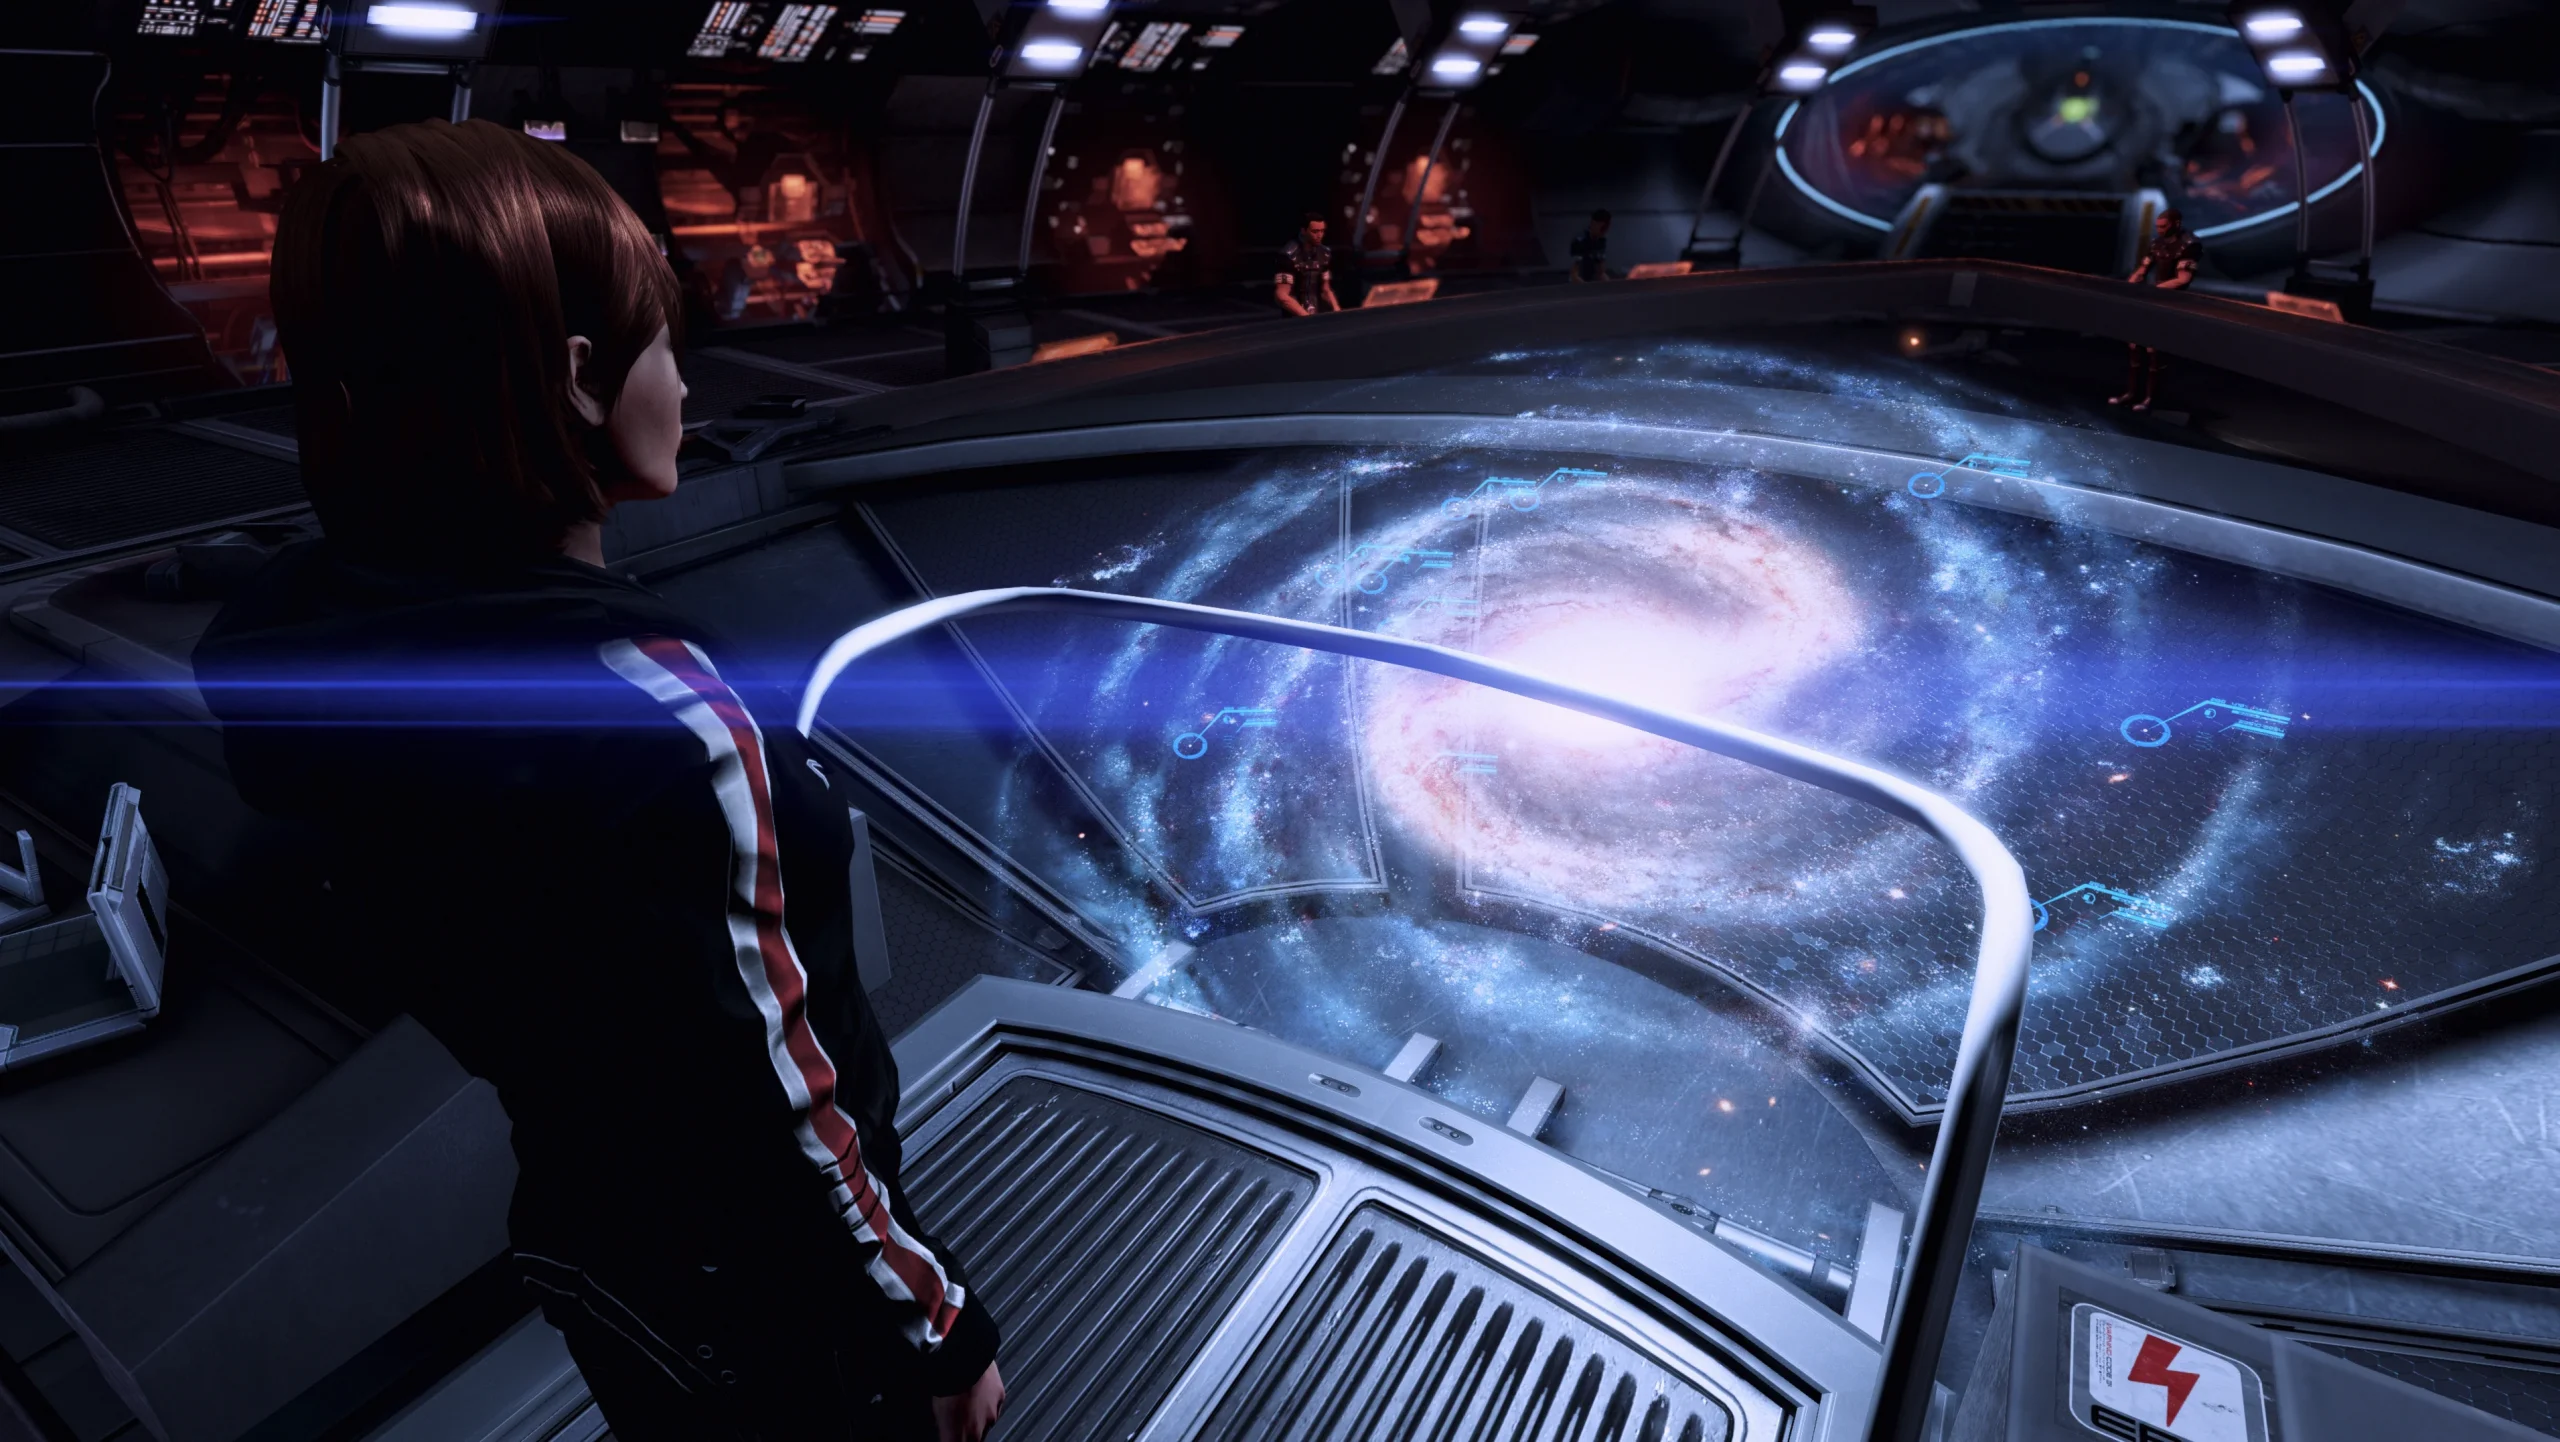
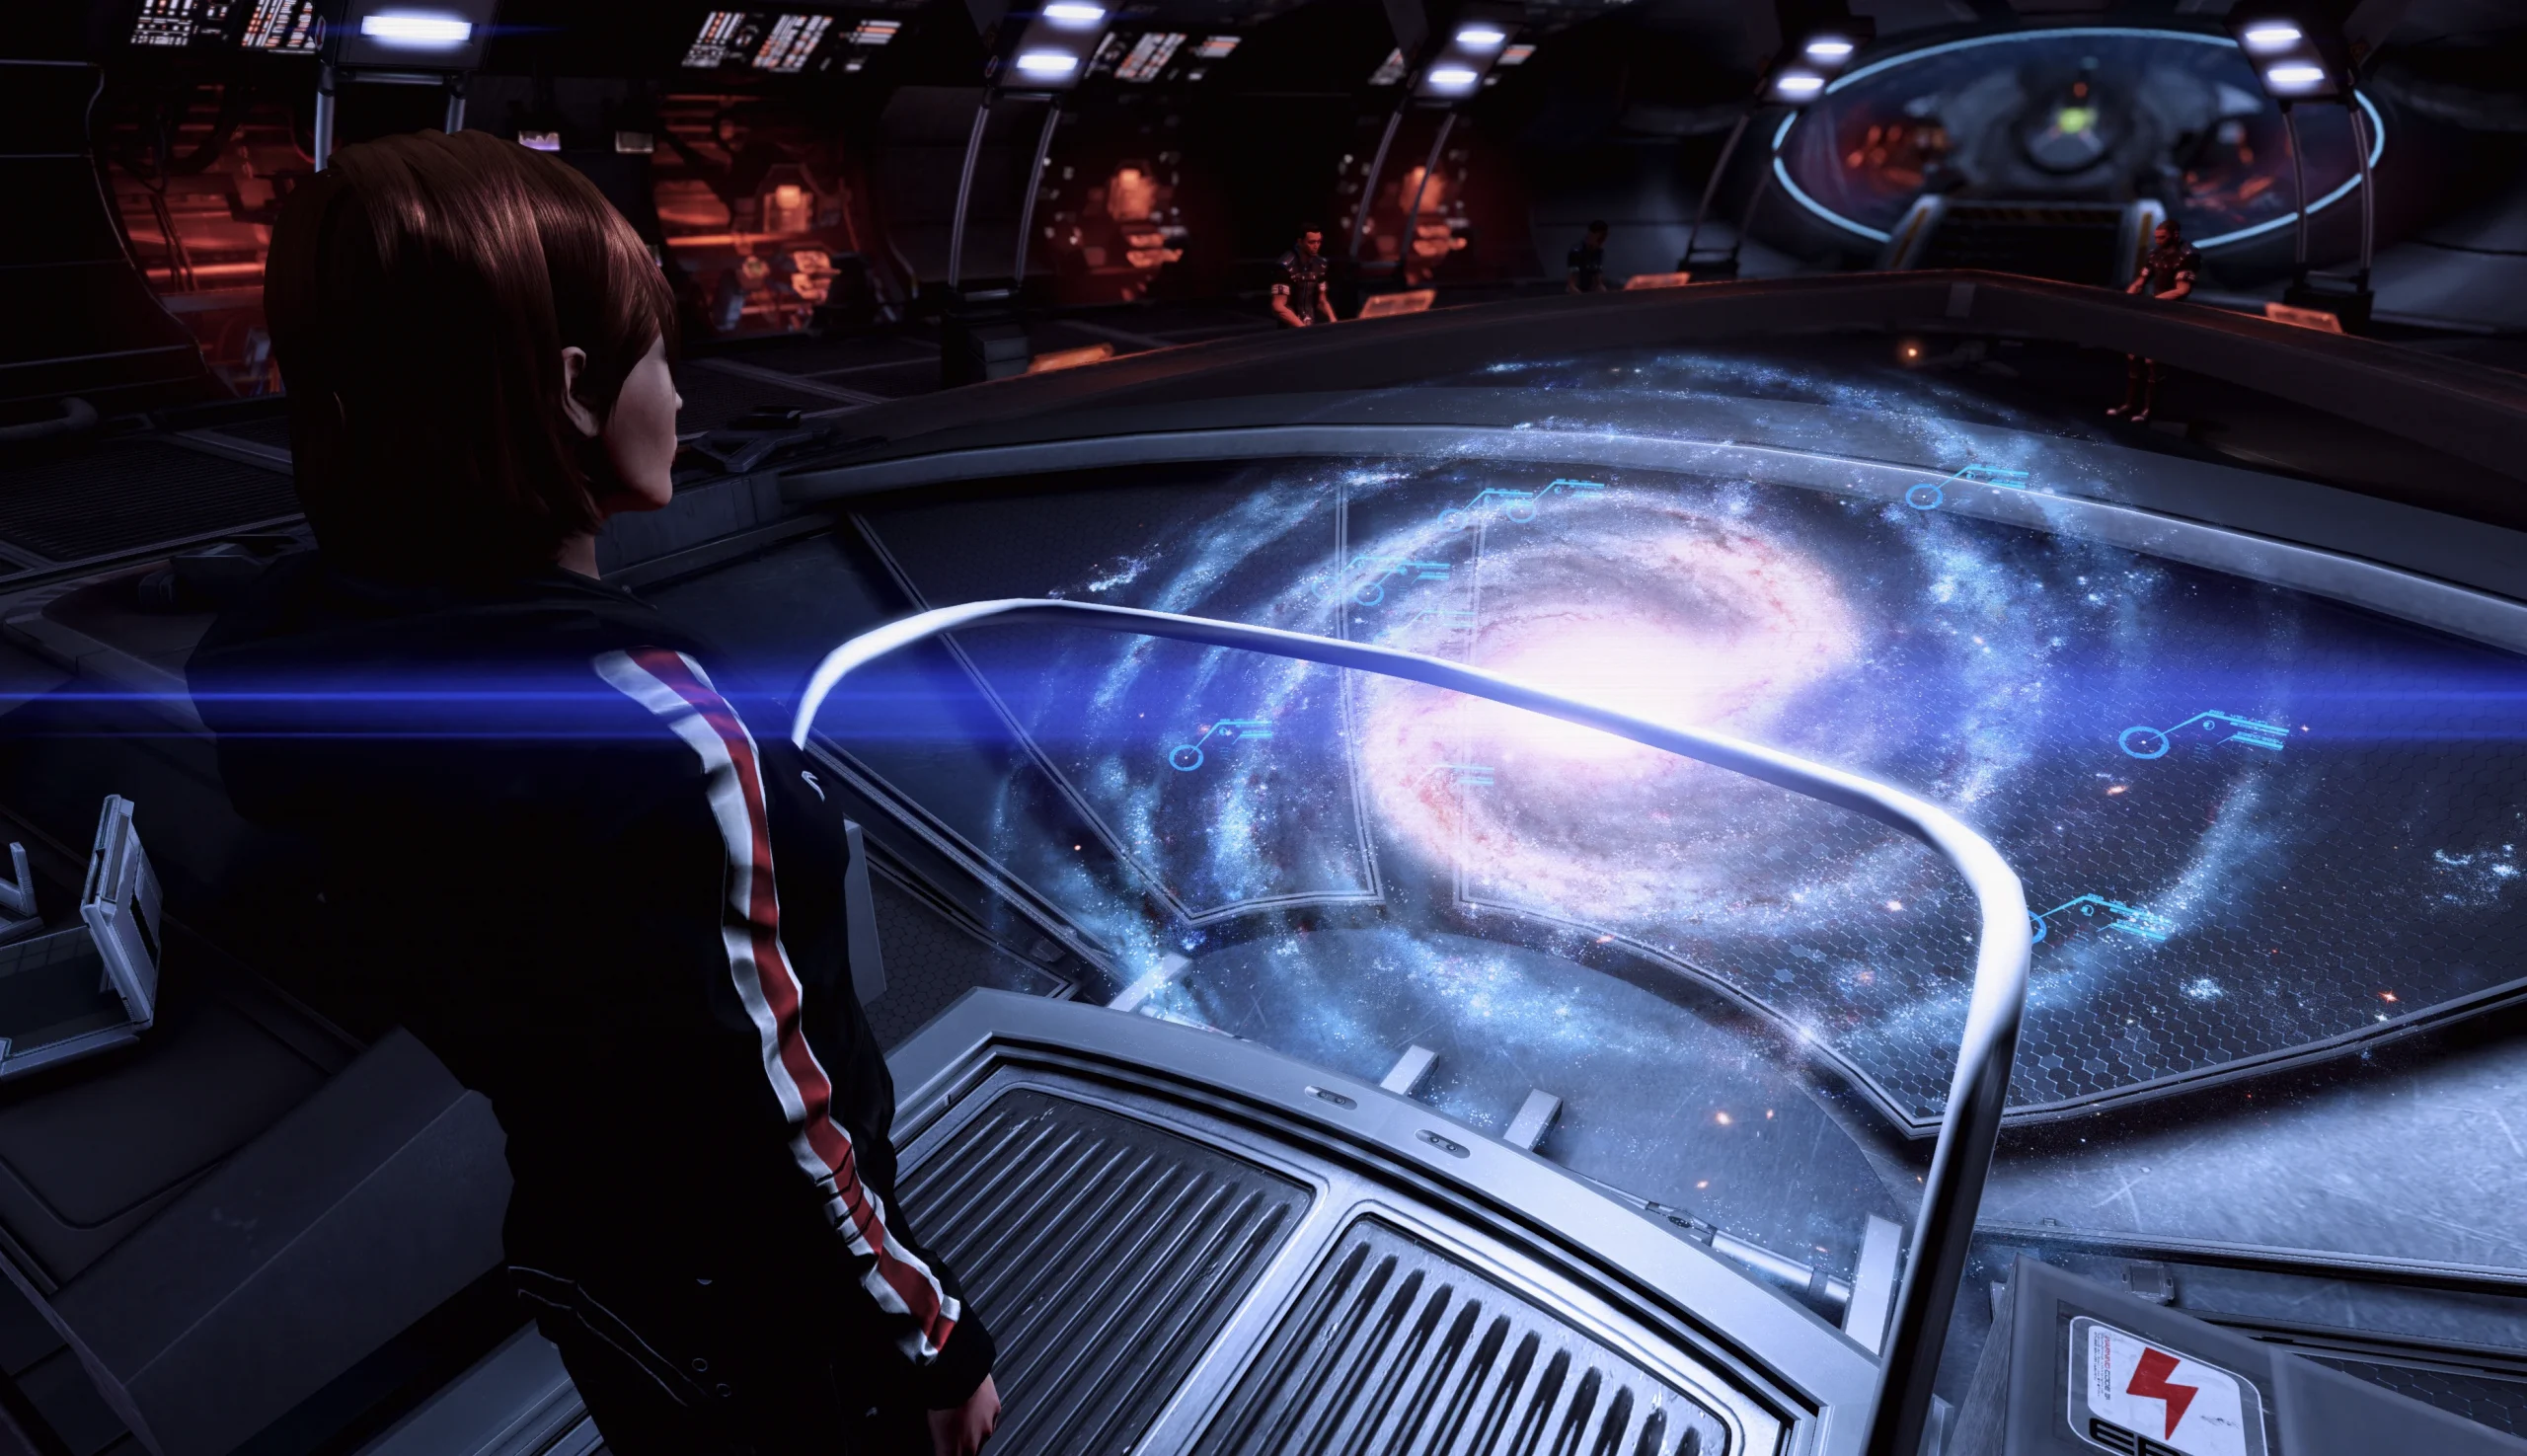
N7: Cerberus Lab is the first N7 side mission you unlock in the game. In general, these missions come from Admiral Hackett, who assigns Shepard special operations—typically to strike Cerberus, defend Alliance assets, or do both. For this one, you need to finish “Priority: The Citadel 1”, then go to Specialist Traynor near the Galaxy Map in the Normandy SR-2’s CIC.
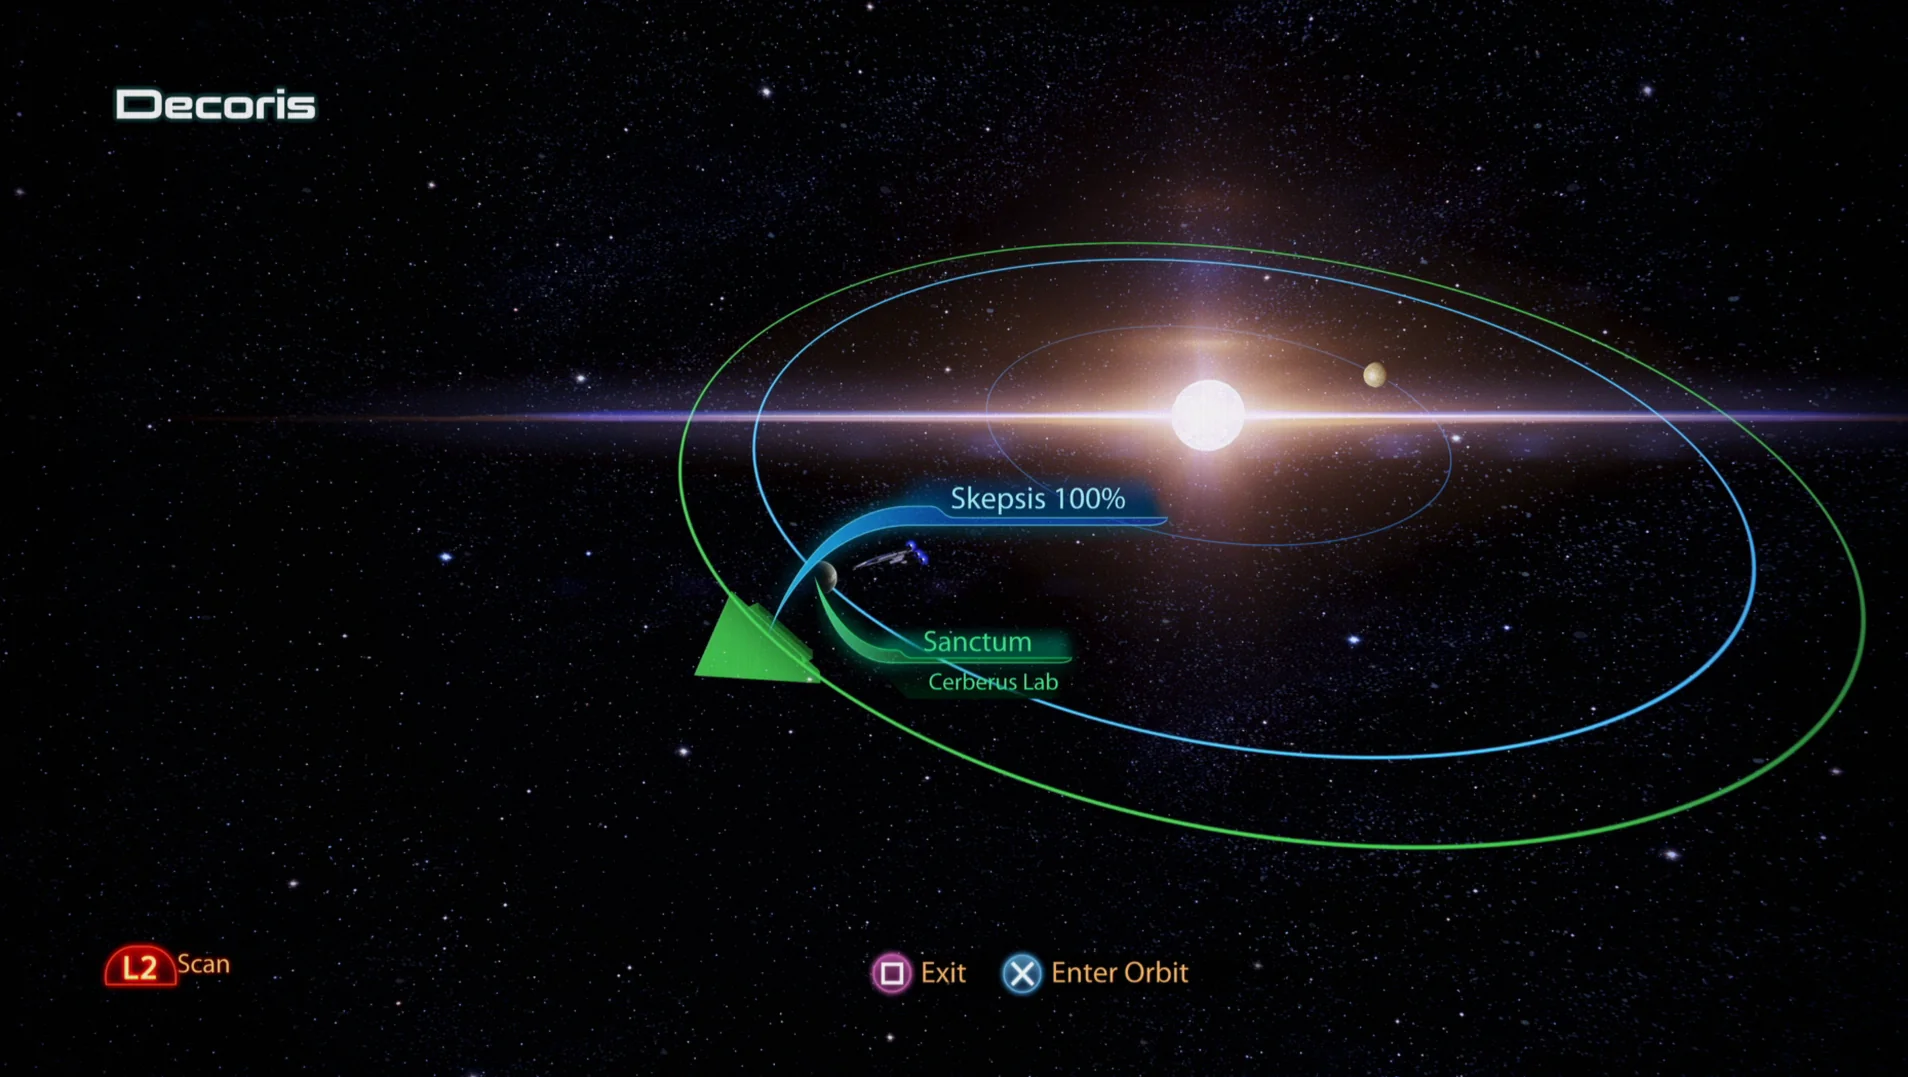
Once it’s active, travel to the Sigurd’s Cradle cluster, then move to the Decoris system and finally reach the planet Sanctum, where the mission takes place.
While you’re in Sigurd’s Cradle, don’t miss the Search and Rescue discoveries available there:
Recommended Loadout
- Squad Tactics:
- James is a strong pick for his high health and grenade use.
- Javik can be a great option if you have him, thanks to his biotics and the Lift Grenade power.
- If you don’t have Javik, EDI works as a substitute: she can strip Shields with Overload and also pull enemies off you with Decoy.
- Unique Dialogue:
- Javik will add a unique line during this mission.
- Shepard’s Loadout:
- This fight takes place in tight interiors with plenty of cover and threats coming from every direction, so Sniper Rifles are a poor match.
- If you own the Citadel DLC, bringing a Thermal Scope for your Assault Rifle is especially useful for cutting through the smoke bombs thrown by Centurions.
- Piercing, Shredder, or High Velocity mods can help a lot against the mission’s Guardians, and the Venom Shotgun is also highlighted as an effective tool there.
As you enter the Cerberus Lab, expect the mood to change quickly. Things are calm at first, but soon you’ll be dealing with gunfire—metaphorically, and not long after, literally. Your goal is to retrieve Reaper Artifacts and deliver them to the shuttle. You can only carry one artifact at a time, which means every new trip back to recover the next one comes with heavy resistance.
To get moving, check the doorway up the stairs on the left. It leads straight into an early skirmish with enemies. Once they’re cleared out, you’re able to explore the lab freely, so it’s a good window to hunt for loot. Start by going back to that same doorway and approaching the room from the entrance.
- Sniper Rifle Enhanced Scope – In the entry area, turn left and look in the corner near a short glass partition.
- Credits – 3,000 credits. In the entry area, look right toward two consoles facing a window; interact with the left console to claim the money.
- Medical Station – 25 XP. On the left side of the room is an alcove with locked double doors, and on the left wall of that alcove you’ll find the Medical Station.
- Journal Entry – 18 XP. In the back-left corner is a corner console you can interact with for additional XP.
- Credits – 4,000 credits. From the Journal Entry, face the long length of the room and head toward the back-right corner where the three windows are. There, a console you can interact with provides more cash.
The next set of three items is located deeper in the Cerberus Lab:
- Failed Medi-Gel Experiment – Between the credits you just collected and the first Reaper Artifact, there’s a doorway. Go through it into a small room, then head to the back-right corner where you’ll find a terminal. This terminal is required for the “Citadel: Alien Medi-Gel Formula” side mission.
- Journal Entry – 18 XP. From the previous item’s area, leave back into the hallway and turn left to go down the first set of stairs. Turn left again to descend a second set; the Journal Entry sits in the back-right corner.
- Credits – 3,000 credits. After grabbing that Journal Entry, go back up the stairs and turn left down the hallway. On the left is another terminal you can interact with to obtain more credits.
Once you’ve collected everything, return to the first Reaper Artifact and bypass the Containment System next to it. After the shield is down, take the artifact and deliver it to Steve Cortez in the shuttle. You’ll be doing this from the outdoor area where you originally started the level.
After you hand off the first item, Cortez will mark the location of the second Reaper Artifact. Travel there by taking the right-side doorway and then heading down the stairs on the right. Along the way, clear out an Assault Trooper and two Combat Engineers—each supported by their turrets. Turrets are dangerous and should not be treated casually; if you ignore them, they can cut you down in mere moments.
When you reach the bottom of the stairs, the second Reaper Artifact is waiting in the back-right corner. Bypass the Containment System, but immediately be ready for two Assault Troopers to drop in during the moment you least want surprises. At this point you should head back toward the outdoor area—except there’s a catch.
Defend Extraction Area
The landing zone is becoming too dangerous, forcing Cortez to retreat and leaving you to hold the line. Your job is to survive against multiple waves of Cerberus forces. The most reliable place to set up is outdoors, mainly because the mission ends automatically once you reboard the shuttle after Cortez returns.
Don’t get comfortable out there. Shepard and the squad have to deal with a steady stream of enemies in different forms until the extraction ship arrives. Expect Centurions and Combat Engineers who bring turrets into the mix—turrets can dismantle your team very quickly. You’ll also need to watch for additional hostiles climbing in over the outer railing.
Hold your ground until the shuttle arrives, then rush over to complete the mission. Don’t linger, because Cerberus troops continue to spawn indefinitely.
Back on the Normandy
After the mission ends, you’ll get a debrief with Hackett. He notes that he’ll keep launching strikes against the Cerberus Lab to keep their operations disrupted. That context is what ties into the Firebase Glacier attacks you might see in multiplayer. Once the scene ends, it’s time to take care of your usual rounds.
- CIC: Speak with EDI.
- Engineering: If you have Javik, visit his quarters to overhear a conversation between him and Liara, along with a few comments from Javik himself.
Finally, if you’re following the guide in order, you can catch up with Cortez again while he works on one of the Kodiak shuttles. There are Morality Points available here based on what you choose:
- When Cortez first explains his Kodiak maintenance:
- Choose “Don’t work too hard” for +2 Paragon Points.
- Choose “Keep it up” for +2 Renegade Points.
- When Shepard offers Cortez time to rest on the Citadel:
- The “Do it for me” Charm option grants +2 Reputation.
- Choose “It’s your choice” for +2 Paragon Points.
- Choose “That’s an order” for +2 Renegade Points.
After those chats, Cortez will also have an additional post-conversation remark tied to what he witnessed during this side mission.
Want more help with Mass Effect 3? The guide points you toward more pages covering Legendary Edition changes, general how-to material, key choices and consequences, romance content, full walkthrough coverage, and a hub for side missions.