Mass Effect 3 N7: Cerberus Attack Walkthrough—Tuchanka, Shutdown & Rewards
Mass Effect 3’s N7: Cerberus Attack side mission sends you to Tuchanka to deal with Cerberus activity—plus it’s tied to a time-sensitive sub-objective you’ll want to complete before the game moves you on. Here’s a guide-style walkthrough for finding the mission location, preparing your squad, sweeping up loot, handling the power shutdown/restart, and wrapping up the return to the Normandy.
Checklists
This guide page for Mass Effect 3’s N7: Cerberus Attack focuses on the side mission itself—where to locate the items, how to survive each combat section, and what decisions matter for your run.
WARNING
Even though this side mission itself doesn’t expire, the “Citadel: Improved Power Grid” objective you can progress during it does expire after Priority: Tuchanka. Make sure you submit it before that point.
Looking for something specific? Use the jump list below:
- Mission Stats
- Travel to Aralakh
- Capture the Control Console
- Reactivate Power
- Back on the Normandy
Mission Stats
Video Guide
Mission Rewards
- Mission Experience: 750 XP
- Reputation: +5
- Mission Credits: 10,000 credits
- Found Credits: 10,000 credits
- Armor: Armax Arsenal Gauntlets
- War Asset: Krogan First Division (50 TMS)
Mission Enemies
- Assault Trooper
- Centurion
- Nemesis
- Combat Engineer
- Turret
- Guardian
Travel to Aralakh
- Prerequisite: Complete “Priority: Sur’Kesh”
- Location: Krogan DMZ – Aralakh – Tuchanka
N7: Cerberus Attack becomes available after you finish “Priority: Sur’Kesh.” After that, the next time you open the Galaxy Map, Specialist Traynor will give you the mission, explaining that Cerberus is active on Tuchanka. That’s not a good sign.
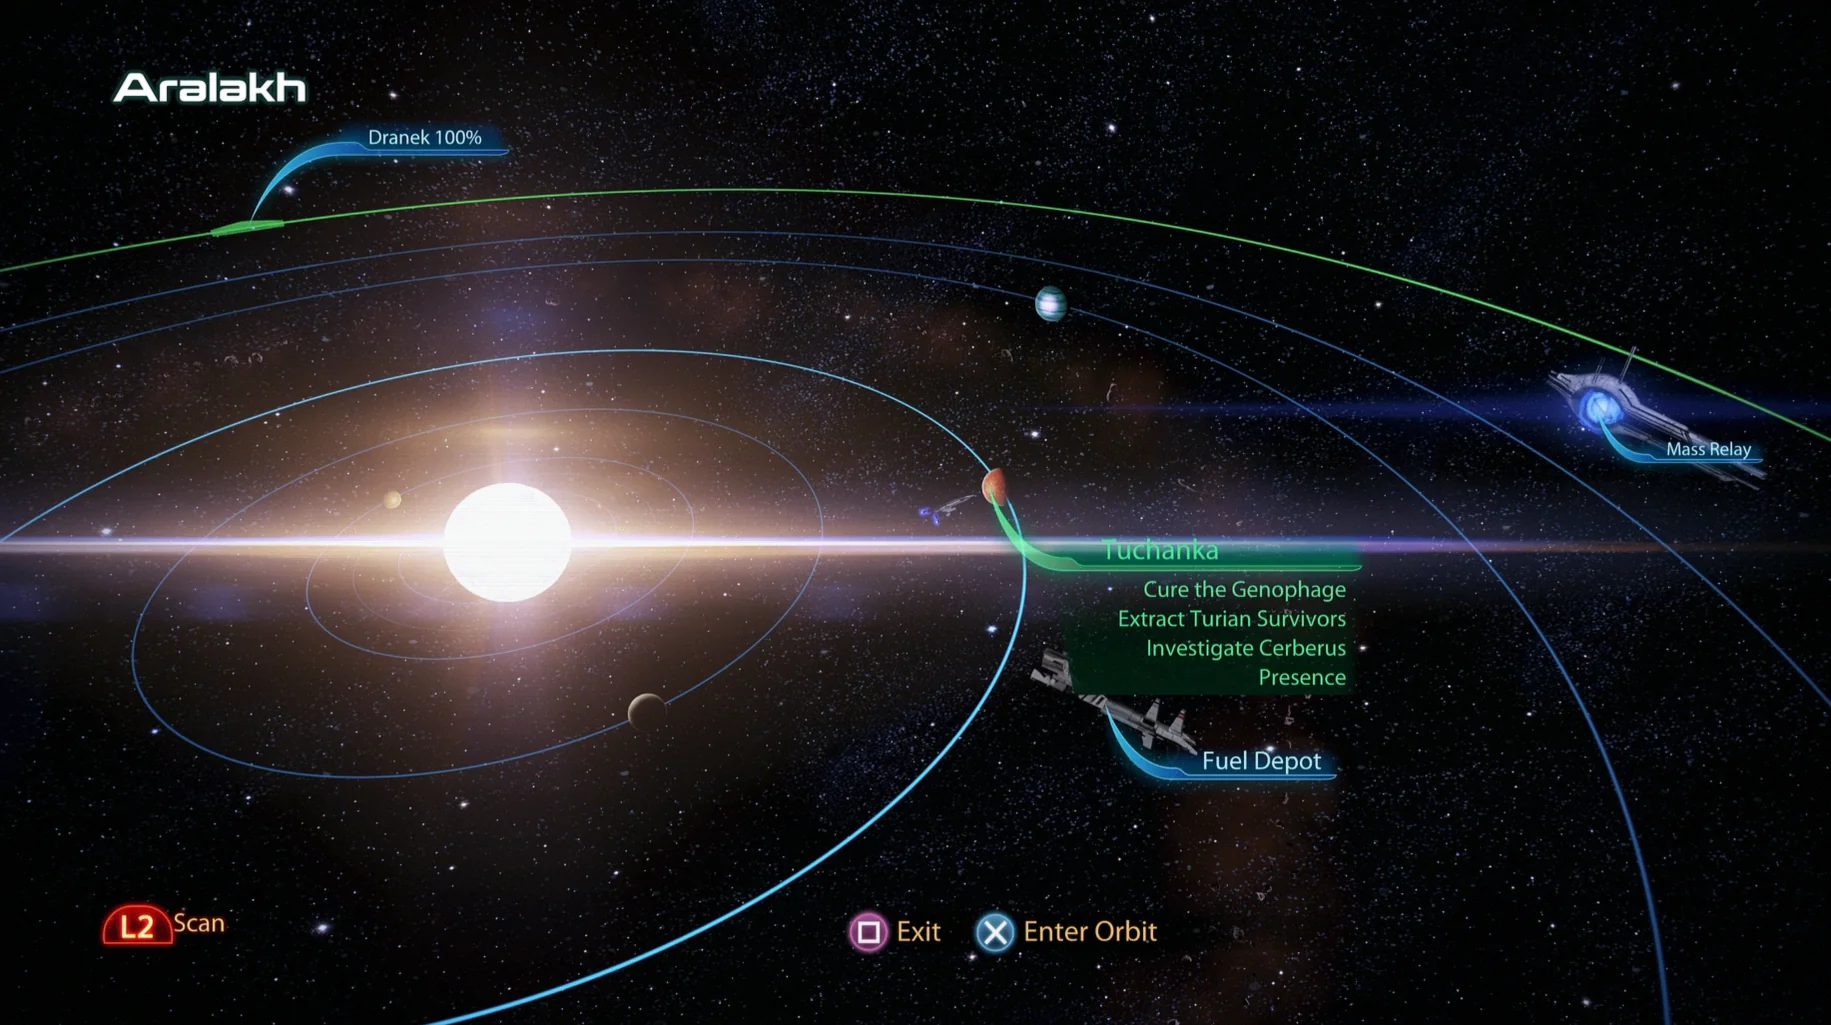
Tuchanka is a key world for this stretch of the story. On the Galaxy Map, the system will be marked with a flashing white indicator for Krogan DMZ. You’ll land in the Aralakh system, and Tuchanka will be the third planet listed here.
When choosing your landing spot on the planet, look for the option labeled “Cerberus Attack,” since that’s the mission you’re here to complete.
While you’re in the area, you can also consider grabbing Search and Rescue items from the Krogan DMZ’s other systems. Nith is noted as optional because it only contains Fuel, but the other locations may still be worth checking.
Recommended Loadout
-
Squad Tactics:
- You’ll be up against foes with both Shields and Armor, so Garrus is a strong pick here due to Armor-Piercing Ammo and Overload.
- Liara or Javik bring biotic powers that can help you handle the threats you’ll face.
-
Shepard’s Loadout:
- Piercing, Shredder or High Velocity mods, plus the Venom Shotgun, are recommended for dealing with the level’s Guardians.
- The Sniper Rifle Enhanced Scope helps you spot the smoke bombs used by Centurions.
- If you have the Citadel DLC and/or have completed the Omega DLC, bring a Thermal Scope for your assault/sniper rifle to see through smoke bombs and even through walls.
Capture the Control Console
Your squad is inserted under the radar, meaning Cerberus doesn’t realize you’re here yet. Before you move out, check the area on your left—you’ll need to return there later under heavy fire.
Move toward the center of the map and wipe out the large number of enemies in the open zone. Keep a close eye out for the single Combat Engineer who deploys a Turret; treat him as a priority target. From there, you’ll advance up to an elevated control room, which is protected by a pair of Centurions.
Once the area is cleared, there’s a window where the level stays quiet until you use the Control Console. This is the best time in the mission to ignore the objective briefly and search the area for loot. Start by going all the way back to the starting zone, then face the direction of the Control Console objective.
-
Junk – 3,000 credits.
- From the starting point, go through the left-side doorway, then continue straight through the next doorway.
- On your left is a cube container; the junk you want is on the container’s left side.
-
Junk – 3,500 credits.
- Return to the open area where you first encountered Cerberus and face the Control Console objective.
- To the right of the rusted ramp leading up to the control console, check right there for ammo boxes containing this junk.
-
Old Grid Schematics
- Go back to the Control Console room and check the side of the lower console.
- This is connected to the “Citadel: Improved Power Grid” side mission.
-
Med Kit – 50 XP
- Find it on the side of the upper control console in the control room.
-
Armax Arsenal Gauntlets
- From the med kit above, go down the nearby ramp into a side room.
- Check the back wall for the armor.
-
Junk – 3,500 credits
- From the room with the gauntlets, look at the rubble in the back-right corner.
- That’s where you’ll find this valuable junk.
Reactivate Power
After collecting everything, head back to the control room and activate the Control Console to finish the mission—except Cerberus has shut down the power. To get systems working again, you’ll need to fight through two Power Modules.
These modules are guarded far more aggressively than the Control Console area was, so approach with more caution than you used earlier.
The danger spikes because this side mission features the formidable Nemesis: a stealthy sniper that gets dropped onto the top of the large rusted beam overlooking the open area. You may have faced two previously in the From Ashes DLC—if you haven’t, here are key tips:
- Nemesis uses sniper rifles, so they prefer long-distance cover for picking targets off from afar, and they’re protected by Shields like Centurions.
- Even though they carry M-13 Raptors, their damage is described as closer to one-shot sniper rifles such as the M-92 Mantis—so play extremely carefully. In particular, Liara can be one-shot by them on anything but the easiest difficulties.
- They give away their position with the high-pitched laser sight used when aiming. However, the time between tracking and firing gets shorter as your difficulty increases.
- If you’re targeted and you aren’t in cover, use a quick double-tap of the Interact button to trigger a dodge roll out of the shot path.
Break through the enemies to the opposite side of the level (the side-area you were told to remember when you first landed). There, in the sunlight on the back wall, you’ll find both Power Modules. First, shoot the latches on each one, then interact to restore power. The process takes about two and a half seconds (reflected by the meter in the top-right). If you take a hit during that window, the progress meter resets and you’ll need to try again.
With power restored, you can return to the Control Console. Expect the room to be packed with more enemies than before, making it even harder than the first sweep. You’ll likely deal with multiple Centurions and a Combat Engineer setting up a turret—so stay sharp.
When the enemies are cleared, use the Control Console one more time. Then use the View Prompt to look at the hologram above the lower console; it showcases the cannons destroying the Cerberus Cruiser, which is described as always satisfying.
Back on the Normandy
Once you’re back on your ship, follow the guide order for the key stops:
- CIC – Talk to EDI.
- Engineering – Visit Gabby and Ken, then speak with Javik.
- Shuttle Bay – Talk to Cortez and James.
If you want more help for Mass Effect 3, the guide lists additional pages to check out:
- Legendary Edition Changes
- How-To Guides
- Key Choices and Consequences
- Romance Guide
- Walkthrough
- Side Missions
Up Next: N7: Cerberus Fighter Base
Top Guide Sections
- Legendary Edition Changes
- Game Basics
- Tips and Tricks
- How-To Guides


