Mass Effect 3 Priority: Horizon Guide—Loadouts, Mods, and Oriana Choices
Mass Effect 3’s Priority: Horizon mission is a dense run of combat, scavenging, and story checks, ending in a negotiation with Henry Lawson over Miranda’s missing daughter, Oriana. This walkthrough-style guide breaks down every step—from prerequisites and recommended loadouts to where specific mods and credits are hidden—so you can approach the mission with the right gear and (crucially) the right dialogue outcomes.
What Priority: Horizon Covers (and Why Players Care)
The mission content is organized around a clear checklist: push through combat encounters, collect everything you can find, and choose dialogue responses that affect how the end confrontation plays out. The guide’s structure follows your route through the facility, starting at Horizon’s entrance and moving through Sanctuary and the waypoints toward the comm tower and perimeter fights.
- Mission Stats
- Approach the Camp
- Explore Sanctuary
- Get to the Comm Room
- Search The Perimeter
- The Lawson Confrontation
- Negotiating with Henry
- Miranda’s Survival
- Back on the Normandy
Mission Stats, Rewards, and Enemy Lineup
Before you land on Horizon, it helps to know what you’re walking into. The mission’s reward list includes credits, specific weapons, one armor piece, two weapon mods, and war asset contributions. The enemy list is also broad, mixing multiple Cerberus-style threats with Reaper forces and several named variants.
Mission Rewards
- Mission Credits: 15,000 credits
- Found Credits: 15,000 credits
- Weapons:
- M-12 Locust
- M-99 Saber
- Armor: Rosenkov Materials Shoulder Guard
- Mods:
- Pistol Scope
- Shotgun Blade Attachment
- War Assets:
- Alliance Sixth Fleet (90 TMS)
- Miranda Lawson (25 TMS)
Mission Enemies
- Phantom
- Nemesis
- Assault Trooper
- Husk
- Marauder
- Banshee
- Cannibal
- Swarmer
- Ravager
- Brute
Travel to Horizon: Setup, Location, and Recommended Loadout
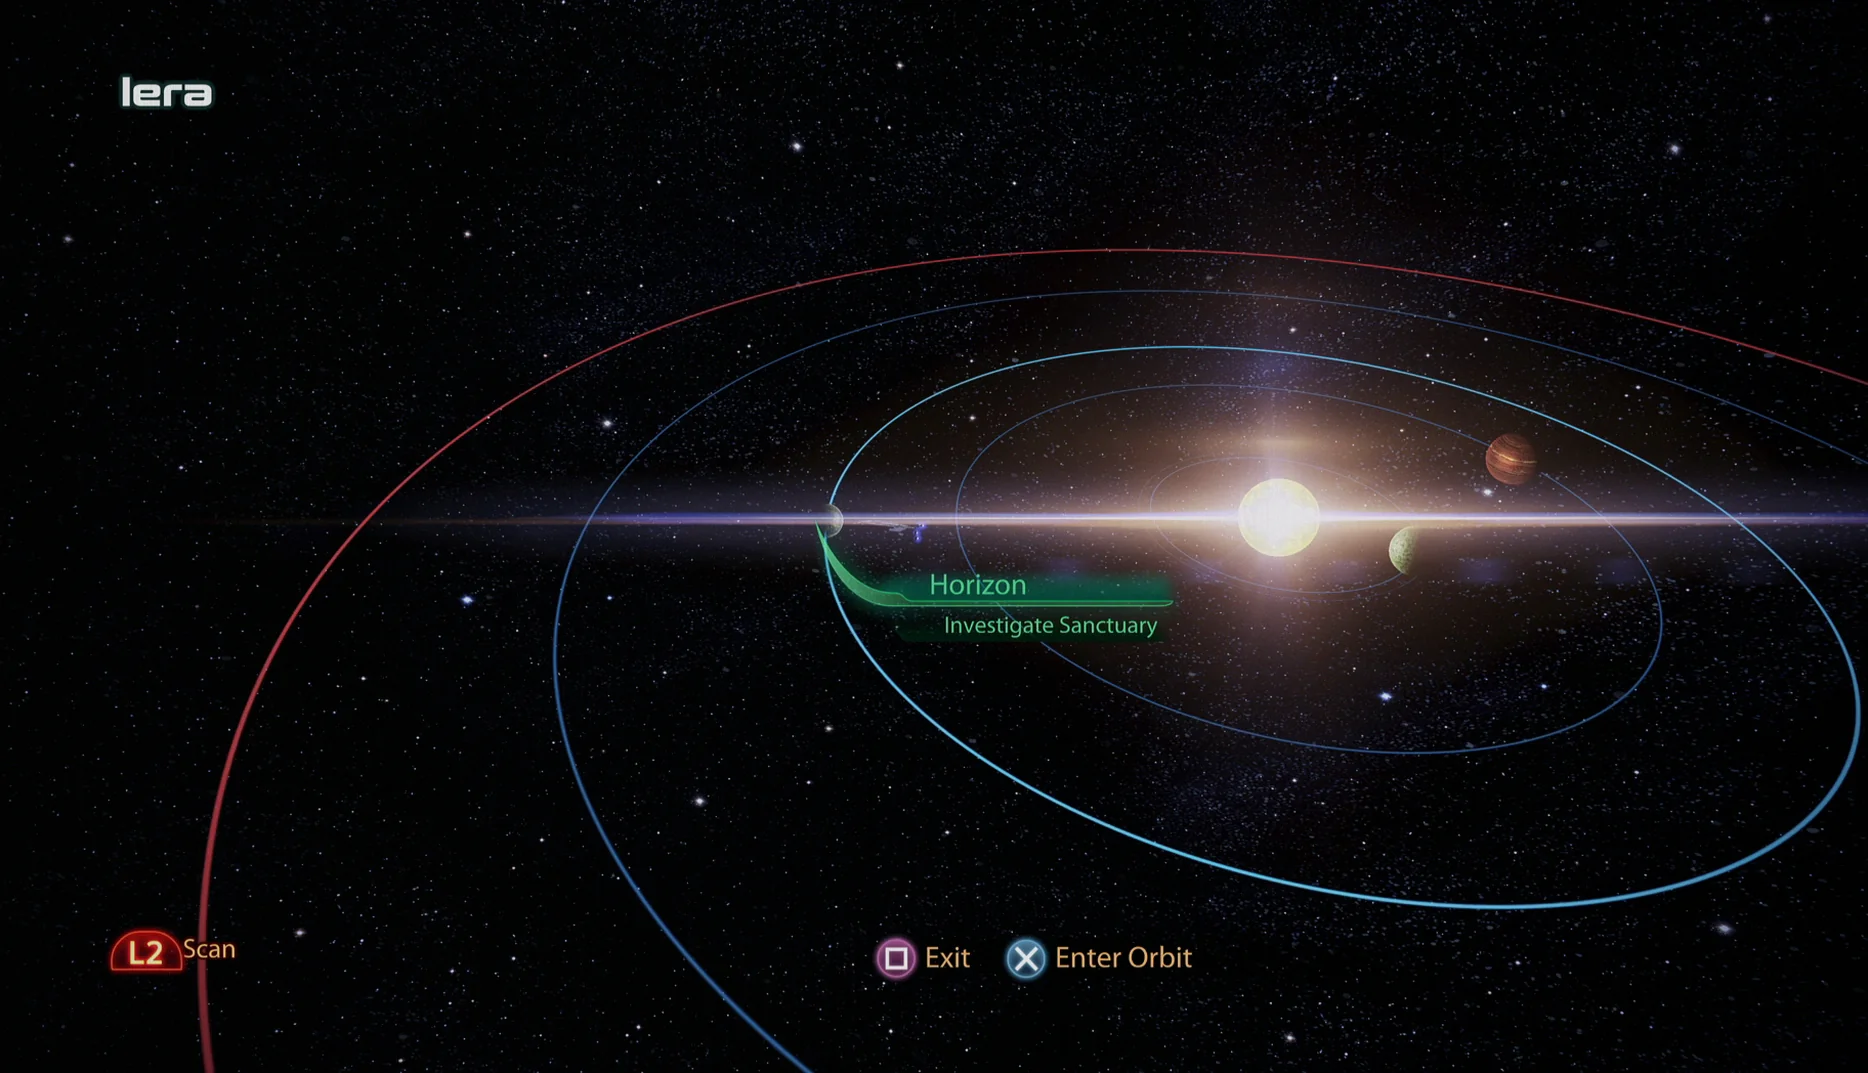
Priority: Horizon isn’t available immediately. The guide lists a prerequisite: you must complete “Priority: Thessia.” The mission takes place in the Shadow Sea cluster, specifically on Iera—the third planet in the cluster’s only system.
The page also frames this as a “late” Search and Rescue stop: unless you haven’t done the Leviathan DLC yet, these are described as the final items you can find through Search and Rescue before starting the mission.
Recommended Loadout
- Squad Tactics:
- Garrus is highlighted as a strong pick because he combines Overload with Armor Piercing Ammo.
- Ashley is recommended if you have her, since Disruptor Ammo helps cut through Cerberus defenses.
- Unique Dialogue:
- Javik and Liara are said to tease out the most unique dialogue.
- If you don’t have Javik, anyone can still trigger dialogue. If you have your Virmire Survivor, they’re also noted as contextually interesting because of the “Horizon” mission connection from Mass Effect 2.
- Shepard’s Loadout:
- Bring a Sniper Rifle to handle Nemeses.
- A Heavy Pistol fitted with a Scope can substitute if a sniper rifle isn’t your preferred option.
- Bring a Shotgun for dealing with Husks.
From Sanctuary to the Tower: Walkthrough Highlights and Loot Routes
The mission begins after a scene aboard the Kodiak shuttle. When you disembark at Horizon’s entrance, the area is clearly in ruins—there are no signs of colonists—and as you climb the stairs, a View Prompt explains why: the Reapers have attacked the facility.
Soon after, you’re hit with two Phantoms and a Nemesis sniper on an upper balcony. The guide’s combat advice is practical: kill the Phantoms from range while staying in cover so the Nemesis sniper rifle can’t pick you apart. Once the Phantoms are dealt with, switch to a scoped sniper rifle or pistol to remove the Nemesis.
- Parts – 1,500 Credits: Before entering Sanctuary, check the right-hand side for a lower section. Near rubble closest to the entrance, a ruined terminal contains these Parts.
Then head to the entry door and bypass it to enter Sanctuary proper.
Explore Sanctuary
- Medical Station – 75 XP: Standing at the doorway into Sanctuary, look to the right to find the Medical Station.
Inside, another View Prompt lets you look up through the glass ceiling to spot Cerberus shuttles leaving Sanctuary. The area is described as large, but the guide points you to a “Sanctuary” point along the left giant window to trigger some dialogue. From there, move through an office desk area to the right, where you can find logs to listen to and read.
Your goal is to reach stairs near two crashed Alliance Kodiak shuttles. In that office desk area, the guide calls out a specific datapad location.
- Inventory Logs – 1,500 Credits: Find the datapad on the corner desk that overlooks the two crashed Alliance shuttles. The desk should only have the datapad and a desk lamp.
Go down the nearby stairs to continue. If you want more logs, examine datapads among the shuttle wreckage. Through the right-side doorway, you’ll encounter bodies of both Reapers and Cerberus, then move into a fight with Cerberus Troopers. There’s limited cover, but because they’re Assault Troopers, the guide suggests they shouldn’t be overly hard.
- Pistol Scope: In the middle of the room is a raised section with a dead Assault Trooper. Loot the body for this weapon mod.
The exit is an open doorway on the left side of the room under the massive Sanctuary sign. Activate the console directly ahead to hear what you’re up against, and you’ll get a glimpse of Miranda Lawson—assuming she didn’t die in a Mass Effect 2 save you imported. After that, turn around to find more salvage.
- Equipment – 1,500 Credits: On the wall right next to the doorway you just used, there’s salvageable equipment.
Head outside and activate the water pump at the end of the pool to drain the area, letting you descend a ladder. One squad mate examines a pump and says it’s Reaper Tech, but regardless, go through the door on the opposite side of the pool. The first room has nothing, but the second room holds loot.
- Equipment – 1,500 Credits: On the right-hand wall of the second room, there’s an object resembling a wall safe from earlier games; Salvage it.
- Rosenkov Materials Shoulder Guard: Just left of the next door, sitting on top of a block-like wall structure.
Get to the Comm Tower
The next space functions like a command center. Activate the console in the middle to restore power. The guide notes that the things shown in the cutscene can’t hurt you “yet,” then tells you to proceed through the door opposite where you entered.
In the following room, there’s a PDA on the left table with lore. There’s also a console in the back-right corner that provides more backstory tied to Miranda (if she’s alive), plus a glimpse of The Illusive Man and Kai Leng.
Exit the room via a short stair set. Husks are waiting behind the door, so prepare before going down. In the room where the Husks were, two story logs can be activated at the bottom of the stairs.
The open doorway and the normal door near the consoles lead to the same hallway. The guide calls it a Reaper ambush: a Ravager, a Banshee, and multiple Marauders firing from a catwalk above. It advises killing them in the following order, using the room with the consoles for cover as needed: Ravager, then Banshee, then the Marauders.
From there, exit down the hallway to the left to reach a room where a Banshee stares at you through a window. Two additional story logs are available here.
- Med Kit – 50 XP: To the left of the laptop log you can listen to in the Banshee window room.
Search The Perimeter
Leave through the right-side door next to the Banshee window. The next room has stairs on the left, but before climbing, check the console for story and find a PDA for lore.
- Research Data – 1,500 Credits: After the console and PDA, look in the far dark corner of the room.
Go up the steps and then turn left into a room full of Reaper forces. The guide says to ignore the Husks in the pods (they don’t come to life) and instead focus on Cannibals and Marauders. If you take cover between the two doors, you can destroy the Barrier Engines through either doorway without being shot, making the fight easier.
Once the room is cleared, move to the tables and consoles in the upper portion of the area.
- M-12 Locust: On a table in the room’s upper section.
- Shotgun Blade Attachment: On a table further down from the Locust.
M-12 Locust: Why It’s Worth Picking Up
The guide describes the M-12 Locust as one of the best SMGs in the game, emphasizing low recoil and very high accuracy, which gives it surprisingly long range compared to other SMGs. The trade-off is a slower rate of fire than other SMGs.
In the lower part of the room, you can listen to two logs for more lore, plus a PDA. You should examine the console at the far end to progress the story and lower a ladder into the next area.
Get to the Tower
Climb the ladder and prepare for a fight. A Marauder is close, so remove it first. Farther down the hall are Ravagers and Cannibals. The guide recommends using the raised ledge and aiming down through support columns to take out two Barrier Engines with the Sniper Rifle if possible. More enemies are also said to lurk in darkness on the right side of the lit hallway.
When the enemies are cleared, move through the open doorway at the end of the hall.
- Medical Station – 75 XP: In the doorway area, immediately to your right.
- Research Data – 3,000 Credits: In the end room, three tanks sit on the left side. The Research Data is on the tank closest to the doorway you entered through.
Also on the left side is another log on the center tank with a Husk body on it, plus a holographic panel at a corner window further down the room.
After that, go through the doorway directly across from the corner window and step onto the Lift. To move it, shoot the box on the right-hand side and activate it. Once the lift reaches the other side, jump across the gap on the left, then enter the final combat room.
A View Prompt reveals Brutes at the far end—three total—with a Banshee for additional pressure. The guide warns this is a very difficult fight. One Brute is said to be close beyond burning rubble, so keep distance and wear them down. If you’re facing the hall as the game instructs when you look at the Brute, ammo sits in a dark area on the right, and a med kit is in the well-list area on the left.
When the room is cleared, you’ll find a console and a Husk pod that can be activated for loot.
- M-99 Saber: Noted as very easy to miss. Near the steps up to the back end of the room is a blue “Pod Status” hologram. Activate it and use the “Pod – manual override” prompt, which activates a pod on the opposite side of the room. Run to the other side, turn right, find the pod with a gun, activate it, and claim the weapon.
- Med Kit – 50 XP: On the upper area left side of the room, close to a door lit in white.
- Research Data – 4,500 Credits: At the very end of the room, a long desk sits in front of blue servers. One computer on that desk contains the Research Data.
M-99 Saber: The Long-Range Damage Option
The guide positions the M-99 Saber as an assault rifle with sniper-like traits: huge damage output and accuracy. The cost is fire rate, weight, and ammo capacity. That combination makes it less effective in close-quarters, but potentially devastating if you land shots at long distance.
To reach the final confrontation, open the door at the far end of the room to enter an elevator that takes you up to the tower.
The Lawson Confrontation: Dialogue Outcomes and the Miranda Check
The mission’s finale places you face-to-face with Henry Lawson, Miranda’s father, who has Oriana captive. Miranda is present if she survived Mass Effect 2, though the guide notes she’ll be in worse shape. Shepard attempts to negotiate Oriana’s life, which triggers a Dialogue Wheel. You can ask about “Your legacy?” as an Investigate option.
Negotiating with Henry
The guide lists how each dialogue path can resolve depending on whether Miranda is present and how other story events played out.
- Choosing the Charm-style option “I can be reasonable” or the Intimidate option “I will hunt you down” can convince Henry to release Oriana in exchange for his own life. How this plays out depends on whether Miranda is with you:
- If Miranda is present, she uses biotics to blast Henry through the window, killing him.
- If Miranda is not present, you’ll receive a Renegade Interrupt after Henry releases Oriana. Use it to shoot him dead, or ignore it and let him escape alive.
- Choosing “I just want Oriana” fails to convince Henry and grants a Renegade Interrupt. What happens next again depends on Miranda:
- If Miranda is present:
- Taking the Interrupt has Shepard shoot Oriana in the leg and separate her from Henry, after which Miranda blasts Henry through the window, killing him.
- Ignoring the Interrupt lets Miranda use biotics to separate Oriana from Henry. Henry then fatally shoots Miranda, but Miranda still blasts Henry through the window before dying, and he’s killed.
- If Miranda is NOT present:
- Ignoring the Interrupt means Oriana drives them through the cracked window behind them, killing both.
- Taking the Interrupt has Shepard shoot Oriana in the leg and separate her from Henry. After that, there’s a second Renegade Interrupt: take it to kill Henry, or ignore it and Henry escapes alive.
- If Miranda is present:
Miranda’s Survival: The Hidden Conditions
If Miranda is present and Henry doesn’t shoot her, the outcome depends on another check that looks back at your earlier choices. The guide stresses the stakes: you must clear at least two earlier actions, and failing any one results in Miranda’s death.
- First requirement: You must have completed one of two prior routes:
- Warn Miranda about Kai Leng during a conversation at the Spectre Office. This requires you to have read his dossier at your Private Terminal after “Priority: The Citadel 2.” Shepard naming Leng early in the conversation is described as the confirmation.
- Complete “Miranda: The Prodigal” in Mass Effect 2. If you used the Genesis 2 comic DLC, this requires you to have NOT chosen to Ignore Conflicts. If you started Mass Effect 3 fresh, warning Miranda about Kai Leng is described as your only option.
- Second requirement: You must attend the third meeting at the Citadel Apartment and you must allow Miranda access to Alliance resources. Denying her access—or skipping the meeting entirely—leads to her death.
- Romance-only extra check: If you’re in a Romance with Miranda, there’s a third requirement. Breaking up with Miranda during Mass Effect 3 results in her death. Breaking up with her in Mass Effect 2 doesn’t kill her.
If you satisfy every applicable condition, Miranda survives the confrontation—shown by her being able to walk and talk normally. If not, she collapses after Henry is dealt with and she dies from her injuries.
Back on the Normandy: Post-Mission Conversations and One Branch That Changes the War
After Priority: Horizon ends, the guide lists what you can do across the Normandy now that the mission is complete.
- CIC: Talk with Traynor, Joker, and EDI. This is tied to the Decoy Bonus Power and grants +2 Reputation.
- Crew Deck: Talk with your Virmire Survivor, Tali (in the bar lounge for +2 Reputation), Liara, and Garrus.
- Engineering: Visit Javik for an important scene connected to the Dark Channel power and +2 Reputation. The guide notes he’ll ask whether investigating the Memory Shard is worth it; for the best outcome in his character arc, pick “No, I wouldn’t.” Also talk with Allers.
- Shuttle Bay: Talk with Vega for comments about Horizon.
The guide also calls out a specific branching consequence tied to earlier decisions. If you did “Attican Traverse: Krogan Team,” encountered a Rachni Breeder (explicitly not the Rachni Queen from Noveria), and chose to spare her, then at this stage she and her offspring turn on the Alliance—knocking out 100 TMS from the Alliance Engineering Corps.
For players looking for more, it points to additional help pages: Legendary Edition changes, how-to guides, key choices and consequences, a romance guide, walkthroughs, and side missions. It also indicates the next objective is “Priority: Cerberus Headquarters.”
- Key Takeaways
- Priority: Horizon rewards you with major credits plus the M-12 Locust and M-99 Saber, alongside Rosenkov Materials Shoulder Guard and weapon mod items.
- Your loadout matters: the guide recommends sniper or scoped heavy pistol for Nemesis threats, plus a shotgun for Husks.
- The Henry Lawson negotiation can kill or spare characters depending on whether Miranda is present and which Renegade Interrupts you take.
- Miranda’s survival isn’t just about the final scene—it’s determined by earlier story checks, including Kai Leng warning, Alliance resource access, and (if applicable) romance break-up status.


