Mass Effect 3 Priority: The Citadel 2 Checklist—Loot, Fights, and Udina Steps
Mass Effect 3’s Priority: The Citadel 2 mission is a full checklist run: it walks you through every combat beat, points out collectible pickups, and spells out the dialogue and trust steps you’ll need to handle the Udina confrontation. If you’re trying to streamline your Citadel progress—or just avoid missing loot—this is the section you’ll want open.
Quick scan: what this mission covers
- Priority: The Citadel 2 mission overview, including combat routes, collectibles, and key dialogue decisions
- Mission Stats
- Travel to the Citadel
- Clear the Shuttle Bay
- Get to the Executor’s Office
- Intercept the Councillors
- Udina Confrontation
- Aftermath
- Back on the Normandy
Mission Stats
Video Guide
A video guide section is listed for this mission, but no details are included in the provided text.
Mission Rewards
- Experience: 1,320 XP
- Reputation: +15
- Mission Credits: 12,500 credits
- Found Credits: 25,000 credits
- Weapons:
- M-76 Revenant
- M-25 Hornet
- M-358 Talon
- Armor:
- Recon Hood
- Securitel Helmet
- Mods:
- Assault Rifle Piercing Mod
- Sniper Rifle Extended Barrel
- Pistol Piercing Mod
- Pistol High Caliber Barrel
- Sniper Rifle Piercing Mod
- War Assets:
- Alliance:
- Ashley Williams / Kaidan Alenko (25 TMS)
- Asari:
- Asari Science Team (90 TMS)
- Asari Second Fleet (90 TMS)
- Asari Sixth Fleet (90 TMS)
- Destiny Ascension (70 TMS)
- Salarian: (mutually exclusive depending on whether you saved or sacrificed the Council in Mass Effect 1)
- Salarian Third Fleet (125 TMS)
- STG Task Force (70 TMS)
- Alliance:
Mission Enemies
- Assault Trooper
- Guardian
- Centurian
- Combat Engineer
- Atlas
- Phantom
- Nemesis
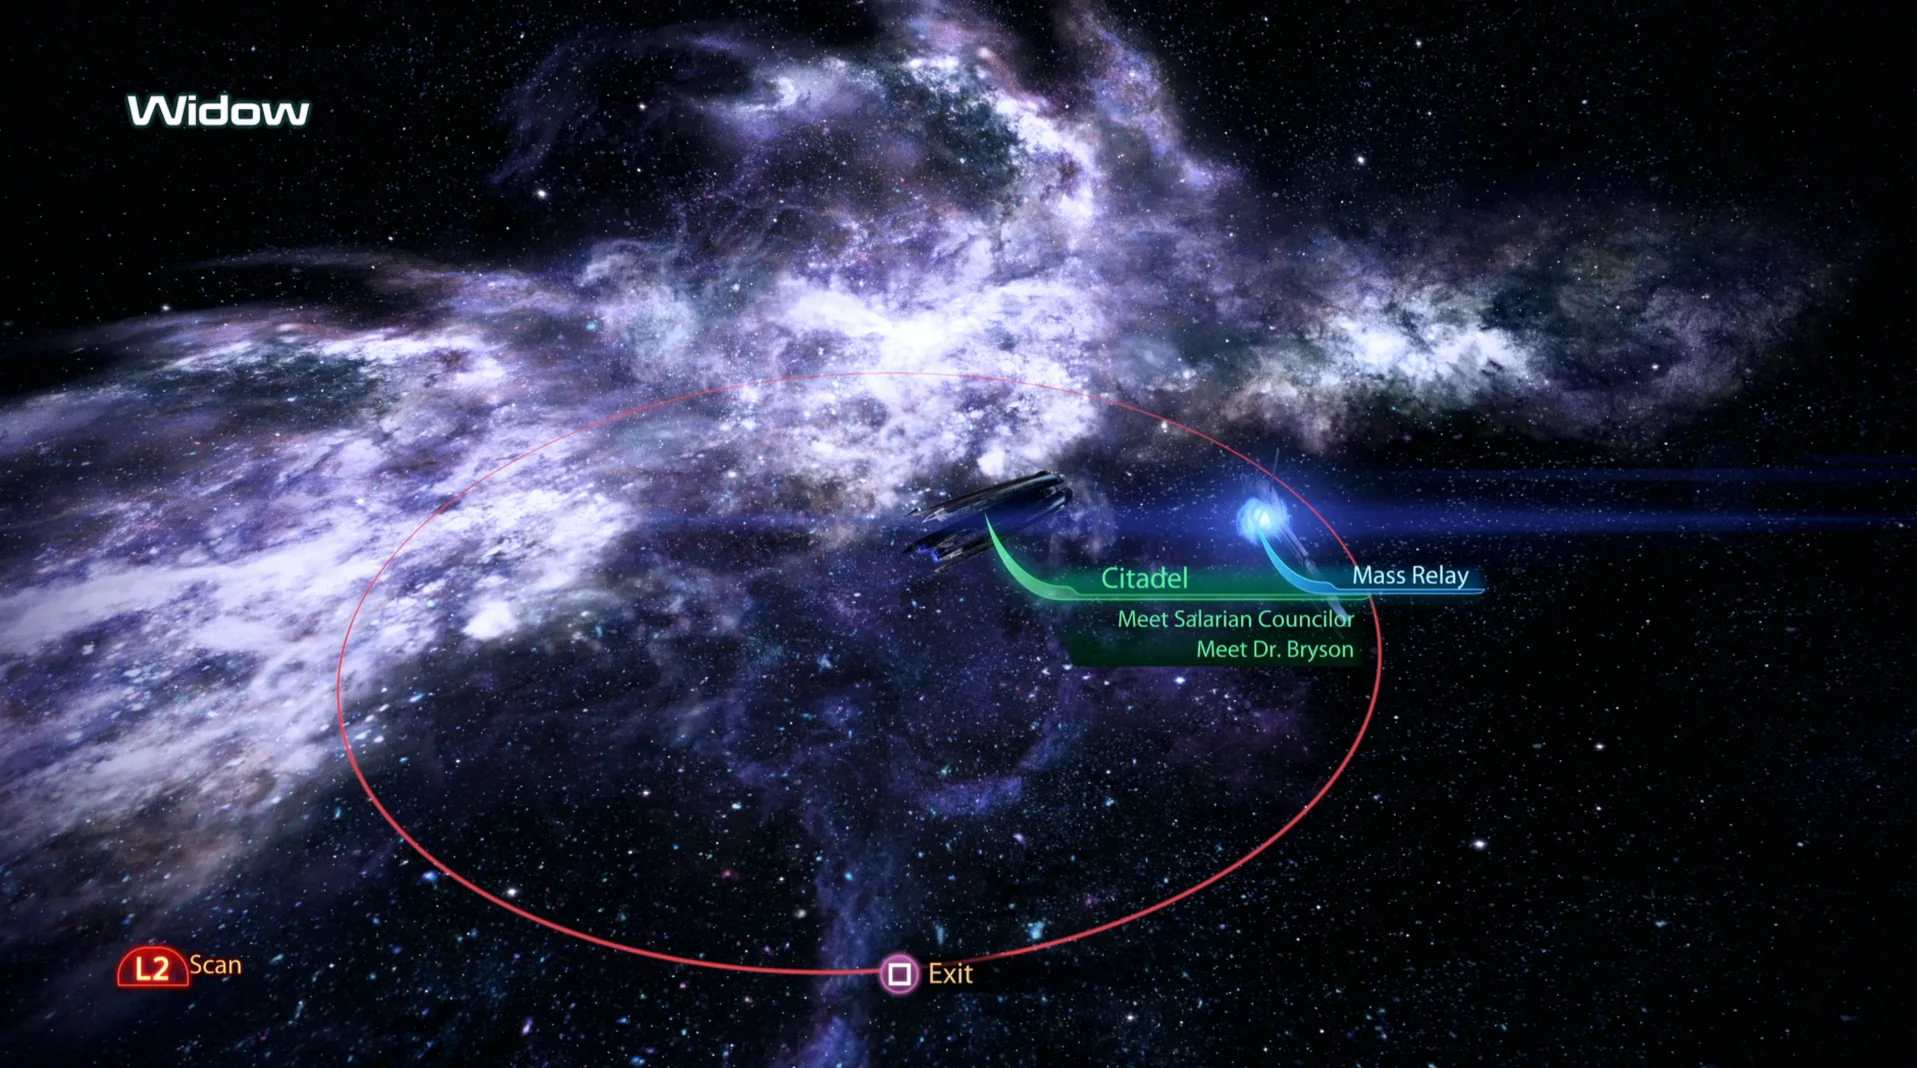
Travel to the Citadel
- Prerequisite: Complete “Priority: Tuchanka”
- Location: Serpent Nebula – Widow – Citadel
This mission is set on the Citadel. To get there, travel to the Serpent Nebula—this automatically brings you to the Widow system. From there, head into the Citadel itself to begin.
If you’re also tracking Search and Rescue updates, this is the point where the guide starts listing what’s newly available.
Recommended Loadout
- Squad Tactics:
- Liara’s Warp Ammo is useful for stripping Barriers, and her Singularity helps disable Guardians.
- Garrus’s Overload Power is strong for stripping Shields.
- Unique Dialogue:
- For the most distinctive dialogue, bring Javik and EDI.
- If you don’t have Javik, use Garrus and James for another unique pairing.
- If you don’t have Garrus, swap him for EDI.
- If your relationship with your Virmire Survivor is particularly poor, bringing either Garrus or Liara can unlock extra dialogue later.
- Shepard’s Loadout:
- Several areas in this mission are ideal for Sniper Rifles. You’ll also want one ready to hijack an Atlas.
- Piercing, Shredder, or High Velocity mods, plus the Venom Shotgun, are recommended for dealing with the mission’s Guardians.
- The Sniper Rifle Enhanced Scope helps you see through the smoke bombs used by Centurions and Atlas mechs.
- If you have the Citadel DLC and/or completed the Omega DLC, a Thermal Scope for your assault/sniper rifle helps you see through smoke bombs and even walls.
- Soldiers and Infiltrators should unlock Disruptor Ammo to strip Shields.
- Many cutscenes force Shepard and squadmates to use the M-3 Predator Heavy Pistol. Equipping it can make those scenes feel more natural, especially if you already planned a mod setup for it.
Clear the Shuttle Bay
The mission opens with Joker trying to enter the usual way at the Alliance Dock—except no one answers. He checks the emergency channel and links up with Thane (or receives an automated distress message from Commander Bailey). You learn that Cerberus has invaded the station and is trying to take control of it.
Shepard orders Joker to fly near C-Sec HQ so the team can land in the shuttle and begin a counter-attack. The shuttle bay is packed with Shields of different types, and at the far end of the room there are Shield Pylons that boost everyone’s defenses when the enemies first arrive. If you’re struggling with them, you can destroy those pylons.
Combat Engineers should be removed quickly as well. They can repair other threats and replace any destroyed Turrets.
- Medical Station – 25 XP. It’s tucked near the left-hand corner and can be easy to miss before speaking to Commander Bailey.
When you reach Commander Bailey—seated against the wall at the far side of the bay—you’ll get the situation. The Salarian Councillor who contacted you after Tuchanka was meeting with the C-Sec Executor to prepare for a major arrest, but both have gone missing. This is where you choose your approach:
- “I can launch a rescue” for +2 Paragon Points.
- “I don’t believe this” for +2 Renegade Points.
Get to the Executor’s Office
Push forward through two green panel doors and you’ll run into two unexpected Assault Troopers. Pick them off with a sniper approach, then turn left and take the short stairs upward.
Two Guardians with combat shields will rush in, while an Engineer keeps a Generator active at the top of the stairs. You can destroy that Generator from the bottom of the stairs from the right-hand side. Once you’re moving through, go toward the back half of the room so that four Assault Troopers spawn from the windows.
- Med Kit – 25 XP. Located at the top of the stairs on a counter to your right.
- Assault Rifle Piercing Mod – Found as described above: near a Terminal you can Examine, and close to a C-Sec Body you can also Examine.
Continue through a few more doors to reach a locker room where sprinklers are blasting water and soaking the space. Start by taking down the two Guardians before they turn around—use squad powers and sniping to secure them—then focus the Engineer, who drops down with a turret of their own.
- Recon Hood – In the left-hand lane of the room, on a table beneath a screen warning about pressurized Volus suits.
- M-76 Revenant – Through a nearby bathroom door, next to a sink.
- Locker – 6,250 Credits. Part of a trio of lockers to the left of the sinks where the Revenant was found; near another C-Sec Corpse you can Examine.
- Medical Station – 75 XP. To the left of the exit doorway in the drenched room.
M-76 Revenant
The M-76 Revenant is described as a suppressive-fire assault rifle with one of the biggest magazines in the game. The trade-off is heavy weight and notoriously poor accuracy, but mods can correct much of that and make it far more usable.
Leave the area through the exit doorway into a hallway with two shattered windows. Through them you can spot a Cerberus Engineer messing with the elevator controls. Shoot them, then fire the lock on the breaker box to Activate the Elevator Door. There’s also a Weapon Bench here if you don’t like the Revenant you just picked up or want to apply additional mods.
- Sniper Rifle Extended Barrel – A Weapon Modification on a shelf to the left of the Elevator Door’s breaker box, which was guarded by a Combat Engineer.
Take the elevator into another soaked room full of bodies from fallen C-Sec officers. This room is split into three lanes: a central corridor, a left corridor, and two right corridors. The far end of the middle corridor is blocked by a malfunctioning door, but you can route around it using the back-right corridor. Before moving on, scan for loot first.
- Pistol Piercing Mod – In the first right-hand corridor, sitting in the middle section of tables along the right wall. You can also find a Terminal here with logs to read.
- M-25 Hornet – After leaving the other side of the first right-hand corridor, you’ll find this submachine gun on a C-Sec officer’s body in the central walkway.
- Door Control – Not a collectible, but it’s required to access a path. From the Hornet’s position, face the malfunctioning door nearby, then go right through the doorway into the second right-hand corridor that bypasses it. Directly ahead is a Door Control. Using it won’t fix the stuck door; instead, it opens a different door somewhere else in the area.
- Pistol High Caliber Barrel – Return to the Hornet location, face the malfunctioning door, then turn left to locate a side-room doorway. Check the shelves inside to find this mod.
- Securitel Helmet – See above.
- M-358 Talon – Go back to the beginning of this area and face toward the malfunctioning door. Turn left to find a door you can now open after using the Door Control. In that side room, check under the shelving unit to locate this heavy pistol. There’s also a Datapad on a nearby desk with lore.
- Account Details – 6,250 Credits. Found all the way back in the corridor where the Door Control was, on a laptop to the left of the shelving unit on the right-hand wall.
M-25 Hornet
The M-25 Hornet is a burst-fire machine gun. With a single trigger pull, it fires three rapid shots, while holding the trigger simulates faster automatic fire. Although the recoil is strong when aiming down sights, its accuracy is very good and the damage is described as extremely high—making it one of the top weapons in the game.
M-358 Talon
The M-358 Talon is a pistol that behaves like a shotgun. It shares the same strengths and weaknesses as shotguns, while also offering more ammunition than most shotgun-style weapons. Aiming down sights, or better yet using a scope, tightens the shot spread significantly, and headshots can kill most enemies on practically any difficulty.
Go through the back-right corridor that bypasses the malfunctioning door. Then ambush the two Assault Troopers who just executed a C-Sec officer. When you reach the next area, ignore collectibles for the moment and head to the far side of the room where Cerberus forces will drop in. Since there isn’t much cover, keep distance between you and the attackers.
After all enemies are down, return to the entry point and face forward to resume looking for loot.
- Medical Station – 75 XP. From the starting point, go right through the door into a kitchen area; the Medical Station is directly in front of you.
- Credits – 6,250 Credits. From the Medical Station, turn right and head to the far end of the kitchen to find a Datapad containing these Credits.
- Medical Station – 75 XP. Return to the main space and continue toward the far end. A doorway marked “Executor” is overhead, and the Medical Station sits to the right.
- Sniper Rifle Piercing Mod – From the Medical Station, move right along the desks. The mod is in the corner beneath a large holographic C-Sec sign.
With the collectibles cleared, proceed through the doorway and climb the stairs to start a chain of cutscenes. Shepard discovers the Salarian Councillor beneath a cloaking device, then an assassin—Kai Leng—moves in. The attack can be stopped by Thane Krios, or by Major Kirrahe if Thane died in Mass Effect 2. If Kirrahe is also dead, Leng succeeds and kills the Salarian Councillor.
Either way, Leng escapes. Shepard pursues, but crashes along the side of the Presidium and has to catch up to the Council on foot.
Intercept the Councillors
As you push forward, you’ll face two new enemy groups: the Nemesis and the Phantom. Phantoms should be treated as a priority because they rush you, use cloaking to evade detection, and then deliver serious melee damage with their swords. They’re also protected by powerful biotic Barriers rather than Shield Armor, so fewer options exist to strip their defenses—remove them early to prevent problems later.
Nemesis enemies operate as long-range snipers. If you played the From Ashes DLC, you may have already run into two of them. They can tag you in under a second with a blast that reduces shields, so whenever you spot one, stay in cover. The recommended method is to aim your own Sniper Rifle sights at their position—when you’re scoped in, the large red aiming glare makes them easier to identify quickly.
Jump across to the next section of the Citadel, where a few parked cars create tight lanes for aggressive sniping. Bring out your shotgun here and keep moving. You should be able to clear Nemeses and Phantoms in this area before pushing on.
You’ll reach a dead end behind a locked door. Follow the waypoint by hopping over the wall, then crawl through a narrow passage and jump the gap to keep progressing along the perimeter.
- Credits – 6,250 Credits. After crossing the smoky gap, turn left, climb up, then turn left again to complete a U-turn. You’ll see boxes ahead—one includes a Datapad holding these Credits to access. This pickup is identified as the final item in the level.
In the next area, you’ll fight an Atlas mech. To hijack it, equip your Sniper Rifle and shoot through the glass at the pilot without destroying the mech. Once its Shields are fully depleted and its Armor is reduced to about half, the glass breaks, and you can shoot the occupant. Then use the mech to eliminate the remaining enemies.
After the Atlas is down, a new mission marker points you toward an elevator up a set of stairs. Move through and you’ll be headed toward the Council. In the elevator shaft, the vehicle you’re pursuing will appear beside you—shoot the power conduits on its underside so it drops below. Equip a shotgun and take cover: Phantoms arrive soon, and the close-quarters environment makes them especially dangerous.
If you move fast, you can shoot their power conduits too, dropping their elevator quickly and efficiently and removing them before they close in.
You’ll need to repeat the same process again. Shoot the devices beneath another elevator to keep Cerberus from landing on your platform (this also grants bonus XP). After that, when the moment comes, leap to the next elevator to keep up with the Council.
Udina Confrontation
You’ve caught up with the Council, but because of Shepard’s arrival and the blockade at the exit, Udina accuses you of working with Cerberus. Depending on how your Virmire Survivor feels, they may be willing to believe it. This confrontation is the payoff of everything you did to earn their trust: you have to convince them to stand down so you don’t have to shoot them just to reach Udina.
The guide notes that the full logic for saving your Virmire Survivor is detailed on a separate page titled “How to Save the Virmire Survivor,” but the confrontation itself is broken into five stages.
Stage 1 – Morality Interrupt
At the start, you’ll see a Dialogue Wheel with options in the upper-left and lower-left positions. The exact wording changes based on how much your Virmire Survivor trusts you. Here’s what can happen:
- Choose the upper-right option, then pull the Paragon Interrupt to gain more trust with the Virmire Survivor and earn +5 Paragon Points.
- Choose the lower-right option, then pull the Renegade Interrupt to earn +5 Renegade Points.
- If you miss either interrupt, you lose the Morality points and your Virmire Survivor will judge how you spoke to them on Mars.
If you successfully used an interrupt, you also receive +15 Reputation. Regardless of the path, you automatically proceed to Stage 2.
Stage 2 – Trust Check
Stage 2 is a Trust Check that totals your past actions involving the Council and your Virmire Survivor. Your score can land anywhere between +8 and -3 points. The guide lists the specific actions that add or subtract points across the trilogy:
- Locking in a romance with them in Mass Effect 1: +2 points
- Mass Effect 1 Council decision:
- Saved the Council: +1 point
- Sacrificed the Council: -1 point
- Both Thane and Kirrahe dead, resulting in the Salarian Councillor dying: -2 points
- ROMANCE ONLY: cheating on them in Mass Effect 2 with anyone except Kelly: -1 point
- Using Paragon responses during the two conversations in Priority: Mars: +1 point
- Visiting them after they first wake up in Huerta Memorial Hospital: +2 points
- If you cheated on them and don’t apologize: -1 point
- Visiting them at Huerta Memorial Hospital while they’re on their feet: +1 point
- Pulling the Paragon Interrupt during Stage 1 of this confrontation: +1 point
Your final point total leads to one of three outcomes:
- 4 points or more: your Virmire Survivor trusts you automatically and you skip to Stage 5.
- 0 to 3 points: you move to Stage 3.
- -1 points or less: your Virmire Survivor refuses to trust you automatically, sending you to Stage 4.
Stage 3 – Reputation Check
If your Virmire Survivor still isn’t convinced, Udina tries to override the lock, forcing a Reputation Check. You’ll get a Dialogue Wheel with three options: Charm and Intimidate on the left, plus a standard white option on the right. Charm/Intimidate options become available after filling about three-fifths of the Reputation bar.
- Charm option: convince your Virmire Survivor for +15 Paragon Points, then move to Stage 5.
- Intimidate option: convince your Virmire Survivor for +15 Renegade Points, then move to Stage 5.
- Right-hand option (forced or chosen): you fail to convince them and move to Stage 4.
Stage 4 – Shoot the Survivor
If you reach Stage 4, you couldn’t convince your Virmire Survivor—and they will die regardless of your actions. You’ll be offered a Renegade Interrupt:
- Pull it: Shepard shoots your Virmire Survivor dead.
- Ignore it: one of your squadmates will shoot them instead.
Either way, you advance to Stage 5.
Stage 5 – Shoot Udina
Stage 5 is the final part of the confrontation. At this point, the Asari Councillor tries to stop Udina from overriding the door lock, but he shoves her down and draws a gun—then you receive one more Renegade Interrupt.
- Pull it: you personally shoot Udina dead and gain +5 Renegade Points.
- Ignore it: either your Virmire Survivor, or (if your Survivor is dead) a squadmate, shoots Udina dead instead.
After the confrontation, you get a brief exchange with your Virmire Survivor if you were forced to shoot them. Their tone depends on how much they trusted you. Commander Bailey then pushes through the door and announces Cerberus has started retreating now that C-Sec is capable of retaking the station.
Then you reconvene with the Council:
- Upper-right option: +2 Paragon Points
- “About time”: +2 Renegade Points
Aftermath
Once the confrontation is over, you meet Commander Bailey in his Presidium Embassy office. If Thane was present to fight Kai Leng, you can respond with either:
- “Thanks, Commander” for +2 Paragon Points
- “There will be time” for +5 Renegade Points
You can also talk to Commander Bailey again to learn how the Citadel is faring after the Cerberus coup. When you head through the doors back to the Normandy, your Virmire Survivor meets you if they survived the Udina confrontation.
As the scene wraps, they mention that Admiral Hackett offered them a spot on his team, but they’d rather stay aboard the Normandy.
- If you accept: they become the newest Normandy occupant and can join as a squadmate.
- If you refuse: they become a War Asset worth 25 TMS.
Either choice grants +2 Reputation just for having the conversation.
Back on the Normandy
Next, Shepard reunites with Admiral Hackett and Admiral Anderson to discuss the coup. Anderson reveals he had a previous run-in with Kai Leng.
- During this discussion, you can reply with either:
- “Thanks for the Intel” for +2 Paragon Points
- “He’ll die like all the rest” for +2 Renegade Points
- When the conversation ends, you can pick:
- “I won’t fail you” for +2 Paragon Points
- “Nobody can stand in our way” for +2 Renegade Points
As Shepard leaves, Liara approaches with a side mission from Asari high command: “Kallini: Ardat-Yakshi Monastary.” The text also notes that if you’ve been saving for the full Store Discount, this side mission provides the rest of it—while the other half is obtainable via the From Ashes DLC.
After that, you’ll want to do another full sweep of the Normandy for post-coup conversations and new email.
- CIC – Speak to Traynor to pick up “Arrae: Ex-Cerberus Scientists,” plus get Joker and EDI for +2 Reputation and the Defense Matrix Bonus Power. When you return to the CIC, you can talk to Anderson again via the Vid Comm room for +2 Reputation.
- Private Terminal – New emails arrive, including “Durlesh Mole,” which unlocks “Citadel: Volus Ambassador.” The guide recommends reading “Kai Leng’s Dossier” to help prevent tragic events later in the game.
- If you have the Citadel DLC, you’ll also get an email titled “Priority: Citadel Shore Leave.” The advice is to save it until you finish Miranda’s storyline or until you unlock “Priority: Thessia” at the earliest.
- Crew Deck – Talk to Garrus (+2 Reputation), Liara, and your doctor to unlock “Citadel: Medical Supplies.” If Kaidan is aboard, talk to him in the Starboard Observation lounge now to unlock the Reave Bonus Power. If Liara or Garrus shot your Virmire Survivor during the Udina confrontation, they’ll discuss it here.
- Engineering – Talk to Javik and Allers, and also to Gabby and Ken if they previously mentioned the KEI-9 dog.
- Cargo Bay – Talk to Cortez and Vega.
- Captain’s Cabin – If you read your email, you can invite Traynor (+5 Reputation), Allers, and Vega (+2 Reputation). Joining Traynor in the shower initiates a romance. The responses you choose in Allers’ interview affect the EMS of a War Asset either positively or negatively.
- You’ll also receive the email titled “Priority: Citadel Shore Leave” if you own the Citadel DLC. The guide again recommends holding it until you wrap up Miranda’s storyline or unlock “Priority: Thessia” as soon as possible.
Want more Mass Effect 3 assistance? The page lists additional help sections, including “Legendary Edition Changes,” “How-To Guides,” “Key Choices and Consequences,” “Romance Guide,” “Walkthrough,” and “Side Missions.”
Up Next: Citadel Excursion 3
Top Guide Sections
- Legendary Edition Changes
- Game Basics
- Tips and Tricks
- How-To Guides


