Mass Effect 3 Priority Sur’Kesh Guide: Paragon/Renegade Choices & Loot

Priority: Sur’Kesh in Mass Effect 3 is one of those missions that mixes tense combat with a lot of dialogue-driven outcomes. This walkthrough-style checklist covers what to do in every segment, where to grab key collectibles, and which conversations can swing Paragon or Renegade totals.
Quick facts
- Mission Experience: 3,000 XP
- Reputation: +15
- Mission Credits: 12,500 credits (also listed as Found Credits: 12,500)
- Rewards include weapons: Scorpion and M-13 Raptor
- Armor rewards include: Armax Arsenal Greaves and Sentry Interface
- Mod rewards include: Assault Rifle Extended Barrel, Shotgun Blade Attachment, Shotgun Spare Ammo, Pistol High Caliber Barrel, Pistol Scope
- Mission enemies: Assault Trooper, Guardian, Centurian, Combat Engineer, Turret, Atlas Mech
Checklists
This guide page focuses entirely on the Priority: Sur’Kesh Mission. It’s built to help you get through every fight, track down collectibles, and choose dialogue lines that match your preferred morality approach.
If you’re looking for something specific, the page breaks the task into jumps for Mission Stats, travel steps, the Krogan airdrop, meeting Padok Wiks, the defense section with three quarantine checkpoints, and finally the return to the Normandy with several on-ship conversations and side mission triggers.
Mission Stats
Video Guide
A video guide section is listed for this mission, but no further details are provided in the source text.
Mission Rewards
- Mission Experience: 3,000 XP
- Reputation: +15
- Mission Credits: 12,500 credits
- Found Credits: 12,500 credits
- Weapons:
- Scorpion
- M-13 Raptor
- Armor:
- Armax Arsenal Greaves
- Sentry Interface
- Mods:
- Assault Rifle Extended Barrel
- Shotgun Blade Attachment
- Shotgun Spare Ammo
- Pistol High Caliber Barrel
- Pistol Scope
Mission Enemies
- Assault Trooper
- Guardian
- Centurian
- Combat Engineer
- Turret
- Atlas Mech
Travel to Pranas
- Prerequisite: Complete “Priority: Palaven”
- Location: Annos Basin – Pranas – Diplomatic Ships
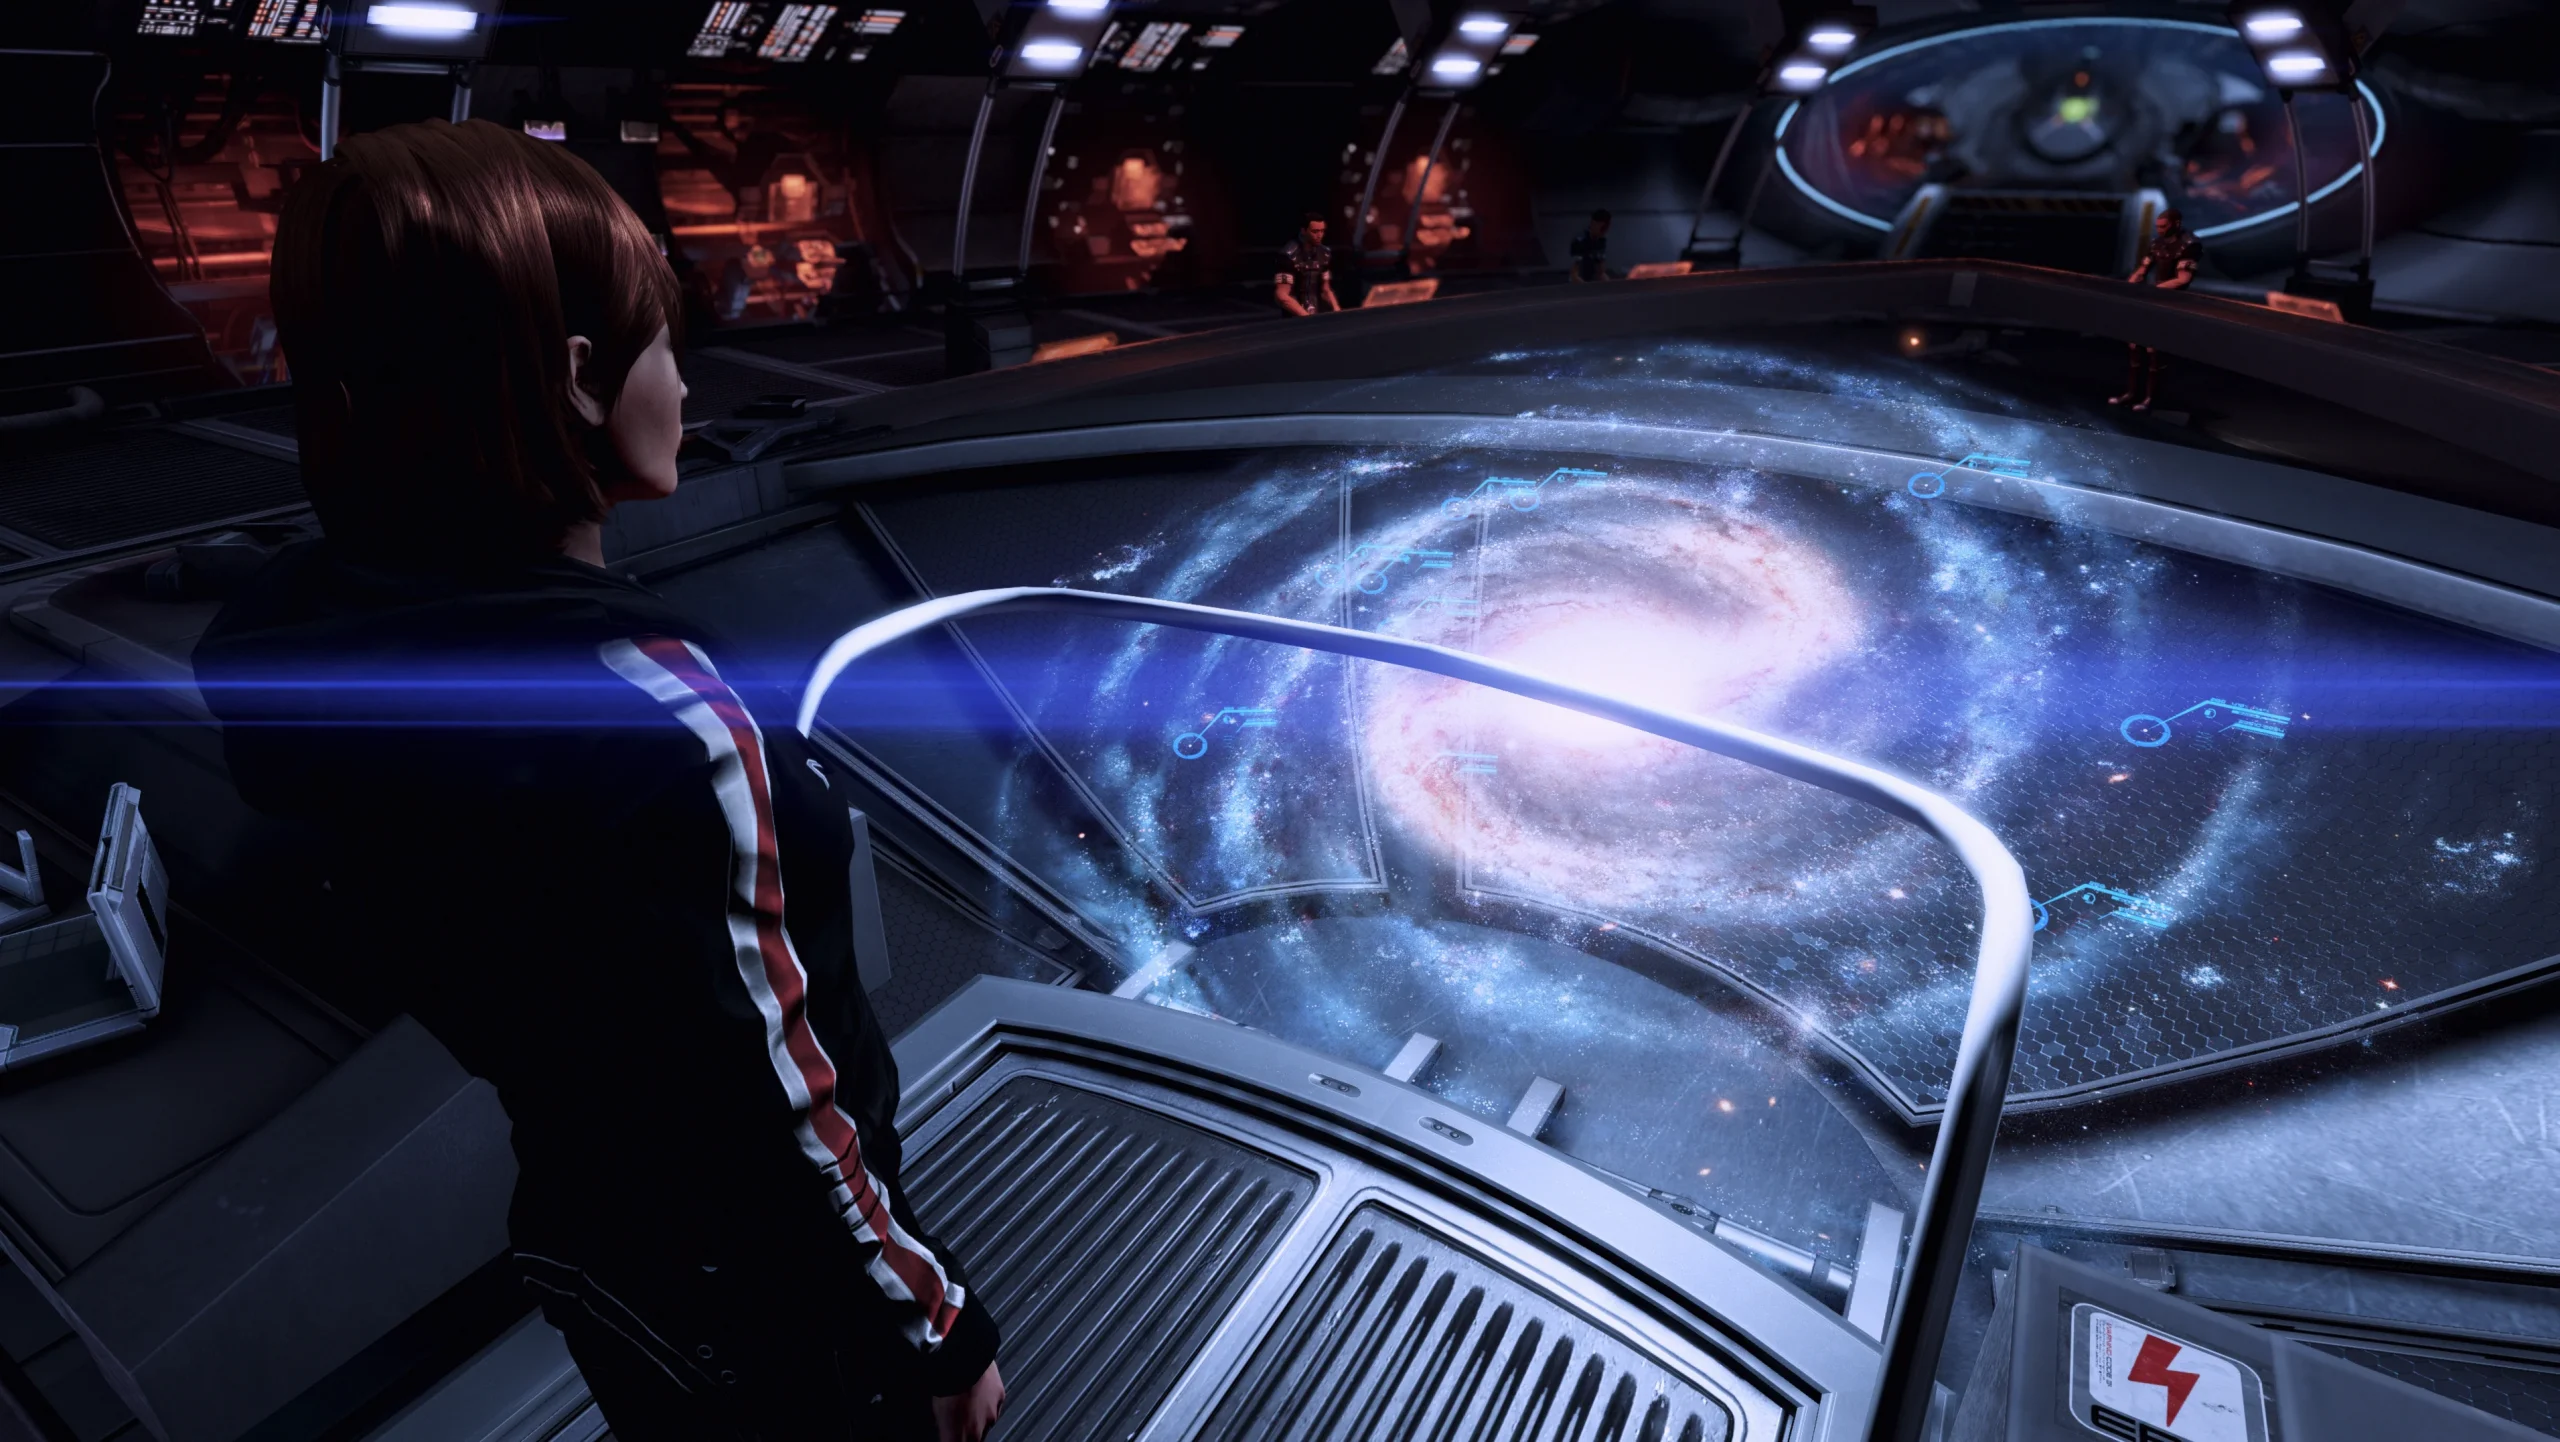
To start Priority: Sur’Kesh, go to Annos Basin and leave the Mass Relay while traveling from the Pranas system to the small diplomatic ship fleet floating just west of the sun. The diplomats decide that the Normandy can serve as neutral territory, and Shepard arrives in formal dress blues.
The argument takes place in the Briefing Room just outside the War Room. Primarch Victus and the Salarian Dalatrass clash over the Krogan leader’s demands, and who that Krogan leader is depends on your earlier decisions in Mass Effect 1—specifically, whether you convinced Wrex to stand down on Virmire or whether Wrex was killed, in which case it becomes Wreav.
Dialogue options that swing morality
The Krogan leader wants a cure for the Genophage in exchange for fighting alongside the Turians, and the Dalatrass calls the request absurd. This moment also gives you a chance to earn morality points by responding to the Dalatrass with the right line.
- Pick “What’s your concern?” to unlock a morality choice opportunity:
- Choose “Your people miscalculated” for +2 Paragon Points.
- Choose “You had to do it” for +2 Renegade Points.
You can also select these additional responses as the conversation unfolds:
- “The krogan deserve a cure” and “You need allies” for +4 Paragon Points total.
- “We don’t have a choice” and “I don’t care. I need this” for +4 Renegade Points total.
Next, the Krogan leader presents evidence that the Salarians have found surviving female Krogan from Maelon’s experiments in Mass Effect 2. The idea that a cure is closer than anyone assumed sends the group into motion, and everyone—except the Dalatrass—prepares to extract them.
- As the Dalatrass begins warning Shepard, you can use a Renegade Interrupt to hit back with words for +5 Renegade Points.
Recommended loadout
- Squad Tactics:
- Expect enemies that bring both Shields and Armor. Garrus is recommended because Overload and Armor-Piercing Ammo help you break through mixed defenses.
- James‘ Incendiary Ammo works similarly by making enemies panic, which can open them up to follow-up damage.
- Unique Dialogue:
- If Wrex is the Krogan leader, bringing Garrus can pay off with additional dialogue moments.
- Liara can speak with Wrex too, and she has more lines if you also completed Lair of the Shadow Broker in Mass Effect 2.
- Javik adds some comedy if you have him, and he can stand in for Liara if you didn’t do Lair of the Shadow Broker.
- Shepard’s Loadout:
- This section includes shielded enemies, so mod a weapon with a Piercing, Shredder or High Velocity mod to keep your shots effective. The Venom Shotgun can also do this.
- The Sniper Rifle Enhanced Scope helps you spot enemies through the smoke bombs thrown by Centurions and Atlas mechs.
- If you own the Citadel DLC, a Thermal Scope for an assault/sniper rifle improves visibility through both smoke bombs and walls.
Krogan Airdrop
As you approach the facility, you’ll get a conversation with your Krogan leader. They don’t trust the Salarians, and you can respond with morality-leaning options.
- Choose “Be friendly” for +2 Paragon Points.
- Select the lower-right option for +2 Renegade Points (the exact wording varies based on which Krogan leader you have).
If you destroyed Maelon’s data in Mass Effect 2, the Krogan leader will bring it up here, and your answer matters for rebuilding trust. You can pick either:
- “I was wrong to destroy data” for +2 Paragon Points.
- “I don’t regret what I did” for +2 Renegade Points.
Unfortunately, the STG Base still hasn’t been authorized to let you land. The Krogan leader jumps out onto the landing pad, placing themselves under Salarians’ laser sights. After Shepard follows, Padok Wiks arrives in a panic and tries to calm the Urdnot down.
You’ll then get multiple responses tied to Paragon or Renegade totals:
- “We can work this out”, “Stay here, Wrex / Wreav” and “And female krogan” for +6 Paragon Points total.
- “You should apologize”, “Or else?” and “Good place for a cover-up” for +6 Renegade Points total.
Meet with Padok Wiks
Next, you’re tasked with speaking to Padok Wiks to enter the facility. Before you move on, though, there’s quite a bit to do on the balcony and around the area.
- You can talk to Wrex under guard to catch up on different topics. He also has four ambient exchanges with his Salarian guards, but you’ll need to be far enough away to trigger the next one.
- A Salarian military presence will also be here, and who it is depends on your Mass Effect 1 choices:
- If Major Kirrahe survived Virmire, he appears. Talking to him earns his War Asset support regardless of the Dalatrass’ behavior—an easy win.
- If Kirrahe died, Lieutenant Tolan takes his place. He’s colder toward Shepard and doesn’t offer the same support.
- Two unnamed Salarians at a control panel discuss the wider war in two separate exchanges.
- Two unnamed Salarians to the left of the elevator discuss suspicious activity inside the base, again across two exchanges.
- Two unnamed Salarians up the stairs to the right of the elevator have their own discussion, as does a nearby armed guard.
- Near Padok Wiks, a Vista can be observed from the railing.
- Walk by Padok Wiks to trigger two exchanges between him and another Salarian.
To reach the elevator and get inside to meet the Female Krogan, you must first speak with Padok Wiks nearby. After you do, you can enter the facility—but the game also detects activity at the base perimeter, adding urgency to what’s next.
Inside, you meet the STG mole. If Mordin Solus survived Mass Effect 2, it’s Mordin; if Mordin is dead, Padok Wiks is the one acting as the mole. Throughout the conversation, you’ll have multiple windows to earn Morality Points. Your total options are as follows:
- Paragon-leaning set: “You did your best”, “To save the krogan” OR “You’re the krogan’s last hope”, “[Reassure female krogan]” for +6 Paragon Points total.
- Renegade-leaning set: “But I need the cure!” OR “Only the cure matters”, “You’re a bargaining chip”, “Mordin/Padok, she’s valuable” for +6 Renegade Points total.
After this, the mission shifts into action: you must extract the Female Krogan from the base while defending her and your STG doctor (either Mordin or Padok) from Cerberus.
Defend the Female Krogan
Quarantine Checkpoint 1
When you regain full control of Shepard, face away from the containment cells so you can start scanning the area for collectibles. Your first priorities are grabbing the listed mods and logs, then preparing for the Cerberus push.
- Assault Rifle Extended Barrel – To your right, climb the short steps to find this mod on a shelving unit.
- Research Logs – Two logs exist in the lab. One sits left of the Extended Barrel above, and the other is to the right of where you first regain control if you backtrack to that spot.
After you use the elevator, a bomb detonates inside the cab. Move across the room, take the other door, climb the ladder, and make a U-turn to the right.
This begins your first Cerberus fight in the checkpoint sequence. Assault Troopers are generally easy targets, especially with lots of cover—you can pick them off from a safe distance. Centurions are more annoying because of their smokescreens.
- Shotgun Blade Attachment – Grab this weapon mod on a shelf along the right wall, near where you first arrived.
- Research Log – Located further along the right side of the first Cerberus area; it discusses the Yahg as a Salarian bio weapon.
- Medical Station – 75 XP, on the left wall next to the research log mentioned above.
- Datapad – 2,500 credits, on a small corner couch to the left of the exit door. It’s easy to miss.
After passing through the next green-panel door, a Yahg bursts from a wall and knocks out two Assault Troopers. Fire now blocks your route, so jump over the short wall on your left, then turn right and leap across the gap to keep moving.
- Shotgun Spare Ammo – Immediately in front of you after jumping across the gap.
In the next area, the pod carrying the Female Krogan stops, and Cerberus opens fire. You’ll see a Pod Integrity meter updating in real time; if it falls below three-quarters, the Female Krogan begins coughing inside the pod.
To prevent the Cerberus team from wrecking the pod, sprint to overwhelm them. The heavy cover around you helps them hide, so treat it like a controlled push: clear them out, then use the Quarantine Checkpoint 1 panel to move the Female Krogan upward.
- Datapad – 2,500 credits, across from the Quarantine Checkpoint 1 panel on a thin walkway overlooking three containers holding Varren.
Quarantine Checkpoint 2
Go through the gap where the pod was and onto the planter. Use the View Prompt to watch the Krogan leader pass in the Kodiak, then press forward to the rear of the next area where a dropship arrives with additional Cerberus reinforcements.
This zone adds another Centurian plus a large wave of Troopers. You’ll also find a weapon mod before the next major engagement.
- Pistol High Caliber Barrel – On the left-side shelves as you cross the outdoor section just after Checkpoint 1, near two lockers.
At the top of the stairs, you’ll meet Combat Engineers and their deployable Turrets. Overload and other powers can reduce blue shields, but fire-based options like Incinerate work best against yellow armor bars.
Be careful: if you don’t destroy a Turret, an Engineer can repair it—so target those systems. Turret fire hits hard, so stay far away and fight from behind cover.
- Spare Parts – 3,750 credits, a pile of boxes along the inside wall directly across from where Kirrahe or an STG soldier is hiding among the planters.
The next door requires you to stand in front while a scanner runs for several seconds. Don’t step out of the beam or the scan will reset and the door won’t open. Once the door unlocks, move through a blue corridor to the next area.
- Medical Station – 75 XP, on the left-hand wall just beyond the scanning door.
In the corridor’s other side, the battlefield has two levels: the ground floor and an upper mezzanine-like platform. Tell your Squad Members to hold on the first floor while you climb to the top. When the area is cleared, you may be able to drop behind a pair of Guardians that show up holding shields.
Before you leave, return to the ground floor for a final loot sweep in this zone.
- Armax Arsenal Greaves – Found in the destroyed two-floor lab, with the first Guardians; it’s on a bottom-floor lab table.
- Sentry Interface – Behind the ladder in the back of the same area.
- Spare Parts – 3,750 credits, on a cube container to the left of the Sentry Interface. You need to get fairly close to salvage it.
Once all enemies are cleared, head to the upper level. Bypass the orange hologram door to reach Quarantine Checkpoint 2. As expected, Cerberus is swarming this area, and the pod’s integrity hasn’t been restored since the last checkpoint—so you need to stop the damage early.
After you wipe the wave, your STG doctor explains Cerberus has cut the power and it’s on you to restore it. Move to the far end of the balcony, where red lighting marks the area, and eliminate the Cerberus Assault Troopers that arrive. Reactivate the Power Terminal, then go back to Quarantine Checkpoint 2 and defend it a second time against reinforcements.
When that’s done, use Quarantine Checkpoint 2 to send the Female Krogan onward. Before you continue, make sure you fully loot the area, including two weapons.
- Pistol Scope – On a desk in a red-lit office area near Quarantine Checkpoint 2.
- Research Terminal – A laptop on the same table as the Pistol Scope.
- Medical Station – 75 XP, on a wall close to the Power Terminal you activated.
- Scorpion – On the railing right beside the activated Power Terminal. It’s small, so don’t overlook it.
- M-13 Raptor – Go to the exit door next to the entry point, then check the couch by the railing to find the rifle.
Scorpion
The Scorpion launches sticky grenades rather than standard bullets. They detonate roughly three seconds after contact, and while ammo is limited, the blast radius is strong. Shots don’t arc downward, and firing into the ground turns them into proximity-style mines.
Squadmates benefit from the Scorpion as well since it rewards their accuracy and doesn’t run out of ammunition for them during the fight.
M-13 Raptor
The M-13 Raptor is a semi-automatic sniper rifle with low damage per shot. The tradeoff is fire rate: you can shoot faster by repeatedly tapping the right trigger. It also has a higher magazine capacity than other sniper rifles, which reduces how punishing missed shots feel.
Quarantine Checkpoint 3
From the checkpoint, a door adjacent to the entry route takes you forward. Cross the gap, climb the ladder, and you’ll end up back on the rooftop where the level originally began.
Two Centurians rush you here while the rest of the enemy forces keep firing at the Female Krogan. Prioritize Centurians using the safety of your elevated cover. Your Pod Integrity should last until you reach the smaller enemies around the door—use everything you’ve got, but save grenades if you still have them.
The reason is the Atlas mech. When it drops in, it becomes the biggest threat in the entire checkpoint chain. A direct missile hit can wipe out your shields completely, and while it has a weak point—the yellow windshield centered on its body—this fight doesn’t allow the later-game hijack option.
Stay behind cover and only peek when it’s safe. Use powers to strip its shields (blue) first, then chip away at the armor (yellow). Grenades are useful, and ammo or abilities like Overload and Disruptor Ammo help break the shield layer.
Once you’ve stripped it down to armor, switch to tools like Incinerate, Warp, Warp Ammo, Armor-Piercing Rounds, and Incendiary Rounds to cut through the tougher plating. After the yellow meter is drained, the pod can be shattered, letting you snipe the occupant if you choose. With the mech down, the mission continues until the remaining enemies are eliminated—mostly Assault Troopers—and then it ends once they’re all cleared.
Back on the Normandy
After the Female Krogan demonstrates she can handle herself, you’ll speak with Admiral Hackett in the Vid Comm room. The Prothean Device is now officially named the Crucible, and a hologram of its construction appears in the War Room’s hologram terminal, showing how much of the build has been completed.
Back in the Briefing Room, Victus argues with your Krogan leader over the meaning of the deal. The Krogan insists his people must be cured before any of them step into a Turian battle. Mordin then explains how quickly the cure can be made, and you can respond with:
- “Do what you can, Mordin” for +2 Paragon Points.
- “This better be worth it” for +2 Renegade Points.
Afterward, both the Krogan leader and Primarch Victus want to speak with you about sensitive matters, and Shepard brushes it off with visible frustration at how childish the situation is.
Go to the War Room and talk with Primarch Victus to learn that a ship carrying his son was shot down over Tuchanka and needs help. This unlocks the “Tuchanka: Turian Platoon” Side Mission. You’ll also receive two Investigate choices: “Turian ship on Tuchanka” and “After the genophage cure”, plus an extra option that becomes available when you pick “Palaven situation”.
Next, talk to the Krogan leader for details on the “Attican Traverse: Krogan Team” Side Mission, which should interest anyone who played the first Mass Effect. Be sure to also explore the Investigate options offered by your Krogan leader.
Then start your rounds aboard the Normandy:
- CIC – Stop by Traynor to get the “N7: Cerberus Attack” Side Mission. Talk to her, then speak with Joker and EDI (+2 Reputation). Finally, check your Private Terminal for a message from your Virmire Survivor.
- Crew Deck – In the Crew Quarters, talk to Engineer Adams and Dr. Chakwas. After that, visit Liara and Garrus in their usual spots.
In the Medical Lab, you can trigger a cutscene with your STG doctor. Choose one of the following replies:
- “He’s trustworthy” for +2 Paragon Points.
- “Suspicion is healthy” for +2 Renegade Points.
You can also talk to Eve, the Female Krogan. When you’re done, leave the room, Quick Save, load back in, and re-enter the Med Bay for a second walk-in conversation—presented as both amusing and a logical follow-up to the first interaction.
- Engineering – Talk to Javik, Gabby (if you did “Normandy: FBA Couplings” in Mass Effect 2), and Diana Allers (+2 Reputation).
- Allers will be debating Ensign Copeland over one of her opinion pieces. It’s a “50/50” exchange: you earn Reputation for participating, and you aren’t penalized or rewarded based on which side you pick.
- Cargo Bay – Talk to Cortez and James in their regular locations.
If Kelly Chambers survived Mass Effect 2 and you convinced her to change her identity during your Citadel reunion, you should stop by the Citadel briefly to check her new look. The reason is simple: otherwise you’ll miss a scene that later story events will override.
Want more Mass Effect 3 help? The page lists additional guides and pages to explore:
- Legendary Edition Changes
- How-To Guides
- Key Choices and Consequences
- Romance Guide
- Walkthrough
- Side Missions
Up Next: Attican Traverse: Krogan Team
Top Guide Sections
- Legendary Edition Changes
- Game Basics
- Tips and Tricks
- How-To Guides