Flower Castle Chapter 5 Walkthrough: Dark World Escape Route and Guards
Kris and Susie’s Chapter 5 journey takes an unexpected turn the moment they reach the top of the Garden Cliffs in the Dark World: they’re abruptly thrown out of the area, forcing them to find an alternate route into the Flower Castle so they can reach Asgore and stop the fountain before anything worse can happen. The castle won’t welcome them kindly either—its guards include Flowery and the other six flowers, now reshaped into new forms.
Key takeaways
- Reaching the Garden Cliffs’ top ejects Kris and Susie from the Dark World, starting the quest to re-enter Flower Castle.
- Flower Castle’s jail area includes a Save Point and a chance to get back to the main party with Ralsei.
- Cafe access brings back the Diner Menu concept, with drinks that interact with each character’s preferred healing.
- The west wing features a zen garden ambush against Shinobeetle, plus multiple platforming-heavy sections with pistols.
- Key hunting continues with a Yellow Key guarded by Yellow himself, leading to multiple “Evidence” encounters and locked rooms.
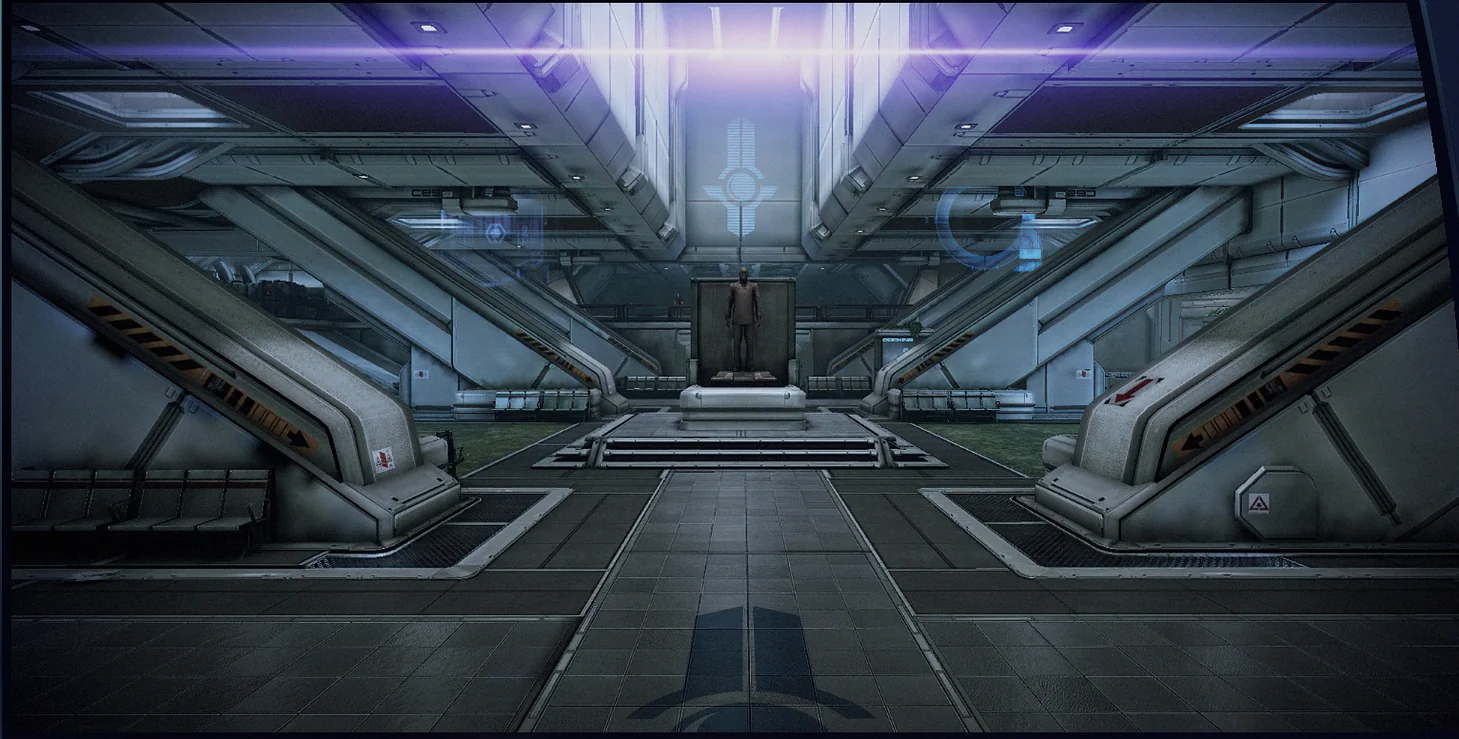
The Jail
Once you’re back in the Dark World, you’ll quickly realize you’ve landed in the middle of an artfully arranged trap—Flower Castle’s jail. Like any good detainment area, there’s moss Kris and Susie can use, but Flowery has already accounted for that possibility.
Aqua and Seth arriving gives the party the opening they need to escape. After Aqua and Susie leave, Kris stays behind to complete their part of a bargain that the human apparently made before the Dark World was opened. It’s a strange detail—but it matters for what comes next.
When you step back outside, Ralsei is waiting, and the group reunites. There’s a Save Point here, but the only real next step is to head up the ladder and into the castle proper.
Higher up, a large door is blocked by a topiary depiction of Asgore alongside Flowery. Two pairs of scissors sit on ledges on either side of the path, and you’ll have to trim the entire display down to proceed to the top of the castle. You can choose which route you take.
No matter which route you pick, check the sign to the right for the Cafe. Going in is worthwhile, since it has another Save Point and several useful features. Most importantly, you’ll see the return of the Diner Menu from the Garden:
Just left of the cafe area, there’s a drink dispenser. Unlike the Diner Menu, this machine accepts tickets and Flowery Dollars—the currency you’ve been collecting. Different drinks are available, and each character has a preferred option. Using a character’s favored drink boosts healing effectiveness.
You can also find the enemies you’ve fully recruited so far hanging around here. In the center sits a table where you can watch tea-time scenes with the colored flowers you’ve befriended, starting with Aqua. Each scene costs $20 Flowery Dollars the first time you view it.
The Western Castle Route
Return to the main hall and move to the far left side—this guide covers the west end first. In this section, you’ll find a journal left open to read. After that, you’ll pass through a sandy zen garden before getting ambushed by ninja beetles.
New Enemy – Shinobeetle
- Check: They’re “ninja” only because Seth ordered it. The disguise holds together thanks to peer pressure.
Battle Strategy: These fake ninjas may look intimidating, but they break down quickly if you know how to pressure them. Since the Check calls out peer pressure as the key, you can exploit that weakness to finish the fight faster than you might expect—even if your ACTs don’t grant much Mercy on their own.
Concentrate on a single beetle. If you use the whole party’s ACTs separately, you can reach 75% Mercy on the first turn. Next, have Kris use Convince so Susie can Spare on the following turn. The moment one Shinobeetle is spared, the other becomes eligible for sparing immediately as well, letting Ralsei set up a Spare right after Susie for a clean sweep.
While the battle drags on, stay near the middle to watch where the next shurikens appear, then shift toward the sides to dodge. If you see a swarm, stick to the center and move up and down rather than getting too close to either edge. To recruit them, you’ll need to spare three in total.
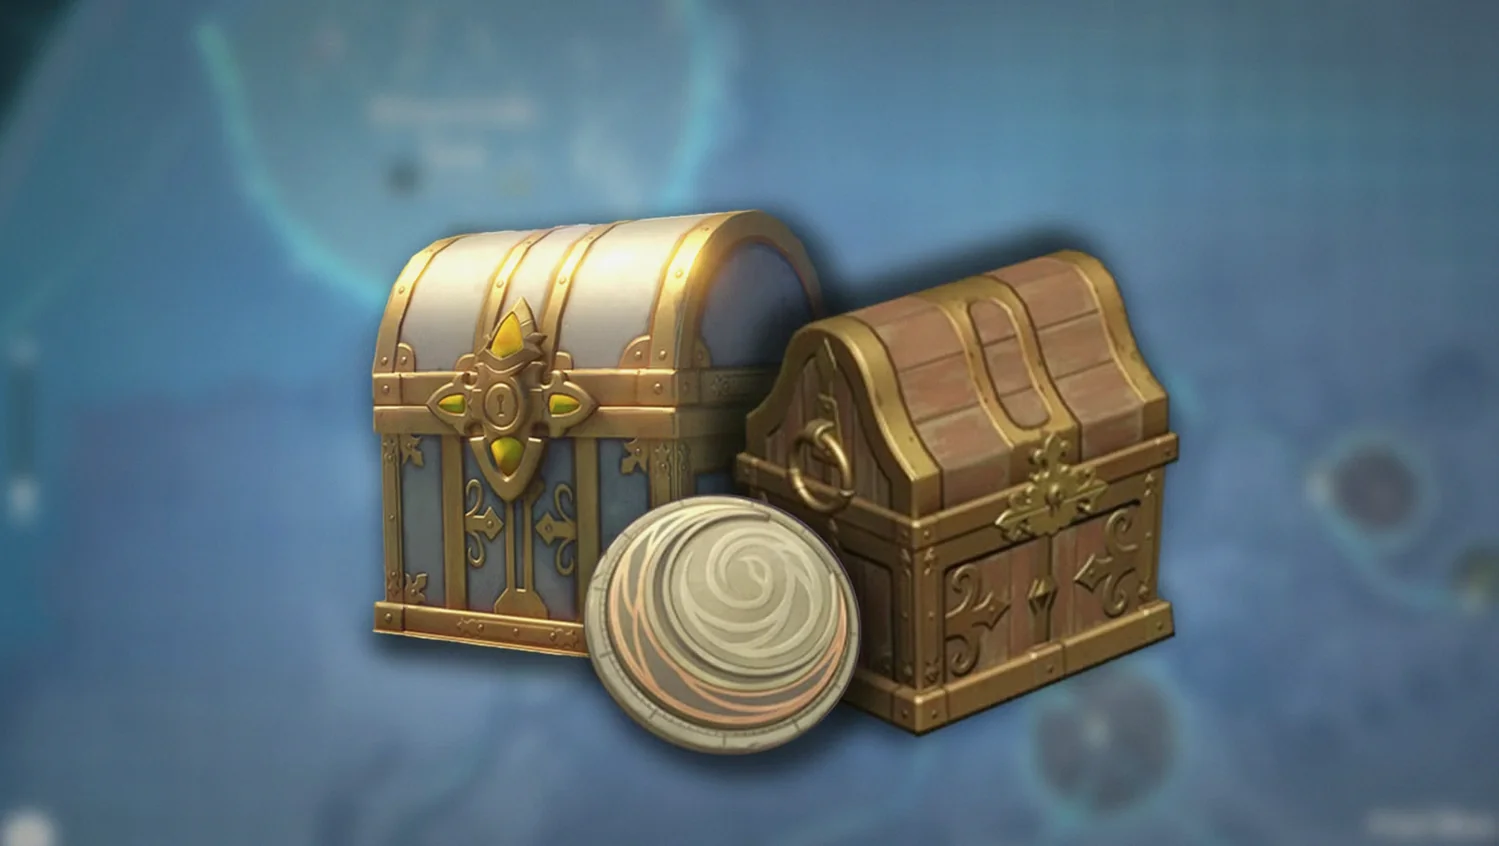
Keep moving left through the zen garden until you reach its end. Look for a red bonsai tree; circling behind it reveals a small alcove with a Treasure Chest containing 50 Flowery Dollars.
In the next room, you’ll see Asgore gathering the years’ worth of conspiracy evidence they’ve been tracking. There’s also spider tape documentation pinned to the wall—try to decipher it if you can, then continue on.
Further west, you’ll shift into action platforming mode to cross a small gap—though you can also keep jumping into it just to bother Susie. Ahead, spiky blue roses can be slashed with Kris’s sword to earn Flowery Dollars and pass through safely.
On the other side, a yellow pistol fires downward repeatedly, forming ring patterns. Dash beneath it to stand in the middle of the rings without taking damage. Then have Ralsei yank it down, jump onto it, and slice it to pieces.
After that, leap over to the left. You can slash papers if you want, but the key objective is reaching another pistol area where shots fall between two columns of blue roses. You can ignore the pistol, or bring it down the same way as before to slice it up, then continue left.
Use the arrow flowers along the wall to jump higher while Susie and Kris exchange a bit of conversation about family drama. More pistols up ahead fire red bullet patterns that you’ll need to dodge. Depending on the situation, you can still choose whether to attack them or just slip past.
At the top, go right to find another bouncy flower. Use it to jump and break bells for extra cash, then move through the west-side opening into another set of bouncy flowers. Keep hitting the flowers to rise until you find two angled ones that launch you through a barricade made of conspiracy notes. If you line up your jump correctly, you can push yourself upward to reach a higher ledge below a large cluster of bells Susie can smash.
As you cut through the documents, you can switch back to normal exploration. A pile of notes has settled on the ground—interact with them and Ralsei will attempt to interpret the nonsense the Dark World has transformed them into. Based on what he can piece together, Kris’s father was recording the existence of the Dark World years ago.
With that reveal out of the way, you can proceed to find a big pair of colored doors: Blue and Yellow. Since you’ll need to use them to get back toward the scissors near the entrance, the next goal is simple: keep moving left, collect the new Save Point along the way, and search for keys.
In the next room, switch back to action platforming and use bouncy flowers to launch upward. Several flowers can be sliced for money, but the moment you strike a blue flower, the big yellow pistol’s Bullet Pattern will “snap” into a more serious state.
During this fight, you can’t attack while the pistol is glowing with a rainbow sheen. It cycles through several sets of three-shot bursts as it tries to track your general location, so run side to side after each target appears to stay ahead of the shots.
After it fires enough, the pistol expands its targeting across the whole floor and then unleashes a massive volley. Jumping over the reticles will be tempting, but pay attention to where the bullets originate. The projectile spread leaves enough room that your heart hitbox can slip through as the shots travel downward—so stand at the end opposite the first set of reticles to give yourself time to reposition.
Once that attack finishes, the pistol pauses and loses the rainbow glow, opening a window to strike back. Have Ralsei pull the pistol down and hop on. From there, unleash a combo swing while standing on your partner to deal heavy damage.
When the pistol retreats, the battle border’s green boundary expands, showing you can move left along the hallway while staying in the fight. Red rings then begin moving toward you, forcing you to either run forward or jump through the hoops as you advance to the far side.
From there, repeat the process: chase the pistol back to the right, wait for your next opening, and finish it off to defeat the weapon and earn a large amount of Flowery Dollars.
Just ahead is the Yellow Key, guarded by the cowboy-themed flower known as Yellow. He accuses the group of trampling on Blue’s flowers, but Susie manages to talk her way out of it convincingly. You’ll receive the Yellow Key, then should return quickly using bouncy flowers to collect more money along the way.
Back at the Left Doors, you’ll find a deeply depressed Yellow waiting by the locked entrance. With the key in hand, you can unlock the door so he can get through—and so you can too. Unfortunately, that leads directly into another problem.
Step inside after Yellow to see him go find a way to “punish himself.” Follow him to the right and you’ll see he’s already following through. Now you’ll need to figure out how to reach him. First, check the sign in front of you to learn the room contains “Evidence”—something you may want to collect, so handle it carefully like you’re presenting a case.
To the left, you’ll be ambushed by another Shinobeetle, and it immediately falls into quicksand. Keep moving right to find a torn piece of cloth beneath a second quicksand pit, then grab the YellowShred to add it to your Evidence Key Items.
Heading north, you’ll pass a Sheary missing their scissors. A Shi enemy then tries to ambush you using a Kawkaw as backup. Remember the tactics you used to beat them earlier in the Cliffs, and make sure to spare the Shi so you can move toward recruitment.
At the top corner of the room, look at the bonsai trees along the left side for a small hidden doorway. Enter it to find a smaller zen garden, complete with trees, a yellow chair, and a Treasure Chest containing a TensionMax item. Once you do, new NPCs appear—including a Netskie disguised as a Floradinn with information about Susie, plus a mysterious “Zenlooker” presence.
Leave the secret area behind and move toward the right. Under two hanging boots, you can find a second Evidence item: BootOil, added to your Key Items.
Beyond that is a roped-off section with pink-toned quicksand, and a Floradinn who shares information about Green’s missing food. This isn’t evidence, though. Still, you can find something useful just south on a platform that stretches over the hot spring—this is where Aqua appears to hand over Scissors for your Key Items.
Move to the right corner and you’ll discover another locked yellow door (yes, again). Go downward and start digging Yellow out of being buried alive. Fortunately, it doesn’t turn into a disaster—you’ll still get help as he unlocks the door to… well, not again.
In the second unlocked Yellow Door room, Aqua and Seth are working on notes, renovating this Punishment Room while Yellow handles his own business elsewhere. After they chase him off, don’t leave without grabbing the PerpBook Seth dropped behind. It’s added to your Evidence Key Items.
Up Next: Walkthrough
Top Guide Sections
- Walkthrough
- How-To Guides
- Boss Guides
- Secrets