Miranda: The Prodigal Walkthrough Guide—Missions, Choices, and Enyala Fight
Miranda: The Prodigal is one of Mass Effect 2’s Loyalty Missions on Ilium, and it’s packed with combat, collectible hunts, and multiple morality-driven dialogue branches. This walkthrough covers what you need to do step by step—starting from when you talk to Miranda on the Normandy, then working through the Ilium sequence that leads to the fight with Enyala.
Key takeaways
- To unlock Miranda’s Loyalty Mission after returning from Horizon, you must speak with Miranda twice earlier to learn key background details.
- Miranda can only be fielded in your squad during this mission, and her Warp is highlighted as especially useful against Eclipse Vanguards.
- On the first floor you can negotiate with Eclipse and later trigger a Renegade Interrupt that rewards +5 Renegade Points.
- During the Floor 2 run, multiple PDA/credits pickups and gear items are located inside shipping containers and along specific routes.
- The Floor 3 confrontation escalates when Niket is revealed as having sided with Miranda’s father, leading into a difficult battle against the mercenary leadership.
- After finishing, you return to the Eternity Bar on the Trading Floor to wrap up side activity choices, and—if you completed Jack’s Loyalty Mission—there’s a major Miranda vs. Jack showdown back on the Normandy.
Checklists
This guide section focuses on the Miranda: The Prodigal Loyalty Mission on Ilium, including how to push through each combat encounter, where to locate collectibles, and which dialogue options to pick for your playthrough.
If you’re looking for a specific part of the mission, the guide lists jump points for: Mission Stats, talking to Miranda, traveling to Tasale, speaking with Lanteia, killing Enyala (with sub-steps for Floor 1, Floor 2, and Floor 3), then returning to the Trading Floor and finally returning to the Normandy (including Miranda VS Jack and Normandy Chats).
- Floor 1
- Floor 2
- Floor 3
- Miranda VS Jack
- Normandy Chats
Mission Stats
Video Guide
The guide includes a video walkthrough section for this mission.
Mission Rewards
- Experience: 750 XP
- Power: Slam
- Research:
- Submachine Gun Damage
- Medi-Gel Capacity
- Mission Credits: 15,000 credits
- Found Credits: 15,000 credits
- Resources: 500 Element Zero
Talk to Miranda
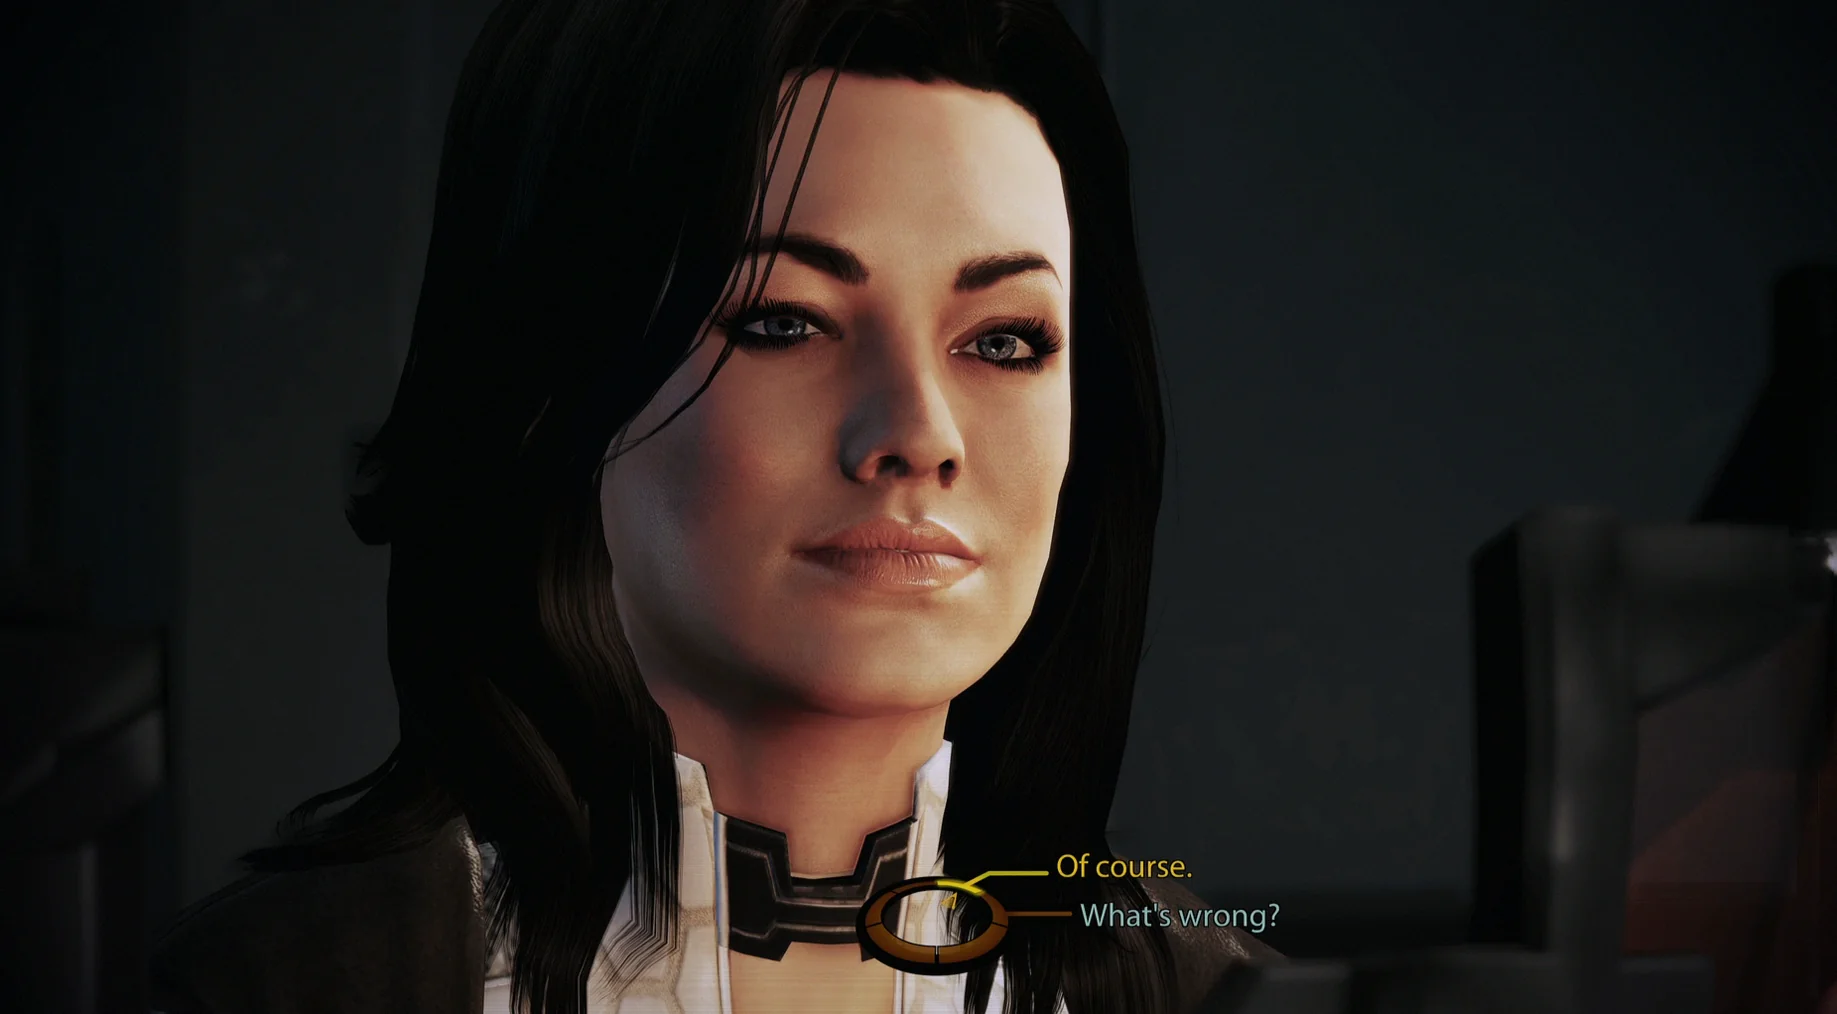
After returning from the human colony of Horizon, you’ll get the chance to talk with a few party members about personal matters. For Miranda, you’ll only be able to proceed if you’ve already spoken to her twice so you can hear about her past, her connection to Cerberus, and the detail that she was created as a genetic project and raised by her father—who is described as controlling and domineering.
Once you’ve satisfied the requirements, Kelly will notify you when you’re near the Galaxy Map or when you ask how the crew is doing. Go to Miranda’s Office on the Crew Deck to start the mission.
- The only Morality Points in this opening conversation are from the line “Of course,” which grants +2 Paragon Points.
The conversation also reveals that Miranda has a twin sister who was grown in the same lab by the same father. The guide notes that Cerberus has helped keep both twins safe from that father, who is trying to build a “dynasty,” but it appears he has located the twin and is now trying to take her back. The situation is on Illium, and Miranda asks you to travel to the planet’s surface to prevent her father’s agents from getting close. Agree to help, and you’ll receive the mission.
Travel to Tasale
- Location: Crescent Nebula – Tasale – Illium
To reach Illium, you’ll need to use a Mass Relay to arrive in the Crescent Nebula. From there you’ll be placed in the Tasale star system. Illium is located near the central star of that system.
If you’ve been following the same order as the guide suggests, you’ve already visited this area twice: once for Shopping & Side Quests, and then again for Thane and Samara—interrupted by the Collector Ship sequence during recruitment.
The guide also points out that if you want to mine, you should look at the Rich planets in the Illium system (Tasale).
When you begin landing, there’s a note that “360 players” are likely to need to switch discs, so be prepared.
Recommended Squad
- Squad Tactics:
- Miranda is always present in your squad because this is her Loyalty Mission. The guide emphasizes her Warp as especially helpful for removing barriers on Eclipse Vanguards.
- Pairing another biotic with Miranda is recommended, with Jacob and Samara specifically called out as strong options.
- A Loyal Jack can also be effective thanks to her Warp Ammo ability, letting you strip barriers even faster.
- Unique Dialogue:
- Jack is singled out as the character who provides the most unique dialogue for this mission.
- You’ll always have Miranda on your Squad, since this is her Loyalty Mission. This is good, as her Warp ability is extremely helpful in stripping the Barriers off of Eclipse Vanguards.
- Pairing another biotic with Miranda will work well here, particularly Jacob and Samara.
- A Loyal Jack can also work thanks to having the Warp Ammo ability, to further help strip Barriers.
- In terms of unique dialogue, Jack will provide the most.
Speak to Lanteia
After completing everything and returning from the point where you’ve recruited Samara, you’ll find yourself in the docking corridor with Miranda leading your squad.
Your next move is to head to the Eternity Bar, located on the opposite side of the Trading Floor. Then enter the private room tucked in the back-left corner of the bar and speak to Lanteia to begin. The guide explains that Miranda’s contact, Niket, has learned her father is sweeping the docking area using Eclipse Mercs, and he offers to move Oriana’s family himself.
During this conversation, you can earn Morality Points with these options:
- Choose “What should we do?” for +2 Paragon Points.
- Choose “We’re altering the plan?” for +2 Renegade Points.
When the discussion concludes, you’ll head to the docks to clear out Eclipse mercenaries.
Kill Enyala
Floor 1
When you arrive, Eclipse mercs nearly drop you immediately until their leader spots Miranda at the controls. After you exit, you’ll be given a negotiation moment.
- Respond with “I’m with Miranda” for +2 Paragon Points.
- Respond with “Get lost. Now” for +2 Renegade Points.
The exchange clarifies that Oriana is genetically Miranda’s twin, but the two don’t share the same birthday; Miranda took Oriana when she was an infant. As the conversation continues, it becomes clear the Eclipse won’t back down, and you’ll be offered a Renegade Interrupt.
- If you trigger the Renegade Interrupt, your squad will immediately kill the Merc Leader, eliminate his guard, and destroy two Rocket Troopers in the back, awarding +5 Renegade Points.
- If you ignore the Renegade Interrupt, Miranda will only shoot down the guard, and you regain control afterward.
The Eclipse mercenaries are described as manageable in combat strength, but they bring serious firepower to the fight. As the battle progresses, you should expect rocket salvos. The good news is that you start the fight already crouched behind a crate, with additional cover nearby—both ahead and to your left. Eventually, you’ll bring down standard Eclipse fighters and their “Eclipse Heavy” allies.
When moving ahead and swinging right, the guide recommends clearing the prior battlefield area for ammunition because the upcoming sections will likely demand it.
In the next corridor, you’ll meet a couple of straggling Eclipse Troopers. Since there are only two, you can remove the threat without needing to take cover yourself. As you approach the area they were guarding, an elevator door will trigger the next cutscene.
During the scene, Miranda grabs one of the Eclipse radios so you can listen in. She apologizes for not trusting Shepard regarding Oriana’s age, stressing that she only wanted to shield Oriana from growing up with harsh expectations—similar to what Miranda experienced. Still, Miranda notes that her father is powerful and not bluffing.
- Close the conversation with “We need to get to your sister” for +2 Paragon Points.
Floor 2
- PDA – 1,500 Credits. After entering the new region, move into the shipping container on the right, then check its left side for the PDA.
After grabbing the PDA, move forward while staying behind crates to avoid more Eclipse on the far side of the gap. There are plenty of explosives around, and the guide suggests using them to your advantage. If you want to get close, circle the gap using the left-side path.
Once all hostiles are eliminated, look for walk-through shipping containers in the opposite corner of the area.
- Med Kit – 100 Credits. Located on the right-hand side of the shipping container route you pass through.
- Submachine Gun – Submachine Gun Damage. Found farther down the shipping container line, in the back corner on a desk to the right.
After rounding the corner, you’ll run into a group of LOKI Mechs. Take cover behind the left-hand corner and deal with them from there.
- Locker – 1,500 Credits. Before pushing forward toward the Eclipse ahead, check the left side of your hiding location for a locker worth Credits.
Next comes a battle against Eclipse Mercs across a conveyor-line gap. The best cover spot is on top of the pickup truck. The guide also reminds players that on Xbox you can Double-Tap A, and on PlayStation you can press X, to vault quickly up onto the truck bed. From there, you can safely take shots at enemies beyond the gap—just remember that moving crates will both block your line of fire and hide enemy movement.
Also expect multiple waves of mercs here, so don’t sprint out just because your current targets are down.
Once the area is quiet, continue left around the conveyor gap and then make a U-turn. The guide notes that there may be one or two stragglers still hanging around.
- Eclipse Merc – Medi-Gel Capacity. As you descend the other side of the gap, scan the dead Eclipse Merc on the left wall.
- Secure Terminal – 3,000 Credits. Enter the open shipping container near the dead Eclipse Merc to find it on the left side.
Exit and head to the corner where the Eclipse were coming out. You may have to handle one last reinforcement wave before the next section, so keep cover in mind. After they’re cleared, you’ll move through a crate maze leading to another small fight. The guide suggests it’s not too hard.
At this point, you can hear Captain Enyala over comms, saying she’ll handle you herself. Then you’ll face another conveyor gap battle. As before, the recommended safe spot is the pickup truck bed on your left, but you’ll still be positioned where crates pass by. In the background, you may spot blue explosive crates you can shoot to remove reinforcements arriving from the left—similar to an approach referenced from Zaeed’s Loyalty Mission.
When the enemy force is wiped out, it’s time to explore the other side.
- Dead Merc – 3,000 Credits. Miranda points out a cut-through gap; on the other side are two shipping containers, one on each side. Check the right-hand container for this item.
- 500 Refined Element Zero – Look inside the open shipping container to the left of where you found the Dead Merc.
- Secure Terminal – 3,000 Credits. From the Eezo, leave the shipping container and turn right to find the route forward, which circles around the right side of two more shipping containers stacked on top of each other. Check the tall gray terminal in front of those containers for Credits.
As you push into the next segment—near the elevator that takes you to the following level—you’ll be interrupted again by mercenaries. This group is described as numerous and specialized. Since there’s no conveyor line here, the fight becomes more straightforward. Flanking your party is recommended, and the guide advises using explosives when enemies cluster near them. After this wave is handled, search the area for loot.
- Medical Station – 100 Credits. To the left of the elevator exit, beyond the low barrier.
- Power Cells – 100 Credits. Located at the far end of the rail extending from the right side of the elevator exit.
Enter the elevator for another conversation with Miranda. Niket appears to be traveling with the Eclipse, but Miranda insists her closest friend has no reason to betray her. This is another Morality Points moment:
- Choose “Maybe you’re right” for +2 Paragon Points.
- Choose “Niket betrayed you” for +2 Renegade Points.
Floor 3
The next cutscene reveals the situation’s truth: Niket has sided with Miranda’s father and collaborated with the Eclipse to bring Oriana back. At the start of this part, you can say:
- “What happens now?” for +2 Paragon Points.
- “Kill him” for +2 Renegade Points.
Using Investigate options, you’ll learn why: while Miranda chose to leave, Oriana did not—and was pulled from a life of comfort and wealth.
- Select “We can solve this peacefully” for +2 Paragon Points.
Then Miranda tries to kill Niket.
- If you’re playing Paragon, you can use an Interrupt here to stop her and earn +5 Paragon Points.
Even so, Niket dies anyway because Enyala loses patience and shoots him, since she’s paid regardless of whether Oriana is actually delivered. Once Miranda blasts Enyala across the room, the battle against the mercenary leader begins in earnest.
The guide warns this fight is tough. Enyala has a strong detachment, and the space is limited—meaning you and your party will feel stuck in place, using the same cover spots while trying to thin enemy numbers.
Going straight for Enyala isn’t immediately the best plan. The guide recommends removing Enyala’s weaker allies first. After they’re handled, focus on the leader in a three-on-one push to bring her down quickly. Enyala is described as obnoxious, so expect a rough fight.
Once every Eclipse enemy is eliminated, sweep the battlefield for loot.
- Med Kit – 100 Credits. On the right side of the area, in an alcove made of shipping crates.
- Secure Terminal – 3,000 Credits. An orange monitor on the wall to the left of the exit elevator (it’s visible above Shepard’s head in the guide’s referenced image).
Also to the left of the exit elevator, sitting on top of a cube container, is a Trinket you can examine. The guide states the Trinket is tied to the “Illium: The Prodigal: Lost Locket Found” Assignment, which it says it will be addressed shortly.
Before you leave via the elevator, you can earn more Morality Points with these dialogue options:
- Miranda talks through what happened with Niket:
- Say “You couldn’t have” for +2 Paragon Points.
- Say “Live and learn” for +2 Renegade Points.
- Miranda isn’t reassured, and you can then respond with “You would’ve regretted it” or “Don’t blame yourself” for +2 Paragon Points.
- Say “You couldn’t have” for +2 Paragon Points.
- Say “Live and learn” for +2 Renegade Points.
You’ll then be in the Transport Hub area, tasked with making sure Oriana’s departure goes smoothly. The guide highlights a final choice:
- Say “You won’t go talk to her?” and then “You should speak with her.” Doing so makes Miranda meet her sister and grants +15 Paragon Points.
- If you say “If you say so” at any time to walk away, you’ll get +15 Renegade Points.
Back on the Trading Floor
Once Miranda’s Loyalty Mission is complete, you return to the Eternity Bar on the Trading Floor. The guide notes that only Dossier Missions bring you back to the Normandy. From there, head to the northwestern corner of the Trading Floor and speak to the distressed Asari wearing a black-and-purple dress. If you picked up the Trinket at the end of Miranda’s Loyalty Mission, you can return it to her here.
- Choose “Don’t bother. I can help” for +2 Paragon Points.
Completing the Side Quest automatically grants +5 Paragon Points.
The guide also suggests checking in on a Salarian in the Shipping & Cargo area. If you found the Datapad shortly after the mercenary at the window during Dossier: The Assassin, you can return it to him to finish the “Illium: The Assassin: Salarian Family Data” Assignment. Completing that task gives +5 Paragon Points, plus an additional +2 Paragon Points or +2 Renegade Points depending on what you selected as your first response.
Back on the Normandy
Miranda VS Jack
If you completed Jack’s Loyalty Mission, “Jack: Subject Zero,” then when you return to the Normandy you’ll be forced into a major confrontation between Jack and Miranda. The guide calls this extremely important because it’s possible to lose one of their Loyalties during this sequence, and it can also lock you out of a Romance option related to the affected character. Avoiding the worst outcome requires passing a very demanding Persuasion Check; if romance isn’t a concern, the guide notes you can still patch things up later.
Here are the outcomes based on your choices:
- Select “This is a distraction” using Charm, and the argument will calm down. This awards +15 Paragon Points.
- Select “This ends now!” using Intimidate, and the conflict ends. This awards +15 Renegade Points.
- Select “Back off, Miranda” to satisfy Jack, but at the expense of Miranda’s Loyalty—placing Miranda at risk later in the game. This also shuts down Miranda Romance opportunities and stops further progress with her.
- Select “Too bad, Jack” to satisfy Miranda, but at the expense of Jack’s Loyalty—placing Jack at risk later in the game. This also stops Jack Romance opportunities and halts further progress with her.
If you couldn’t complete the Persuasion Check and had to choose one of the right-side options, the guide says things aren’t completely finished. Afterward, you can talk to the person you upset and use a Charm or Intimidate option to restore their Loyalty status, though not their Romance state. It still requires a high Persuasion Check, but it’s lower than the one required during the confrontation itself.
- Using one of the Charm/Intimidate options here grants either +15 Paragon Points or +15 Renegade Points, depending on which you pick.
Finally, the guide mentions a practical approach: you can delay the conversation until later when you have more Charm or Intimidate points. Make a save before speaking, test whether you can pass, and if you fail, reload and continue earning Morality Points to raise your odds before trying again.
Normandy Chats
After you regain full control on the Normandy, the guide recommends checking in on Miranda to see how she’s doing. This matters most for players who want to Romance her: after completing her Loyalty Mission, Miranda becomes open to a Romance. If you’re playing Male Shepard and you do not want to Romance Miranda, the guide says you must reject her directly to avoid it.
- Crew Deck – Kasumi will have new commentary about Miranda’s Loyalty Mission. If you also resolved the Miranda/Jack conflict, Kasumi gets a second thought as well. The guide also instructs players to check in on Samara to pick up her Loyalty Mission.
Was this guide helpful?
Want more Mass Effect 2 help? The guide points you toward additional pages covering Legendary Edition changes, how-to content, key decisions and their consequences, Romance options, walkthroughs, and side quests.
- Legendary Edition Changes
- How-To Guides
- Key Choices and Consequences
- Romance Options
- Walkthrough
- Side Quests
Up Next: Mordin – Old Blood
Top Guide Sections
- Legendary Edition Changes
- Basics
- Tips and Tricks
- How-To Guides
In This Guide
This section marks the end of the content shown for the Miranda: The Prodigal guide page.


