Mass Effect 2 Zaeed DLC Walkthrough: Revenge, Sacrifice, and Firestorm Loot
Mass Effect 2’s Zaeed: The Price of Revenge DLC mission is built around one goal: hunt down Vido Santiago and decide what you’re willing to sacrifice for the people caught in the middle. Below is a full walkthrough-style breakdown of where to start, how to recruit Zaeed, what happens during his Loyalty mission, and what you can earn along the way—including the M-451 Firestorm heavy weapon.
Accessing Zaeed: The Price of Revenge and finding Zaeed
Where the DLC comes from
The original release of Zaeed: The Price of Revenge required downloading the Cerberus Network service to play, and the Zaeed mission itself was also released for free. With Bioware’s website now offline, the Cerberus Network access code must be handled through your EA account.
If you’re on the Legendary Edition, or playing the original version through Steam or PlayStation 3, you don’t need to worry about any of that setup—the DLC is included with the game and is installed automatically.
- Location: Omega Nebula – Sahrabarik – Omega
How to unlock and recruit Zaeed
Zaeed can be recruited very early compared to most companions. The mission becomes available once you complete the Freedom’s Progress Mission and acquire the Normandy SR-2. After that, head for Omega in the Sahrabarik system.
If you’re also interested in mining, the system Omega is in has a single Rich planet: Sahrabarik.
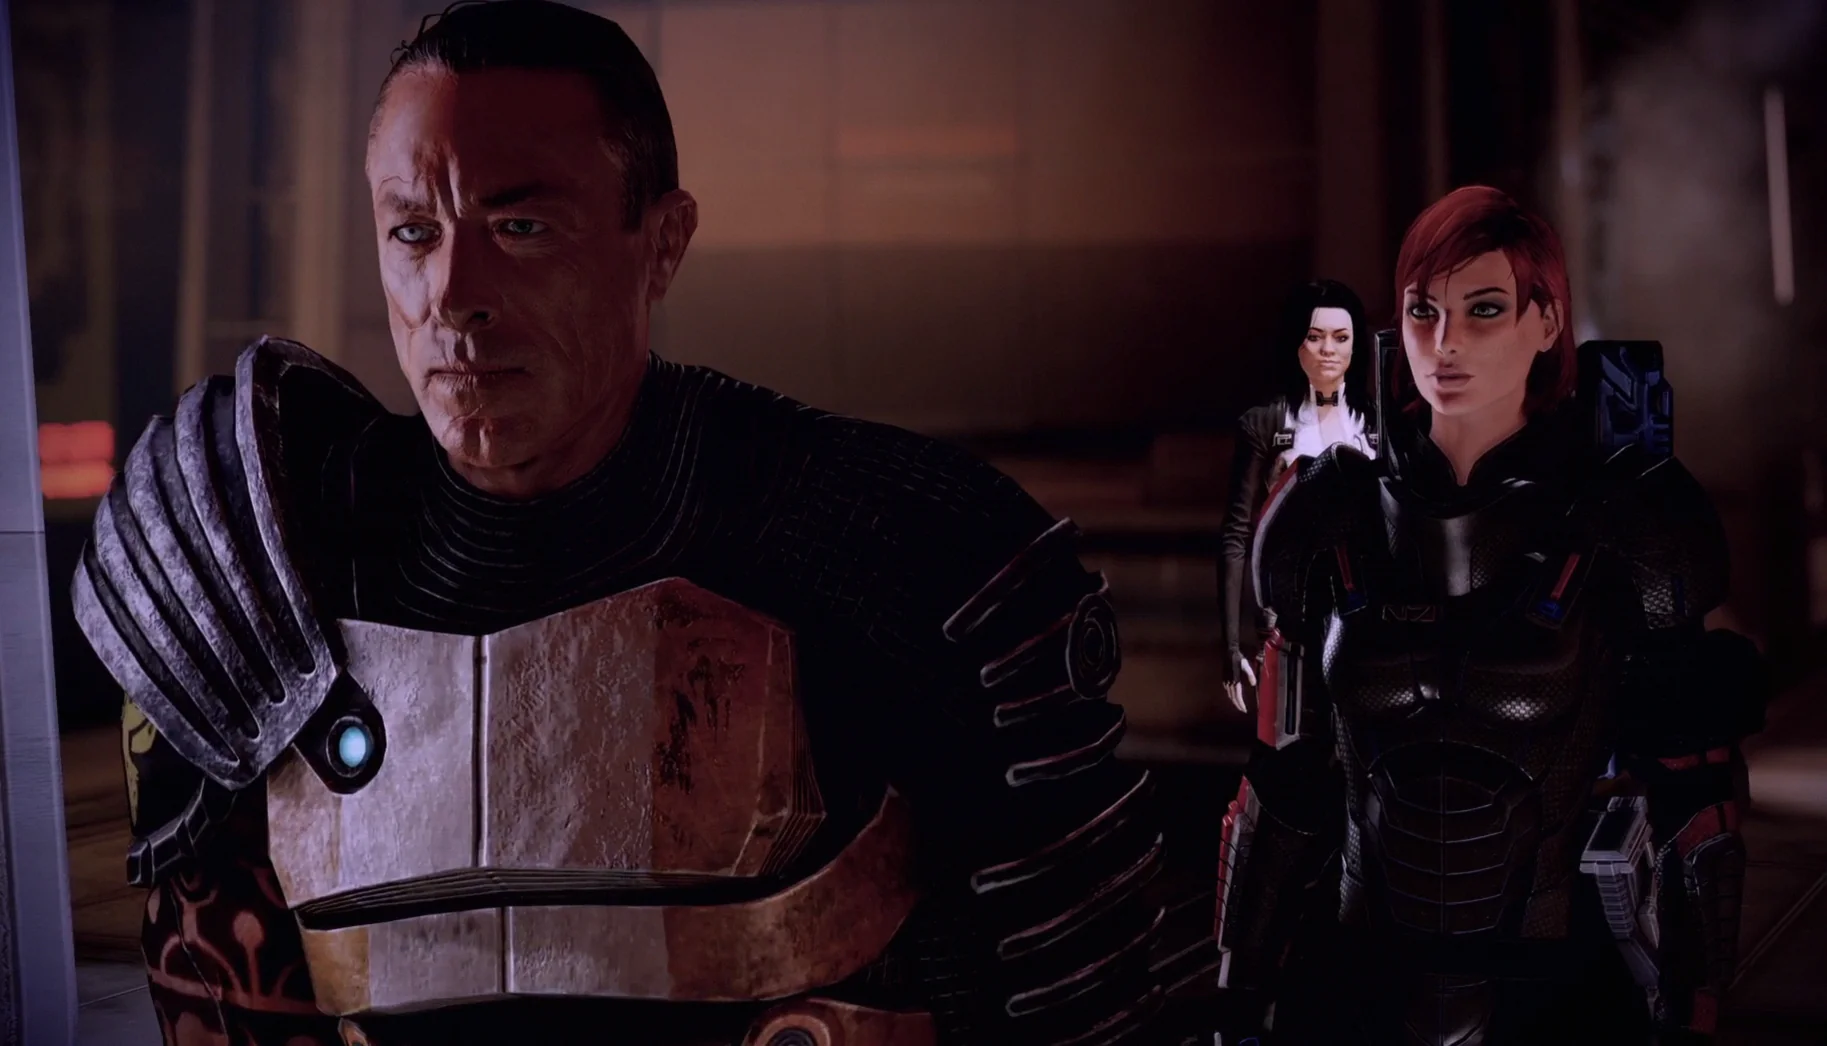
When you reach the far end of the entrance corridor, you’ll find Zaeed leaning on a Batarian. Talk to him to recruit him.
While you’re talking with him (and as you move through the area), you can pick up Morality Points by choosing Paragon or Renegade responses. The available options and totals are:
- Paragon: “Welcome aboard”, “No. He didn’t”, and “We can do that” (+6 Paragon Points total)
- Renegade: “Report to the Normandy”, “There’s always a catch”, and “If there’s time” (+6 Rengade Points total)
After recruitment, Zaeed takes up residence in the Port Cargo Bay on Engineering. The space functions as his personal quarters—expect plenty of interactive objects and two-story conversations after each Mission or Side Quest you complete.
Mission flow: stats, travel, and the refinery operation
Mission Stats
Mission Rewards
- Experience: 750 XP
- Unlocked Power: Inferno Grenade
- Weapons: M-451 Firestorm
- Research:
- Heavy Weapon Ammo (Paragon)
- Assault Rifle Damage (Renegade)
- Mission Credits:
- 30,000 credits (Paragon)
- 15,000 credits (Renegade)
- Found Credits:
- 30,000 credits (Paragon)
- 24,000 credits(Renegade)
- Resources:
- 2,000 Palladium (Paragon)
- 1,600 Palladium (Renegade)
- Heavy Weapon Ammo (Paragon)
- Assault Rifle Damage (Renegade)
- 30,000 credits (Paragon)
- 15,000 credits (Renegade)
- 30,000 credits (Paragon)
- 24,000 credits(Renegade)
- 2,000 Palladium (Paragon)
- 1,600 Palladium (Renegade)
Travel to Faia
- Location: Ismar Frontier – Faia – Zorya
The Loyalty mission itself takes place on planet Zorya, which sits in the Faia system. That system is part of the Ismar Frontier—located in the North-West region of the Milky Way. When you travel from Aquila to Faia, budget roughly 200 Fuel.
If you want to mine during this stretch, the Rich planets in the Aquila and Faia systems are the two worlds you’ll be visiting while setting up and completing the mission.
Recommended loadout
- Squad Tactics:
- Miranda is a strong choice thanks to Overload. She’ll be using it frequently to strip Shields from enemies in this area.
- Zaeed is mandatory, but you should consider switching him to his sniper rifle since the level features very long sight lines.
- Miranda is a good pick for her Overload power to strip the Shields of enemies in this level, which she’ll be doing a lot.
- While Zaeed is of course mandatory, it’s a good idea to have him switch to his sniper rifle considering the very long sight lines in this level.
Liberate the Refinery
Zaeed’s Loyalty mission begins when your squad lands on the jungle edge of the Eldfell-Ashland Refinery on Zorya. As you push forward through a straight, cliff-lined corridor, you’ll pick up a radio transmission from Vido Santiago—the man Zaeed swore to kill. Vido calls for a squad to check out your landing zone.
As you advance, you’ll find bodies you can Investigate. Zaeed comments on the brutality you’re seeing. The radio chatter ramps up, and at that point Blue Suns are already ready for you—an ambush hits not far ahead.
Blue Suns Troopers and Blue Suns Heavy units are heavily shielded. To handle them, hold the first cover position you see, then flush enemies out of their spots and eliminate them one by one. Pushing forward triggers another wave: Troopers, a Heavy, a Pyro, and a FENRIS Mech that can deal heavy damage at close range if you aren’t prepared.
- Med Kit – 100 Credits. Located on the right side of the area on a metal floor at the base of a support column near the lower part of the rocky cliff.
- PDA – 6,000 Credits. Found next to a toppled crate in the back-right corner.
Further on you’ll reach a Bridge Control. Activate it to trigger a conversation between you and Zaeed, where he explains why you’re here. This is also when you can earn Morality Points:
- Reply “You know this guy?” for +2 Paragon Points.
- Reply “Vido sounds dangerous” for +2 Renegade Points.
It turns out Zaeed and Vido co-founded the Blue Suns together about twenty years ago. After that, Vido betrayed him, shot him in the head, and the severe damage explains the condition of Zaeed’s face.
Keep crossing the bridge toward the gatehouse. After you go up the ramp on the far side, watch for loot:
- 400 Refined Palladium – After crossing the bridge and starting up the hill, it’s on your left, sitting on a small crate beside a larger rock.
Eventually you’ll enter the gatehouse and meet Vido Santiago. Zaeed goes too far and sets off a refinery chain reaction intended to kill his enemy—but Vido escapes. You can confront him for Morality Points:
- Respond with “That was unnecessary” for +2 Paragon Points. After that, use a Paragon Interrupt to gain +5 Paragon Points.
- Respond with “Explain yourself!” or “Warn me next time”, or skip the Paragon Interrupt to see a different conversation outcome. See below.
If you don’t take (or don’t attempt) the Paragon Interrupt, you’ll still get Morality Point chances later, but you won’t earn as many Paragon Points on this route. Those options are:
- Paragon: “We came to save these people” and “Keep to the mission, or else” (+4 Paragon Points total)
- Renegade: “You do what I tell you” and “If that’s what you need” (+4 Renegade Points total)
Defeat the Blue Suns
Once the dialogue ends, combat begins immediately against a small Blue Suns squad. Use the short metal wall in the center for cover, then mow them down quickly.
- 400 Refined Palladium – Before you move on, look left to spot the valve Zaeed smashed during the cutscene. The Palladium is there.
Continue along the facility walkway until you reach a fork with a door on your left.
- 400 Refined Palladium – At the fork, go right to grab the Palladium. Make sure you take it before interacting with the door, because using that door starts a point of no return.
When you open the door, a refinery worker begs for help because they can’t reach the valve controls needed to shut off the fire. Zaeed doesn’t care—his focus is entirely on Vido. Before you commit, you can earn additional Morality Points:
- Reply with “You suggest we leave them?” for +2 Paragon Points.
- Reply with “You must really want him dead” for +2 Renegade Points.
Now comes the big decision: spend the time to rescue the workers, or ignore them and push straight toward Vido—similar in spirit to Asteroid X57 from the first game. Each choice leads down a different path with exclusive rewards, including some that only become clear by the end of the mission.
“Forget loyalty. We save them”
- +15 Paragon Points
- Non-combat path
- Zaeed’s Loyalty up to a Persuasion Check
- Heavy Weapon Ammo Research
- 30,000 Mission Complete Credits
- +12,000 Found Credits
“Zaeed’s right. Vido must die”
- +15 Renegade Points
- Combat path
- Secure Zaeed’s Loyalty
- Assault Rifle Damage Research
- 15,000 Mission Complete Credits
- +6,000 Found Credits
Save the Trapped Workers (Paragon Path)
Choosing to rescue the workers upsets Zaeed because you aren’t hunting Vido right away. Still, he’s practical enough to accept there’s no convincing you otherwise—you’d better go handle it. After Shepard drops onto the platform below, descend the ramps and bypass the door to get inside.
Your movement will be repeatedly blocked by fire. Progress depends on using Fuel Control panels to keep the route clear. Start by going up the stairs, then through the door on your right.
Pass through the flames at the doorway, then activate the first Fuel Control panel to clear the ramp ahead. Cross over, then find the second Fuel Control panel hidden on the left to remove the fire blocking the next ramp. Cross again.
- Generator Pipe – 6,000 Credits. After crossing the ramp that was previously blocked by fire, check the back-right corner to Salvage it.
Continue up the next set of stairs. An explosion reveals a metal beam on the floor. On the right, the workers will try to talk to you. Follow their advice and activate the next Fuel Control panel to clear the final ramp. Move forward and up the next stairs.
Keep going along the walkway until an explosion destroys the forward route, forcing you onto a detour ramp on the right. Cross it and then return down to the main path.
- 400 Refined Palladium – After taking the detour ramp, don’t turn left. Go straight toward the wall; the Palladium is on your left.
After grabbing the Palladium, enter the next room through the nearby door.
- Research Terminal – Heavy Weapons Ammo. Inside this room, the one with the Fire Extinguisher Systems.
Once you obtain the Research, use the Fire Extinguisher Systems to put out the fire. Move through the door and onto the next catwalk, then jump down onto the crates. This is where the Paragon and Renegade paths come together again, so continue into the rest of the level from this point.
Fight Through the Refinery (Renegade Route)
If you go straight to kill Vido, you’ll take a route that’s nearly entirely combat. As you move through this stretch, you’ll hear explosions and screams while the refinery is torn apart. You’ll fight another squad of Blue Suns Troopers.
When you approach a walkway spanning a chasm, the refinery’s chain reaction blows it up, forcing you to find an alternate way across.
At this point, expect another firefight: more Troopers plus a Pyro attacking from your right. Defeat them, then move through the same interior passage where they ambushed you to pick up extra items:
- Servos – 6,000 Credits. Directly across from the door you came through.
- Research Terminal – Assault Rifle Damage. Located on the ramp near the Servos.
Proceed through the next door and handle the moderately large Blue Suns Troopers squad that rushes you. While advancing, be careful to eliminate enemies positioned on the ledge as well. Then go back out through the same door they entered from, follow the walkway to another door, and you’ll end up at the far side of the split—where the Renegade and Paragon paths merge again.
Stop Vido Santiago
The two routes converge in a wet hallway with water dripping down, plus a tall pile of crates on the right wall. Paragon players will have already dropped down those crates.
- 400 Refined Palladium – Located to the left of the crate pile that Paragon players dropped down.
- M-451 Firestorm – Found through the next door on the floor next to a Blue Sun Trooper crushed by a steel beam. If you miss it here, you still receive the heavy weapon at the end of the mission courtesy of Zaeed.
M-451 Firestorm
The M-451 Firestorm is a flamethrower that is notably efficient with ammo. It burns through armor and can panic organic targets as it rapidly drains their health. Against synthetic targets, it’s less effective, and because it lacks splash damage, it’s best used on single targets rather than groups.
In the following room to the right, you’ll be ambushed by two Blue Suns Troopers. Take them out, then grab the Power Cells beside the Weapons Locker. If you’d rather run a different heavy weapon than the Firestorm, you can use the Power Cells for that instead.
- Servos PDA – 6,000 Credits. On a crate in the middle of the room (see note below).
Next is the refinery core. Here you’ll fight through a sequence of enemies: Blue Suns Troopers, Pyros, Heavies, and an YMIR Mech at the very end. The recommended approach is to stay in cover, with both squadmates holding the flanks while enemies climb the stairs on either side. There isn’t a great “middle” spot to anchor from, so you may need to adapt on the fly.
On both sides of the room, you’ll see two loose fuel tanks that slide back and forth in a straight line. Shoot them enough times and they’ll fall, then explode. Those blasts deal massive area damage and can help flush enemy groups out from behind cover. Even if you don’t need the explosions for clearing, you’ll likely want to shoot the tanks anyway because their flame streams can hit hard. In the original release, the tank explosions can also hurt you and your squad—so be cautious about timing when you drop them. This restriction does not apply to the Legendary Edition.
After the fight ends, check the area for additional loot:
- Med Kit – 100 Credits. At the corner of a ground pipe between the doors to the side areas.
- Various Industrial Bits – 6,000 Credits. In one of the side areas where Blue Suns troops were entering the room from.
- Various Industrial Bits – 6,000 Credits. In the other side area where Blue Suns troops were entering the room from.
When you’re ready to move on, go down the steps to the lowest platform, cross the bridge, and head out through the door on your right.
Finale: killing Vido and what it means for Loyalty
Passing through the final door brings you to the mission finale. What you see depends on the choice you made before entering the refinery.
Renegade Ending
On the Renegade route, Zaeed catches Vido before he can reach his gunship. Vido tries to run, but Zaeed shoots faster—hitting Vido in the kneecap, forcing him to the ground. Vido begs for his life, and Zaeed finishes the job by ejecting a Thermal Clip into a nearby fuel spill, igniting it and burning Vido to death.
This ending will always result in Zaeed being Loyal to Shepard.
Paragon Ending
On the Paragon path, things are more complicated. Vido gets enough time to escape in his gunship, and Zaeed is furious about losing his chance to kill him. His anger turns into embarrassment when his own hubris gets punished—an explosion pins him down with a steel beam. At this stage, you can earn Morality Points:
- “Are you hurt?” and “I don’t want you on my ship” (+4 Paragon Points total)
- “You deserved that” and “Why should I trust you?” (+4 Renegade Points total)
After Zaeed tells you to stop messing around, the game presents the crucial choice that determines whether Zaeed will stay Loyal when you leave and wrap up the mission:
- The Charm option, “You brought this on yourself,” convinces Zaeed to put the past behind him and secure his Loyalty to you. You’ll also gain +7 Paragon Points.
- “You owe me big for this” and “Come on, Zaeed. Let’s go” award +2 Paragon Points but will not secure Zaeed’s Loyalty, leaving him at risk by the end of the game.
- “I’m leaving you here” is only available if you take this mission after the Suicide Mission and have at least two other squadmates. Shepard leaves Zaeed to die, which prevents Loyalty from being secured, removes him as a future squadmate and story character.
Back on the Normandy
After finishing the Loyalty mission, there are a few things you can do on the Normandy:
- CIC – Speak with Kelly to hear what Zaeed is up to after his mission, and talk to Joker in the cockpit.
- Crew Deck – Talk to Kasumi, and also speak with Chakwas if you completed the Serrice Ice Brandy side mission previously.
- Engineering – Talk to Zaeed for a post-mortem recap of his Loyalty mission.
Because you completed his Loyalty mission, you can also use the Squad Menu to change Zaeed’s armor color palette to match the Blood Pack’s colors instead of Eclipse.
Want more Mass Effect 2 help? Check out the following pages:
- Legendary Edition Changes
- How-To Guides
- Key Choices and Consequences
- Romance Options
- Walkthrough
- Side Quests
Up Next: Project Firewalker
Top Guide Sections
- Legendary Edition Changes
- Basics
- Tips and Tricks
- How-To Guides


