Mass Effect 2 Overlord: Hermes Station Guide—Loot Routes, Squad & Boss Tactics
The opening Hermes Station segment of Mass Effect 2’s Overlord DLC is all about investigating a Cerberus outpost that has gone dark, loading up on supplies, and then pushing through escalating synthetic combat before you finally shut down key hardware. This guide section walks you through the assignment’s rewards, travel setup, recommended squad choices, and every loot route—from the landing zone to the satellite dish and beyond.
Key takeaways
- Completion rewards for the opening assignment include 250 XP and 3,750 credits, plus 2,000 palladium.
- Starting the Overlord DLC locks you into the content until the full run is finished, and the Hermes Station area can’t be revisited after the main objective.
- For the opening combat, the guide recommends shield-stripping squadmates like Garrus and Miranda, with Zaeed as an option if he has Disruptor Ammo.
- At the satellite dish, you retract the disc partway, but you must destroy the dish’s antenna components to progress.
- Later, you’ll climb onto the dish surface and destroy capacitor fuel tanks tied to each capacitor’s console.
- Afterward you return to the Hammerhead, which lets you do small open-area activities and visit Vulcan and Prometheus stations.
Checklists
This part of the Mass Effect 2 wiki guide focuses on the opening Hermes Station level inside the Overlord DLC, including where to find items, how to survive each fight, and which choices matter for your run.
If you’re looking for something specific, the guide provides jump points for the assignment stats, travel to Typhon, retracting the dish, destroying antennae, destroying capacitors, and locating the other stations you’ll need next.
- Assignment Stats
- Travel to Typhon
- Retract Dish
- Destroy Antennae
- Destroy Capacitors
- Locate Other Stations
Assignment Stats
Video Guide
Assignment Rewards
- Experience: 250 XP
- Mission Credits: 3,750 credits
- Found Credits: 3,750 credits
- Resources: 2,000 Palladium
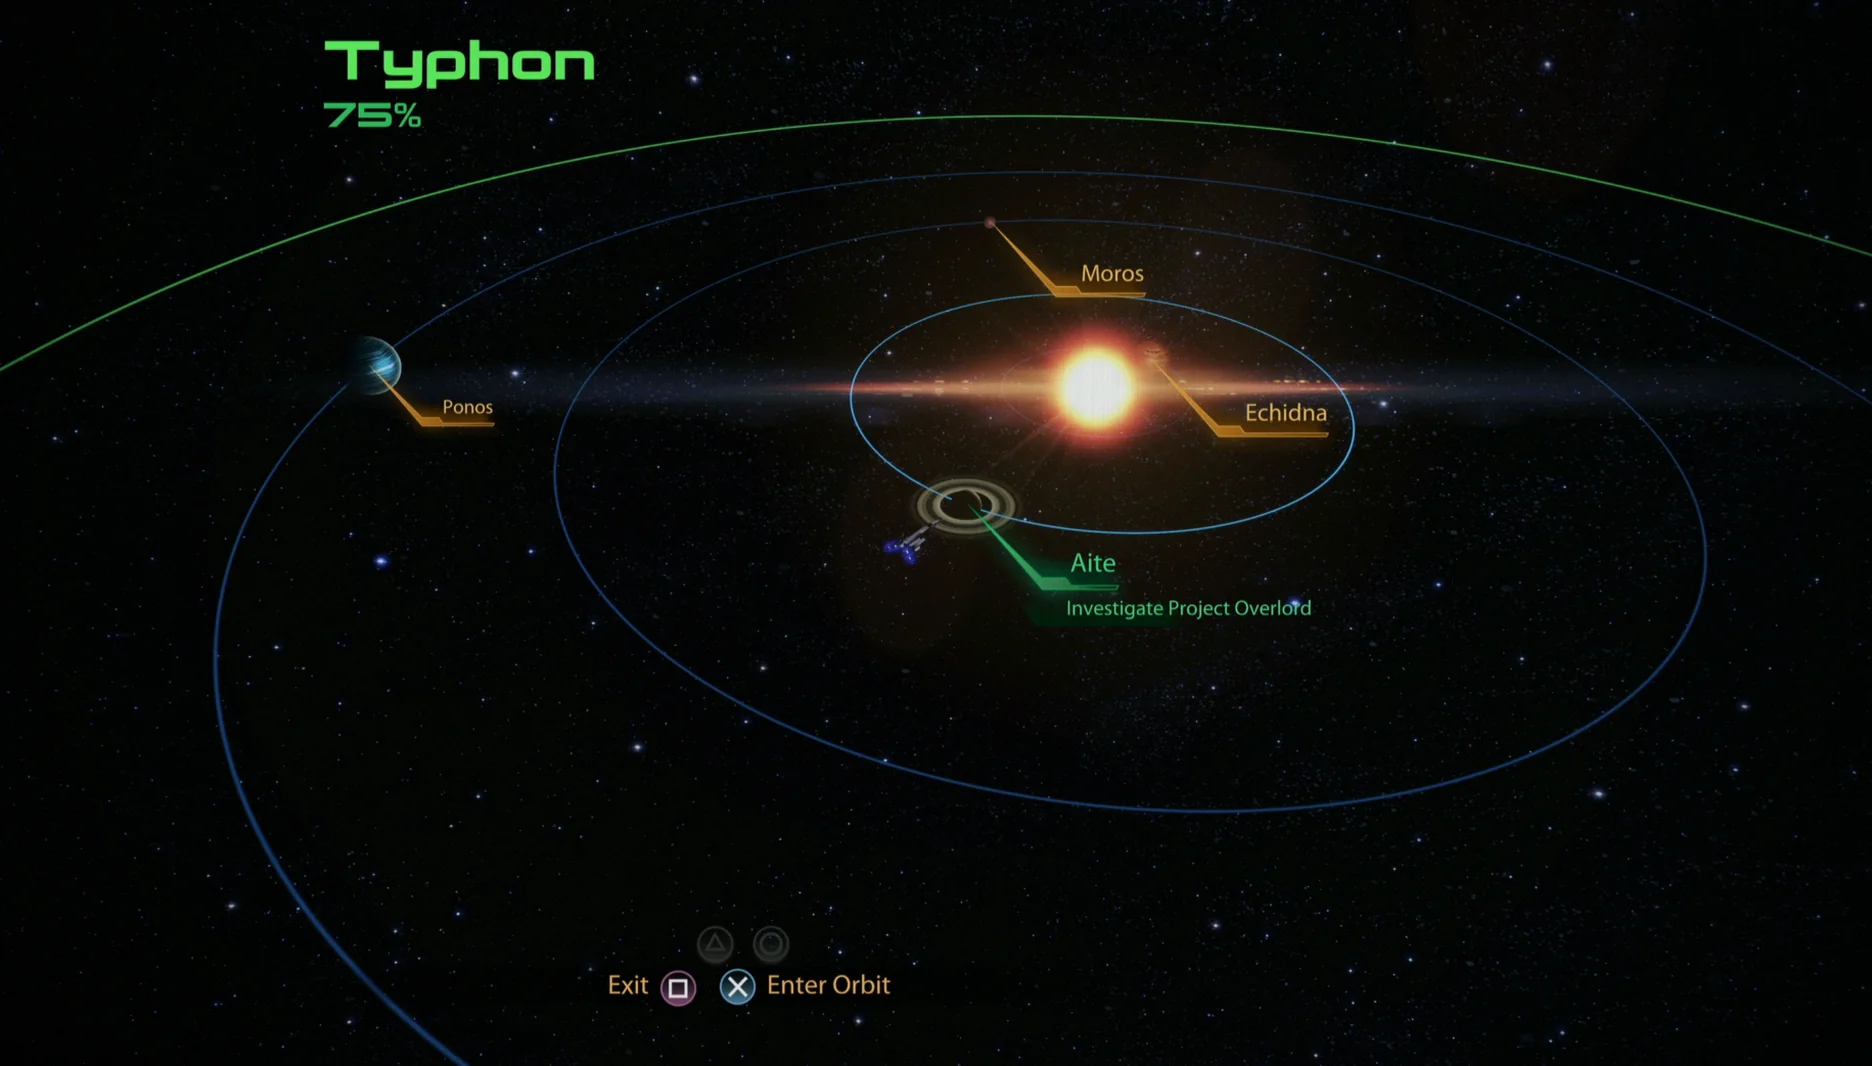
Travel to Typhon
- Location: The Phoenix Massing – Typhon – Aite
Once you’ve taken captaincy of your ship, a message arrives at your terminal: a Cerberus outpost has gone dark, and they want you to investigate. The guide notes that Cerberus typically follows harsh policy—if a remote site isn’t wiped out to the last person by a reckless, deadly experiment, then something must be wrong.
You can start the assignment immediately, but the guide recommends delaying it, especially because bringing the Reaper IFF squadmate can unlock unique dialogue. When you’re ready, head to The Phoenix Massing and travel “north” to the Typhon system.
WARNING
After you begin the Overlord DLC, you can’t leave until you finish it, and once you’re done, the DLC becomes inaccessible. Additionally, this initial Hermes Station section can’t be returned to after you complete its main objective—so the guide stresses grabbing every loot item and bonus along the way.
While you’re moving through the area, it’s also suggested to mine Rich worlds.
Recommended Loadout
-
Squad Tactics:
- For this opening stretch, Garrus and Miranda are recommended because they can strip shields. Zaeed is also suggested if he’s equipped with Disruptor Ammo. The guide emphasizes that you’ll be dealing with synthetics throughout the DLC.
-
Unique Dialogue:
- For unique dialogue tied to this specific Overlord assignment, the squadmate from the Reaper IFF mission is a strong choice.
- For this opening stretch, Garrus and Miranda are recommended because they can strip shields. Zaeed is also suggested if he’s equipped with Disruptor Ammo. The guide emphasizes that you’ll be dealing with synthetics throughout the DLC.
- For unique dialogue tied to this specific Overlord assignment, the squadmate from the Reaper IFF mission is a strong choice.
Retract Dish
When you land, the guide tells you to immediately search the landing area for loot.
- Power Cells – 100 credits. Facing the giant satellite dish, turn left and go to the railing. From there, turn left again to find the Power Cells placed against the wall.
- 1,000 Refined Palladium – Return to the Hammerhead, then go down the ramp along the right-hand side. The palladium box is at the bottom of the ramp, sitting on top of crates.
After you collect that loot, go through the door straight ahead from where you started, then drop down to watch Gavin Archer’s message on the desktop terminal. If you head through the door to the right of the monitor, you’ll spot a locked room on your right—there’s loot inside, but the guide notes you’ll need to figure out how to get in.
Go back to the lobby and make a left turn to find a cracked window. Shoot it with any weapon to break it and vault into the room. You can leave through the locked door from inside.
- Archer’s Log – A holographic keyboard on the right-side panel in the side room.
- Cerberus Terminal – 1,125 credits. The guide describes another holographic keyboard located in the back-right corner of the side room.
- Medical Station – 100 credits. Found in the back-right corner of the side room.
With the side room handled, return to the main route: turn right to enter the communications-dish control room. Move forward and use the Control Panel to retract the disc—at least, attempt to. The Overlord VI machine here prevents the dish from fully retracting.
Gavin Archer appears again to explain that the antennae within the dish must be destroyed. Then exit the control room via the left-hand door to continue.
Destroy Antennae
Your path continues through multiple staircases and corridors as you work toward the tram that takes you over to the satellite dish. As you go, keep an eye out for extra loot.
- PDA – 525 credits. Located at the top of the third staircase, just after the nook with the couches and coffee tables shown earlier in the route.
After picking up the PDA, you reach the cafeteria. The guide advises taking cover right away because you’ll face three waves of geth that become better equipped as you advance toward the kitchen, then swing left toward the exit. The fights include a couple of heavily armored enemies and several destroyers. If you’re ready for the encounter, upgraded weapons with Disruptor Ammo will cut through targets on Aite.
Once the waves are cleared, search the area thoroughly in two particular rooms. First, return to the entrance and face the kitchen. Climb the right-hand stairs, then go through the right-side door at the top.
- Archer’s Log – In the upstairs room, it’s a datapad on the right-hand shelves.
- Wall Safe – 1,125 credits. Found in the back-left corner of the upstairs room, between the window and the bunk bed.
- Cafe Register – 450 credits. A laptop on one of the cooking stations in the kitchen section.
- Medical Station – 100 credits. On the back-left wall of the kitchen.
- Power Cells – 100 credits. Located in the kitchen’s back room with the large windows.
After securing the loot, exit the kitchen through the left-hand doorway where you fought the last geth wave, then leave using the right-hand door. You’ll step into a waiting area filled with cheerful elevator music intended to distract from the scene of Cerberus personnel corpses—while also containing goodies.
- Spare Parts – 525 credits. A lathe machine in the back-right corner of the waiting room.
- Medical Station – Positioned to the left of the Spare Parts, beside some lockers.
When you’re finished, proceed through the next door onto the tram. Use the terminal to travel closer to the satellite dish. Gavin confirms that the Overlord VI is aligning the dish to Cerberus’ satellite, which the guide frames as a bad sign. Once you’re off the tram, go down the hallway to reach the outdoor catwalks.
- Power Cells – 100 credits. Use the left-hand steps downward to enter a side room containing them.
When you reach the upper walkway, you’ll be attacked by multiple geth across a gap, including a Destroyer. Because you’re exposed on this upper platform, the guide recommends crouching behind the railing on the far side of the gap and picking off enemies with a sniper rifle (or a laser-guided pistol, as the guide’s example loadout suggests).
On the other side of the gap is a second side room where the geth originated. It’s reached via a second stair set on the left side of the walkway.
- 1,000 Refined Palladium – In the second downstairs side room, in front of a large stack of crates.
- Medical Station – On the back wall of the second side room, to the right of the palladium box.
- Archer’s Log – On the right-hand wall of the second side room.
After returning to the walkway, keep moving until you reach the dish. Use the Terminal to extend the path when needed. However, as you approach the door into the dish, more geth attack from a walkway far to the left. The guide again highlights this as an excellent sniper position. Once they’re down, bypass the door to enter the dish’s maintenance area.
Inside, you’ll need to fight through a particularly rough ambush. Cloaking geth Hunters return here, applying stealth fields and pushing in to flank you. The room’s center is described as a maze of pipes and stairwells that doesn’t provide reliable cover. On top of that, flamethrowing Destroyers arrive in numbers along with Rocket Trooper pads. Near the end of the fight, a Geth Prime also appears, making the encounter especially frustrating.
Destroy Capacitors
When the maintenance fight concludes, climb the central stairs to reach the surface of the dish. The guide instructs you to expose each capacitor using its associated Strut Console, then destroy each capacitor’s fuel tank. Each detonation can trigger additional geth attackers, so stay ready for interruptions. During the second capacitor’s destruction, a geth prime arrives—this is framed as a good time to spend a couple of missiles or use your Particle Beam.
After the third capacitor is destroyed, the assignment ends with a “badass” cutscene.
Locate Other Stations
Next, you’ll go back to interrogate Gavin Archer in the landing zone area. Once you finish speaking with him, leave the base and get into the Hammerhead. The guide notes it’s not the Mako’s “second coming” since the Hammerhead is a hovercraft. It has an absurd amount of vertical airtime, which can be useful, but it also can’t take much damage before exploding—something you may recognize if you’ve played the Project Firewalker DLC.
After entering the Hammerhead, you’re brought to a wide open section of the map. Here you can do smaller tasks like recovering data packets, enjoying the view, and even shooting local space cows—complete with two funny quips from the Hammerhead’s VI if you try it. From this point, you have several goals you can tackle:
- Data Hound – If you’re on the original release of the game for Xbox 360, PS3, or PC, you can earn the Data Hound Achievement or Trophy by recovering six Data Packets across the open area. The Legendary Edition also includes the ability to recover them, but the Achievement/Trophy for doing so was removed in that version.
- Vulcan Station – The first of two locations you must visit to reach Atlas Station and shut down the Overlord VI. Vulcan Station features Hammerhead platforming, including travel across lava rivers.
- Prometheus Station – The second stop required for Atlas Station access. Here, you’ll dodge cannon fire while in the Hammerhead and explore an inactive geth ship.
For more Mass Effect 2 assistance, the guide lists additional pages to consult.
- Legendary Edition Changes
- How-To Guides
- Key Choices and Consequences
- Romance Options
- Walkthrough
- Side Quests
Up Next: Data Hound Guide
Top Guide Sections
- Legendary Edition Changes
- Basics
- Tips and Tricks
- How-To Guides


