Gothic 1 Remake Chapter 2 Guide: Escape Route After Joining a Faction
Chapter 2 of Gothic 1 Remake kicks off once you pledge yourself to one of the game’s main factions. After you’ve secured some allies, the next step is figuring out how to get out of this miserable place.
Even though you can only join one camp per playthrough, Chapter 2 starts regardless of which faction you chose. If you begin the chapter while aligned with the Old Camp or New Camp, you’ll start the quest The Brotherhood’s Plan. If you’re aligned with the Swamp Camp instead, you’ll begin The Lost Apprentice.
Because this walkthrough follows a single route, it assumes Old Camp allegiance. You can still use it with a different camp, but when it tells you who to report to, you’ll need to swap in the relevant leaders from the faction you picked.
There may also be other points in the story where quests and events split away from this guide.
Checklists
Use the checklist below to jump to specific objectives, or read straight through the full walkthrough.
- Start The Brotherhood’s Plan Quest
- Start The Lost Apprentice Quest
- Search the Swamp Camp for Caine’s Hut
- Find the Abandoned Mine
- Find Caine in the Abandoned Mine
- Flooded Winch Room
- Optional Detour – Upper Minecrawler Path
- Use the Detached Winch
- Descending the Mine Shaft
- Flooded Winch Room
- Optional Detour – Upper Minecrawler Path
- Use the Detached Winch
- Descending the Mine Shaft
Start The Brotherhood’s Plan Quest
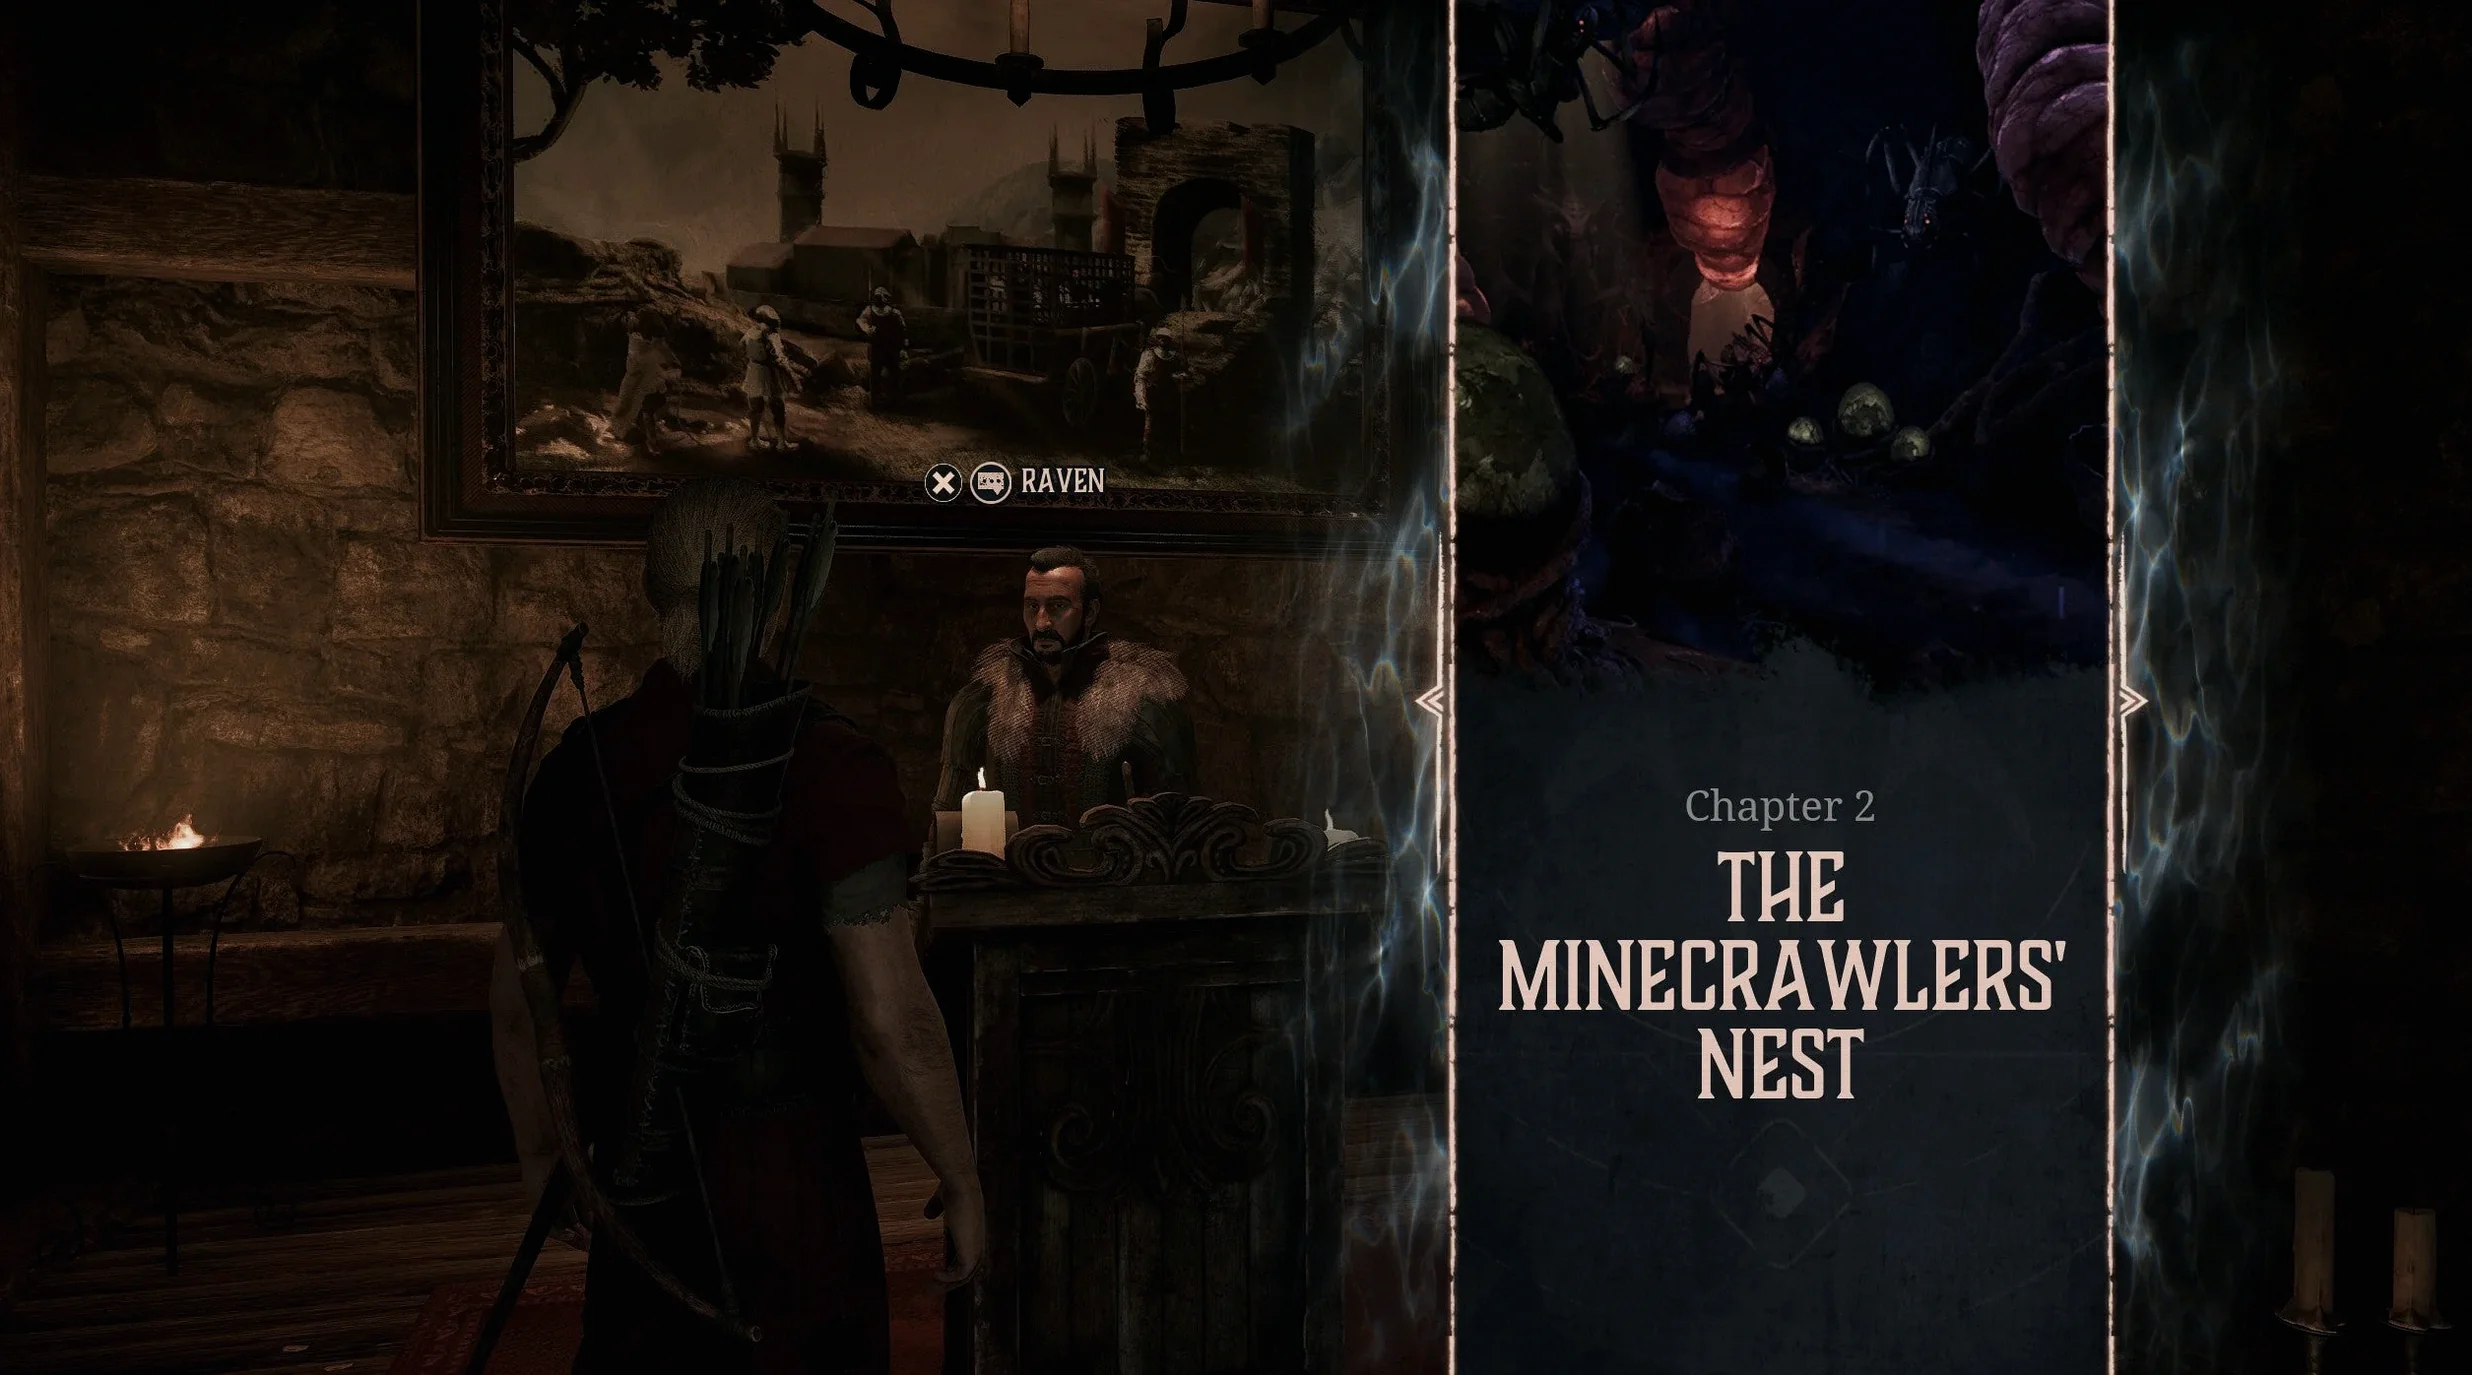
After you complete Admission to the Old Camp, speak with Raven to receive a new assignment: The Brotherhood’s Plan. Raven wants you to travel to the Swamp Camp and meet their Old Camp “mole,” Caine. He also stresses that you should be careful and discreet so you don’t accidentally reveal his side of the conflict.
Head to the Swamp Camp and begin searching for Caine.
Start The Lost Apprentice Quest
- In-game objective for The Brotherhood’s Plan: “I should talk to Caine.”
Once you arrive at the Swamp Camp, follow the in-world signs that lead you toward the potion area.
When you reach the staircase marked by a sign above it, climb all the way to the top platform to locate Cor Kalom’s laboratory. Caine is Cor Kalom’s apprentice, so you should find him there.
At the top, a Templar guarding the front will stop you. He’s suspicious because you appear to be a Shadow. You’ll explain that you’re looking for Caine, and he’ll ask why.
If you choose “It’s about ore. Caine still owes us.”, the Templar accepts the story. He then says Cor Kalom is furious for not showing up today, and tells you to go inside and speak with Kalom.
Kalom cuts straight to the point: Caine didn’t arrive today, and he wants you to find him. This begins The Lost Apprentice.
Search the Swamp Camp for Caine’s Hut
- In-game objective for The Lost Apprentice: “I gotta find Caine.”
When you leave Cor Kalom’s lab, the Templar guard stops you again and offers directions. He says you can find Caine’s hut on the way toward the Swampweed fields, and that you can ask the Novices for help.
- In-game objective for The Lost Apprentice: “I gotta find out which hut is Caine’s and search it.”
To locate it, follow the signs to the Swampweed mashers. The correct route is shown by a tree beside the mortar and pestle.
Once you’re there, look for a Novice sitting on the ground and smoking Swampweed between two huts. If you ask him, he’ll slowly explain which hut is Caine’s—but he isn’t very precise. There are two huts behind him, and the one on the left is Caine’s.
Go inside. There isn’t much to do beyond locating the Drawing of the Abandoned Mine. You can open it if you want, but for quest progress you only need to pick it up.
Find the Abandoned Mine
- In-game objective for The Lost Apprentice: “Maybe someone recognizes the drawing.”
Talk to Nyras nearby. He recommends that you speak with Lester, a helpful Novice who spends his time chatting with Baal Namib at the camp’s front entrance.
From Nyras, leave the Swampweed mashing station and follow the path around the outside of the camp. As you approach the front entrance, Lester and Baal Namib will be on your right.
Lester recognizes the drawing as the Abandoned Mine near the Exchange Zone—where everyone ends up dumped into the Dome (including you). He adds that the mine flooded and Gomez sealed it off.
No matter what you say to Lester, he makes it clear that you’ll probably need to bribe a guard to get access to the mine.
- In-game objective for The Lost Apprentice: “I gotta get access to the abandoned mine.”
Before you can reach the mine, you’ll need to return to Old Camp.
From the Old Camp North Gate, cross the stone bridge, then take the next right.
Follow the path all the way up the hill.
Along the way, you’ll pass the spot where you fought your first Juvenile Scavengers. Not long after, you’ll spot the Abandoned Mine entrance.
At the mine, Orry is standing guard. This matches what Lester warned you about—you may need to bribe him. Orry also mentions that a cultist has come through recently, and it might have been Caine.
If you’re aligned with the Old Camp, you can tell Orry that Raven has official business in the mine and that you should be allowed inside. If not, you’ll need to pay him in Nuggets, or possibly Swampweed rolls.
After you convince him, Orry hands over the Abandoned Mine Key. You’ll also earn 200 Experience Points. With that done, it’s time to enter the mine.
Find Caine in the Abandoned Mine
Inside the mine, it’s quite dark. In the first open area, you’ll find two torches you can pick up—useful later. There’s also a Pickaxe and some meatbugs. Beyond that, you can keep following the cart tracks deeper into the mine.
Ahead, you’ll reach a low section where you need to crouch to pass. If you haven’t crouched yet in your time in the game, now’s the moment: on PlayStation press Square, on Xbox press X. On PC, the default keybinding is C.
You’ll enter a larger chamber with a bridge spanning a chasm. Cross it, and you’ll see a large glowing rock ahead. Under it is a new enemy: the Minecrawler Nymph.
New Enemy – Minecrawler Nymph
These creatures are small. Their health is about on par with a Juvenile Scavenger, but their damage is higher. When Nymphs attack, they can chain together several bite strikes, so stay at a distance until you notice an opening. Once you get one, two hits from a solid +20 damage sword should finish them.
The tell for their strike comes quickly for such small enemies, so you’ll need fast reactions. If you dodge the first attack, they typically fail to land the follow-up strike as well.
Ranged options also work, but because they move quickly and have a spindly shape, they’re difficult to reliably hit.
Not far past the Nymphs, you’ll find a burned-out fire pit with another torch to pick up. Nearby are two ore deposits you can mine using a pickaxe. Unlike many of the older mine deposits, these only yield 1 Ore Nugget per strike, for a total of 5 Ore Nuggets per deposit. The mining animation takes a while, so whether you want the extra 10 Nuggets is up to you.
These ore deposits sit at a fork. One route goes down to the left, while an elevator shaft opens directly in front of you. There’s not much to do straight ahead, and it looks like this is an area you may drop into later to loop back toward the entrance. For now, take the left-hand pathway.
Flooded Winch Room
You’ll reach the first flooded room in the mine. A ladder leads up on the left, while a ramp dips down into the water on the right. If you climb the ladder, you’ll find two ore deposits (worth 5 Nuggets each) plus some extra arrows on the second level.
To continue, you’ll need to dive into the water. There’s a ladder you can swim to on the far side, but before you make that move, swim to the middle of the water and dive below the surface. Use the same button you use to crouch—your jump input will cause you to rise while underwater.
At the bottom of the room, in the center, there’s a large glowing pile of ore. Swim to it, and you’ll also spot a Detached Winch—pick it up because you’ll need it later. You can collect a couple more nuggets here as well, then return to the surface.
Next, swim to the opposite side, climb onto the platform, and then take the ladder up.
There’s a quick detour available here for more ore and experience. If you’d rather push the story forward, you can skip directly to using the Winch.
Optional Detour – Upper Minecrawler Path
When you climb the ladder, you’ll appear near a set of stairs. Go up, then follow the path around until you’re facing glowing crystals across a small gap.
Two Minecrawler Nymphs wait on the other platform. You can attempt to remove them from range while they can’t reach you, or you can jump into the fight.
After you defeat both Nymphs, cross the gap (if you haven’t already) and walk along the upper route, collecting glowing Mistcap mushrooms as you go.
Before the small bridge, there’s a 5-Nugget ore deposit on your left. On the other side of the bridge, you can find three more ore deposits, again worth 5 Nuggets each. Be alert when you cross, though—there’s a third Nymph waiting around the corner to the right.
Before heading back, you’ll also spot the top of the mineshaft you encountered earlier. If you move along the right side and drop down to the lower platform, you’ll find an open chest containing arrows, a healing potion, Swampweed, and more. This route can help you leave the mine faster on your return trip.
For now, climb back to the upper platform and return to the top of the ladder you used to come out of the lake so you can work with the Winch handle.
Use the Detached Winch
From the top of the ladder, look left. You’ll see a platform slightly below you with a mechanism at the far end. Jump as you approach the gap, then interact with the mechanism to pull out the Detached Winch you found earlier and attach it.
With the Winch set up, interact with it and crank clockwise to open the metal gate that kept the submerged route sealed.
From here, you can jump back into the water, ride the currents past the now-open gate, and climb up the tunnel on the other side. Soon you’ll reach the top of another chamber.
Descending the Mine Shaft
Up Next: Quests
Top Guide Sections
- 16 Things to Do First in Gothic 1 Remake
- Walkthrough
- Quests
- How to Travel to New Camp


