Mass Effect 3 From Ashes Guide: New Squadmate, Cost, and Hidden Twist
Mass Effect 3’s first downloadable expansion, From Ashes, drops right on launch day and centers on bringing a brand-new squadmate into your party. Microsoft charged 800 points for the add-on, and while the expansion itself was created after Mass Effect 3 passed its certification process, players have also uncovered an interesting twist: Javik’s character model appears to have been placed on the retail disc anyway. That means the game ships the character assets, even though the actual downloadable content isn’t included on-disc.
Checklists
Task Search
NOTICE
If you’re playing on Xbox 360, it’s best to run this mission either before Priority: Palaven or wait until after Priority: Tuchanka.
This version has a known issue where Primarch Victus and your Krogan Leader can vanish from the Normandy’s war room. Neither character is meant to leave until after Priority: Tuchanka, and getting locked out early can cut you off from both dialogue and a Side Mission.
Looking for something specific? Click the links below to jump to…
- How to Get From Ashes
- Mission Stats
- Travel to Utopia
- Find the Prothean Artifact
- Find the Pod Data
- Find the Remaining Pod Data
- Find Another Way to the Pod
- Wait for Pod Transmission
- Back on the Normandy
How to Get From Ashes
Whether you have From Ashes ready to play depends on the edition you’re running:
- For the original 2012 release on Xbox 360, PlayStation 3, and PC, it’s paid DLC priced at $10 USD.
- It also came with the Collector’s Edition and Digital Deluxe Edition at no extra cost.
- For the Legendary Edition and the Wii U Special Edition, From Ashes is included for free.
- It was also included for free with the Collector’s Edition and Digital Deluxe Edition.
After installing From Ashes, you can access it once you finish Priority: The Citadel 1. However, Javik won’t be available for your squad until after Priority: Palaven.
Mission Stats
Video Guide
Mission Rewards
- Experience: 1,000 XP
- Reputation: +15
- Found Credits: 15,000 credits
- Weapon: Particle Rifle
- War Asset: Eden Prime Support (25-100 TMS)
Mission Enemies
- Assault Trooper
- Guardian
- Centurian
- Combat Engineer
- Atlas
- Nemesis
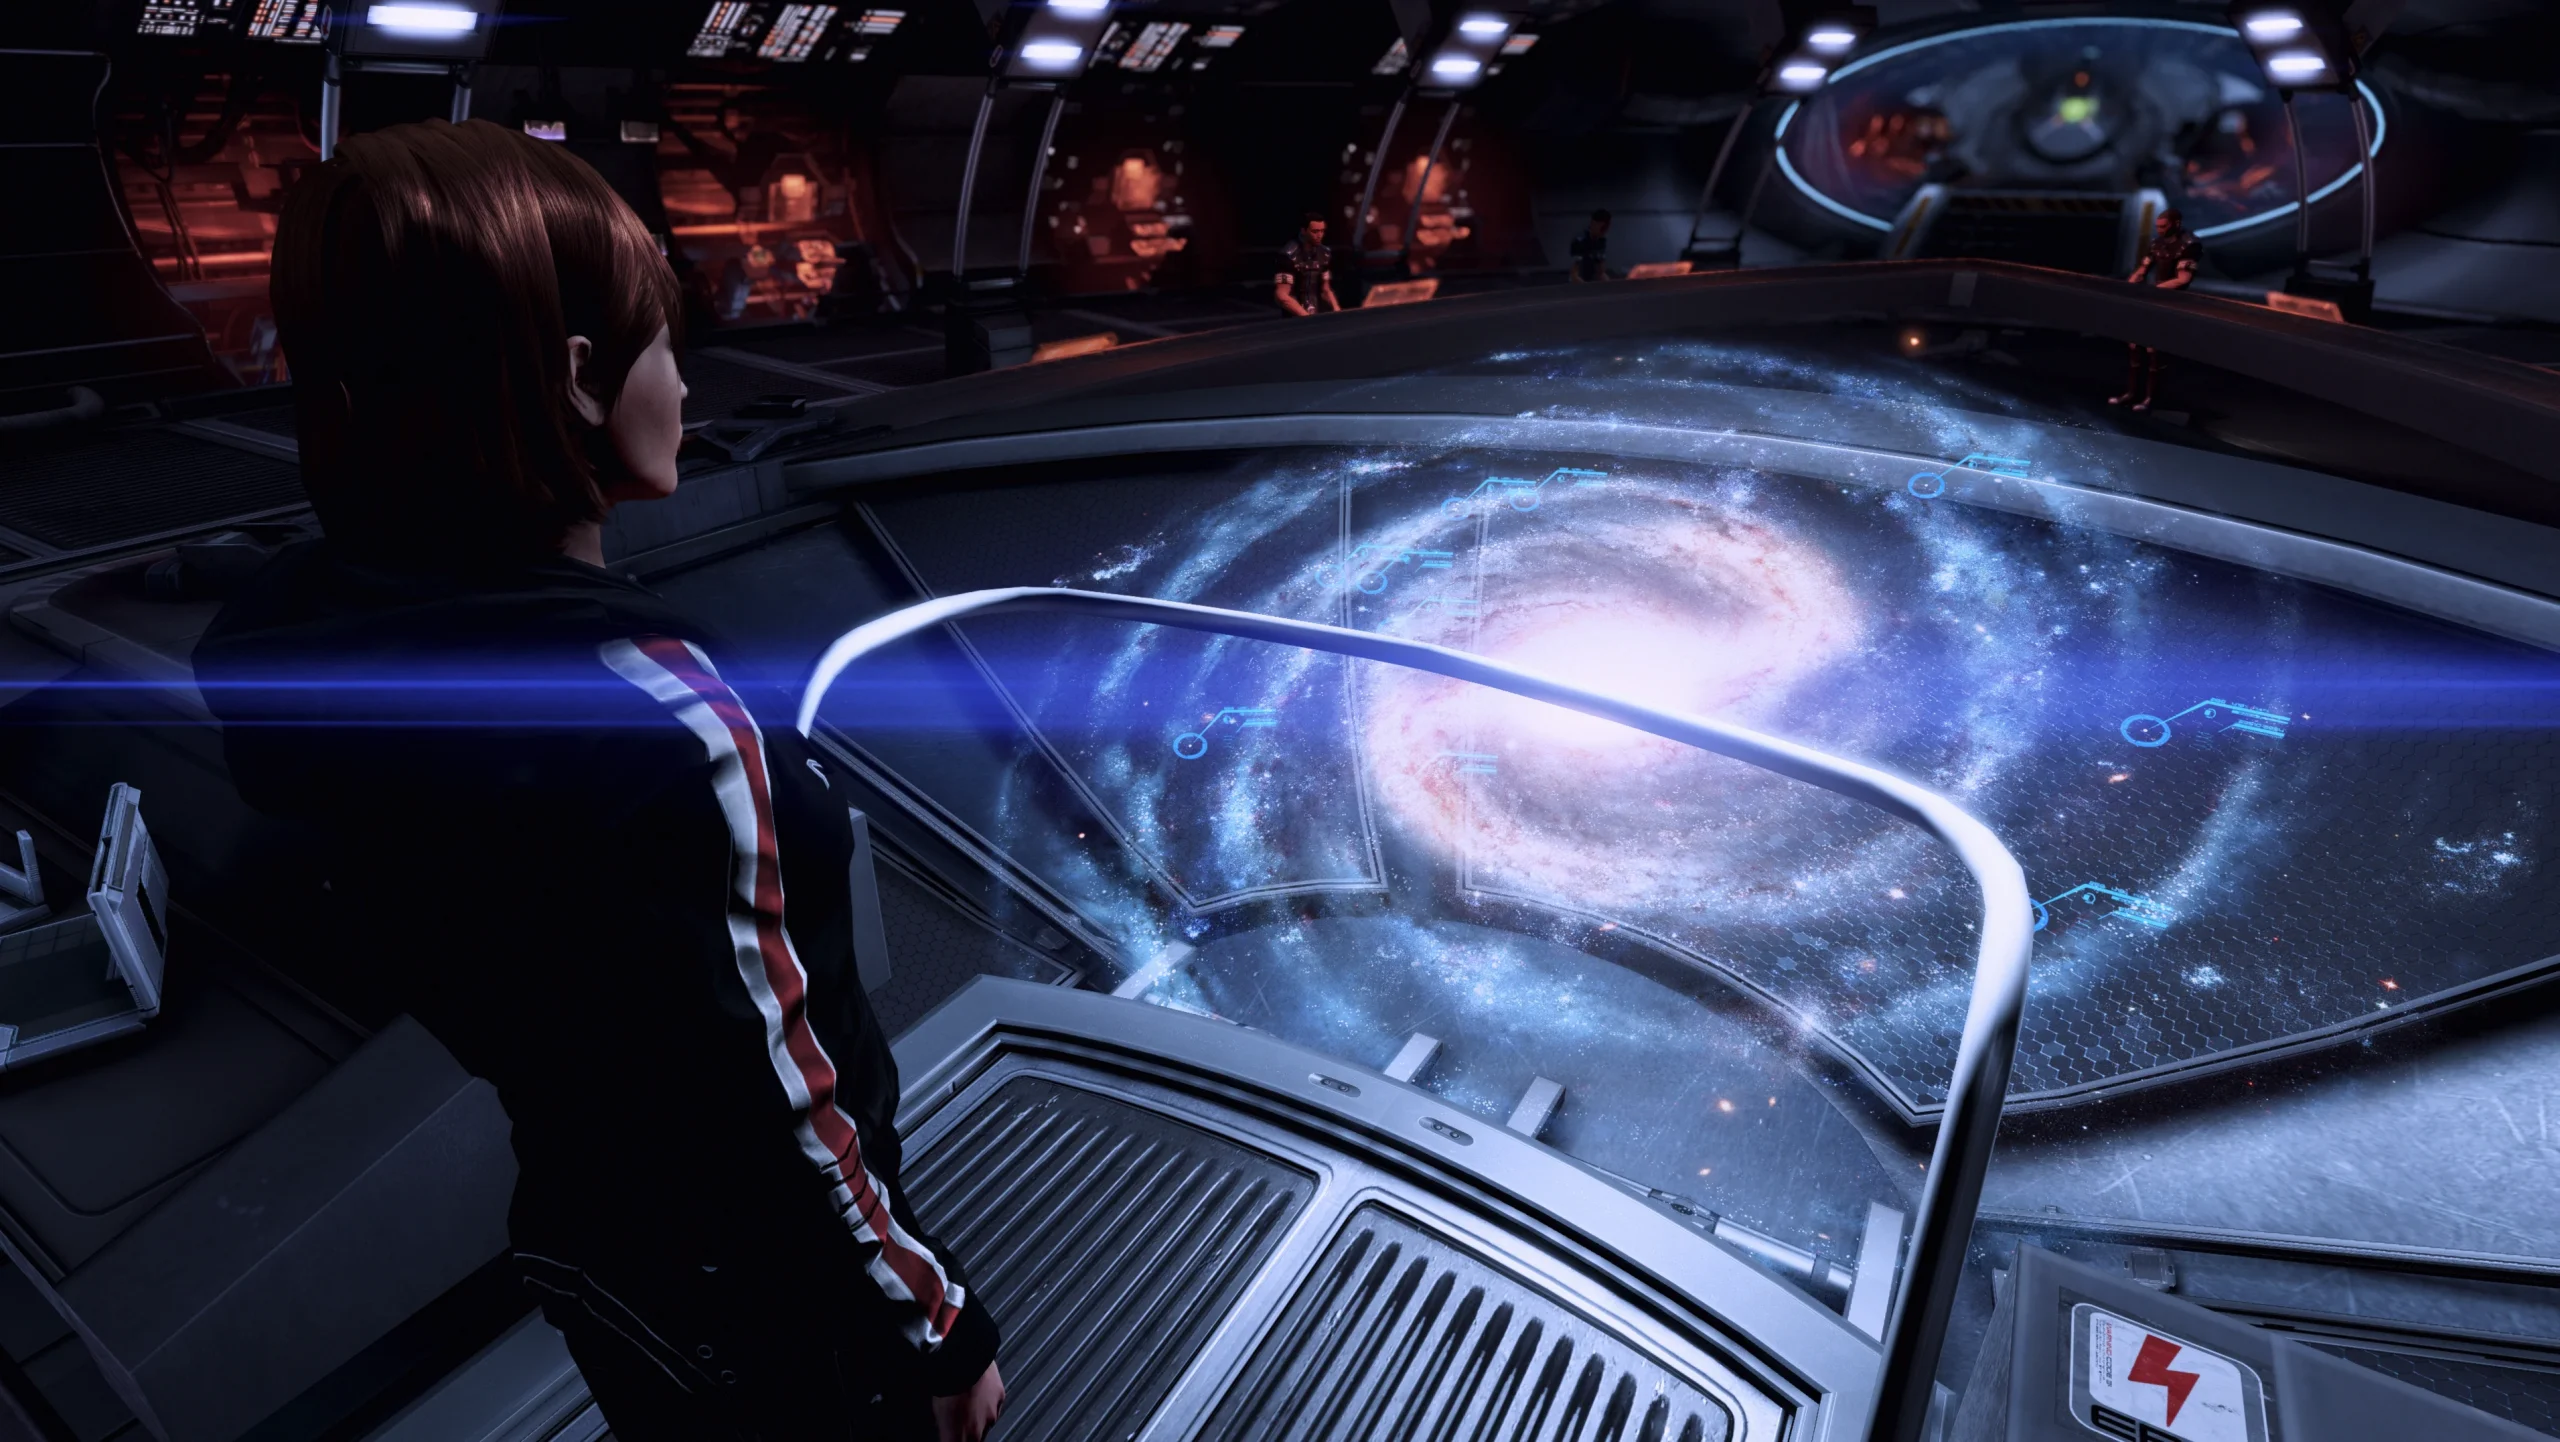
Travel to Utopia
- Prerequisite: Complete Priority: The Citadel 1
- Location: Exodus Cluster – Utopia – Eden Prime
This mission takes you to Eden Prime, the same planet that kicked off the first Mass Effect. To reach it, head to the Exodus Cluster, then once you’re in the Utopia system, find and land on Eden Prime.
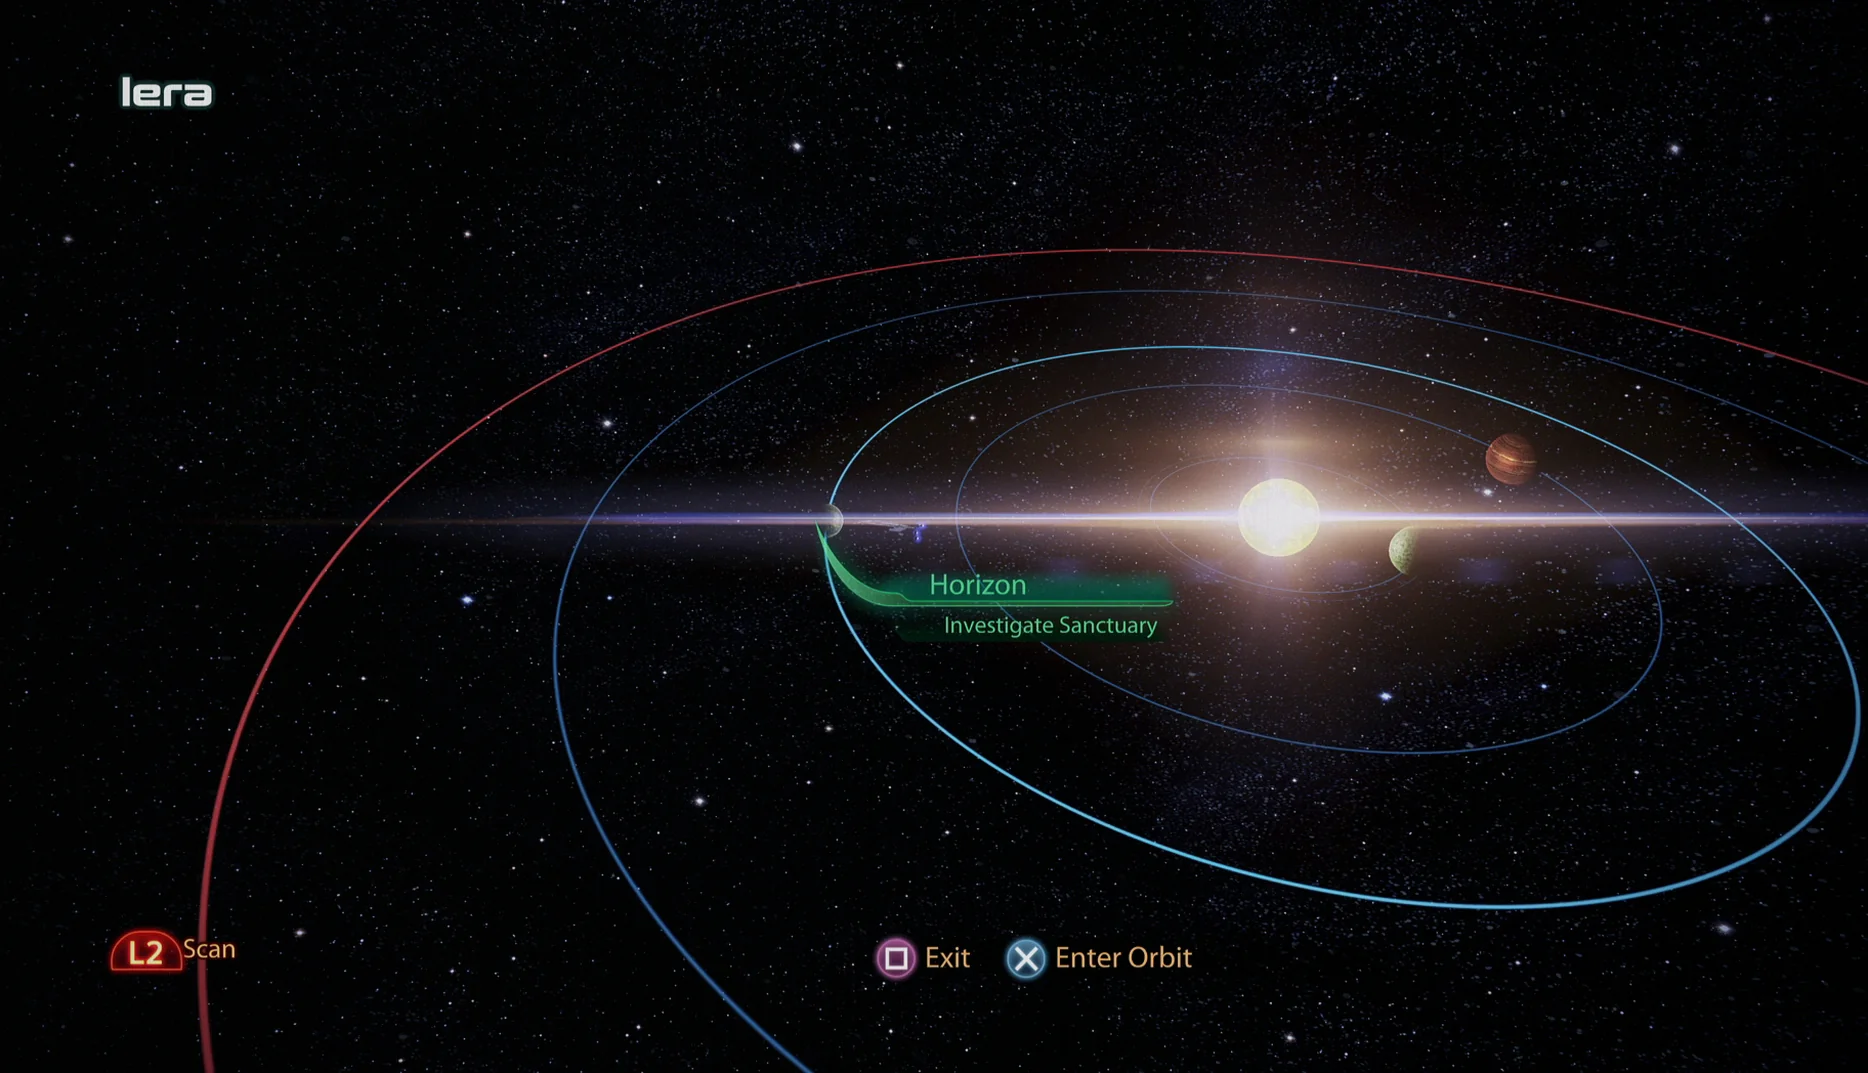
Search and Rescue
While you’re in the Exodus Cluster, consider running Search and Rescue in the Asgard and Utopia systems as well—those activities are exclusive to this DLC.
Asgard has a total of five Discoverables, so you’ll want to plan your route to grab everything efficiently. Here’s a one-pass method that covers them all:
- Before doing anything, SAVE!
- Scan just north of the gas giant Borr to collect three Discoverables.
- Next, quickly scan and take Loki, the outer-most planet. The scan pings the Reapers and they appear in-system, but they won’t relocate while you’re investigating a planet.
- Fly “northwest” to Terra Nova, the inner-most planet, then scan it quickly to pick up its War Asset.
- Leave the system and get out!
If you need a visual reference, all five Discoverables are highlighted in the screenshot referenced above.
Recommended Squad
- Squad Tactics:
- Liara is a must-have due to her background in Prothean archaeology. Focus on upgrading her Singularity Power for the best results.
- If you begin this mission after Priority: Perseus Veil, Tali is a strong option if you have her available, since her Sabotage ability works well against the level’s Turrets.
- Unique Dialogue:
- If you start early, you won’t have many slots for special dialogue, but EDI is a solid fallback.
- If you start this mission after Priority: The Citadel 2, your Virmire Survivor is a great choice thanks to their Eden Prime history from the first game. The trade-off is that you’ll miss exclusive dialogue tied to this mission’s new recruit.
- Shepard’s Loadout:
- Piercing, Shredder, or High Velocity mods are useful for punching through this area’s heavy cover.
- The map has long sightlines and includes two sniper enemies, so a sniper rifle is recommended.
- If you have the Citadel DLC and/or completed the Omega DLC, bring a Thermal Scope for your assault or sniper rifle—it helps you see through smoke and even through walls.
- If you’re running an Engineer or Infiltrator, your Sabotage skill becomes extremely valuable against the multiple Turrets you’ll face.
- Liara is a mandatory inclusion, given her background in Prothean archaeology. Put emphasis on upgrading her Singularity Power for best results.
- If you start this Mission after Priority: Perseus Veil, Tali is a good pick if available, as her Sabotage ability works on this level’s Turrets.
- If playing early in the game, you won’t have much room for unique dialogue, however EDI is a good choice in this circumstance.
- If you start this Mission after Priority: The Citadel 2, your Virmire Survivor is a great choice because of their history on Eden Prime from the first game. However this comes at the cost of missing unique dialogue available via this Mission’s new recruit.
- Piercing, Shredder or High Velocity mods will be rather appreciated to deal with this level’s thick cover.
- This level has long sightlines and two sniper enemies, so having a sniper rifle is recommended.
- If you have the Citadel DLC and / or completed the Omega DLC, a Thermal Scope for your assault / sniper rifle helps see through smoke bombs and through walls!
- If your Shepard is Engineer or Infiltrator class, your Sabotage ability will be VERY handy here on the multiple Turrets.
Find the Prothean Artifact
When you arrive in the shuttle, you’ll have a conversation in the Kodiak shuttle. It can grant Morality Points, though how many you have available depends on how you started the game:
- If you imported a save stretching all the way back to Mass Effect 1, you can exclusively choose “I remember Eden Prime” to talk with your squadmate who isn’t Liara. The exact wording of the next two options may shift, but the top-right pick always yields +2 Paragon Points, while the bottom-right pick always yields +2 Renegade Points.
- The conversation also awards additional Morality Points at the end. Again, the phrasing can vary depending on how far back your save goes, but the upper-right choice still provides +2 Paragon Points, and the lower-right choice still provides +2 Renegade Points.
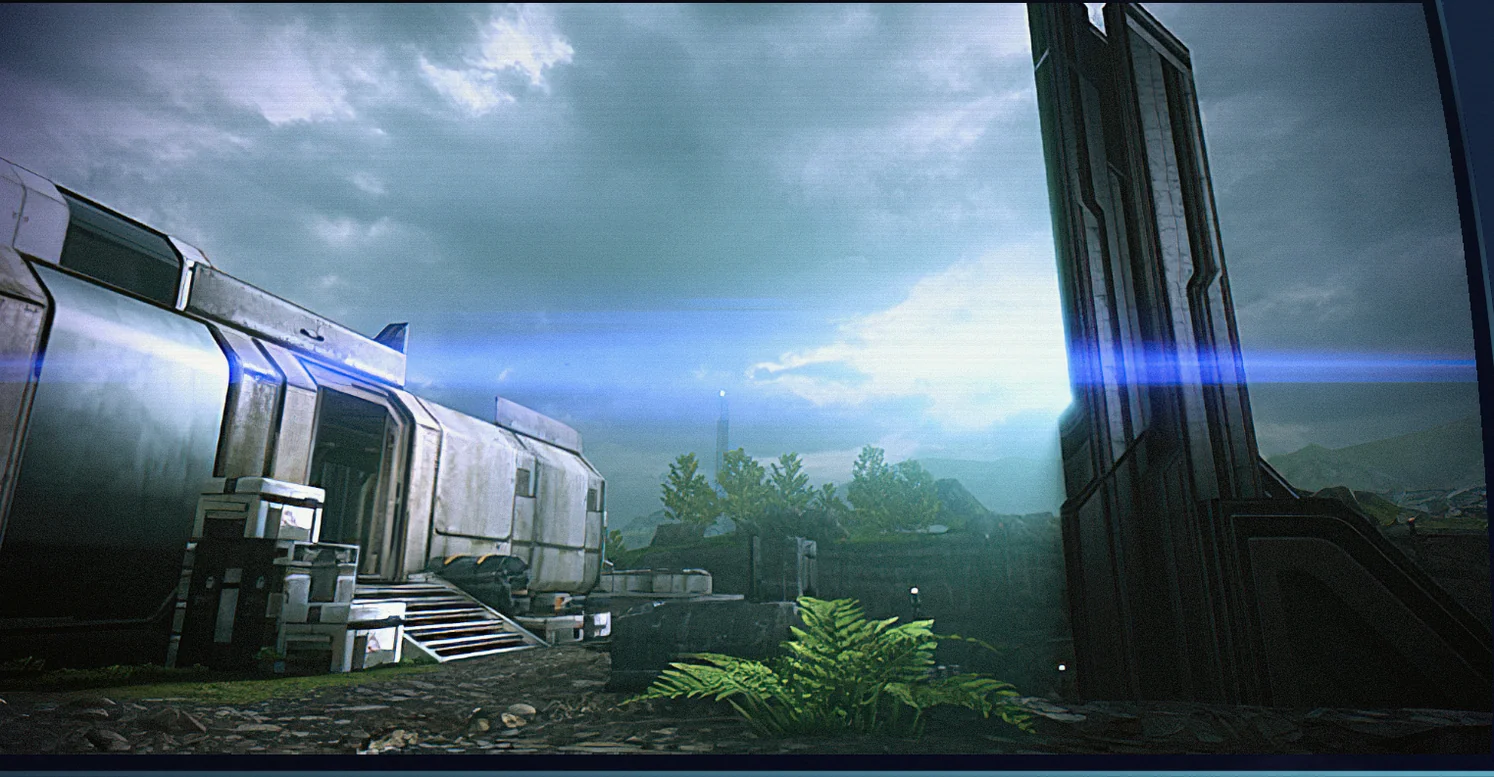
Now you’ll disembark onto the colony itself—though it’s not the same area as Mass Effect 1’s “Find the Beacon” mission. You won’t face enemies immediately, so take your time to wander and explore. Follow the winding path as it leads under several buildings.
As you enter the sunlight on your right, there’s a structure labeled with the number 6. Go inside to collect some items:
- Computer – 3,000 credits. From the entrance, look to the right to spot this laptop on a table.
- Med Kit – 50 XP. The room contains a kitchenette with two sinks; the Med Kit is positioned between the sinks.
- Terminal – At the far end of the building is an office-like area. Use the laptop to start the Eden Prime: Resistance Movement Side Mission and obtain the Eden Prime Support War Asset worth 25 TMS. You’ll find the other two later when you reach the relevant sections.
Head back to the earlier building entrance and go right toward the cliff edge. There’s a View Point that’s easy to miss, where Liara will talk with your other squadmate about her own past dig sites.
Next, find the elevator controls to trigger a major cutscene. The locals didn’t only recover a Prothean Artifact—they discovered an actual Prothean! During this sequence, you can earn Morality Points:
- Select “I’m curious about them” to unlock two follow-up options:
- “Impressive” grants +2 Paragon Points.
- “That sounds too friendly” grants +2 Renegade Points.
- After that, continue the conversation with…
- “Then I’m glad you’re here” / “This is a great chance” for +2 Paragon Points.
- “First we open it” for +2 Renegade Points.
- “Impressive” for +2 Paragon Points.
- “That sounds too friendly” for +2 Renegade Points.
- “Then I’m glad you’re here” / “This is a great chance” for +2 Paragon Points.
- “First we open it” for +2 Renegade Points.
Unfortunately, Liara explains that you can’t just pry open the pod. Doing so would kill the Prothean inside, effectively turning the pod into a coffin. You’ll need access codes to end the pod’s stasis mode, along with a way to physically open it. At the worst possible time, Cerberus arrives—making everything far more difficult.
Find the Pod Data
From the start, sprint across the bridge to close the distance and tuck behind cover. You’ll be dealing with a grenade-throwing Centurion, and also two Nemesis snipers. If you launched the DLC early, these snipers may be new to you. Luckily, they’re the only ones you’ll face in this DLC.
- Nemesis snipers carry sniper rifles, so they prefer long-range cover and picking you off from a distance. They’re also protected by shields, similar to Centurions.
- Even though they use M-13 Raptors, their damage output is closer to one-shot sniper rifles like the M-92 Mantis, so you’ll need to play carefully. Liara can be killed in one hit by them at the easiest difficulties if she’s not positioned safely.
- Nemesis units give themselves away with the high-pitched laser sight they use while aiming, but the time between spotting you and firing decreases as you raise the difficulty.
- If you’re targeted and you’re not behind cover, double-tap the Interact button to roll out of the way.
After those first three enemies are down, move to the far end of the bright area, then go right and climb a set of steps. Ahead, you should spot a building labeled “6 Lab,” with another structure labeled “7” just to the right. That’s where you’ll be attacked by several Centurions and three Combat Engineers. Combat Engineers officially appear earlier in Priority: Sur’Kesh, so here are some tips:
- Like their fellow Centurions, Combat Engineers operate behind shields. Even though they carry only a pistol, their M-5 Phalanx still makes them a serious threat.
- Turrets are the biggest danger when Combat Engineers show up. Once deployed, a turret can very rapidly shred Shepard and the squad. The good news is that turrets pause between lethal bursts, so you can chip away at their health during cooldown windows.
- Destroying turrets always causes an explosion. Ideally, you want to time the destruction while a Combat Engineer is attempting to set one up—then the turret can be taken down in one shot, dealing major damage to the engineer and anyone nearby.
- Garrus’ Overload is particularly strong here: it lands immediately, strips the Combat Engineer’s shields, and makes them take even more damage.
- Combat Engineers can also repair turrets and mechs if they’re given space and time. That’s why you may actually want to focus the Engineers first if you haven’t managed to destroy a turret yet.
- Garrus’ Overload ability is especially great in this situation: it hits instantly and will also strip the Combat Engineer’s Shields, letting them take even more damage!
Once the engineers and threats are eliminated, enter “6 Lab” to get close to an objective. Before you step into the room, grab the following:
- Equipment – 3,000 credits. When you enter “6 Lab,” turn left to find a laptop on the far desk.
Go through the door and interact with the Computer Console to trigger a memory playback: a video feed of the Prothean extinction during the prior Reaper cycle. Thanks to the Prothean Cipher Shepard received on Feros, Shepard can interpret the footage and obtain the stasis readiness signal needed for the life pod.
Find the Remaining Pod Data
Leave “6 Lab,” then turn right to locate a door you can enter. Check the Table, then move left and exit from the far side of the building.
Once you’re out, more Cerberus forces will attack. They gather near a building marked with a “2” on the right. Since a turret is already deployed, take cover and focus on eliminating both it and the Combat Engineer who set it up. After that, clean up the Centurions and Assault Troopers.
After wiping out the Cerberus units, go through the door on the “2” building with the orange panel, then head to the back deck.
- Med Kit – 50 XP. On the rear balcony of the “2” building, under a table surface with a laptop on it.
Turn right to find the entrance into “01 Lab,” then interact with the Computer Console to view another clip from the previous cycle. This time, Shepard sees the Prothean using a control interface to open the pod safely—exactly the final piece of information needed.
Return to the Prothean Pod
Cerberus won’t let you stroll back to the Prothean Pod, so they send in a group of soldiers to stop you. Sprint back to the entryway of the “2” building and take cover there—it’s a strong position for cutting down the incoming troops. Since two Combat Engineers are included, remove them first so you don’t have to worry about turrets immediately.
When the area is clear, return to the entryway of the “2” building, face outward, and look right for a doorway into a building near a tall glass window. Inside, you can pick up additional loot:
- Terminal – Enter the building and turn left to reach a small server room with an exit door. To the left of that door is a wide panel beneath four orange monitors. Examine the Terminal to advance Eden Prime: Resistance Movement, increasing the Eden Prime Support War Asset by 25 TMS.
- Equipment – 6,000 credits. Return to the entryway, walk just past it, and look right. A table with science equipment sits there—salvage it with a microscope to recover the credits.
While you’re collecting items, Cerberus troops begin setting up nearby. Head toward the exit door near the Equipment noted above. That position isn’t ideal, especially with the turret, but if you can reach it, the wall of cover at the base of the steps out of the building is more defensible. Keep watch for any soldier trying to climb the ladder and reach the roof of the building you just left.
Move up the nearby steps to return to the open area at the end of the bridge leading back to the Prothean Pod. The last enemies are waiting here: a Combat Engineer plus his turret, and three Guardians. Use a weapon with Piercing/Shredder mods and/or Liara’s Singularity to push through their shields. Once the music quiets down, you’re free to explore around the area.
To locate the final loot, face the stairs you used to reach this upper area, then enter the building through the open doorway to the left. You’ll see “Restricted Area” text above it.
- Equipment – 3,000 credits. Right when you enter, salvage it from the laptop sitting on the corner desk among the pink tubes to your right.
- Terminal – Walk to the far end of the room to find two laptops positioned between a pair of “XTX” servers. Examine the right-most laptop to finish Eden Prime Resistance Movement, increasing the Eden Prime Support War Asset by 25 TMS and earning +5 Reputation.
Find Another Way to the Pod
With the data secured, head back to the bridge toward the Prothean Pod only to find Cerberus has pulled it back. You don’t have time to waste: climb down the end of the pod area, go left, and scale the distant ladders to reach the top of a building. From the roof, cross over the ventilation ducts, turn right, and find the ladder back down to the ground.
This is where the earlier View Prompt appears, so head right, then turn left to return to the Prothean Pod and interact with it.
Wait for Pod Transmission
The Prothean Pod needs a few moments to complete the procedure, and if you’re experienced with shooters, you already know what comes next: a final fight. Head back to the bottom of the ladder and take cover from the two enemy sources:
- The main group includes Guardians and a Combat Engineer moving down the dirt path that runs beneath the elevated building. They often hide inside the corner building by the ladder you climbed down, so be careful.
- As you fight them, a shuttle will arrive to drop off Assault Troopers. The open doors leave them exposed, so shoot them while they’re still aboard the shuttle.
- A second shuttle will unload more troops further up the dirt path. Make sure they can’t cut through the corner building.
After they’re dealt with, you’ll have about 30 seconds to prepare for the next wave. This one is especially punishing: Cerberus brings troops to the corner, along the dirt path, and also drops a mech directly on top of the Prothean Pod. There’s no comfortable area to hide, but the corner building gives you solid cover for holding the line.
And yes, the mech is an Atlas—an elite enemy that usually doesn’t appear until Priority: Sur’Kesh.
- The Atlas primarily attacks with its cannon, which can hit instantly for huge damage plus burn effects. Getting into cover is a priority, especially because it tends to fire a rocket right after you peek out.
- Don’t get too close: the Atlas uses a claw to grab Shepard, potentially crushing you for an instant kill.
- When the Atlas is destroyed, it explodes and damages enemies, Shepard, and the squad indiscriminately.
- To make the fight even more annoying, Atlas mechs also drop smoke grenades, creating clouds big enough to obscure even the mech itself.
- With enough damage to the Atlas’s yellow window—or by using armor-piercing rounds—you can kill the pilot inside. That leaves the mech operational so you can commandeer it for the “Hijacker” Achievement/Trophy. Still, it’s extremely difficult and usually impractical, because by the time you can take control, the Atlas has typically taken most of its health away.
When every enemy force is eliminated, return to the life pod and release the Prothean inside. After a brief moment of confusion, you’ll see the Prothean’s final moments before he fully enters stasis. You’ll also learn his name: Commander Javik. After you finish, you can grab Morality Points:
- Say “It wasn’t a failure” for +2 Paragon Points.
- Say “I need your help” for +2 Renegade Points.
Once the mission ends, you’ll be sent back to the Normandy.
Back on the Normandy
After reconnecting with Admiral Hackett, you’ll get a second cutscene in Engineering where you formally meet your Prothean guest. He doesn’t bring any new details about the Crucible beyond the fact that it was never completed—or any information about the Catalyst. Still, as a battle-hardened soldier, the Prothean takes on the role of the avatar of Vengeance and can join your squad, revealing his name: Javik.
After the longer Investigate segment (or if you skipped it), you’ll return to gameplay and learn that you’ve unlocked the Prothean weapon: the Particle Rifle. You’ll also unlock one of Javik’s powers, Slam.
Particle Rifle
The Particle Rifle is unusual because it recharges like Mass Effect 1 weapons—meaning it doesn’t truly run out of ammunition. Instead, it replenishes after a brief pause. After a few seconds of continuous firing, the beam enlarges and deals four times the damage output, making it especially effective against high-health targets like Atlas mechs and Brutes.
As a beam weapon, it has perfect accuracy and no recoil. The downsides are weight—this gun is extremely heavy—and a very long cooling time when overheated fully. If you can work around those drawbacks, it’s arguably the strongest Assault Rifle you’ll see until near the end of the game.
You’ll also receive the Eden Prime Support War Asset. By default, it’s worth 25 TMS. It increases by an additional 25 TMS for every Resistance Terminal you discovered for the Eden Prime: Resistance Movement Side Mission while you were on Eden Prime, for a maximum of 100 EMS!
With that done, it’s time to head back to the Normandy again.
- Engineering – Speak to Javik for a few lines, then visit Allers’ room for a brief walk-in conversation and one additional comment.
- Crew Deck – Talk to Liara (as expected), plus the Intel Terminal, Garrus, and Dr. Chakwas.
- If you picked up “Remains of Reaper Destroyer” from Borr in the Asgard system, you can use it at Liara’s Intel Terminal. It gives either a +5% Power Recharge Speed or a +5% Store Discount bonus.
- CIC – Speak to Traynor, Joker, and EDI. Also check your Private Terminal for an important message from Miranda Lawson, a squadmate from Mass Effect 2.
- Shuttle Bay – James has two comments waiting, but when you arrive, you’ll likely want to hear something more immediate.
- If you picked up “Remains of Reaper Destroyer” from Borr in the Asgard system, you can use it at Liara’s Intel Terminal. It gives either a +5% Power Recharge Speed or a +5% Store Discount bonus.
If you’re following the guide in order, go to the Shuttle Bay and approach Cortez while listening to a recording that’s clearly significant to him. Your responses can award Morality Points:
- When Steve says the recording is from his deceased husband…
- Choose “Remember that he cared” for +2 Paragon Points.
- Choose “Let it go” for +2 Renegade Points.
- When Steve admits how alone he feels…
- Choose “I’m here for you” for +2 Paragon Points.
- Choose “We are all alone” for +2 Renegade Points.
- Choose “Remember that he cared” for +2 Paragon Points.
- Choose “Let it go” for +2 Renegade Points.
- Choose “I’m here for you” for +2 Paragon Points.
- Choose “We are all alone” for +2 Renegade Points.
Want more help for Mass Effect 3? Check out the pages below:
- Legendary Edition Changes
- How-To Guides
- Key Choices and Consequences
- Romance Guide
- Walkthrough
- Side Missions
Up Next: Eden Prime: Resistance Movement
Top Guide Sections
- Legendary Edition Changes
- Game Basics
- Tips and Tricks
- How-To Guides