Mass Effect Ilos Guide: Loot, Squad Builds, Dialogue Choices & Combat Prep
Mass Effect’s Ilos mission is the last stretch of the Race Against Time storyline, and once you touch down there, you’re essentially locked on rails toward the finale. This guide breaks down what to expect—from the point-of-no-return warning, to squad and loadout suggestions, to where the loot is hidden, and which dialogue choices matter—so you can go in prepared for every combat encounter the planet throws at you.
Ilos Is the Point of No Return
The moment you land on Ilos, you hit the point of no return for the rest of your journey. Before you begin, there are a few critical things to know:
- After landing on Ilos, you’ll be pushed into a direct run to the end of the game, with no opportunity to explore other areas.
- Because of the story progression, the Squad Select screen you see at Ilos landing is the final one you’ll get in the entire game.
- Unlike Mass Effect 2, there’s no post-game “free roam” state available. If you want to see the galaxy again, you must reload a save from before you landed on Ilos (or, for the Citadel, before you finished all four Mission Worlds).
Mission Stats, Requirements, and Setup
Essential Stats
- Persuasion Points: 8–12 Charm / 8–12 Intimidate
- Minimum Decryption: Hard Decryption
- Minimum Electronics: Easy Electronics
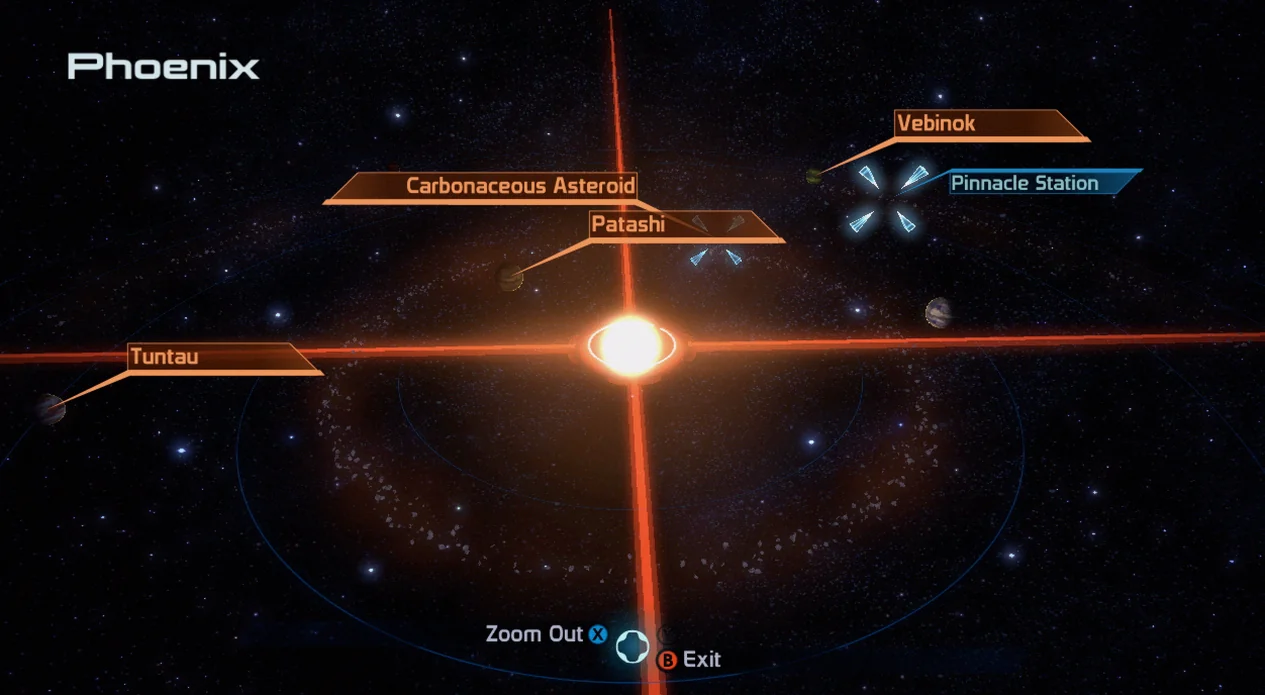
Where to Go
- Location: Pangea Expanse – Refuge – Ilos
To reach Ilos, open the Galaxy Map and find Pangea Expanse in the “northeast” region—just left of Virmire. Select the system named Refuse, then land on Ilos, which is the second planet listed there.
The Refuge system doesn’t contain discoverable collectibles, so go straight to the planet and begin the finale.
Right after you arrive, you’ll get the familiar BioWare-style cutscene where your romance partner visits you shortly before the game’s conclusion.
- Choosing the upper-right or right-side options leads to a more intimate love scene.
- Choosing the lower-right options makes them leave, but it does not cancel the romance. They’ll still count as your romance partner when you continue into Mass Effect 2.
Recommended Loadout (and Squad Advice)
Ilos is the final moment you can choose your squadmates. From here, the route is straight to the end.
- Squad Tactics:
- Liara or Kaidan are recommended because their biotics are especially useful during the last portion of the game.
- Tali is also a strong choice. You’ll be dealing with swarms of some of the toughest geth units, and Ilos includes Hard Decryption loot objects.
- Unique Dialogue:
- Liara has a lot of special dialogue here, since this is a Prothean setting.
- Garrus pairs well with Liara thanks to additional dialogue of his own.
- If you want your romance partner with you, pick them second on the Squad Select screen. This helps position them correctly for the ending cutscene.
- Shepard’s Loadout:
- You’ll face many synthetic enemies going forward, so consider Armor Piercing / Tungsten Rounds and Combat Sensor / Scanner upgrades.
Find the Conduit: Combat Encounters and Loot Route
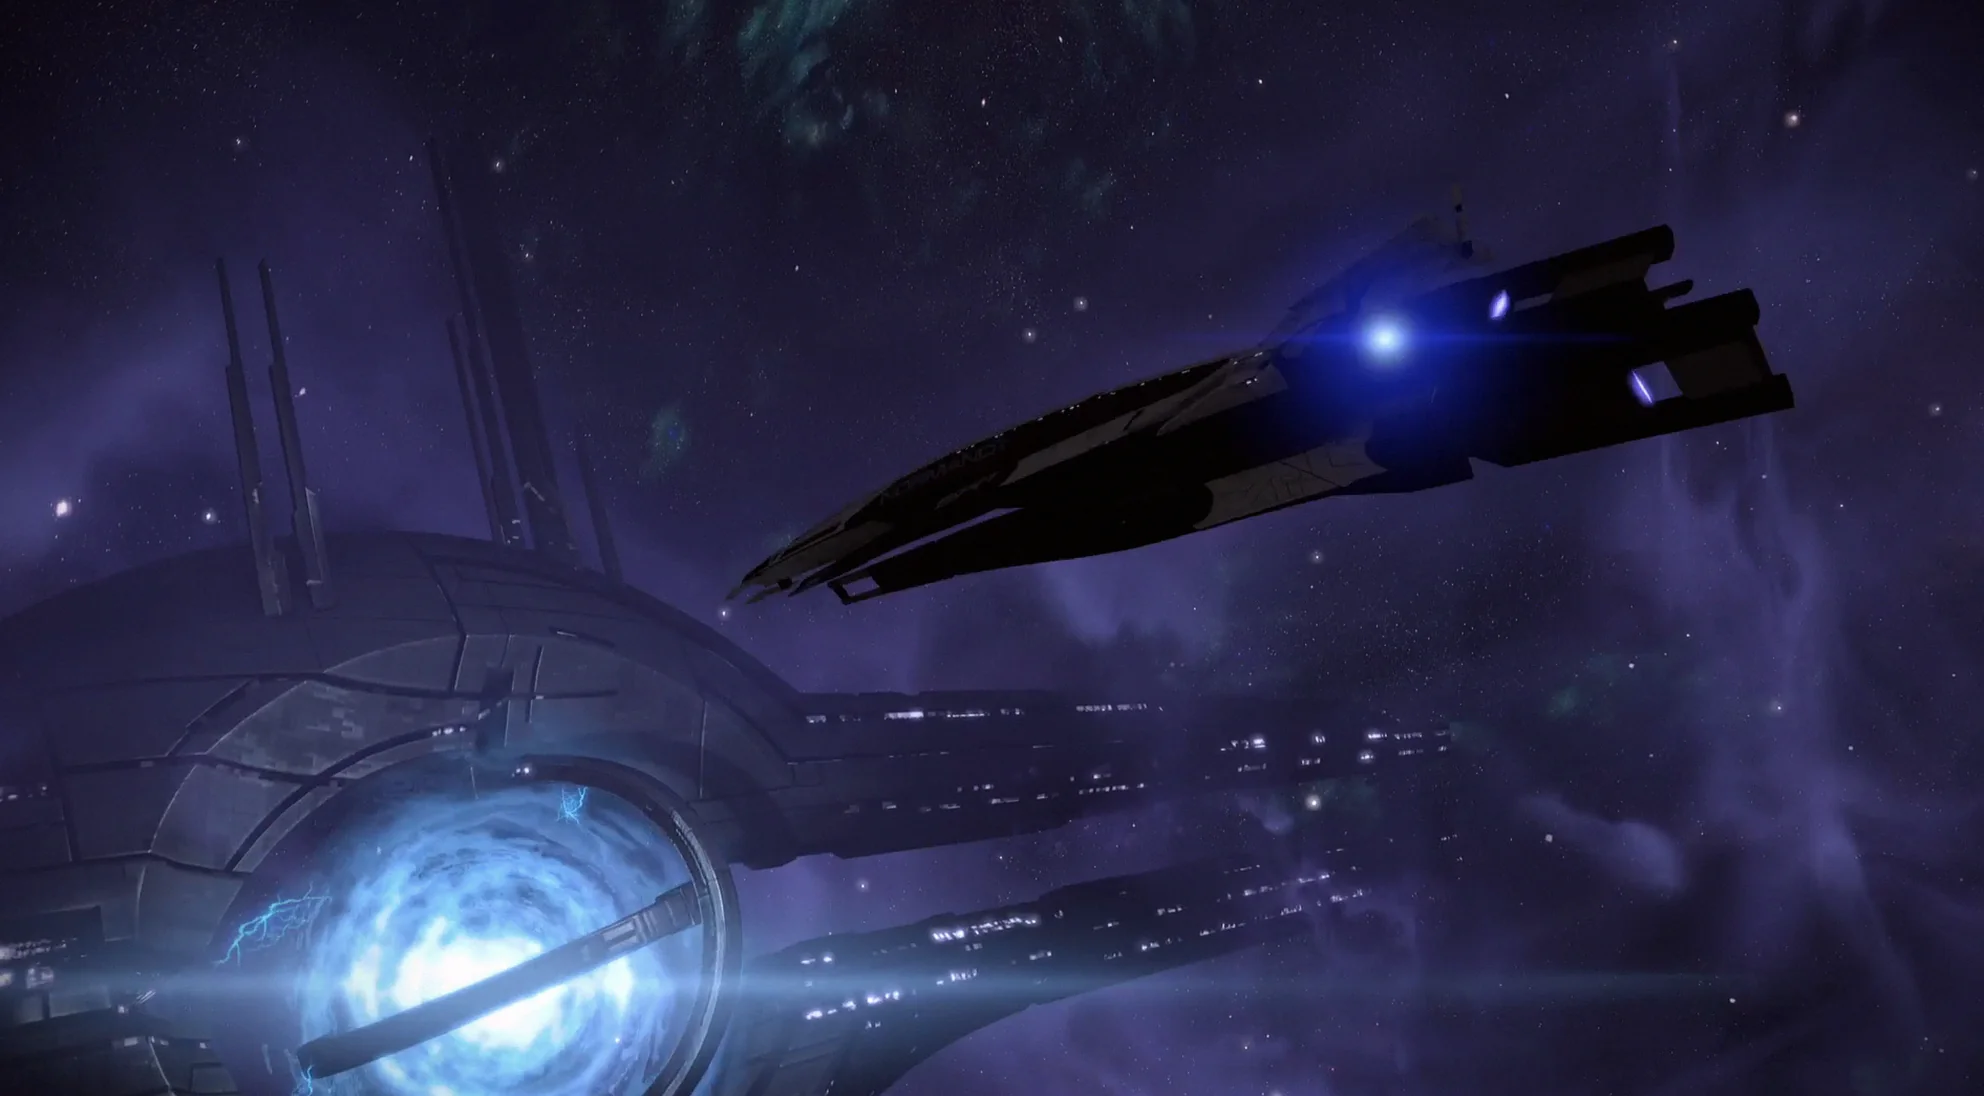
After Joker’s impressive drop-off, you land on Ilos in the Landing Zone just outside the Mako. The door ahead is locked, so you’ll need to clear enemies and locate the route to open it.
Pull out your weapons and turn around to deal with the geth moving in. Even though the Mako can handle nearby threats with heavy firepower, it’s suggested you clear enemies on foot here as the vehicle struggles to navigate the area smoothly. Move carefully through the tight spaces and keep an eye on your radar as you advance.
In the open section ahead (listed on the map as the Plaza), you’ll find large stone blocks to use as cover, along with two Armatures to deal with. The Lower Ruins gives you a way to disable them, but for maximum XP, it’s recommended to destroy them here first. Once you clear that initial fight, the northern part of the Upper Ruins is opened up.
- Hardened Crate (Hard Decryption) — near the elevator shaft to the right of where the Armatures were.
If you want extra optional progress, you can take a side path down a winding ramp into the Lower Ruins. This detour is entirely optional (especially if you already destroyed the Armatures), but it’s strongly recommended if you aren’t Level 60 yet. Find the ramp on the north-eastern edge of the plaza, then head down while killing the lone geth along the way.
At the bottom, you’ll face a swarm of frog-like geth. Clear them out, then check for loot:
- Locked Crate — located in the northwest corner of the square-shaped area in the northwestern portion of the Lower Ruins.
From there, travel east a bit, then go south. Look behind the ramp to catch a straggler geth.
- Armature Control (Hard Decryption) — in the “Trenche” map area, left of the column in the northern corner. Even if you destroyed the Armatures in the Upper Ruins, decrypting this still grants XP.
Keep pushing toward the south until you find a geth Assault Drone. After that, proceed to the end and head up the winding ramp. You’ll find one more geth Trooper waiting there. When you reach the top, you’ll arrive in an open area behind the two Armatures—positioned exactly where you need to continue along Ilos’s main route.
No matter which path you took, you’ll now need to locate the way south, which is a side area just south of where you fought the two Armatures. Use the loot placement below to orient yourself.
- Crate — on the southern wall of an intersection, south of the two Armatures you fought earlier, and northwest of the Lower Ruins’ southern exit ramp.
From that crate, go east and then south to continue moving through the level.
Eventually you’ll reach a more open area labeled Courtyard on the map. Clear out the enemies, then check the courtyard for another item.
- Secure Crate (Average Decryption) — in the southwest corner of the Courtyard.
Once you’re done there, head to the eastern side of the courtyard and look up to spot two geth on a slightly raised balcony. Check beneath the balcony to find an elevator. Ride it up, defeat the geth you spotted, and grab the next loot item.
- Secure Crate (Average Decryption) — standing in the elevator facing west, it’s on the balcony to your left (south).
Return to the bottom of the elevator and take the uphill path on your left to reach the final stretch of the Upper Ruins. You’ll get one last encounter with the frog-like geth. After you clear them, enter the elevator in the south-west corner to continue to the Security Station.
Override the Security: Terminal Prep and a Tough Room
As you move north through the initial corridor of the Security Station, you’ll be attacked almost immediately. These enemies hit hard and press the advantage aggressively, so it’s recommended you go slowly through the area. Stay on top of healing, keep your shields active, and use immunity. If your squad falls, use Unity to recover. In this section, every bit of offensive pressure matters.
Check your radar and make sure you’ve fully cleared the enemy threat before pushing into the center of the wide-open room. There’s little cover and not many places to fall back to, so plan your approach. This is also where you’ll encounter four mysterious computer terminals.
- Armature Repair Terminals x4 (Hard Decryption) — activate these to bring an Armature into the fight to help you in this room. If you trigger them after the combat ends, they won’t turn hostile.
- Hardened Crate (Hard Decryption) — in the northeastern corner of the Armature Bay. This is the last loot item in the game (though it doesn’t provide Medi-Gel).
At the north end of the room, there’s a hallway leading to an elevator that would normally take you back to the Upper Ruins—but it’s not useful because the door is still locked. Instead, take the ramps that run up the sides and reach a balcony overlooking the rest of the chamber. Here you’ll find a Security Terminal. Watch the cutscene that follows and interact as needed. When it’s over, go back down and take the corridor you used earlier to return to the Upper Ruins.
Back in the Upper Ruins, sprint north to the location where you first entered the area. There you’ll find the Mako. Get in and carefully angle it so it faces north. The gate that was previously shut—where Saren escaped earlier—is now open, since you examined and activated the security terminal in the Security Station. With this new route available, drive north again, now with the Mako’s mobility and firepower backing you up.
Enter the Archives: Vigil Talks, Then a Linear Assault
You won’t be given a map for the Archives corridor because it’s essentially one long straight drive with almost no enemies. You will have two conversations with your squadmates here, but they’ll be interrupted if you get too close to enemies. If you want those exchanges uninterrupted, park the Mako and wait for the conversations to finish each time.
Near the end of the corridor, prepare for an enemy encounter at the end of the passage. You’ll face a white barrier you can’t pass yet. Keep firing at the geth until they’re completely cleared, then exit the vehicle and inspect the area. Stand facing the barrier, then check to your right to find a discreet doorway that leads to an elevator. Follow the narrow path down to a computer terminal and begin the next sequence.
The cutscene that follows is described as the best moment in the game up to that point. Things appear far more dire than they seemed, which forces you to move quickly. During the exchange, Vigil explains the steps he took to help ensure the survival of the core science team.
- Choose “That’s monstrous!” for +2 Paragon points.
- Choose “It was necessary” for +2 Renegade points.
Before leaving, you may want to ask Vigil about everything he knows to get more context on the Protheans and the Reapers. When you’re finished, return to the Mako—then it’s time to act.
Once you’re back in the Mako, speaking with Vigil lowers the white barrier so you can continue. If you’re playing the original release, be extra cautious about how the Mako handles: you can’t drive too fast or you’ll lose control. Even if you don’t drive too fast, you’ll likely still lose control at some point—so assume it’s coming.
The trench run is fully linear, but it’s packed with enemies. Many of them can deal serious damage. While they won’t be able to destroy the Mako outright, they can wear it down over time—meaning you may need Omni-Gel to repair damage. Take your time when you can, use cover, and dodge enemy missiles and rockets to reduce how much damage you take.
As you approach the ramp at the very end of the trench, you can spot two of the four geth Colossi ahead if you use a Sniper Rifle or aim through the roots with the Mako’s cannon. You can even eliminate them from this position.
If you’re on a lower difficulty, it’s possible—though still extremely challenging—to take down the remaining two Colossi for additional XP before driving up to the Conduit. To do it, you must keep firing consistently and never miss a shot from the main cannon.
After you start down the final ramp, a cutscene plays, then you’re hit with a straightforward drive toward the Conduit. You have forty seconds to reach it, so you’ll need to move quickly. Ignore the enemies around you and go straight for the Conduit.
For more Mass Effect help, there are pages covering Legendary Edition changes, how-to guides, key choices and consequences, romance options, walkthroughs, and side quests.
Up Next: Race Against Time — Final Battle
Top Guide Sections
- Legendary Edition Changes
- Basics
- Tips and Tricks
- How-To Guides