UNC: Rogue VI Assignment Guide: Unlocks, Gear, and All VI Facility Locations
A Mass Effect guide page dedicated to the UNC: Rogue VI Assignment breaks down everything from unlock conditions and recommended gear to the step-by-step process for taking out the three VI facilities and earning your Specialization Class reward.
Checklists
This guide page focuses on the UNC: Rogue VI Assignment, explaining where to locate all items, how to handle the combat encounters, and which choices to make during your run.
- Essential Stats
- Rogue VI Acquisition
- When Should You Do Rogue VI?
- Travel to Sol
- Engage VI
- Destroy VI Conduits
- VI Core 1 – South
- VI Core 2 – West
- VI Core 3 – North
- Specialization Class Explained
- Back on the Normandy
- So What Next?
- When Should You Do Rogue VI?
- VI Core 1 – South
- VI Core 2 – West
- VI Core 3 – North
Essential Stats
- Persuasion Points: N/A
- Minimum Decryption: Average Decryption
- Minimum Electronics: Average Electronics
Rogue VI Acquisition
- Pre-requisite: Reach Level 20, then travel to another system.
UNC: Rogue VI stands out among Mass Effect 1 Assignment side-quests because of how it becomes available. It won’t show up until you hit Level 20 or higher, and then you must travel to a new star cluster aboard the Normandy. After that, Admiral Hackett contacts you and provides the Assignment.
During your conversation with Hackett, you can also gain Morality Points depending on your dialogue choice:
- Select “I’ve heard that before” to earn +2 Renegade Points.
- Select “Was anyone hurt?” to earn +2 Paragon Points.
Whether you should attempt Rogue VI right away depends on your current progress and your preferred risk level:
- Completing the Assignment grants a meaningful Class Specialization upgrade that can materially improve defenses, shields, powers, or weapon damage. Because of that, you may decide to proceed immediately and ignore the cautionary notes below.
- If you’re playing the original release of Mass Effect 1 on Xbox 360, PS3, or PC, it’s recommended to hold off until around Level 30. The reason: rocket-launching turrets protect the VI Core entrances, and dealing with them on foot for maximum XP becomes risky before Level 30.
- If you’re following the guide’s Uncharted Worlds Roadmap, you should be around Level 35 by the time you reach this point.
- If you’re playing the Legendary Edition of Mass Effect 1, you can approach the mission as soon as you acquire it, since you won’t suffer an XP penalty for Mako eliminations.
- If you’re on a harder difficulty, regardless of version, the mission should wait until about Level 40. It includes swarms of drones that can become a major headache.
- If you’re following our Uncharted Worlds Roadmap, you should be about Level 35 by the time you get to it.
Travel to Sol
- Location: Local Cluster – Sol – Luna
You can’t access the Sol system until you’ve picked up this Assignment, so don’t waste time looking for it beforehand. In this area, Sol sits to the south-west of the Horse Head Nebula, near where Noveria is found. Luna is Earth’s moon—something you likely already know, but it’s still worth keeping in mind.
There are no Discoveries to make inside the Sol system.
Recommended Loadout
- Squad Tactics:
- This mission includes plenty of fast-moving drones. Tali and Garrus are strongly suggested thanks to their tech options such as Overload, Sabotage, and AI Hacking.
- Shepard’s Loadout:
- In this Assignment you’ll face synthetic enemies exclusively, so Armor Piercing / Tungsten Rounds and Combat Sensor / Scanner upgrades are recommended.
- With a lot of fast-moving drones in this level. Tali and Garrus are highly recommended for their tech abilities like Overload, Sabotage and AI Hacking.
- You’ll be facing only synthetic enemies in this Assignment, so Armor Piercing / Tungsten Rounds and Combat Sensor / Scanner upgrades are recommended.
Engage VI
The destination you’re heading toward is the Alliance Training Ground to the south-west, marked with a “2” on the map. You may also want to stop by the two clusters of Alliance Heavy Turrets, marked with a “3”—destroying them is described as a major source of XP.
When you reach the Alliance Training ground, you’ll see three entrances, and each one has two turrets perched above. If you get within attack range of one turret position, you’ll end up in range of all six. Because of that, destroying the turrets entirely on foot is strongly discouraged. If your goal is to avoid the Mako kill XP penalty in the original version, you should only step out long enough to secure the final shots, then keep moving. The guide also emphasizes using both the machine guns and the cannon.
Destroy VI Conduits
The next step is removing all 24 VI conduits—six in each of the three facilities. You can tackle them in any order, but since loot placements vary slightly between facilities, the guide recommends following the same order listed below.
VI Core 1 – South
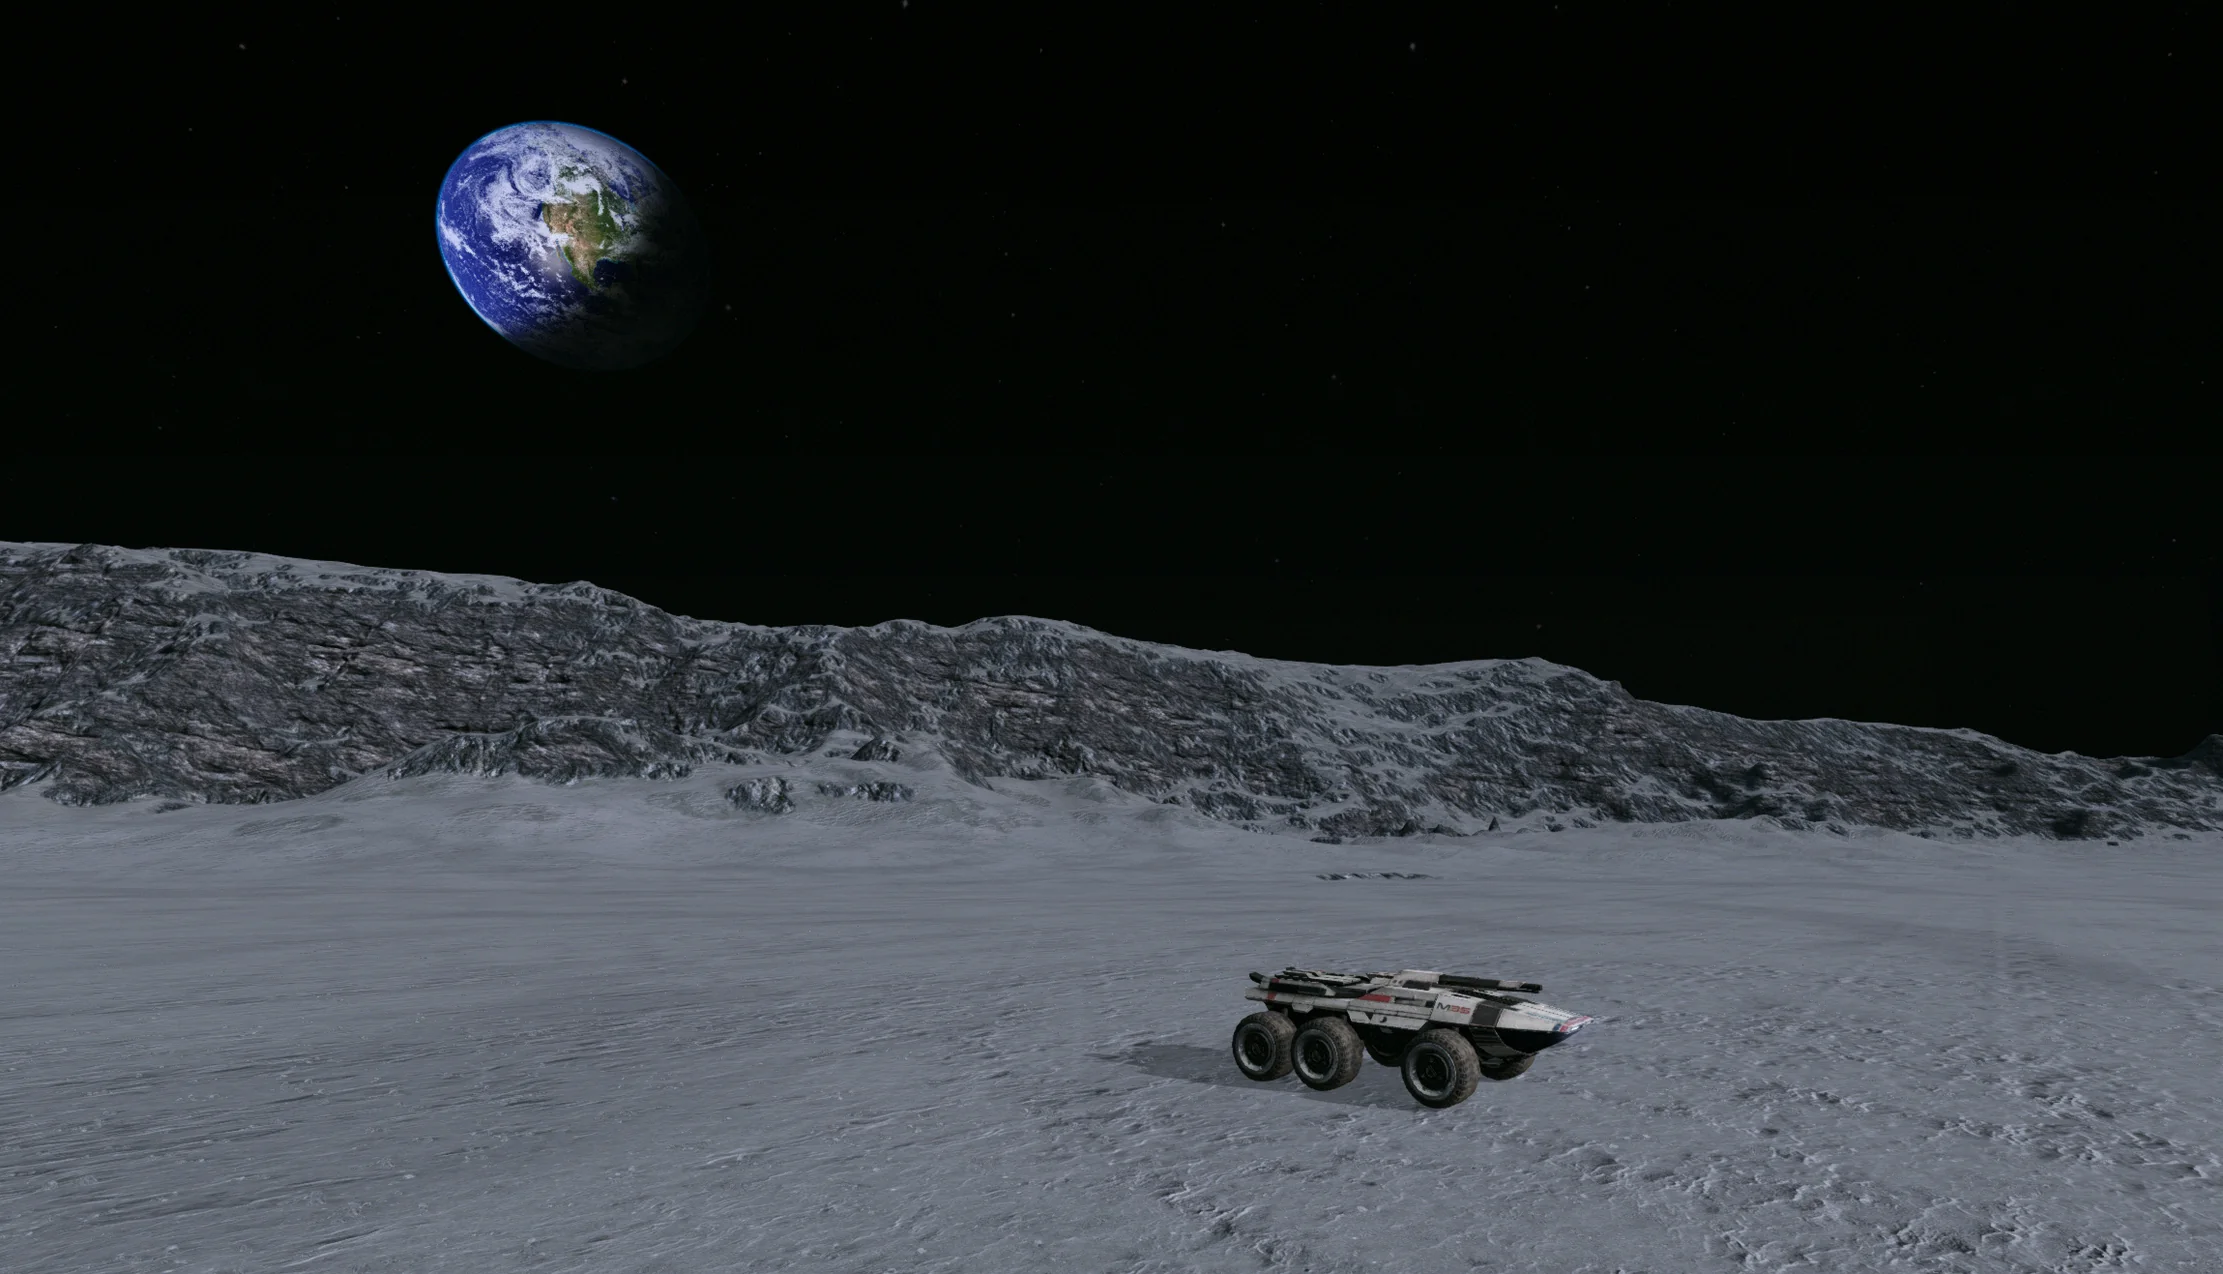
Start with the southern VI Core. You’ll recognize it by looking at the facility entrance: when you stand facing in, Earth appears above and slightly to the right in the sky.
When you enter VI Core 1 for the first time, check the first room for the following loot:
- Secure Crate – Average Decryption. From the entrance facing inward, look for the large boxes on your left. Make a U-turn around the boxes to find this item tucked between them and the wall.
- Secure Storage Locker – Average Decryption. Go to the north-west corner of the room, near a server.
After that, move into the main chamber where you’ll face a swarm of drones. The preferred approach is to push in aggressively, then back up into the corridor that leads into the room to pull most of the drones closer.
This creates a bottleneck. Hide in the far doorway of the corridor, then peek out to shoot drones as they enter the enclosed space. The guide stresses avoiding the red Rocket Drone’s missiles, since they can drop you in a single shot on most difficulties. If the fight becomes too dangerous, you can close the blast doors and regroup.
With the drone swarm handled, it’s time to destroy the VI Cores themselves.
The VI Cores are placed in the two southern rooms on the map. There are four cores in each room (indicated with an orange ! marker), and each one requires a substantial number of shots to break.
After you destroy the first core, the VI Cores begin leaking toxic gas. That means being too close when they blow up will cause toxic damage to you and your squadmates. It also reduces how much healing the First Aid ability provides.
Once the cores in this area are destroyed, return to the entrance and drive clockwise to the next facility.
VI Core 2 – West
You’ll know you’ve arrived at the western VI Core because, when you face the entrance, there’s a small hill in the distance on your right, while Earth is visible on your left.
In the first room of this facility, there are again two loot items:
- Secure Crate – Average Decryption. While standing in the entryway looking in, it should be visible on your left among the large boxes.
- Secure Storage Locker – Average Decryption. Head to the north-west corner of the room, where it sits between a server and large boxes.
The turrets in the main room can be handled the same way as before: fire to draw attention, then retreat back into the entrance corridor and use the far doorway as cover to pick them off.
Destroying one of the eight VI Cores triggers the next countermeasure. Geth-like shields are activated in front of each VI Core, and also at every doorway inside the facility. You’ll need to shoot the doorway shields, but the guide notes that correct positioning allows you to shoot past some of the ones protecting the VI Cores.
Once all eight cores are destroyed, exit the facility.
VI Core 3 – North
The final VI Core is located in the north. When you stand at and face its entrance, you should see two mounds behind it, and Earth should be on your right.
As with the previous facilities, the first room contains two loot items:
- Secure Crate – Average Decryption. From the entryway facing in, look to the large boxes on your right. Do a U-turn around them to find the crate between the boxes and the wall.
- Secure Storage Locker – Average Decryption. It’s located in the center of the room on top of a stack of two large boxes. Check the south face of the stack to locate it.
The drone plan remains the same here as well: shoot the drones, fall back to the end of the corridor, and eliminate them as they try to squeeze through the narrow space.
Unless you’re playing the Legendary Edition. In that version, the drones bunch up in the doorway and are blocked by the shields. You have two options: shoot the barrels protruding from a safe distance, or break the shield and then immediately use Garrus and Tali’s Overload to damage all of them at once.
The VI’s final countermeasure after you destroy the first VI Core in this area is to summon additional drones into the southern room you aren’t currently using. Because of that, the guide recommends not taking down the shield in a room you aren’t about to enter—doing so prevents drones from approaching unnoticed.
After you destroy the last VI Core, it attempts to request help—using binary data that corresponds to “HELP” in ASCII—before shutting down. Completing this unlocks your Specialization Class.
Specialization Class Explained
Your Specialization Class expands your Class Talent menu in the Squad section by adding six additional blocks. Buying these with Talent Points lets you boost one of your stats substantially, while also granting access to a powerful new ability.
The two Specializations you can choose from depend on your class, and each selection provides a different outcome based on your starting Class. Because of that variety, the guide doesn’t attempt to list every buff and effect. Instead, it advises reading the descriptions carefully and comparing options to choose the specialization that best matches your preferred playstyle.
Back on the Normandy
If you’ve followed the Uncharted Worlds Roadmap up to this point, you’ve already finished the personal Assignments for Garrus, Wrex, and Tali. After UNC: Rogue VI, you’ll get one more discussion with each of them, and it will be the final conversation in the game.
Garrus thanks Shepard for their guidance and shares plans for what comes next. Wrex talks about a job he took involving a Volus politician. Tali reflects on how the journey feels like it’s almost over (though whether that’s truly accurate is left to interpretation).
So What Next?
Following the Uncharted Worlds Roadmap leads to the point where this is the conclusion of available Assignments in every version of the game. From here, your next steps depend on which version you’re playing and what DLC you have installed:
- If you’re playing the original release on Xbox 360 or PC with no DLC, you’re done—move on to your first Post-First Mission World.
- If you have the Bring Down the Sky DLC (which is stated as always included for Legendary Edition and PS3 players), your next mission is Bring Down the Sky.
- If you’re playing the original release on Xbox 360 or PC, you might have Pinnacle Station but not Bring Down the Sky. In that situation, go to Pinnacle Station.
For additional Mass Effect help, the guide points players to other pages:
- Legendary Edition Changes
- How-To Guides
- Key Choices and Consequences
- Romance Options
- Walkthrough
- Side Quests
Up Next: The Negotiation
Top Guide Sections
- Legendary Edition Changes
- Basics
- Tips and Tricks
- How-To Guides


