Feros Mission Guide: All Loot, Choices, and Locations for Geth Attack
If you’re working through the first stretch of the Mass Effect Feros mission (the portion labeled “Feros: Geth Attack”), this checklist-style walkthrough is built to help you survive every fight, grab all loot and collectibles, and make the right morality choices as you go. It’s specifically focused on the opening half of the Feros level—right up to the point where you can’t go back and adjust your choices or loadout.
Checklists
Looking for something specific? Use the sections below to jump around.
- Mission Stats
- Before We Begin
- Travel to Theseus
- Zhu’s Hope
- Speak with Fai Dan
- Stop Geth in Tower
- Inform Fai Dan
- Prothean Skyway
- Get to ExoGeni Headquarters
- Investigate Mysterious Signal
- ExoGeni Headquarters
- Investigate ExoGeni Headquarters
- Speak with Fai Dan
- Stop Geth in Tower
- Inform Fai Dan
- Get to ExoGeni Headquarters
- Investigate Mysterious Signal
- Investigate ExoGeni Headquarters
Mission Stats
Video Guide
Essential Stats
- Persuasion Points: 12 Charm / 10 Intimidate
- Minimum Decryption: Hard Decryption
- Minimum Electronics: N/A
Before We Begin
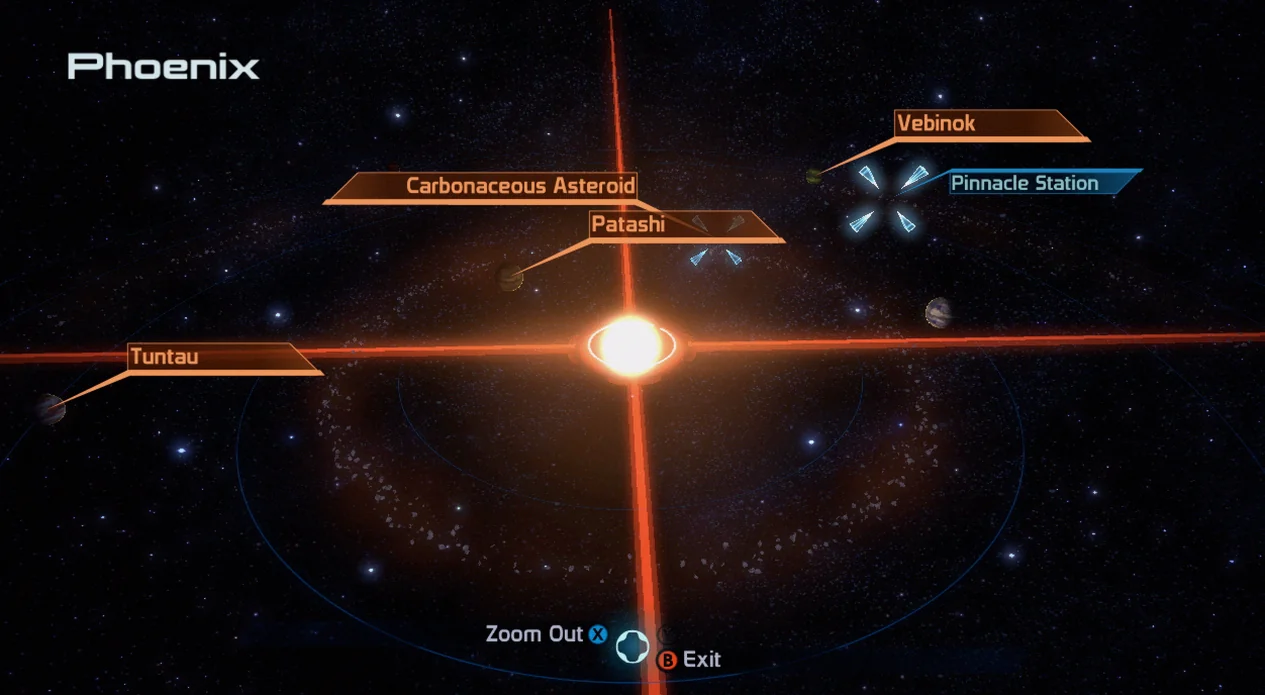
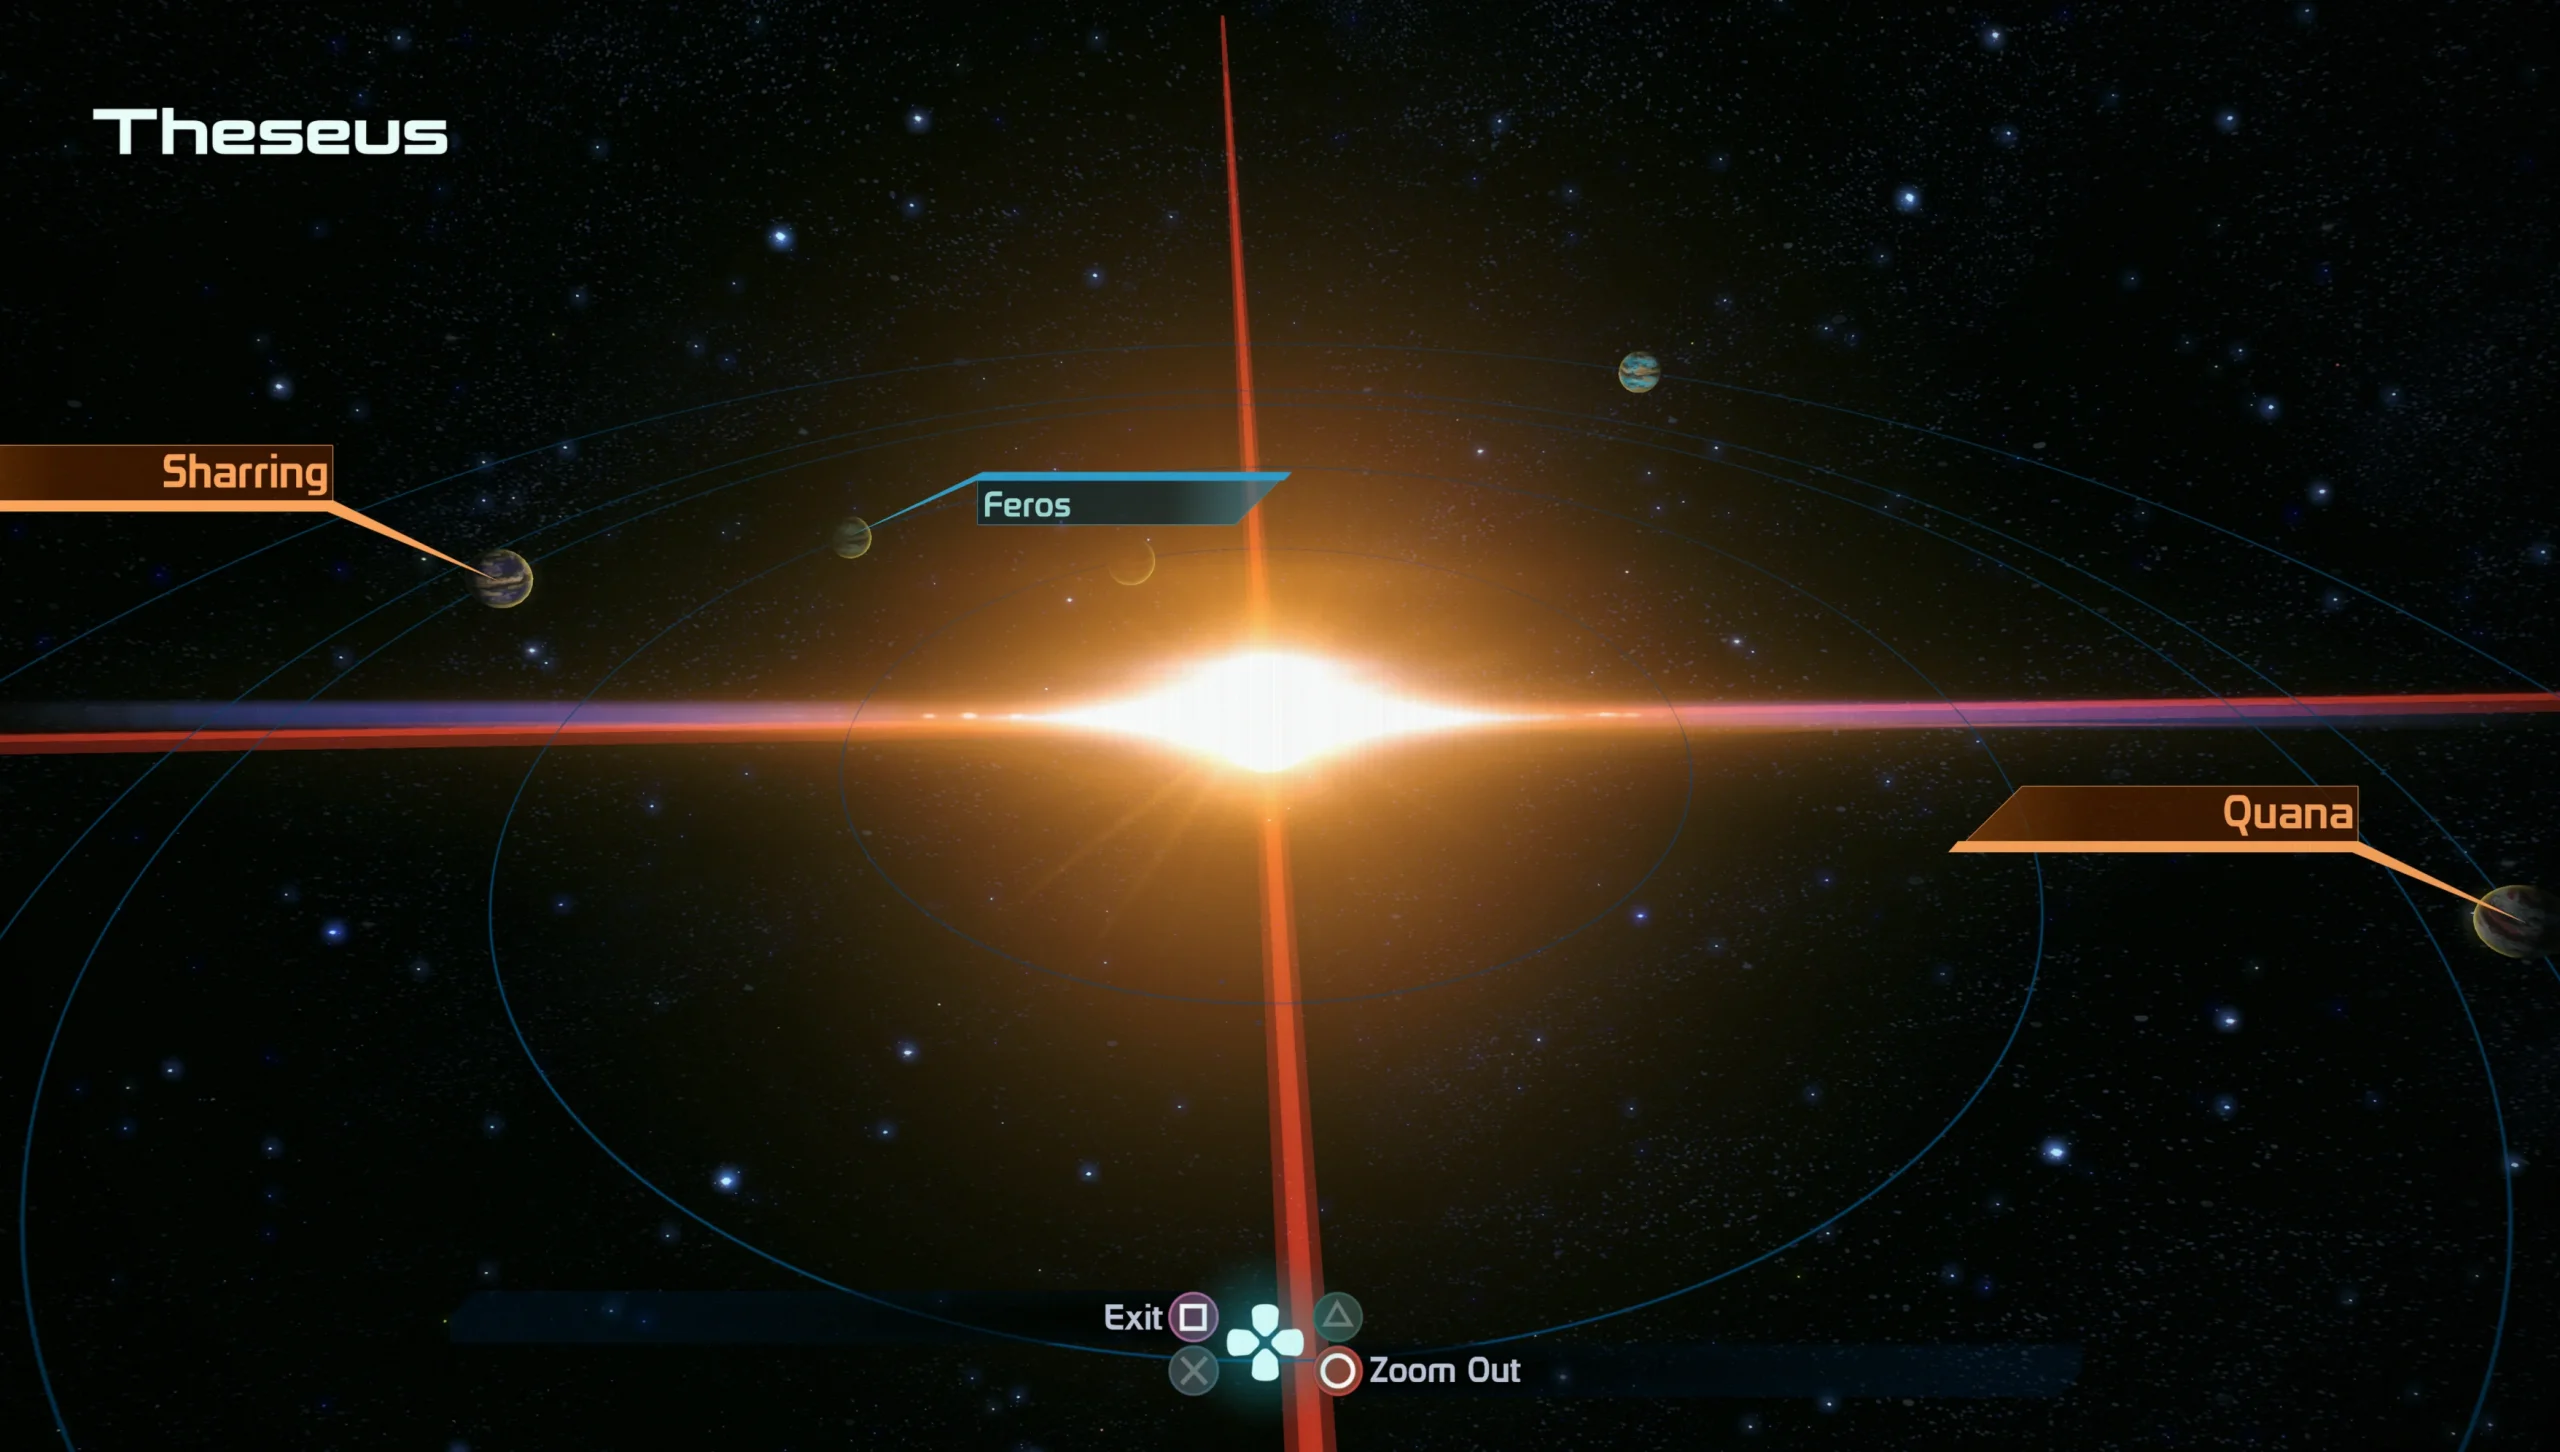
Travel to Theseus
- Location: Attican Beta – Theseus – Feros
Once you’re ready to travel to Feros, the trip itself is pretty straightforward—what happens when you land is where things fall apart. Fly the Normandy to the Attican Beta cluster and look for the system called Theseus. Before touching down on Feros, scan the system for the valuables you can pick up.
With that done, you’re ready to land on Feros and start the mission.
Recommended Loadout
- Squad Tactics:
- Tali is a strong pick here since this section throws plenty of geth at you.
- Liara complements the fight well because her Lift, Throw, and Singularity can immobilize enemies in cramped spaces.
- Unique Dialogue:
- Wrex and Garrus are noted for having the most interesting conversations. Tali also has dialogue, though less of it.
- Even with Benezia mentioned, Liara does not have unique dialogue in this part of the level—an odd surprise.
- Shepard’s Loadout:
- Grenade Capacity upgrades are strongly recommended. Grenades become especially important late in the level. Each upgrade tier is sold by a Citadel merchant in a specific order: C-Sec Requisitions -> Morlan -> Expat -> C-Sec Requisitions -> Delan.
- Since you’ll spend most of the segment fighting geth, Armor-Piercing / Tungsten Rounds paired with a Combat Sensor / Scanner will be extremely useful.
- Tali is a very good choice as you’ll be fighting lots of geth in this level.
- Liara pairs well because she can immobilize enemies in tight quarters with her Lift, Throw and Singularity powers.
- Wrex and Garrus have the most interesting dialogue. Tali does as well, but not as much.
- Despite mention of Benezia, Liara does NOT have any unique dialogue in this level. Yeah, we’re surprised as well!
- Grenade Capacity upgrades are highly recommended, as grenades become uniquely important for a section near the end of this level. Each upgrade level becomes available from a Citadel merchant in a specific order: C-Sec Requisitions -> Morlan -> Expat -> C-Sec Requisitions -> Delan.
- For most of the level you’ll be fighting geth, so Armor-Piercing / Tungsten Rounds with a Combat Sensor / Scanner will be very useful.
Map
Speak with Fai Dan
Right after you leave the Normandy and enter Feros’ docking area, you’ll quickly encounter David al Talaqani. You’ll automatically start a conversation when you get close enough, but it doesn’t last—before he can say much, the Geth attack, kill him, and leave you and your squad to deal with the incursion.
The Geth’s assault is expected, and it’s also manageable. If you’re using Tungsten rounds, you’ll have an advantage because they deal extra damage to synthetic enemies. At this stage, the lower-tier geth attacking you shouldn’t be too overwhelming.
Once the first wave is cleared, work your way westward from the docking bay. More geth keep pushing in, so prepare for another round of fighting as you continue heading West. You’ll also see a new geth variant here that hops along walls like frogs—leaping at you and generally offering tougher resistance.
After that second wave is defeated, you’ll reach the human colony on Feros: Zhu’s Hope. The settlement is armed and ready, but the people you meet won’t be chatty. You can explore the area at your leisure, though there are only two highlighted items to locate. Both are inside the ship Borealis, the main structure in Zhu’s Hope:
- Terminal – Easy Decryption. If you haven’t completed the UNC: Espionage Probe Assignment, go into the Eastern-most room inside the Borealis. In the back-right corner, you’ll find a Terminal with Easy Decryption that marks the assignment in your journal as “Investigate Shipments” and grants some XP.
- Public Extranet Terminal – Head to the Western room of the Borealis; it’s immediately to your right. This will unlock a Communications Codex entry if you don’t already have it.
With those items handled, go speak to Fai Dan just West of the Borealis. Right now he has limited information—mainly introductions, relief that you’ve arrived to assist, and evidence that the nearby tower is under geth occupation.
Your immediate next task is to enter the tower and clear it out.
Stop Geth in Tower
This section can be irritating because you’ll need to search through multiple alcoves and crevasses to eliminate everything. On top of that, the geth jam your radar—meaning it won’t work normally. One workaround is to attach your best Combat Scanner to a firearm and equip it when you’re moving through the area.
Climb the tower stairs, checking the walls for crawling geth and the air for flying drones. When the room is fully cleared, head toward the back end of the space to find two loot pickups:
- Medical Station – Easy Decryption. Located in the back-right corner of the curved room.
- Upgrade Kit – In the back-left corner of the curved room, close to a geth terminal.
Inform Fai Dan
Once you’re confident the enemy threat is fully cleared, return to Fai Dan. During your first conversation with him, you can earn Morality Points by choosing what to say:
- Choose “Happy to help” for +2 Paragon Points.
- Choose “I didn’t do it for you” for +2 Renegade Points.
Use the Investigate option to learn more about ExoGeni, the corporation funding and supporting this small colony, plus the potential motive behind the geth incursion. It appears there could be Prothean ruins and other valuable assets here—and the geth have come to take them.
You’re then assigned your next task: explore ExoGeni, reaching it through the more punishing Prothean Skyway.
Inside the ship building near Fai Dan, you can find a man sitting beside a woman who’s bedridden. Speaking with her provides additional Morality Points:
- Answer “What’s wrong?” for +2 Paragon Points.
- Answer “I hope you’re not contagious” for +2 Renegade Points.
You can also pick up new side quests from locals. If you’re playing Paragon, you should seriously consider completing them—not only for Paragon points, but because they can affect future story developments. These quests will all be handled in the same Feros Tunnels section, which is accessible by descending stairs just past the elevator in the tower.
- Zhu’s Hope Assignment Tunnels
- Feros: Side Quests
Note for the map shown above: it has been rotated 90 degrees to the right due to how tall it would otherwise appear on your screen. That means “right” on the image corresponds to ExoGeni, while “left” corresponds to Zhu’s Hope.
If the image is too small, tap it to enlarge.
Get to ExoGeni Headquarters
Head to the elevator location shown on the Zhu’s Hope map and take it up. After exiting, you’ll immediately face more resistance in the form of additional geth soldiers. Clear them out, then move down to the garage area below. There you’ll find a Mako vehicle identical to the one on the Normandy. Get in and drive through the automatically opening garage door to reach the Skyway.
You won’t spend as much time here as you might expect. While the geth are dangerous in this stretch and the Skyway is wide, you’re driving a fast-moving, heavily armed Mako. If you aren’t worried about XP (or you’re playing the Legendary Edition), your missiles are your best tool for deleting threats from a distance. The vehicle’s armored plating also lets you absorb a lot of punishment. Still, if the craft starts smoking, repair it before continuing.
Enemies arrive in two main waves, and both are largely similar to the others. Expect Geth Armatures—walking tank units with very high health and shields. If you aren’t comfortable dealing with them on foot, stay inside the Mako and use its main cannon to remove most of their survivability.
During the second enemy encounter, once the Geth Colossus is down using the Mako’s cannon, consider jumping out to snipe the remaining geth troopers for extra XP. There’s also a right-side passage near a crate that leads to an underground corridor. Inside, you’ll need to kill another geth unit at the north end.
- Upgrade Kit – Found at the north end of the lower passage section, behind where the second geth was hiding.
- Secure Storage Locker – Average Decryption. Located to the left of the Upgrade Kit.
After collecting the loot, return to the Mako and drive north again to enter the Weigh Station.
Investigate Mysterious Signal
When you reach the end of the Skyway, exit the Mako and search for a small route that drops down into a concrete structure. Refugees are waiting below.
In the refugee camp, find an ExoGeni representative named Ethan Jeong. He’s talking with a Feros worker of higher rank named Juliana Baynham. As you listen, it becomes clear Ethan is a bit of a coward, while Juliana has the situation under control. You’ll also learn that the geth appear interested in the ExoGeni building—something you can access through another Skyway. The pair also believes all other humans on the planet were killed, which is, of course, incorrect.
Before leaving, track down Gavin Hossle. He gives you the “Feros: Data Recovery” assignment, which you can complete as you explore ExoGeni Headquarters.
Now it’s time to push into ExoGeni and bring some hope to the people here. Get back into the Mako and drive up the incline toward another garage door. This leads into a Skyway-like corridor that takes you straight to the ExoGeni main building. As before, you’ll fight plenty of geth—however, you’ll have the Mako for heavy fire and/or cover, so it shouldn’t be too difficult.
As with the earlier Skyway, you can explore side areas along the route. There are a few parallel passageways where you can find items. Even if the loot seems tempting, it’s often the red markers on your radar that pull you into the best opportunities for additional XP and valuable pickups.
- Upgrade Kit – In the first side passage, directly between the two entry points.
- Medical Kit – Immediately next to the Upgrade Kit described above.
- Crate – Located inside the second side passage with geth. You’ll need to go into the lower side area, head all the way south past a human body, and continue to the end where the crate is waiting.
Investigate Headquarters
Once you reach the main floor of ExoGeni by driving through the garage with the Mako, it’s time to explore on foot. Unfortunately, more enemies are waiting. You can still remove some of them through the thin doorway with the Mako before stepping fully into the room. After that, circle the large, mostly destroyed area to lure out any geth you haven’t killed yet. This helps ensure the entire space is cleared and—more importantly—maximizes the experience you earn.
On the map above, you’ll notice a nearby room marked with a Malfunctioning Object. You’ll also see a deactivated Geth Armature in that same room, which won’t wake up until you break the Door Control and open the loot object listed below:
- Malfunctioning Object – Found at the far end of the small room where the Armature is, next to some collapsed rubble.
After opening the Malfunctioning Object, get out of the room as fast as you can and start attacking while it pursues you. It will almost certainly remain in the space you discovered it, forcing you to enter and exit to kill it without dying yourself. The fight is worth the experience—just don’t get careless, because its shields will regenerate if you leave it idle for too long.
POINT OF NO RETURN
Next up is a “drop down” location shown near a blue forcefield. This is the point of no return for this level: once you drop down here, you can’t switch squad members, leave Feros, complete local side quests, or sell items until the level is finished.
This is VERY IMPORTANT if you don’t have the 12 Charm points or 10 Intimidate points required for the later Persuasion Check.
Drop into the hole and sprint forward down the corridor. When you reach the open room at the end of the hallway, a cutscene plays featuring a character named Lizbeth. If you remember her, she’s the daughter of a woman you met earlier—she was afraid her child was dead, but she wasn’t.
Talk with Lizbeth for a while. When she leaves, she hands you a keycard, and then the attack begins. Dog-like creatures called Varren rush in. They don’t take much damage and are easy to push back, but don’t underestimate them based on their speed and aggression—they don’t hit with truly devastating force.
After the enemies are down, continue onward. At the corner of the area, you’ll spot a doorway leading back to the main level. This route opens into a separate section of the building that was previously blocked by the barrier you encountered earlier.
As you climb the stairs, you’ll hear a Krogan speaking to a VI (Virtual Intelligence) unit. The Krogan grows more and more angry, and the VI unintentionally reveals your presence. The Krogan then attacks you down the corridor. The good news is that he’s easy to eliminate, and once he’s gone you gain access to the VI. The VI proves surprisingly useful, explaining what’s going on and tipping you off about a Feros-native plant called Thorian. The implication is that the geth want to destroy this unique Thorian for some reason—and they’re stopping at nothing to do it.
Want more Mass Effect help? Check out the following topics:
- Legendary Edition Changes
- How-To Guides
- Key Choices and Consequences
- Romance Options
- Walkthrough
- Side Quests
Up Next: Zhu’s Hope Assignment Tunnels
Top Guide Sections
- Legendary Edition Changes
- Basics
- Tips and Tricks
- How-To Guides