Sandrone Cryo Build Guide: Max Stellar-Conduct DPS Setup in Genshin
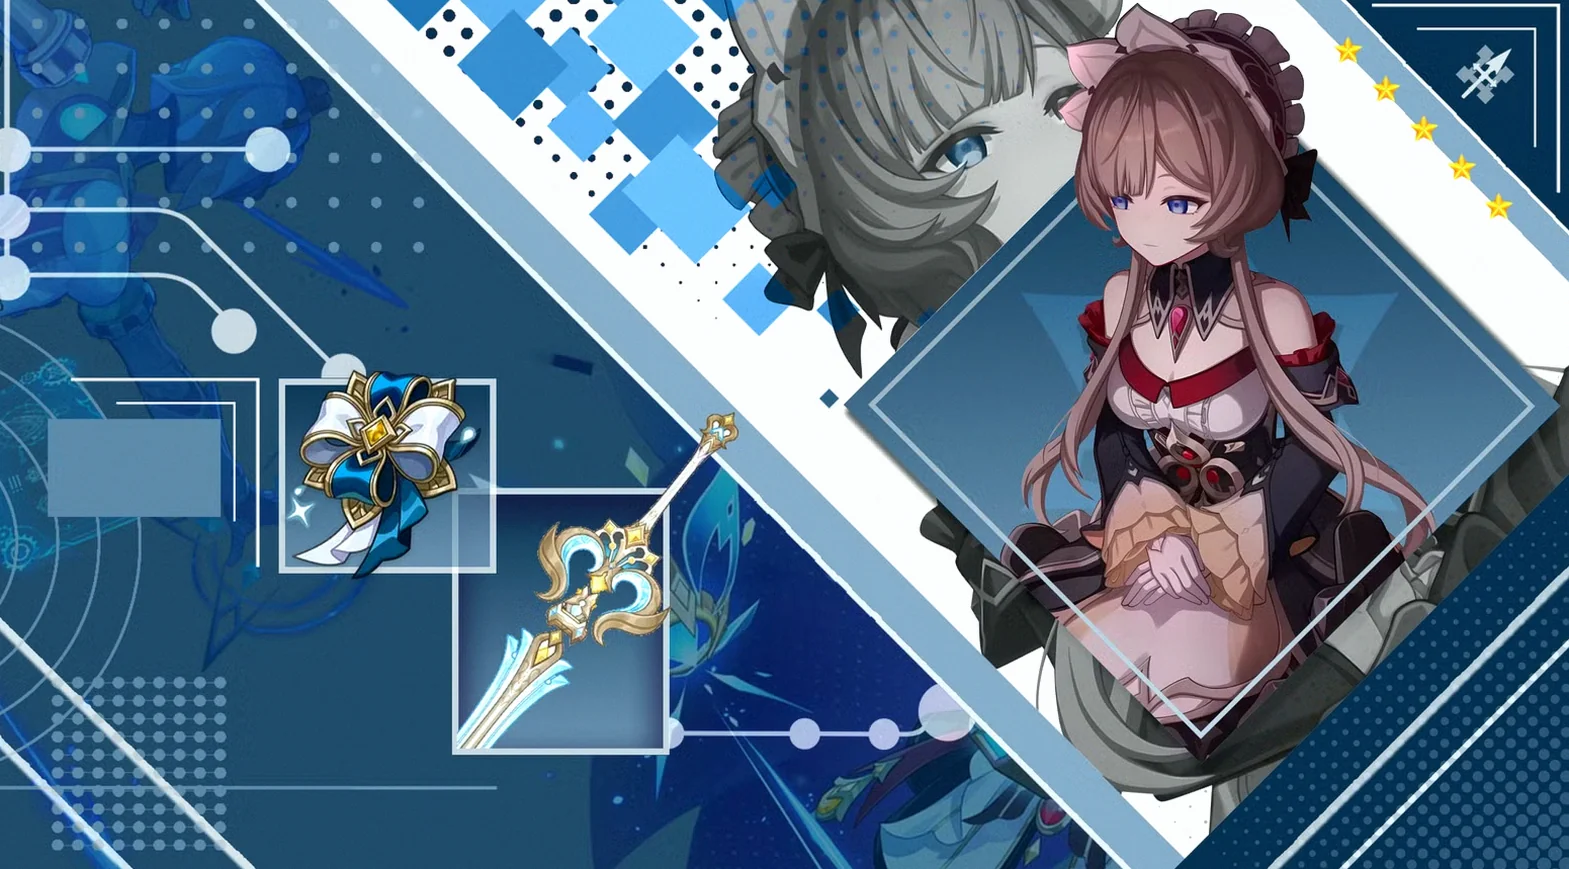
Sandrone is now a confirmed playable Cryo character in Genshin Impact, and this breakdown focuses on how to build her for maximum Stellar-Conduct damage. After testing, the strongest results came from pairing her with the A Teaspoon of Transcendence Claymore and the Disenchantment in Deep Shadow artifact set, which noticeably boosts her overall DPS. The guide below covers her best weapons, artifacts, team structure, and constellation priorities.
Genshin Impact also teased new playable additions tied to Snezhnaya, while finally revealing the Tsaritsa as a character players can get.
Sandrone Best Build In Genshin Impact
- A Teaspoon of Transcendence
- A Thousand Blazing Suns
- Wolf’s Gravestone
- Tidal Shadow
- Disenchantment in Deep Shadow
- Timepiece: ATK%
- Goblet: ATK%
- Circlet: Crit Rate or Crit DMG
- Crit Rate
- Crit DMG
- ATK%
- Elemental Mastery
Sandrone Best Weapons In Genshin Impact
A Teaspoon of Transcendence
A Teaspoon of Transcendence is Sandrone’s signature Claymore in Genshin Impact. It stands out because it’s one of the few Claymores that directly buffs her Stellar-Conduct damage. When Sandrone hits enemies with her Charged Attack, her Stellar-Conduct DMG can be increased up to three times, and the Charged Attack can be triggered immediately. On top of that, you also get the standard 5-star stat boost, including a chunk of ATK% plus Crit value.
A Thousand Blazing Suns is another top-tier option for Sandrone thanks to its raw offensive stats. Its Crit Rate substat and strong Base ATK are already valuable, and Sandrone also benefits from additional Crit DMG and ATK% provided by the weapon’s passive.
After testing, it’s straightforward to keep the 5-star passive online, and Sandrone loses very little DPS when running A Thousand Blazing Suns compared to A Teaspoon of Transcendence.
Wolf’s Gravestone works as a simple stat-focused Claymore for Sandrone, offering solid Base ATK plus a large ATK% package through its substat and passive. Still, it’s not the most efficient route for her unless you’re not planning to roll for her signature weapon.
Tidal Shadow is Sandrone’s best free-to-play Claymore in Genshin Impact. As a 4-star weapon, it increases her ATK% while she’s being healed. Since Sandrone can pair well with Qiqi and Diona to strengthen her Stellar-Conduct damage, she can reliably receive healing to keep Tidal Shadow’s effect active.
The reason to choose Tidal Shadow over other F2P alternatives is that the 4-star Claymore helps Sandrone reach 2000 ATK, which supports her Elemental Mastery needs and the base Stellar-Conduct damage boosts.
Sandrone Best Artifacts In Genshin Impact
After trying multiple artifact setups, Disenchantment in Deep Shadow is the best choice for maximizing Sandrone’s Stellar-Conduct DMG. It increases her ATK% and Stellar-Conduct DMG, and—most importantly—raises her Crit Rate. That matters because Stellar-Conduct reactions can critically hit, so the build goal is to have Sandrone land a Crit on every reaction instance.
Sandrone Best Teams In Genshin Impact
Sandrone’s highest damage output comes from Stellar-Conduct-oriented team compositions. For that reason, her teams should include at least one Electro character to help generate more Stellar-Conduct reactions. Yae Miko and Fischl are highlighted as strong options, and Yae Miko is particularly notable because she was adjusted to stay relevant for the Stellar-Conduct reaction.
Older characters like Diona and Qiqi are also useful for Sandrone. They don’t help trigger Stellar-Conduct directly with Sandrone since they aren’t Electro, but they can still amplify her damage within reaction-focused teams.
The guide then breaks down Sandrone’s best Stellar-Conduct team approaches, including variations built around Yae Miko synergy and a full free-to-play option in Genshin Impact.
Sandrone Best Constellations In Genshin Impact
Below is a constellation-by-constellation valuation for Sandrone, along with the meaning of each rating category:
- Negligible: The constellation barely changes Sandrone’s kit. It’s better to skip.
- Low: The constellation slightly improves Sandrone’s kit, but it’s not recommended.
- Medium: The constellation isn’t essential unless you’re using it as a stepping stone toward a stronger constellation.
- High: The constellation makes a noticeable improvement, but it still shouldn’t be treated as your main milestone.
- Priority: The constellation adds major value, making it worth prioritizing as a milestone if you’re building toward Sandrone’s constellation levels.
C1 – Morrow After the Golden Dusk
In Decoding mode, Fagio’s Decoding Power increases at a 50% lower rate, and every party member gains 30% increased Stellar-Conduct DMG.
C2 – An Heiress Gazed Into the Looking-Glass
Radiance: Stellar-Conduct: Charged Attack condensed beams gain 40% increased CRIT DMG. In addition, each time a beam is fired, the CRIT DMG dealt by all condensed beams launched during that Decoding mode window is further increased by 20%. This can stack up to 3 times.
C4 – In Knowledge Lies the World’s True Ground
When Sandrone deals Stellar-Conduct DMG to an opponent, she also summons an extra Prismatic Resonance Cannon. This cannon fires a coordinated strike that deals Cryo DMG equal to 125% of her ATK. The damage is classified as Stellar-Conduct DMG, and the effect can trigger once every 4 seconds.
C6 – Narcissus Wakes, Her Eyes Upon the Dawn
When Fagio fires a condensed beam for the third time while in Decoding mode, the beam upgrades into a stronger Condensed Cluster Beam that fires continuously. It can deal up to 4 additional AoE Cryo damage instances at 100% of Sandrone’s ATK, on top of any subsequent original beam fired.
Radiance: Stellar-Conduct: The Condensed Cluster Beam instead deals 4 extra AoE Cryo damage instances at 80% of Sandrone’s ATK. This damage is still considered Stellar-Conduct DMG.
Additionally, all Stellar-Conduct DMG dealt by Sandrone is increased by 20%.