Mass Effect 3 N7 Fuel Reactors Guide: Kypladon System Walkthrough
Mass Effect 3’s N7: Fuel Reactors side mission sends you to the Kypladon system in the Silean Nebula, where a landing on Cyone is possible even though the wider region belongs to Reaper forces. This guide-style breakdown covers what you’ll earn, what enemies you’ll face, how to reach the fuel rods, and which choices affect who survives—plus where to grab the key items along the way.
Mission Overview, Rewards, and Foes
This N7 operation is centered on restarting dual reactors so additional fuel can be produced for the war effort. Expect multiple combat phases, environmental hazards from irradiated gas, and several Barrier Engine spawns that can quickly overwhelm your Shields if you’re not ready.
Mission Rewards
- Mission Experience: 1,000 XP
- Reputation: +5
- Mission Credits: 10,000 credits
- Found Credits: 10,000 credits
- Armor: Rosenkov Materials Chestplate
- War Asset: Advanced Starship Fuel (75 TMS)
Mission Enemies
- Husks
- Marauders
- Brutes
Travel Requirements and What to Bring
- Prerequisite: Complete “Priority: Rannoch”
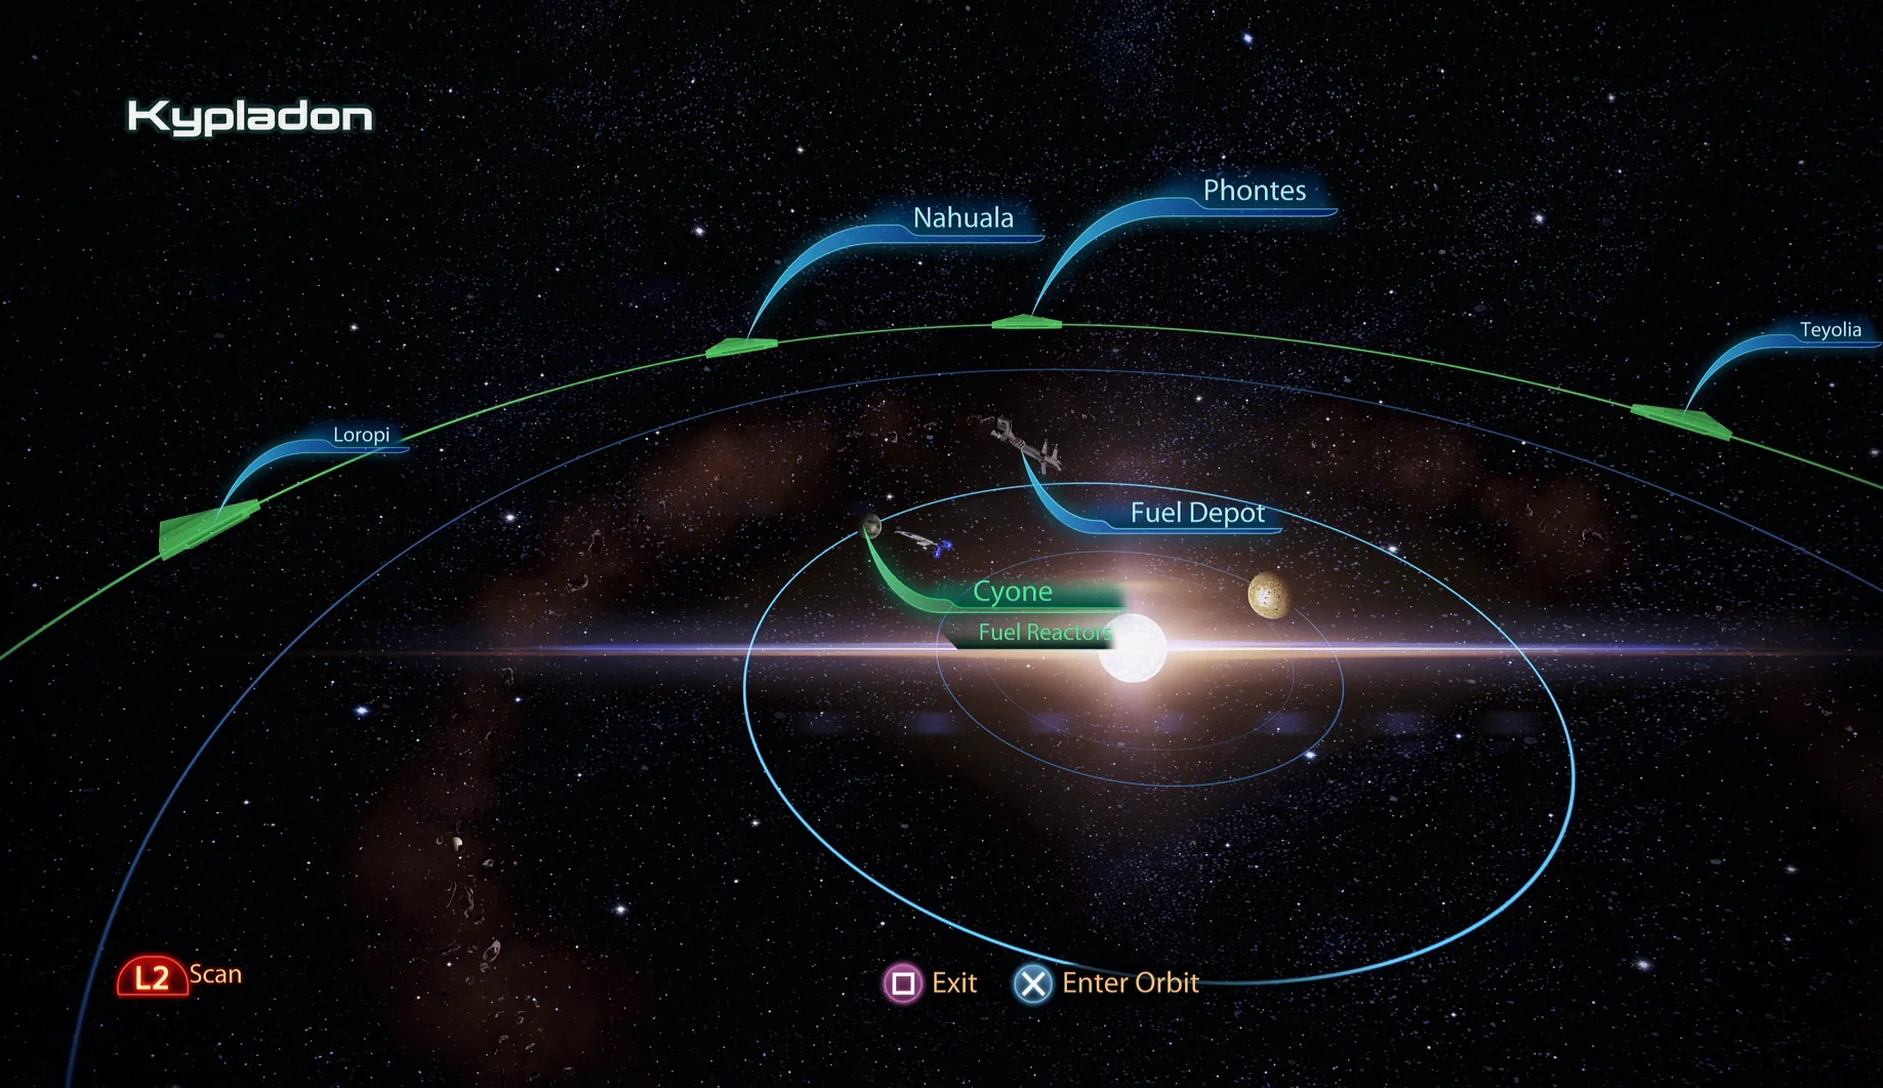
- Location: Silean Nebula – Kypladon – Cyone
Although Kypladon falls under Reaper territory, Cyone itself is still accessible—so you won’t automatically be harassed the moment you touch down.
Recommended Loadout
- Squad Tactics:
- Garrus is a solid choice thanks to Overload and Armor-Piercing Ammo.
- EDI pairs well with Garrus because she also brings Incinerate and Overload.
- Liara can help with Warp and Warp Ammo, which may be needed to strip Barriers.
- Garrus is a great pick for his Overload and Armor-Piercing Ammo abilities.
- EDI pairs well with Garrus for similar reasons: she has Incinerate and Overload.
- Liara is another good choice thanks to Warp and Warp Ammo, which may be needed to strip Barriers.
Landing on Cyone: Meet Captain Riley and Gather Items
When you arrive, Captain Riley’s team has already established an outpost to evaluate what’s going on. Your job is to meet with Captain Riley for the briefing, but first you should check the insertion area for several important pickups.
- Nyrek – The Turian who greets you; you can speak with him.
- Rosenkov Materials Chestplate – Stand at Nyrek’s position, turn left, and look for a lower area with two large crates. A wall light reading “N01 Loading Bay” will be visible behind them. Search the smaller crate to find the armor.
- Medical Treatment Plan – From the Chestplate location, turn right and head toward the large black-and-yellow reactor in the distance. Go up some steps and you’ll reach a balcony overlooking an irradiated zone below. A Datapad on a crate here grants this item for the “Citadel: Chemical Treatment” Side-Mission.
- Soldier – Between the Medical Treatment Plan and Captain Riley, you’ll find a Soldier crouched at the top of the stairs studying the irradiated area below. You can talk to her multiple times.
After speaking with the Soldier, go to the right side to find Captain Riley in red armor and talk with her. Your immediate task is to restart the dual reactors so more fuel can be generated for the war effort. Once the box behind Riley is moved, you can speak with Riley a few more times before pushing forward.
Fuel Rods, Radiation Controls, and Reactor Restart
Repair the Fuel Rods
Right away, and as the Soldier confirms, the lower sections around the reactor are coated in a radioactive gas. It can chew through your Shields and Health, effectively blocking your progress. The solution is to circulate the air to remove the radiation before you attempt to reach the fuel rods.
Start by heading to the side room just beyond Captain Riley—but stop first to grab an item.
- PDA – 4,000 credits. This is in the side-room where the Fuel Rod controls are located. Move to the back of the room, then look left to find it on a crate pile.
To open the route ahead, you must shift two large containers using the crane system. Activate the Crane Display to begin. Your objective is to pick up and drop containers using the middle interaction, then move them to the right side so the path becomes accessible. Follow this process:
- Press the middle “Crane” button to lift the first container.
- Use the “Move Right” button to shift the container to the right.
- Press the middle “Crane” button again to set down the first container.
- Press “Move Left” to move the claw over the second container.
- Repeat steps 1 through 3 to move the second container to the right, placing it where the first one was left.
Once the corridor is clear, exit the side room and move along the right wall. Eventually you’ll reach a panel labeled Vent Sector A1. Use it to disperse the radiation in the lower area, which then gives you access to the Fuel Rod Controls. You’ll also find additional pickups here:
- Med Kit – 50 XP. From the Vent Sector A1 controls, turn around and head down the stairs. When you reach the bottom, turn right to spot two tall orange tanks; one has a fire warning symbol near the top. In front of these tanks sits a yellow vehicle. The Med Kit is positioned near that vehicle, beside some ammo crates.
- PDA – 3,000 credits. Use the objective marker to locate the Fuel Rod Control near the lower end of the stairs you used to reach the Med Kit. The Datapad is to the right of the controls.
Use the Fuel Rod Control, then brace for a fight against Reaper forces. The encounter starts with three Barrier Engines, which will project biotic Barrier shields onto the Husks and Marauders attacking you. Destroy the engines first. One is attached to the crane claw you used earlier, another is on the side of the stairs where the Soldier was stationed before you spoke with Captain Riley, and the third is on the underside of the overhead beam above those stairs.
Seal the Tanks
After the battle ends, your reactor’s VI issues a warning about coolant leaking from all reactor tanks. Reactivate the tanks immediately to avoid disaster—because leaving it unchecked could turn the situation into a catastrophic event on the scale of a “Chornobyl” scenario. Use the objective markers to locate the tanks. Each one consists of a pair of large orange tanks arranged horizontally along the side of the main reactor.
Restart the Reactor
After reactivating the tanks, you’ll be prompted to restart the reactor using controls near the second set of orange coolant tanks. Before you do that, pick up one more item:
- PDA – 3,000 credits. A lower area sits beside the Reactor Controls. The Datapad is resting on a control panel in that lower section.
Starting the reactor triggers another heavy skirmish between your squad and additional Marauders and Husks. This time there are three Barrier Engines again: two positioned on either side of the stairs connecting the two coolant tank sets, plus another on the left side of the area. To make matters worse, Marauders can spawn on the upper beams crossing overhead.
Once the enemies are dealt with, Captain Riley urgently contacts you—her team is pinned down and needs assistance.
- Choose “I’m sending help” to send one squad member over to Riley’s reactor to improve her chances of surviving.
- Choose “Keep at it” to keep your full squad together.
After your choice, the next fight becomes even more intense: a large Brute emerges from inside the reactor. Along with his Marauder allies, he’s supported by two Barrier Engines. Since they’re inside the reactor itself, rushing in for a quick takedown is a bad idea. Instead, lure the Brute out and eliminate him before focusing on the Marauders trailing behind.
Extraction Results: Who Lives After the Mission
When all Reapers are cleared—on Cyone, at least—return to the reactor entrance and press the Initiate Startup panel to restore the reactor core. Then move through the reactor core and continue forward to reach the start of the mission again, where the outcome of your earlier decision becomes clear.
- If you sent a squadmate to help Captain Riley, both Riley and Nyrek survive.
- If you did not send a squadmate to help Riley, only Nyrek survives.
Note: If you didn’t select the Paragon option earlier above, Captain Riley will sacrifice her life to protect Nyrek.
Back on the Normandy: Post-Mission Checks
If Tali is alive, there’s one follow-up you can do.
- Crew Deck – Go into the Mess Hall and overhear a disagreement between your doctor and Engineer Adams, granting +5 Reputation.
- Engineering – If Tali is still alive, pass by her to catch her talking with Garrus through the intercom. Also, if you supported Gabby during her and Ken’s argument earlier in the story, you can find both of them in the lower engineering sub-deck.
- Shuttle Bay – Talk with Cortez and James.
Want more Mass Effect 3 help? Check out these other pages:
- Legendary Edition Changes
- How-To Guides
- Key Choices and Consequences
- Romance Guide
- Walkthrough
- Side Missions
Up Next: N7: Communication Hub
Top Guide Sections
- Legendary Edition Changes
- Game Basics
- Tips and Tricks
- How-To Guides


