Crimson Desert Pailune Region: All Treasure Chest Locations and Loot
Crimson Desert’s Pailune Region is packed with hidden loot and forgotten ruins, stretching from the Upper Nas River all the way to Silver Wolf Mountain. If you’re hunting Treasure Chests, this checklist-style walkthrough details the known chest spots in the area and what you can pull out of each one.
Key takeaways
- The Pailune Region spans the Upper Nas River to Silver Wolf Mountain and contains 17 documented Treasure Chest locations.
- Several Pailune City mine chests are recommended only after you clear Black Bear and Jackal control during Main Story Chapter 7.
- Multiple chests are hidden behind waterfalls, requiring the Stab technique at the correct angle to enter caves.
- Some rewards are character-locked, including items usable exclusively by Oongka.
- Boss-fight progression matters in the Sanctum areas, including Antumbra’s Staff in the Sanctum of Solace.
Treasure Chest locations across Pailune
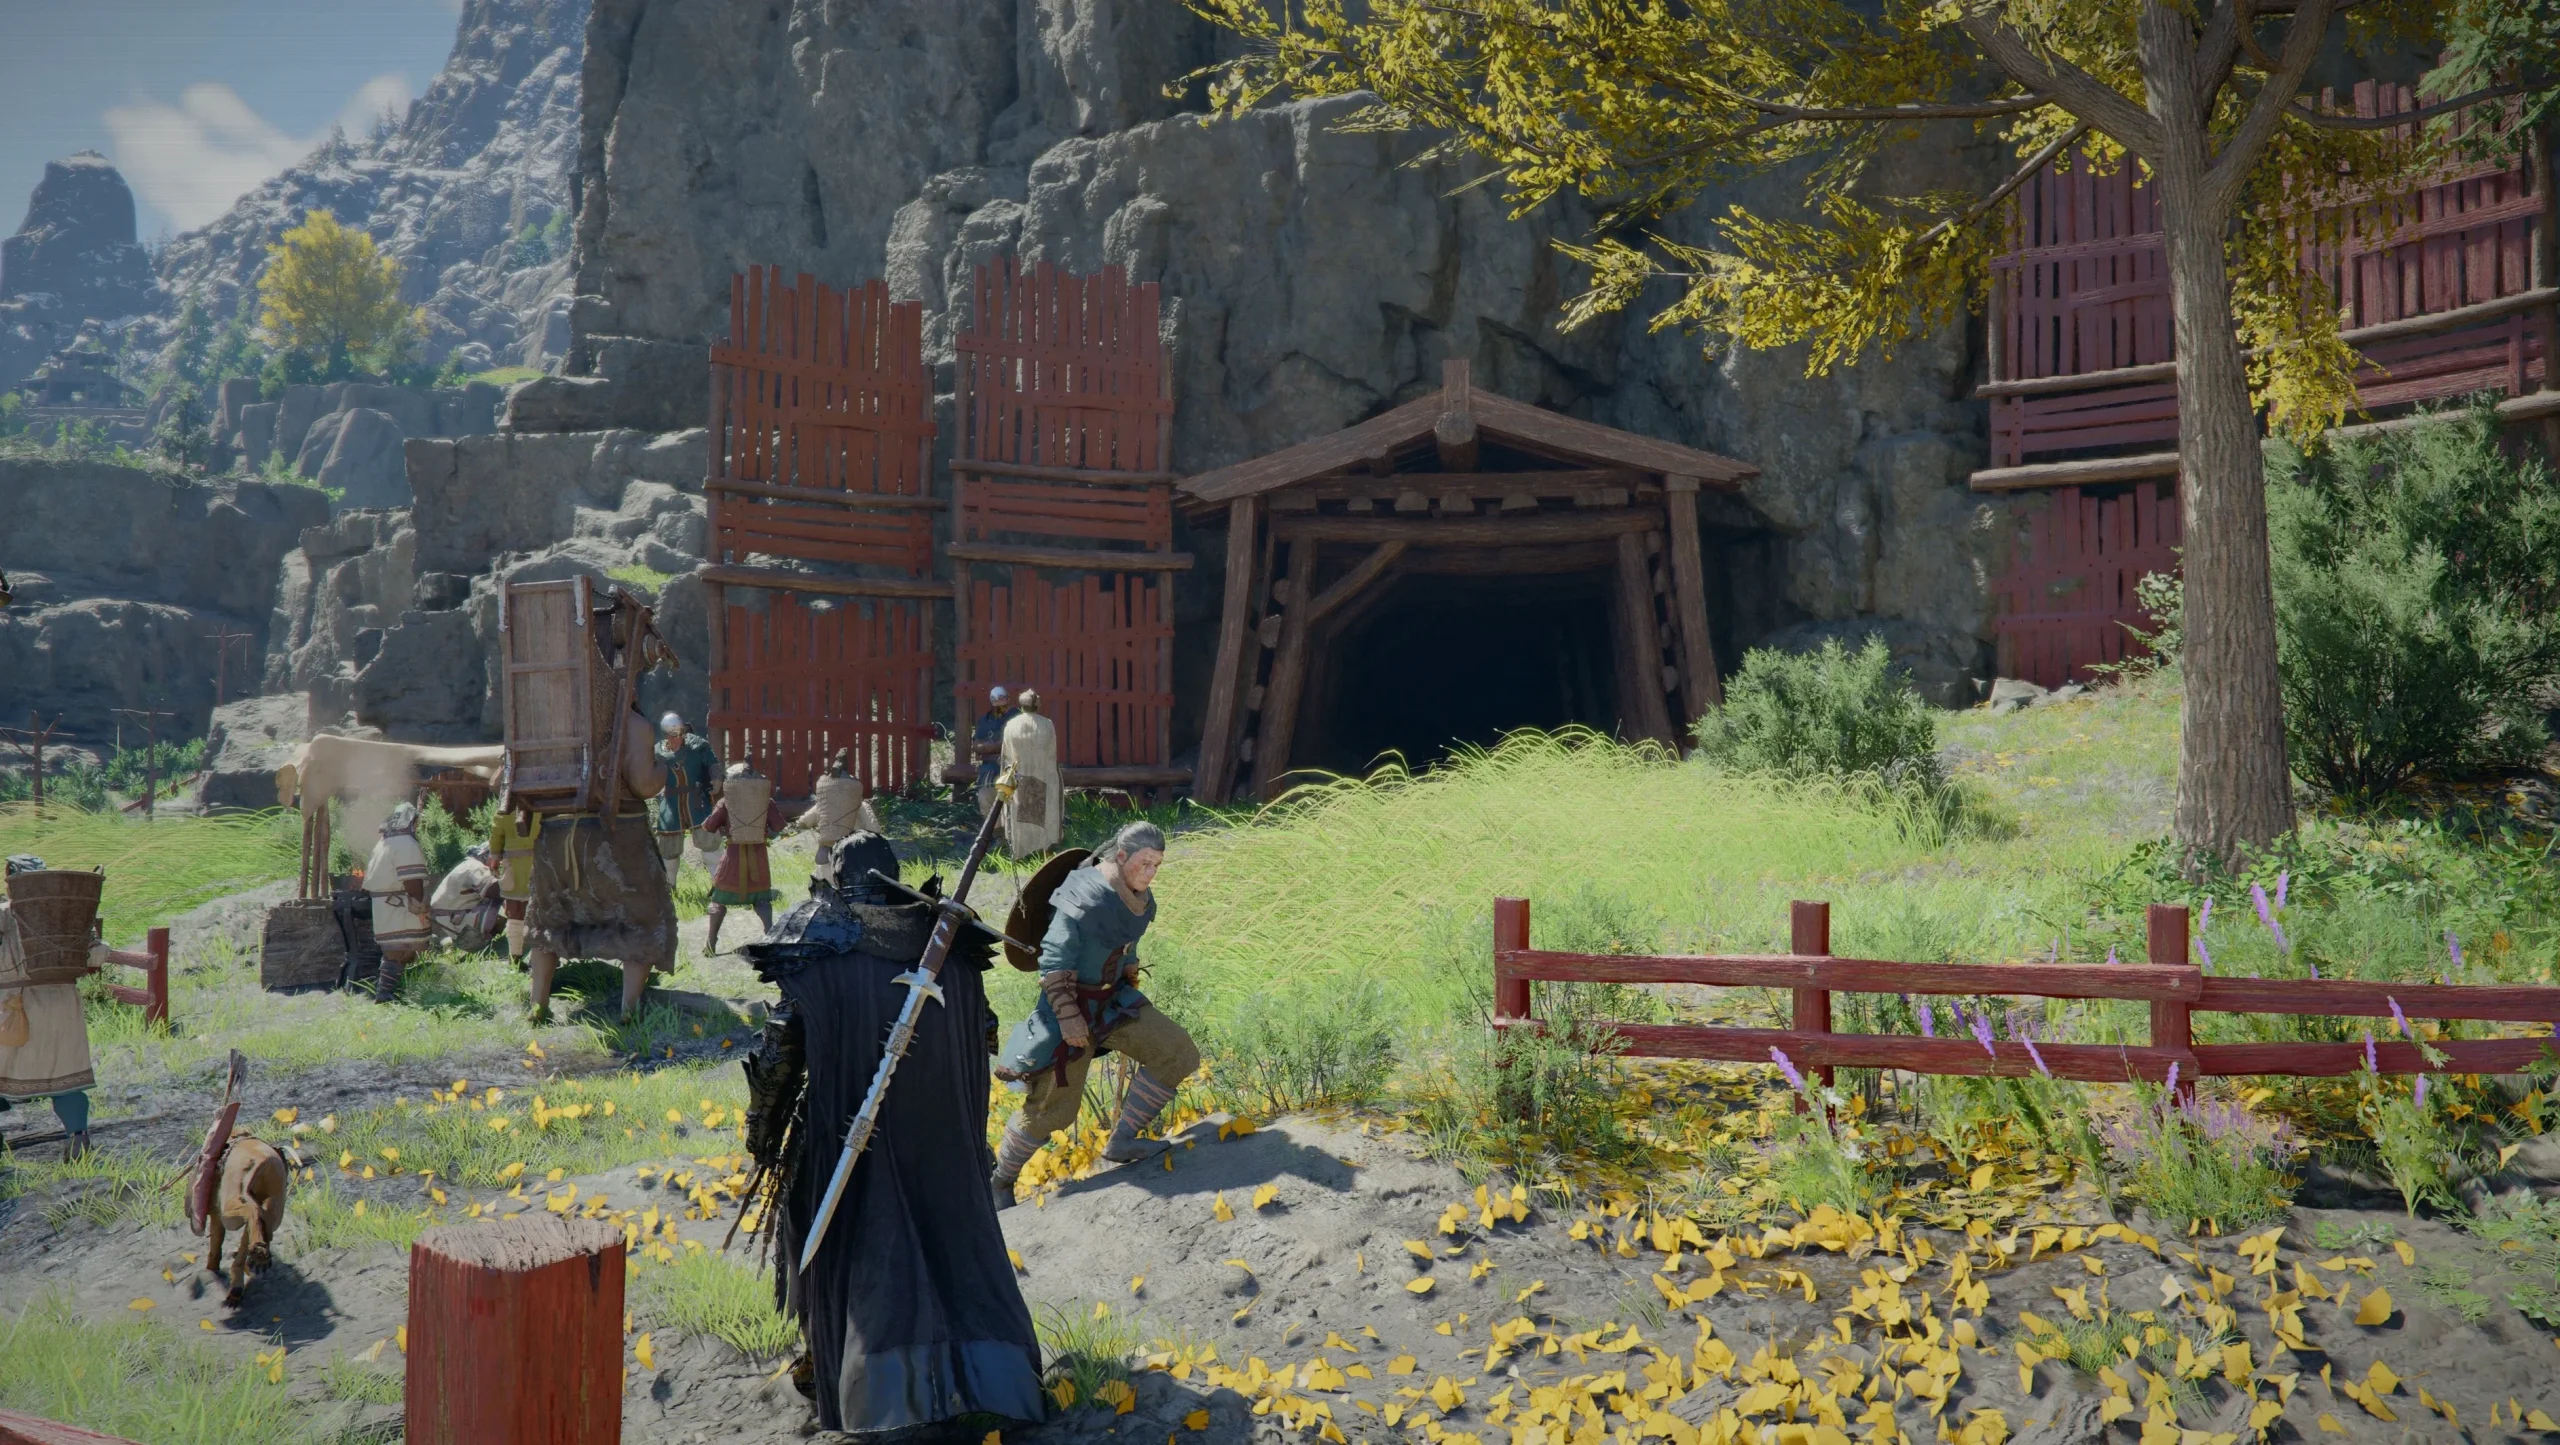
Ancient Mine Site Ruins 3 Treasure Chest
- Reward: Red Rage, Palmar Pill
One of the Treasure Chests inside Pailune City, and one you’ll want to tackle only after you’ve freed Pailune from Black Bear and Jackal influence, during Chapter 7 of the Main Story.
There are multiple small ancient mine entrances across Pailune City. For this one, head to the center of town and look near the main street north of the bank.
Go into the mine and keep moving until the end. The Red Rage Sword is waiting in a chest near the ruins, with an upswing to attack output and critical rate.
Ancient Mine Site Ruins 4 Treasure Chest
- Reward: Hungering Fang Leather Gloves
Another chest in Pailune City, recommended only after you’ve driven out Black Bear and Jackal control during Main Story Chapter 7.
Find one of the ancient mine entrances on the western side of Pailune City. This entrance is the northernmost of two mine openings between the livestock black market and the empty area at the north end where the Greymanes have moved in.
Step inside and search for a small Bismuth wall. Break it using your Focused Force Palm to expose an Abyss Core. Continue deeper until you reach a chest by some ruins containing the Hungering Fang Leather Gloves, which grant increased movement speed and health regeneration.
Ancient Mines Site Ruins 6 Treasure Chest
- Reward: Hungering Fang Leather Armor
There are many small ancient mine entrances throughout Pailune City. This entrance sits on the city outskirts at the northeastern edge, just beyond the large training yard and constabulary.
Enter the mine and locate a small Bismuth wall. Use your Focused Force Palm to destroy it and reveal the Abyss Core. After that, proceed to an alcove where a chest holds the Hungering Fang Leather Armor. The armor provides higher defense, lightning resistance, and stamina regeneration.
Valgrind Tomb Treasure Chest
- Reward: Noble Man’s Bow
This chest is tucked inside the Valgrind Tomb, a location better known as Jian’s final resting place—visited at the end of Chapter 7.
It’s positioned just outside Pailune City to the north of the main exit. Like other Pailune-area finds, it’s best attempted after you’ve cleared Black Bears and Jackals from the city. When you enter, look for a section of broken wall to your right, then crouch to reach a small alcove with a chest containing the Noble Man’s Bow.
Hidden Construct Treasure Chest
- Reward: Sigremon Greataxe
This Treasure Chest is hidden in an unmarked spot just outside Pailune City. It’s easy to miss: you’ll need to climb a large cliff face directly west of the city, and there aren’t many landmarks to guide you—except that it sits between the “L” and “U” in the word “Pailune” on the map.
Once you’re on the plateau above the cliffs, search for a large hold. Inside is an enormous automaton corpse—alarming in size, though thankfully abandoned. The giant mech doesn’t appear to react, but after you drop down, turn north and look for a flat stone wall. Near the top, you might spot a small leaf symbol when using your Blinding Flash.
Climb the wall to the leaf location. Use your Axiom to steady yourself in place, then strike the wall with your Force Palm. That reveals a revolving door leading to the Sigremon Greataxe, a weapon that can be used exclusively by Oongka.
Iceblade Cave Treasure Chest
- Reward: Roar of the Black Bear
This chest sits behind waterfalls on the eastern side of a high mountain road toward Ashclaw Keep and its related strongholds. You’ll find this road directly west of Pailune City; take the route south of Svinholt Ranch and follow the river until it ends.
Just south of the Ashclaw Gate, descend to the base of a large waterfall. There you’ll see a small pile of stones, hinting that a cave lies beyond. Enter it by using the Stab technique at the correct angle (RB/R1 + Y/Triangle). Inside, you’ll find a small treasure-filled cave, including the Roar of the Black Bear—a giant two-handed hammer usable only by Oognka.
Snowwind Cave Treasure Chest
- Reward: Gand Meal Recipe
This chest is hidden behind a waterfall north of the main city area in Pailune, on the western side of Vannstein Lake. The location is at a large water body north of Pailune City and southeast of Svinholt Ranch.
Once you reach the lake, move to the west side to locate the big waterfall. Inspect the base where water meets stone to find a small pile of stones—another sign that a cave is waiting beyond. Enter using the Stab technique at the correct angle (RB/R1 + Y/Triangle). Inside, the small cave contains multiple treasures, including a recipe for a Grand Meal. The meal grants several buffs, but it comes at the cost of a large amount of food.
Silver Wolf Mountain Northern Cave Treasure Chest
- Reward: Ashad Plate Armor
This chest holds a piece of an Oongka-wearable set. You’ll find it inside a pitfall to the north of Pailune, in the Silver Wolf Mountain Northern Cave.
To reach the cave entrance, travel along the main road through northern Pailune. Head west from Svinholt Ranch toward Odeck, watching for the Pitfall Camp overtaken by bandits. South of that camp, locate the telltale pit: a hole in the ground you can drop into.
Once you’re in the pit, follow the cave path all the way to the end. There you’ll find a chest containing the Ashad Plate Armor for Oongka, featuring extra lightning resistance, more skill experience gain, and damage reduction.
Frostpierce Cave Treasure Chest
- Reward: Ashad Plate Boots
This chest contains another Oongka set piece. It’s behind a waterfall inside Frostpierce Cave. The cave lies in the farthest northwestern corner of Pailune—further west past the town of Odeck and above Longbranch. Good news: an Abyss Teleporter sits above the falls, so you’ll know you’re getting close.
Look for a river descending from the northern mountains with a large rock archway over it. Move down to the base of the waterfall and find the same kind of clue: a small pile of stones indicating a cave beyond the falls. Enter using the Stab technique at the correct angle (RB/R1 + Y/Triangle). Inside, you’ll reach a treasure-filled cave with a Refined Palmar Pill and the Ashad Plate Boots for Oongka, which already include increased climb speed and additional healing over time.
Suspicious Pit Treasure Chest
- Reward: Lightning Bolt Plate Helm
You can locate this Treasure Chest on the far northern side of the Pailune region, across the main Upper Denn River just north of the city itself. The pit is protected by bandits to the east of the Halbert Harpoonery, up in the foothills near an abandoned Longbranch Shade Hideout.
After you clear the bandits, search the lone pit area for the suspicious pit itself. Drop into it to reach a cave below, where you’ll find a chest holding the Lightning Bolt Plate Helm.
Sanctum of Exaltation Treasure Chest
- Reward: Lightning Bolt Plate Gloves
This chest is located within the Sanctum of Exaltation, a site in the northern part of Pailune past the main city. It’s south of the road from Svinholt Ranch and west of Vaanstein Lake.
Inside the Sanctum, find the chest by locating a barred door on the southern side. Light the two nearby torches to open the gate.
Sanctum of Solace Treasure Chest 1
- Reward: Icewing Plate Boots
One of two Treasure Chests in the Sanctum of Solace. The ruins are in southern Pailune along a frozen river west of the Pailune Beacon, and southeast of the Frostveiled Castle Ruins.
Be warned: the Sanctum is guarded by a formidable boss, Antumbra’s Staff. You’ll need to defeat it before you can reach this chest.
In the arena where you fight Antumbra’s Staff near the large tree, use your Blinding Flash skill to inspect the nearby tower and locate a small leaf symbol. Climb up to the marked point, then use your Force Palm to reveal a revolving wall that contains the chest.
Sanctum of Solace Treasure Chest 2
- Reward: Dagger of Dark Pursuit
The second of the two Treasure Chests in the Sanctum of Solace is in the same general area: southern Pailune along a frozen river west of the Pailune Beacon, southeast of the Frostveiled Castle Ruins. Again, Antumbra’s Staff guards the location, but you can avoid the worst of it by staying on the southern side of the ruins.
Search the southern portion of the ruins for where the upper part of the Sanctum puzzle is hidden. Use your lantern or Blinding Flash to reveal a leaf on the wall. Then use your Force Palm to expose a door you can open to enter the chest area.
Cave of the Ancients Treasure Chest
- Reward: Icewing Plate Helm
This Treasure Chest is inside the Cave of the Ancients, a hidden hillside spot north of a long river that runs west toward Snowgrass Hearth—where you’ll find some Legendary Animals. It’s directly south of the Sanctum of Solace.
Inside, the chest sits within a cave opening along the hillside, positioned about halfway up and leading toward a large mountain range.
Claggy Chasm Treasure Chest
- Reward: Icewing Plate Gloves, Refined Palmar Pill
This chest is hidden in a cave behind a waterfall just to the northwest of the Lonbranch area in northwestern Pailune. It’s also positioned farther north than the Whisperleaf Fortress, inside that territory near Silver Wolf Mountain.
At the waterfall, look for a small pile of stones at the base—evidence that a cave sits beyond the falls. Enter using the Stab technique at the correct angle (RB/R1 + Y/Triangle). Once inside, you’ll find a small cave full of treasures, including a Refined Palmar Pill and the Icewing Plate Gloves.
Wayward Woods Witch’s Hideout Treasure Chest
- Reward: Icewind Plate Cloak
This chest is found inside the tree hideout of the Witch of the Wayward Woods, but it’s not something you can grab immediately. The hideout is in the Wayward Woods region itself, just off the road south of the Ridgehuner Tannery and northeast of the Wetland Fishing Dock.
To access it, you must complete every Witch quest here. Those tasks include Protector of the Abyss, which requires finishing all four earlier Witch questlines to liberate the various Sanctums across Pailiune. Once completed, you can enter the hideout and claim the treasure.
The Four Pits of the Wayard Woods Treasure Chest
- Reward: Odeck’s Protector Plate Armor, Palmar Pill
This Treasure Chest is inside a sinkhole cave known as The Four Pits of the Wayard Woods. The location is in Longroot territory on the western side of Pailune. You can find it deep along the western roads near Fort Askelund, close to the Longroot Shade Hideout, and south of the Longroots stronghold itself.
Look for a place where you can drop into the sinkhole cave, then head inside to find the treasure chest along with other items.
Totemfelt Treasure Chest
- Reward: King’s Dagger
This chest is stored inside a hidden vault under the small village of Totemfelt, which sits just north of the “N” in Pailune. When you arrive in Totemfelt, look for a large headstone inside a small garden area.
Approach the headstone and use Force Palm (R3|MMB) to flip it over, revealing a hidden ladder that leads down into the vault.
After climbing down, you’ll find a Treasure Chest at the back of the room containing the King’s Dagger.
Beighen Candlery Treasure Chest
- Reward: Lucon Large Shield
This Treasure Chest is beneath a trapdoor at Beighen Candlery, a candle-making workshop in southeastern Pailune. When you arrive at the Candlery, go looking for a small lean-to along the eastern side of the village.
Just behind a wooden cart and some hessian sacks, you’ll find the trapdoor you can open.
Once the trapdoor is open, descend the ladder into a small room. Then check for a gap in the southwestern wall, which leads to a treasure chest containing the Lucon Large Shield.
Up next
Up Next: Demeniss Treasure Chest Locations
Top guide sections
Top Guide Sections
- Things to Do First in Crimson Desert
- Essential Tips and Tricks
- Walkthrough
- Things Crimson Desert Doesn’t Tell You


