N7: Cerberus Fighter Base Guide: Pickups, Combat Tips, and Decisions
Mass Effect 3’s N7: Cerberus Fighter Base is a side mission that sends you back into Cerberus territory on Noveria, with a mix of tight indoor firefights and more open outdoor pressure. This guide covers where to grab every notable pickup, how to handle each combat stretch, and what to do at the mission’s key decision points.
Mission Overview and Rewards
Checklists
- Mission Stats
- Travel to Pax
- Clear the Area
- Clear the Landing Pad
- Defeat the Atlas
- Back on the Normandy
Mission Rewards
- Mission Experience: 750 XP
- Reputation: +5
- Mission Credits: 10,000 credits
- Found Credits: 10,000 credits
- Mod: Pistol Magazine Upgrade
- War Asset: Advanced Fighter Squadron (75 TMS)
Mission Enemies
- Assault Trooper
- Centurion
- Guardian
- Combat Engineer
- Engineer
- Nemesis
- Atlas Mech
Travel to Pax and Reach the Fighter Base
- Prerequisite: Complete “Priority: Tuchanka”
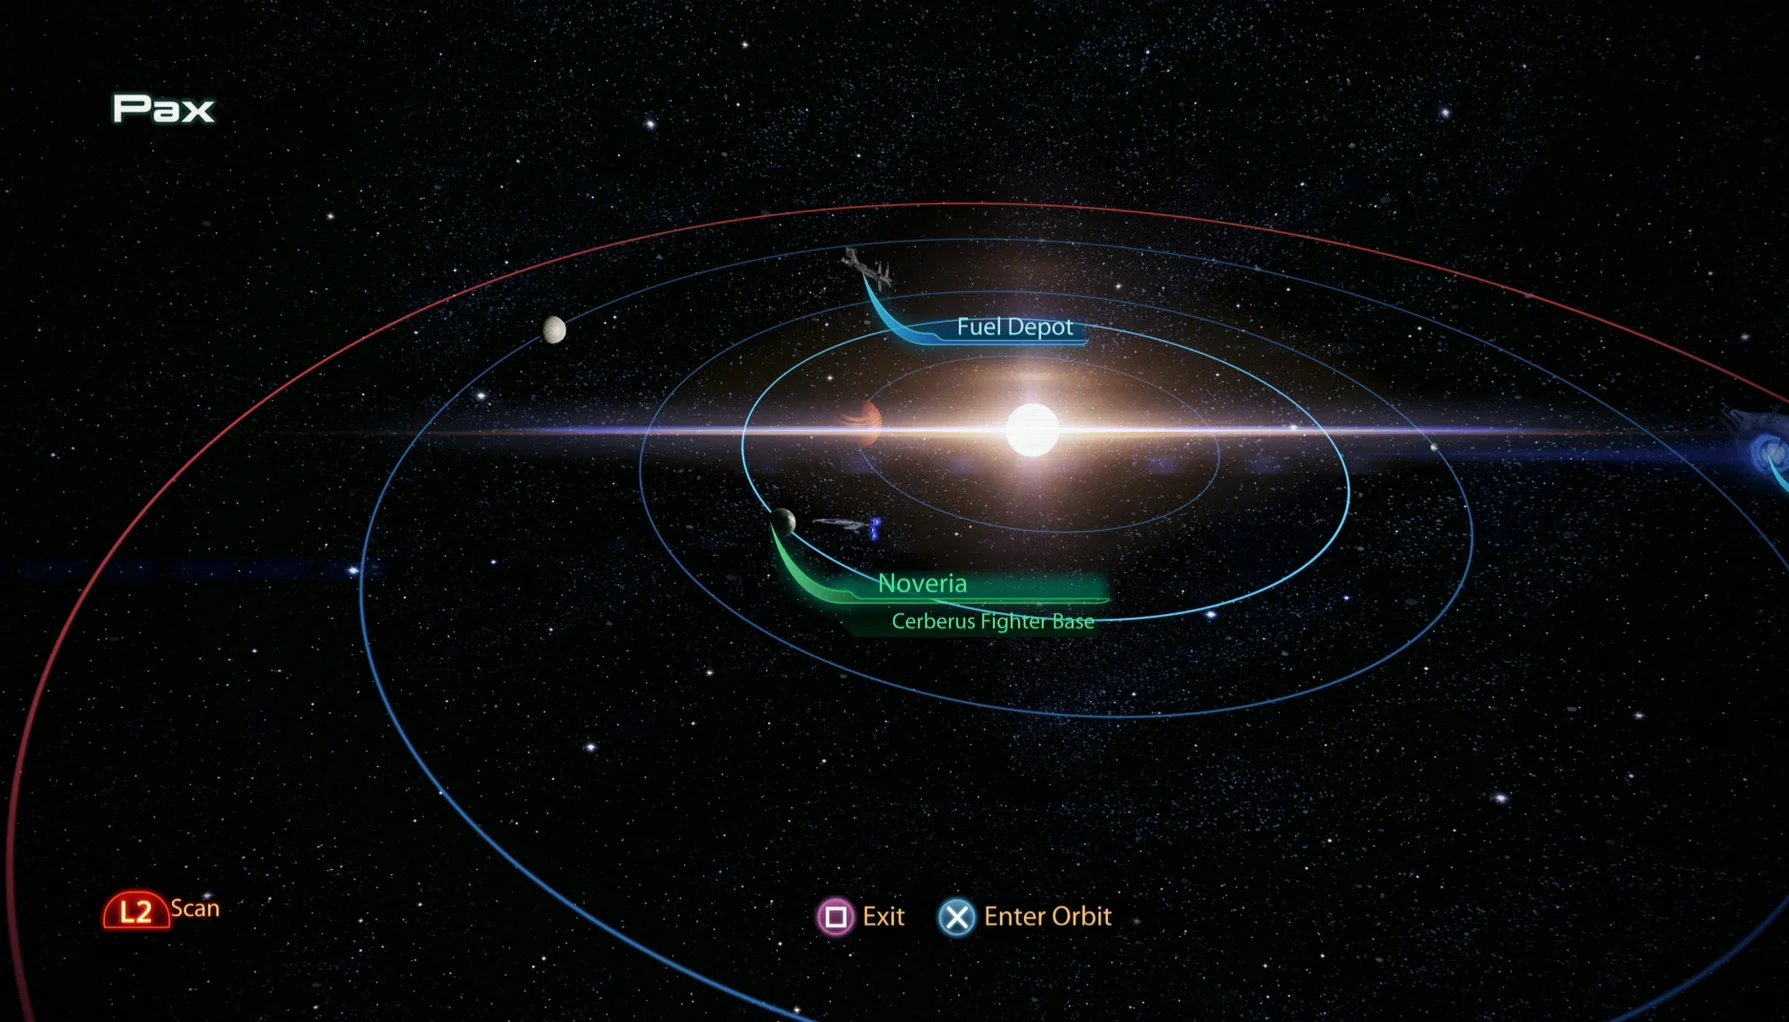
- Location: Horse Head Nebula – Pax – Noveria
This N7 mission becomes available after you finish “Priority: Tuchanka.” After completing it, return to the Normandy—Specialist Traynor will hand you the mission the next time you check in via the Galaxy Map.
If you’ve played the first game, the destination will feel familiar. Head to the Horsehead Nebula to reach the Pax system, then access Noveria and land at the Cerberus fighter base. Noveria is known for illegal corporate R&D, so it’s no surprise that Cerberus has set up operations here.
Recommended Loadout
- Squad Tactics:
- James is a strong choice because his shotgun focus fits the mission’s tight, cramped spaces.
- Garrus is also a solid pick. His sniper rifle experience helps in the more open areas, and his Overload becomes useful near the end.
- If you don’t have Garrus, choose Liara instead, using her Singularity power.
- At a certain point, the mission will ask you to swap out one squad member. Preparing a team that can still handle the odds—especially in close quarters—is the goal. Garrus and James are recommended again for this reason.
- Shepard’s Loadout:
- Use a balanced weapon setup, since the map alternates between outdoor lanes and cramped indoor rooms.
- Piercing, Shredder, or High Velocity mods, along with the Venom Shotgun, are recommended for dealing with the level’s Guardians.
- The Sniper Rifle Enhanced Scope is helpful for spotting enemies hidden behind the smoke bombs used by Centurions and Atlas mechs.
- If you own the Citadel DLC and/or completed the Omega DLC, bring a Thermal Scope for your assault or sniper rifle. It helps you see through both smoke bombs and walls.
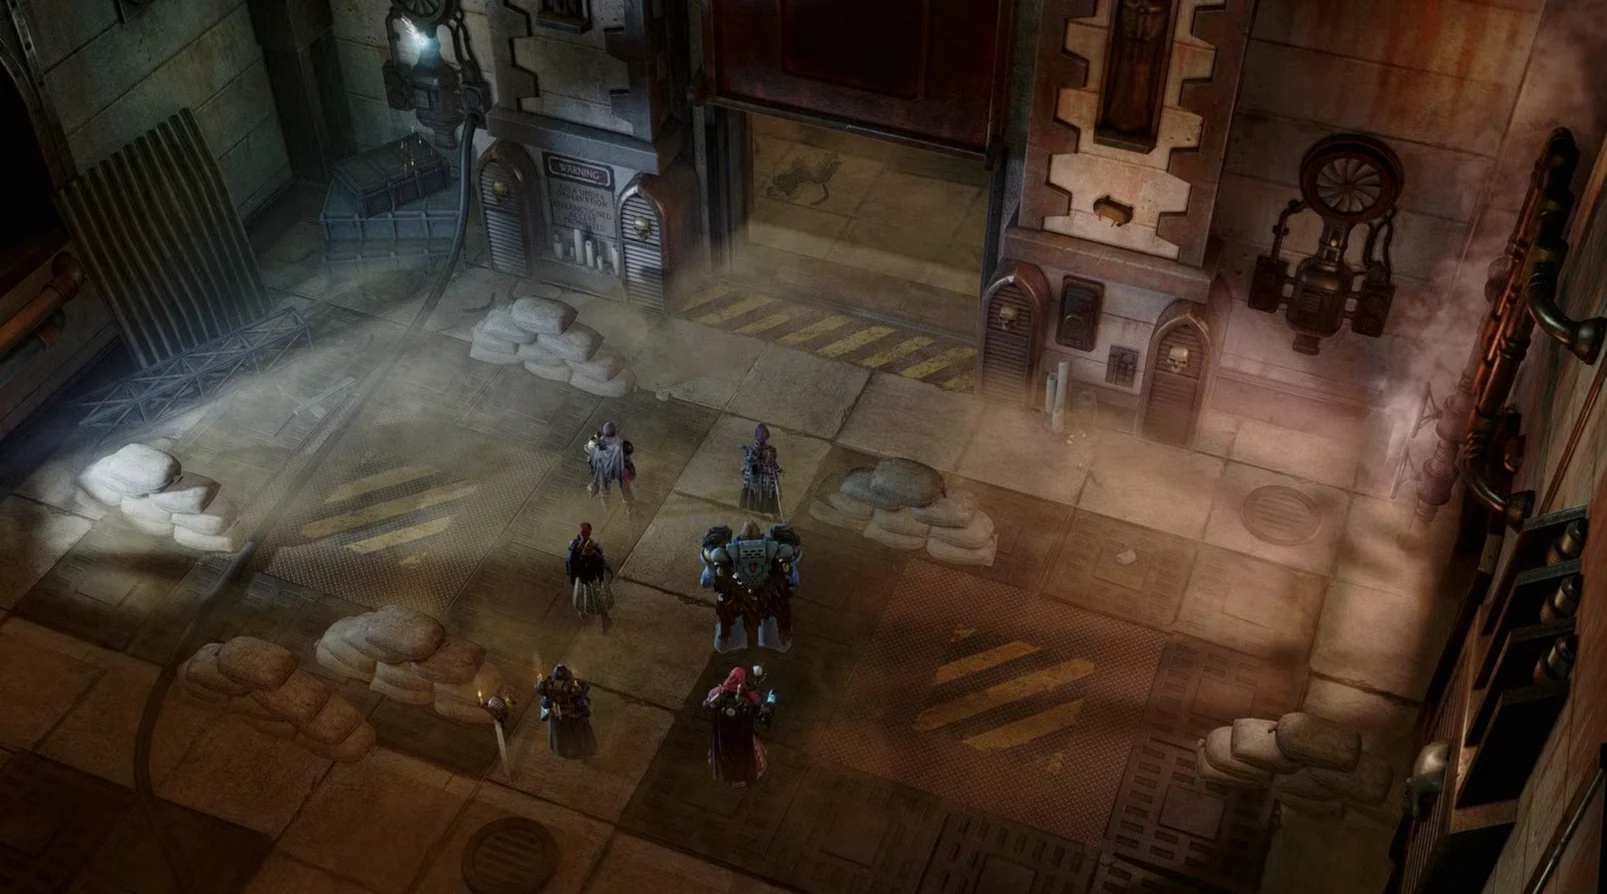
Clear the Area Inside the Base
The mission starts immediately with combat. Assault Troopers and Centurions push out to meet Shepard as soon as you arrive. Work your way to the base’s control center in the lower part of the facility, and make sure every enemy is eliminated.
Before you deactivate the Security Console, do a full sweep for loot. This is the only moment the map becomes fully quiet, so it’s your best chance to search thoroughly. Start by heading to the walkway outside where you first began, then approach the orange-lit door.
- Spare Parts – 2,000 credits. From the starting area, move toward the orange-lit doorway, turn left, continue forward to a ladder. To the right of that ladder, you’ll find orange barrels with these Spare Parts on top.
- Pistol Magazine Upgrade – Located by using the Spare Parts route above. Turn right and go inside. At the bottom of the stairs, check the seats to the right of the dead-end doorway ahead to find the mod.
- Medical Station – 75 XP. Positioned on the wall near the seats where the Pistol Magazine Upgrade is found.
- Computer Console – A terminal across from the Pistol Magazine Upgrade, near stairs that lead downstairs.
- Spare Parts – 2,000 credits. From the Computer Console area, find stairs in the opposite corner of the room that drop you into the control console chamber. Stand in the doorway at the bottom, then look right to spot a console holding these Spare Parts.
- Datapad – 2,000 credits. From the Spare Parts described above, look toward the back wall for a long corner-shaped console. The Datapad sits at the corner of that console.
- Heating Unit Schematics – On the wall above the Datapad, there are two small monitors. Inspect the left monitor showing a grid pattern to obtain this item for the “Citadel: Heating Unit Stabilizers” side mission.
- Medical Station – 75 XP. Found on the back wall, to the right of the Heating Unit Schematics.
- Spare Parts – 2,000 credits. Exit through the doorway to the right of the Medical Station to return outside. Ahead are two walkways—go to the end of the right-hand walkway to find a Datapad in the left-hand corner; this is the pickup that grants these credits.
- Med Kit – 50 XP. From the Spare Parts described above, turn around and look right to spot where the two walkways meet. The Med Kit is on that connection under the railing.
- Spare Parts – 2,000 credits. From the Med Kit, return to the objective doorway. Instead of going back inside, head right and check the back-right corner of the balcony for these Spare Parts.
With loot secured, return to the Security Console and deactivate it. If it doesn’t go smoothly, you’ll still need someone to operate the Security Console while you and your remaining squad member defend the position. The choice isn’t about tech competence—pick based on who can fight best while one person is sidelined, ideally with a kit that performs well in close quarters.
While one of your squad is occupied with hacking Cerberus systems, you and the remaining teammate must hold off the incoming Cerberus assault. A strong approach is to bunker behind the console next to the Security Console, since it’s fairly defendable. After the defense phase, you’ll need to go back to the Security Console to help dismantle the base’s defenses.
Clear the Landing Pad and Finish with the Atlas
Once the Security Console is handled, switch to outdoor combat. Your next objective is clearing the landing pad so Cortez can extract you. Do not rush straight to the landing pad—Combat Engineers have set up turrets that are ready to cut you down, and a Nemesis patrols nearby and won’t hesitate to interfere.
After you wipe out all their forces, Cerberus makes a last move by dropping an Atlas Mech directly onto the landing pad. This Atlas comes with an added shield. If you brought Garrus, you can use his Overload to help strip the shield and then destroy the mech. Taking down the Atlas Mech ends the level, and extraction happens automatically.
Back on the Normandy
When you’re back on the Normandy, it’s time to make the rounds:
- CIC – Speak with EDI.
- Engineering – Talk to Javik, then pass by Gabby and Ken, and finish by talking to Allers.
- Shuttle Bay – Speak with Cortez.
If you want more Mass Effect 3 assistance, there are additional pages covering:
- Legendary Edition Changes
- How-To Guides
- Key Choices and Consequences
- Romance Guide
- Walkthrough
- Side Missions
Up Next: N7: Cerberus Lab
Top Guide Sections
- Legendary Edition Changes
- Game Basics
- Tips and Tricks
- How-To Guides