Gothic 1 Remake: How to Get The Cult’s Recipe From Swamp Camp
The Cult’s Recipe is a quest in Gothic 1 Remake that asks you to swipe a “Dreamjuice” recipe from Swamp Camp and then deliver it to Dexter back in the Old Camp marketplace. Finishing it also moves you forward on the Casting Shadows quest. Below you’ll find directions for reaching Swamp Camp, plus a step-by-step guide for earning Cor Kalom’s trust and getting the recipe.
Checklists
Use the objective list below to jump straight to the part you need, or read through the full walkthrough from start to finish.
- Talk to Dexter
- Ask Baal Parvez to Escort You to Swamp Camp (optional)
- How to Travel to Swamp Camp
- Acquire Cor Kalom’s Recipe
- How to Steal the Recipe
- How to Open Cor Kalom’s Laboratory Chest – Lockpick Solution
- Report Back to Dexter
- How to Steal the Recipe
- How to Open Cor Kalom’s Laboratory Chest – Lockpick Solution
Talk to Dexter
Speak with Dexter in the market area of Old Camp.
If you tell Dexter you want to prove yourself, he’ll send you to Swamp Camp to steal a “Dreamjuice” recipe from Cor Kalom. The plan is to act like you’re interested in joining the swamp faction so you can get close enough to Cor Kalom to take the recipe.
Payment for Services Rendered… in Advance?
You can ask Dexter for Nuggets up front in case you need to purchase the recipe. At first, he refuses. If you keep pushing him multiple times—until you reach the options “Fine. Forget about it.” and then “No. Give me the nuggets, or get it yourself.”—Dexter eventually gives in and hands over the 50 Nuggets you requested.
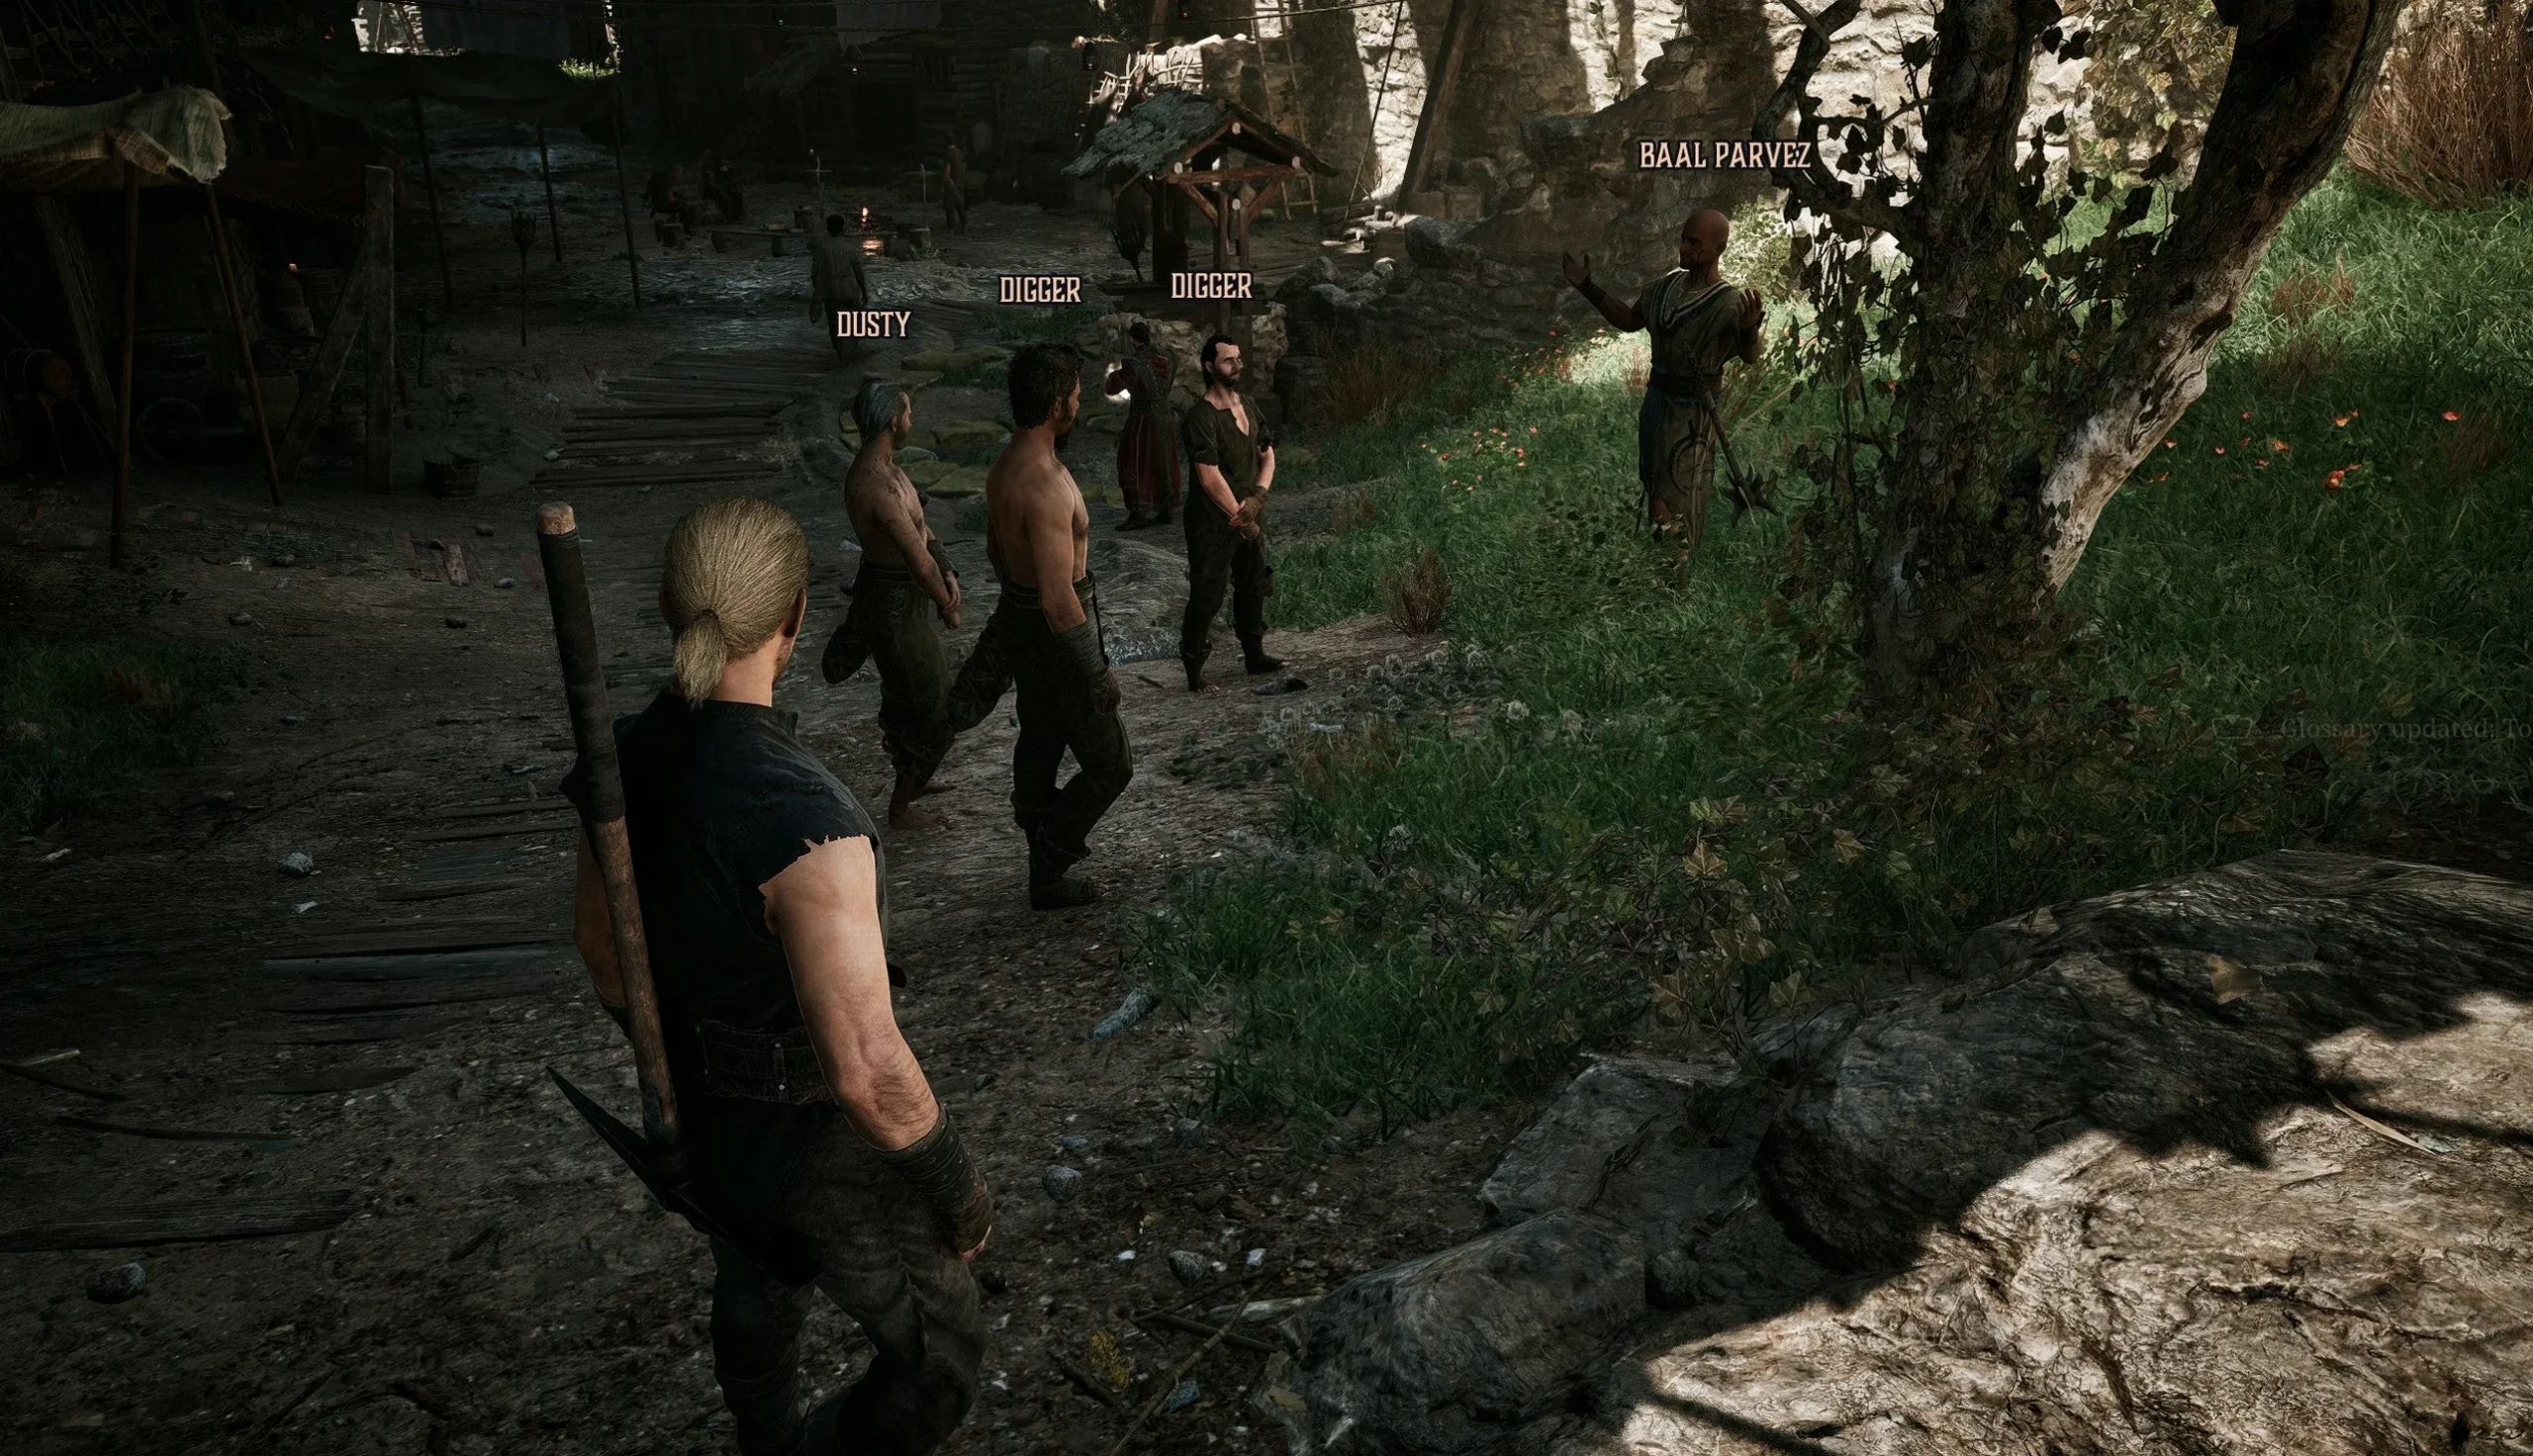
Ask Baal Parvez to Escort You to Swamp Camp (optional)
Dexter mentions you can reach Swamp Camp by “just heading East” after you leave through the South gate (the one by the market), but the route is a little unclear. You can follow the map, or buy a map from Graham near the North gate for a clearer sense of direction. Alternatively, you can talk to Baal Parvez in Old Camp.
Parvez is a Swamp Camper, and if you speak with him, he’ll volunteer to escort you all the way to Swamp Camp. He’s a committed believer in the Brotherhood, but agreeing to travel with him doesn’t lock you into anything else. Bringing Parvez is especially helpful early on because the road between Old Camp and Swamp Camp has tougher threats like Wolves and Lizards. He can help you handle encounters on the way, so it’s a strong recommendation for reaching Swamp Camp safely. You’ll also receive 200 experience points simply for having him guide you there.
How to Travel to Swamp Camp
From Old Camp, walk out through the South gate. Once you’re outside, stay on the main path straight ahead and climb up over the nearby hill.
After a short stretch, the trail crosses a small bridge over a stream. On the other side, you’ll find a Wolf.
New Enemy – Wolf
Wolves are among the toughest wild enemies you’ll run into around Old Camp. Their attacks cover a lot of area and hit hard—at level 1 or 2, they can kill you in a single shot. Compared to early-game foes like Molerats and Junior Scavengers, Wolves have more health, so you should only pick fights with them if you’re already around level 4 or 5+ with better equipment, or if you’re traveling with Parvez, who can take care of them for you.
If you decide to fight a Wolf, focus on moving to the side to dodge rather than backing away. Their long-reaching swings may still tag you if you dodge backward. Keep your own attack strings short so you’re ready to evade when the Wolf lunges, then whittle down its health bar.
Long-range attacks are possible too, but Wolves move fast and can close distance quickly before you finish them off. Be ready to switch weapons and dodge the Wolf’s initial jump attack as it rushes in. Just remember: they’re also capable of dodging your attacks.
Once the Wolf is down, continue along the path as it curves to the right and climbs a small hill.
Near the top of the rise, you’ll run into a group of Bloodflies. These enemies are slower than Wolves, so ranged attacks make them easier to deal with before they reach you. That said, the group is larger than usual—so back off when needed, or if you’re using melee, lure them away one at a time.
Past the Bloodflies, keep following the trail. As the route begins to slope downhill, go straight ahead and ignore the branching path that peels off to the right.
After the road splits, your next set of stronger enemies will appear: Lizards.
New Enemy – Lizard
Lizards are roughly as dangerous as Wolves, but they’re slower and cover less distance, which makes them better targets for ranged attacks. Even so, you’ll usually find them in groups, so they can still be a real threat.
When they’re close, their attacks don’t have much reach, so after you dodge, you should be able to land some hits. They do take several more strikes than typical Molerats, though, so don’t get frustrated—hit, reset, and wait for the next opening.
Blocking is important because it cuts the damage you take by a significant amount. If you can’t clearly avoid the next incoming blows, block instead of trying to trade hits.
After you clear the Lizards near the shoreline, keep going up the hill to the left.
Over the crest, you’ll find a small pack of Adult Scavengers.
New Enemy – Adult Scavengers
Adult Scavengers are the toughest Scavenger variant you’ll see around Old Camp. They’re bigger, faster, stronger, and come with a larger health pool. They can perform jumping attacks that cover ground when they lunge at you, and they can also dodge your strikes.
If you were able to handle Wolves and Lizards around Old Camp, you can likely take on Adult Scavengers too, but they remain challenging. One tactic that helps a lot is using a downward strike—X on PlayStation and A on Xbox—which can knock them down temporarily. That buys you breathing room to focus on other threats or to deal extra damage while they’re incapacitated.
They don’t really chain combos, so if you can dodge their individual attacks, you can follow up right after they miss.
With the Scavengers defeated, take the left path at the T-intersection.
Not long after that intersection, you’ll reach another fork with a dead tree in the center. There are a couple of Molerats here, and they’re comparatively weak compared with what you faced to get this far. Defeat them, then take the left route.
Immediately after, you’ll come to yet another junction, this time marked by a signpost. Follow the downhill path to the right, heading toward another group of Lizards.
Once those Lizards are cleared, continue downhill to the left while staying along the high rock wall on your left.
There’s a sequence of branching turns here. Most routes lead to the same destination, but the guide is going to list them so you don’t get turned around.
At the first intersection, take a right.
At the next intersection (marked by a flag planted in the ground), go right again.
Soon after, you’ll reach a third intersection; at that one, go left.
The terrain will start to look more swamp-like as you move forward.
Keep going until you find another fork indicated by a flag in the ground, plus a group of patrolling Molerats. Take out the Molerats, then go left.
After this point, there are no more branching paths. It’s a straight run to Swamp Camp. Along the way, you’ll have to deal with one Bloodfly near your first footbridge and another that may be watching from off the path to the left.
Handle both Bloodflies, then keep moving straight until you spot the two templars standing guard outside the front of Swamp Camp. You’ve made it.
If you came with Parvez, he’ll stop to chat and tell you he’s heading back to Old Camp. You’ll earn 200 experience for traveling with him, which is a solid reward considering all the extra fights he helped you avoid or win along the route.
Talk to the guard standing outside the camp. If you choose, you can get some information about the area from him, then it’s time to enter.
Acquire Cor Kalom’s Recipe
Swamp Camp Camping
If you need a place to sleep inside Swamp Camp, look to the right of the entrance after passing the two guards. There’s a small route leading to a ladder. Climb it to the upper walkway, where you’ll find a few arrows and torches, plus a free bed you can claim.
When you first arrive at Swamp Camp, you’ll see two people near the entrance: Lester and Baal Namib. The Baals are gurus, and visitors like you aren’t allowed to speak with the Baals directly, but you can talk to Lester. He’s stationed there specifically to help newcomers.
You can ask Lester about joining the camp, which starts the Admissions to the Swamp Camp quest. From there, you can ask him how to impress Baal Namib, or ask him to give you a tour. He’ll point you toward different locations in camp, including Cor Kalom’s lab.
Ask Lester to bring you to the laboratory and follow him there. You can also use town signage showing two testing beakers with liquid inside.
At the final marker, climb the spiral ramp into the trees to reach the lab.
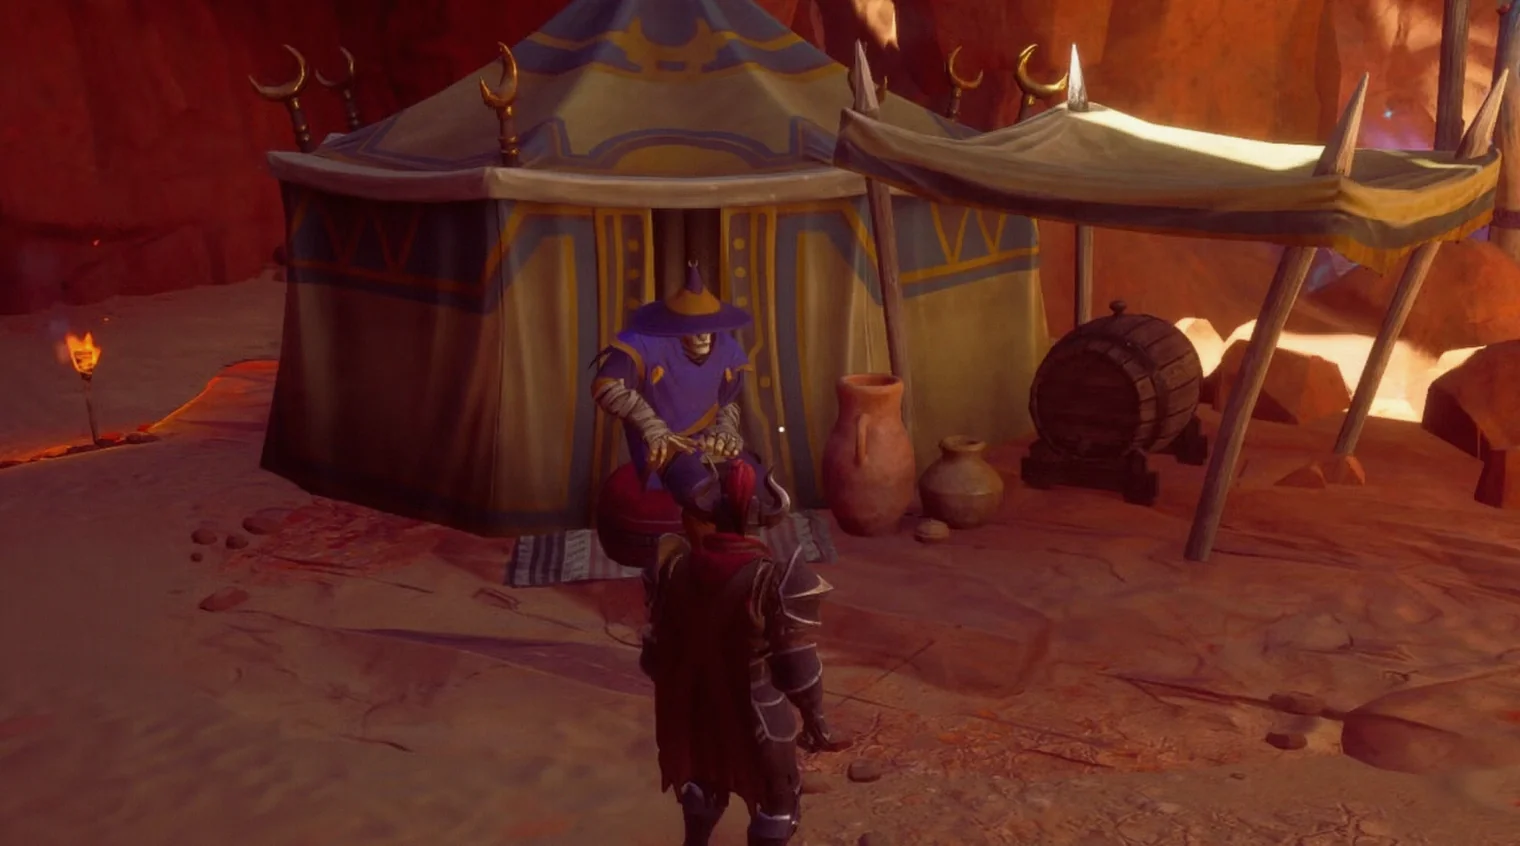
How to Steal the Recipe
In and around the laboratory, keep an eye out for Cor Kalom’s apprentice, Caine. He seems a little out of it, so if you speak to him, he’ll tell you where Cor Kalom stores the Dreamjuice recipe. Cor Kalom keeps it inside his chest in the lab.
This chest is set against the back wall, to the left of Cor Kalom’s main work area.
Good Time to Save
You’re about to do something that will make people very unhappy if you get caught, so save here in case you want to reload if things go wrong.
If Cor Kalom and Caine are busy at their respective tables, you can crouch next to the chest before you attempt to open it, and neither of them should notice—letting you start the lockpicking attempt.
Editorial Note
From Kerry Palmer, Guides Editor ⚔️
How to Open Cor Kalom’s Laboratory Chest – Lockpick Solution
Continue reading for the specific lockpicking steps needed to open the chest. As a reminder: when lockpicking, if you try to force a plate beyond the pin-slot limit, your pick will wobble. That wobble basically means you have only one additional mistake left (assuming you haven’t invested any skills into Lockpicking). If you want a quick primer on how lockpicking works, check out the Lockpicking guide.
How the Lock Plates Move
- The first plate also affects the fourth plate
- The second plate also affects the first and fourth plates
- The third plate also affects the first plate, and the second plate moves in the opposite direction to the third plate
- The fourth plate moves on its own, independent from the others
Cor Kalom’s Chest Lockpick Solution
- Plate Four – Left Five
- Plate Two – Right Two
- Plate Three – Right Two
- Plate Two – Right Two
- Plate One – Left Four
- Plate Two – Right One
- Plate Four – Right One
Once the chest is open, you’ll be able to take Cor Kalom’s Recipe for yourself. With the recipe in your possession, head back to Old Camp and deliver it to Dexter.
Report Back to Dexter
When you return to Old Camp, go back to Dexter in the market and hand over the recipe. He’ll reward you with three Dreamcaller items that are useful for Mana regeneration, and you’ll earn 350 Experience Points.
Completing The Cult’s Recipe also advances the Casting Shadows quest.
This walkthrough includes first-person elements. Those come from Gothic 1 Remake Guides Editor Kerry Palmer. You can read more about him and his background on the About the Editors page.
Up Next: Test of Faith
Top Guide Sections
- 16 Things to Do First in Gothic 1 Remake
- Walkthrough
- Quests
- How to Travel to New Camp