UNC: Lost Freighter Guide: Walkthrough, Loot, and Key Choices
IGN’s Mass Effect wiki walkthrough for the UNC: Lost Freighter assignment takes you through the full mission arc: getting to the MSV Worthington, finding loot and evidence aboard the ship, surviving the danger zones, and making the decisions that shape how the story wraps up.
Mission Overview and Checklists
This guide page focuses specifically on the UNC: Lost Freighter assignment, detailing where to locate key items, how to handle the combat encounters, and what choices to make during your playthrough.
- Essential Stats
- Travel to Ming
- Investigate the Worthington
- Take Down Julia
- Back on the Normandy
Essential Stats
- Persuasion Points: N/A
- Minimum Decryption: Average Decryption
- Minimum Electronics: N/A
Travel to Ming
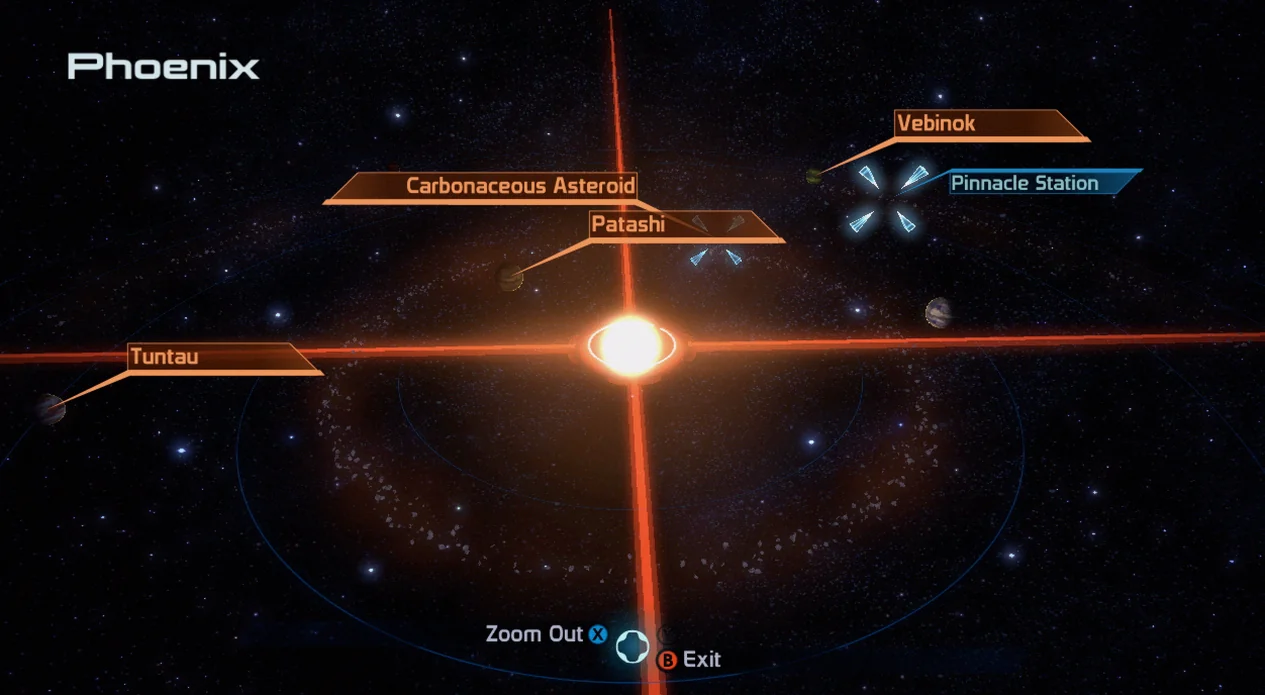
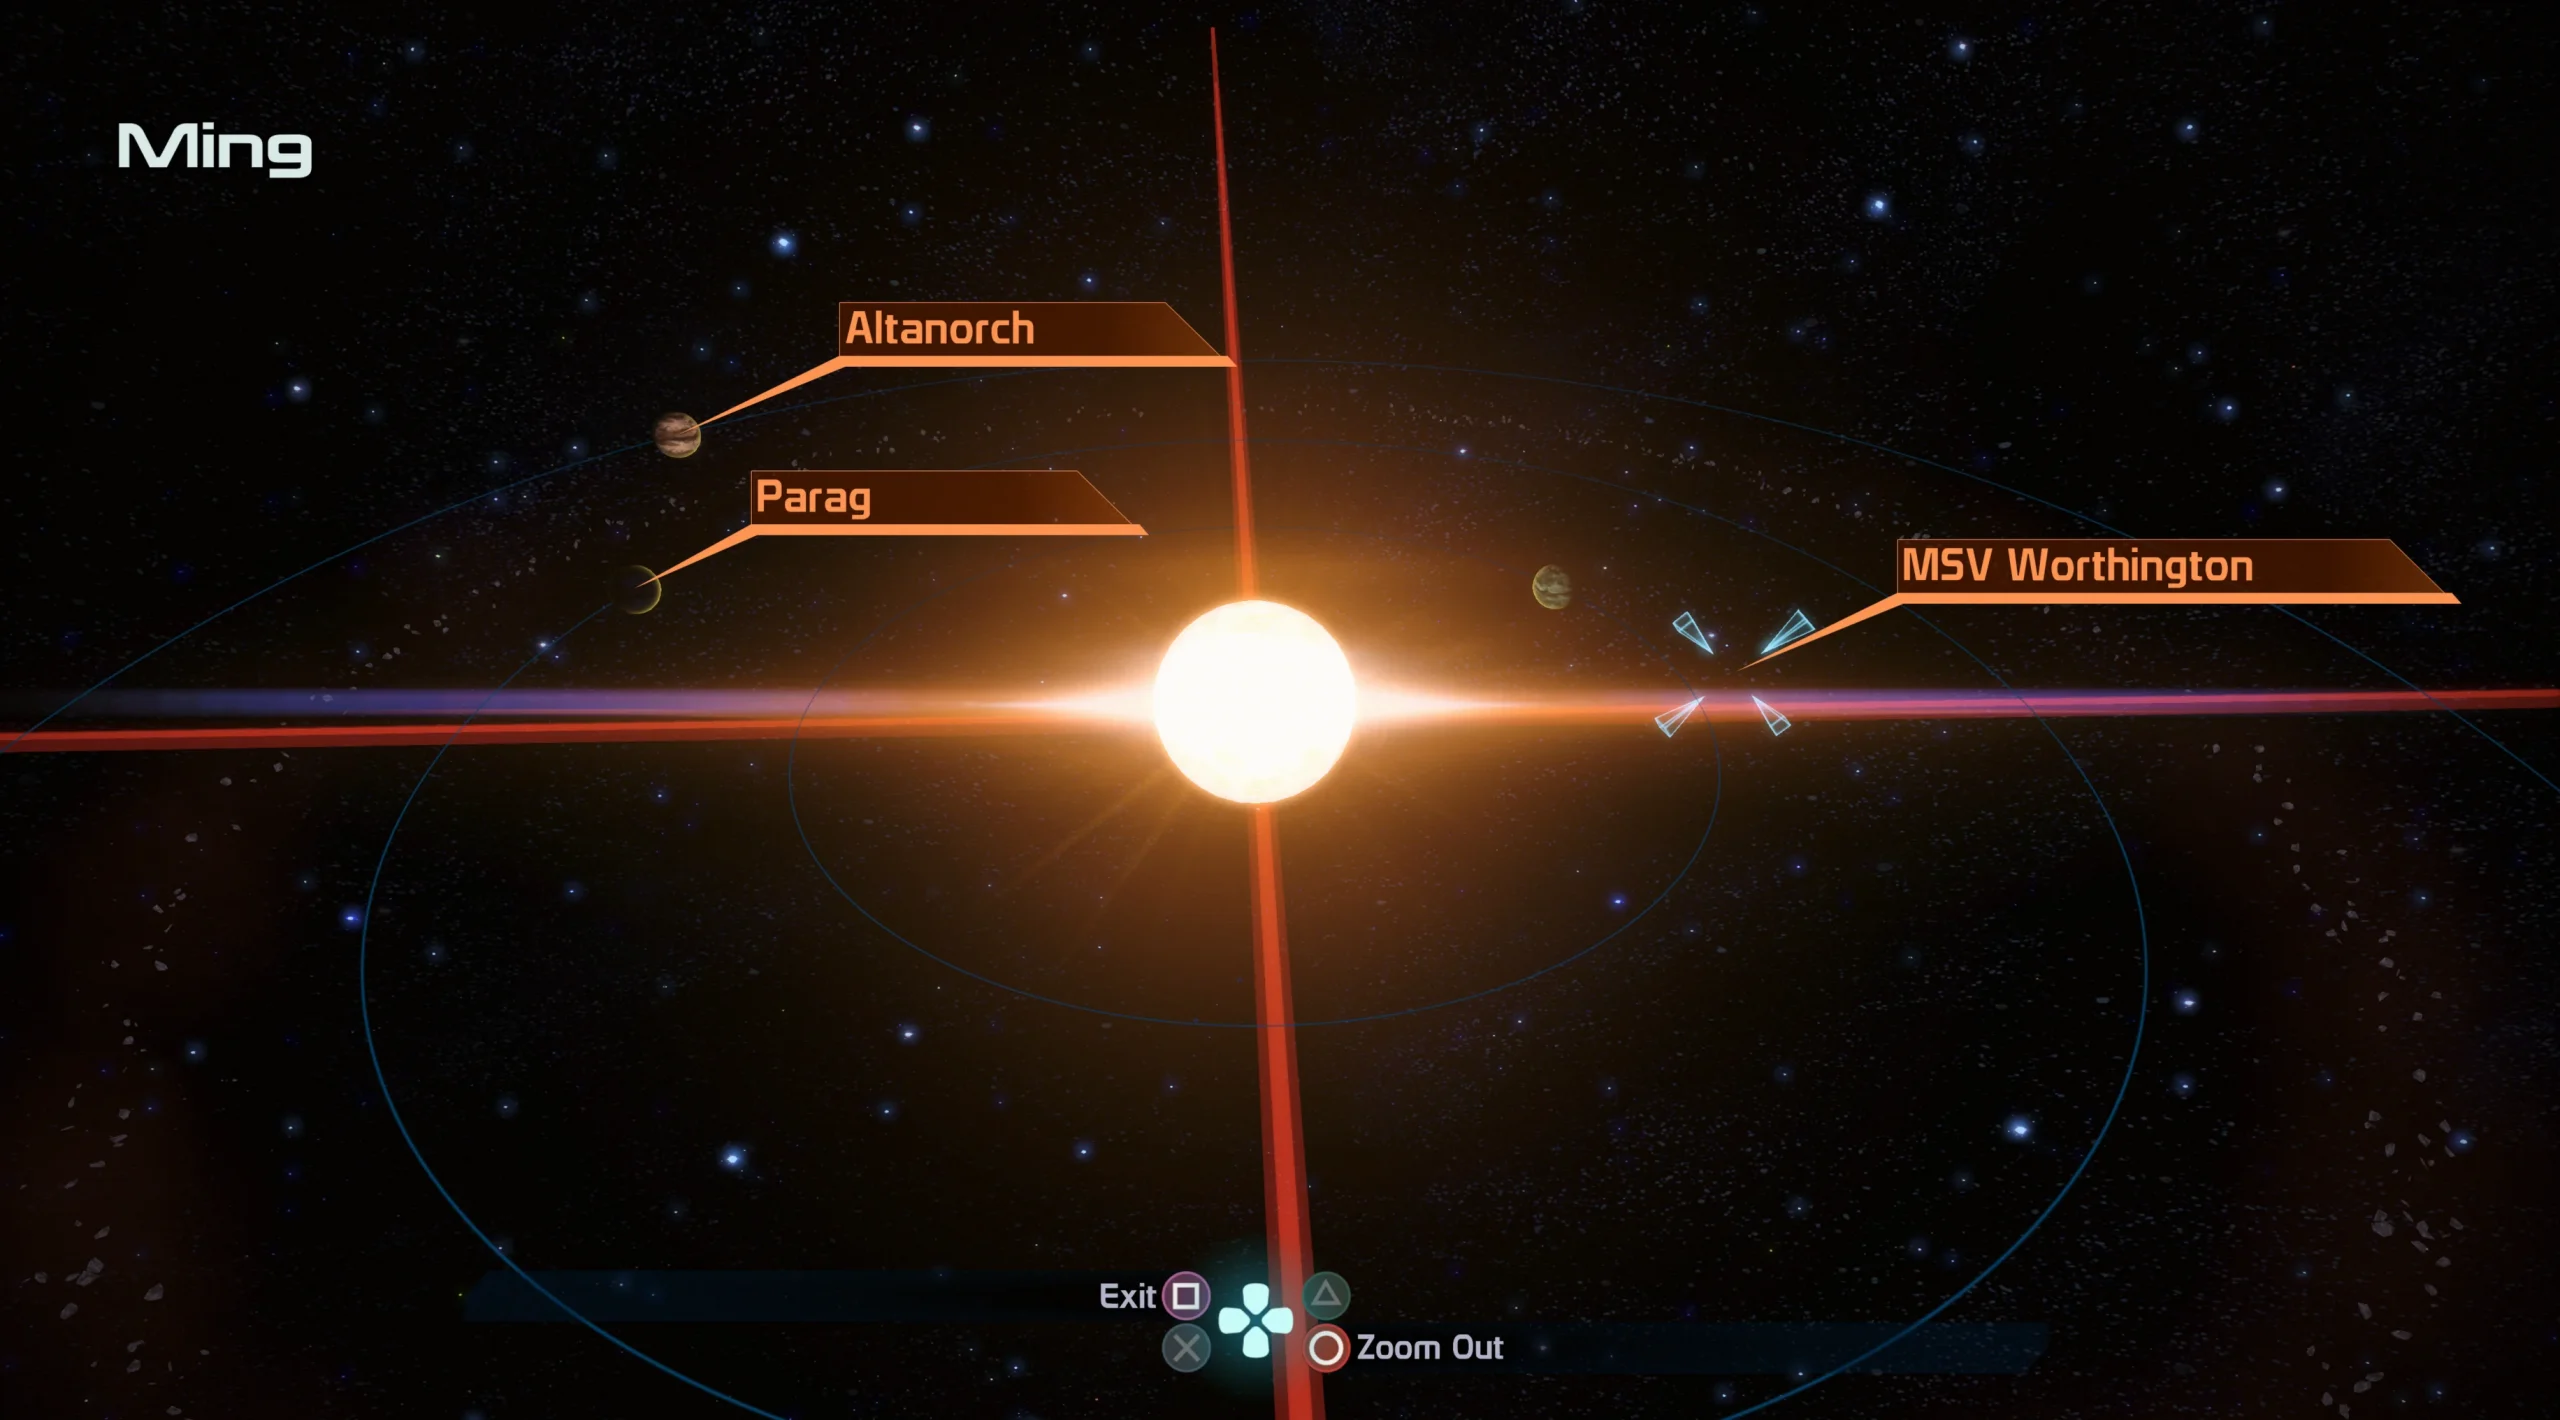
- Location: Gemini Sigma – Ming – MSV Worthington
The assignment takes place in the Gemini Sigma cluster. It’s located to the south-west of Attican Beta (the region where Feros is found) and to the north-west of the Horse Head Nebula (where Noveria is). Once you arrive, Ming serves as your marker in the northern pink/blue nebula area of Gemini Sigma.
While you’re in the Ming system, sweep for the relevant Discoveries. The target you’re hunting isn’t a planet—it’s a ship called the MSV Worthington.
To find it, use the crosshair area directly east of the star. Select the MSV Worthington, then land.
Recommended Loadout
- Squad Tactics:
- Kaidan and Liara are strong picks because they can learn biotic abilities that immobilize or slow down organic enemies, such as Lift, Stasis, and Singularity.
- Shepard’s Loadout:
- This section puts you up against a single organic enemy, so Anti-Personnel / Shredder Rounds are recommended for the encounter.
Investigate the Worthington
After you board the ship, go through the door into the first room. Two lootable objects are available immediately:
- Crate – On the left side of the room, tucked behind the large box.
- Crate – In the back-right corner, behind another large box.
Next, move into the main area of the ship. This is not a room built for casual running: the red Fusion Containment Cells are wired to detonate if you get too close, poisoning you and your party. Instead, carefully work your way through the maze formed by the crates, and take shots at the traps from a distance. You can also use the D-Pad to send squadmates ahead and trigger them.
If a trap catches you around a corner and detonates, it’s not an instant-fail—as long as you don’t end up with multiple detonations stacking on your team, you should still be fine. Also pay attention to something unsettling: there appears to be no one else on board (at least at first glance).
- Malfunctioning Object – In the eastern half of the room, look at the white machines in the middle, then scan south. The Malfunctioning Object (orange and white) sits on a wall among the enormous boxes.
Once you enter the east door from the main room, you’ll see three doorways. The left route heading north takes you to the Medical Bay. The center doorway going east leads to the Cockpit. The right doorway going south brings you to the Crew Quarters.
Start with the left door to reach the Medical Bay. On the left wall, you’ll find a man lying on a bed connected to a Life Support Machine keeping him alive. Examine the setup, then—after taking your squad’s advice—leave him for the moment and listen to the logs on the nearby Medical Computer. The logs indicate the man, Jacob, is brain-dead, and that his partner Julia didn’t take the news well.
- Secure Storage Locker – Average Decryption. Located on the right side of the room among servers, directly across from Jacob’s Life Support Machine.
After that, exit the Medical Bay and head into the Crew Quarters. On the back wall, you can play the logs on the Crew Computer to hear a log from Julia.
- Storage Locker – Easy Decryption. Found to the right of the Crew Computer.
Finally, go into the last remaining room in the middle to reach the cockpit. Play the Cockpit Computer logs to learn that Julia discovered the plan to end Jacob’s life, killed the crew involved, and then became the only survivor.
Take Down Julia
With the information from all three computer terminals on the east side of the ship in hand, Julia arrives. She intends to wipe out you and your party, but the fight itself is straightforward: she’s alone and relatively easy to kill. The bigger concern is that her biotics can knock you down in close quarters. To stop her from doing that, use an immobilizing power such as Stasis or Singularity.
After you defeat Julia, go back to Jacob’s Life Support Machine to decide what to do with him. There are no Morality Points attached to this moment, so you can choose whichever option feels right for your run.
Once the situation is resolved, collect any items you may have missed, then return to the ship’s airlock to get back to the Normandy.
Back on the Normandy
There’s no new content to pick up on the Normandy itself. Assignments completed on a ship do not count toward advancing your conversations with Garrus, Wrex, and Tali. Meanwhile, conversations involving Liara, Kaidan, and Ashley only move forward by completing Mission Worlds.
If you’re looking for more Mass Effect help, the guide lists additional pages to explore:
- Legendary Edition Changes
- How-To Guides
- Key Choices and Consequences
- Romance Options
- Walkthrough
- Side Quests
Up Next: Lost Module
Top Guide Sections
- Legendary Edition Changes
- Basics
- Tips and Tricks
- How-To Guides