Noveria Lorik Qui’in Walkthrough: Garage Pass, Persuasion, and Choices
If you’re working through Mass Effect on Noveria, the “Noveria: Lorik Qui’in” mission is one of the earliest ways to secure a Garage Pass and push your progress toward Peak 15. This guide breaks down who to talk to, which combat outcomes to expect, and the persuasion routes that decide how the Lorik/Anoleis situation plays out.
Checklists
This part of the Mass Effect wiki guide covers the “Noveria: Lorik Qui’in” mission on Noveria, including how to handle every combat encounter, where to locate all loot sources, and which dialogue options to choose for your specific playthrough.
Lorik Qui’in is a mission you can pick up early during your Noveria visit. You’ll normally get it after speaking with Administrator Anoleis and then his secretary, Gianna Parasini—though you can also obtain it by speaking directly with Lorik first. It’s the main route to getting a Garage Pass and continuing on to Peak 15.
Looking for something specific? Jump to:
- Mission Stats
- Speak to Lorik Qui’in
- Break-In
- Gianna’s Proposal
- Lorik Agrees
Mission Stats
Video Guide
Essential Stats
- Persuasion Points: 5 Charm / 5 Intimidate
- Minimum Decryption: Average Decryption
- Minimum Electronics: N/A
Recommended Squad
- Squad Tactics:
- Kaidan, Garrus, or Tali are recommended because they have Average Decryption.
- Unique Dialogue:
- Bringing Wrex onto your team triggers some amusing dialogue during this mission.
- Kaidan, Garrus, or Tali are recommended because they have Average Decryption.
- Bringing Wrex onto your team triggers some amusing dialogue during this mission.
Speak to Lorik Qui’in
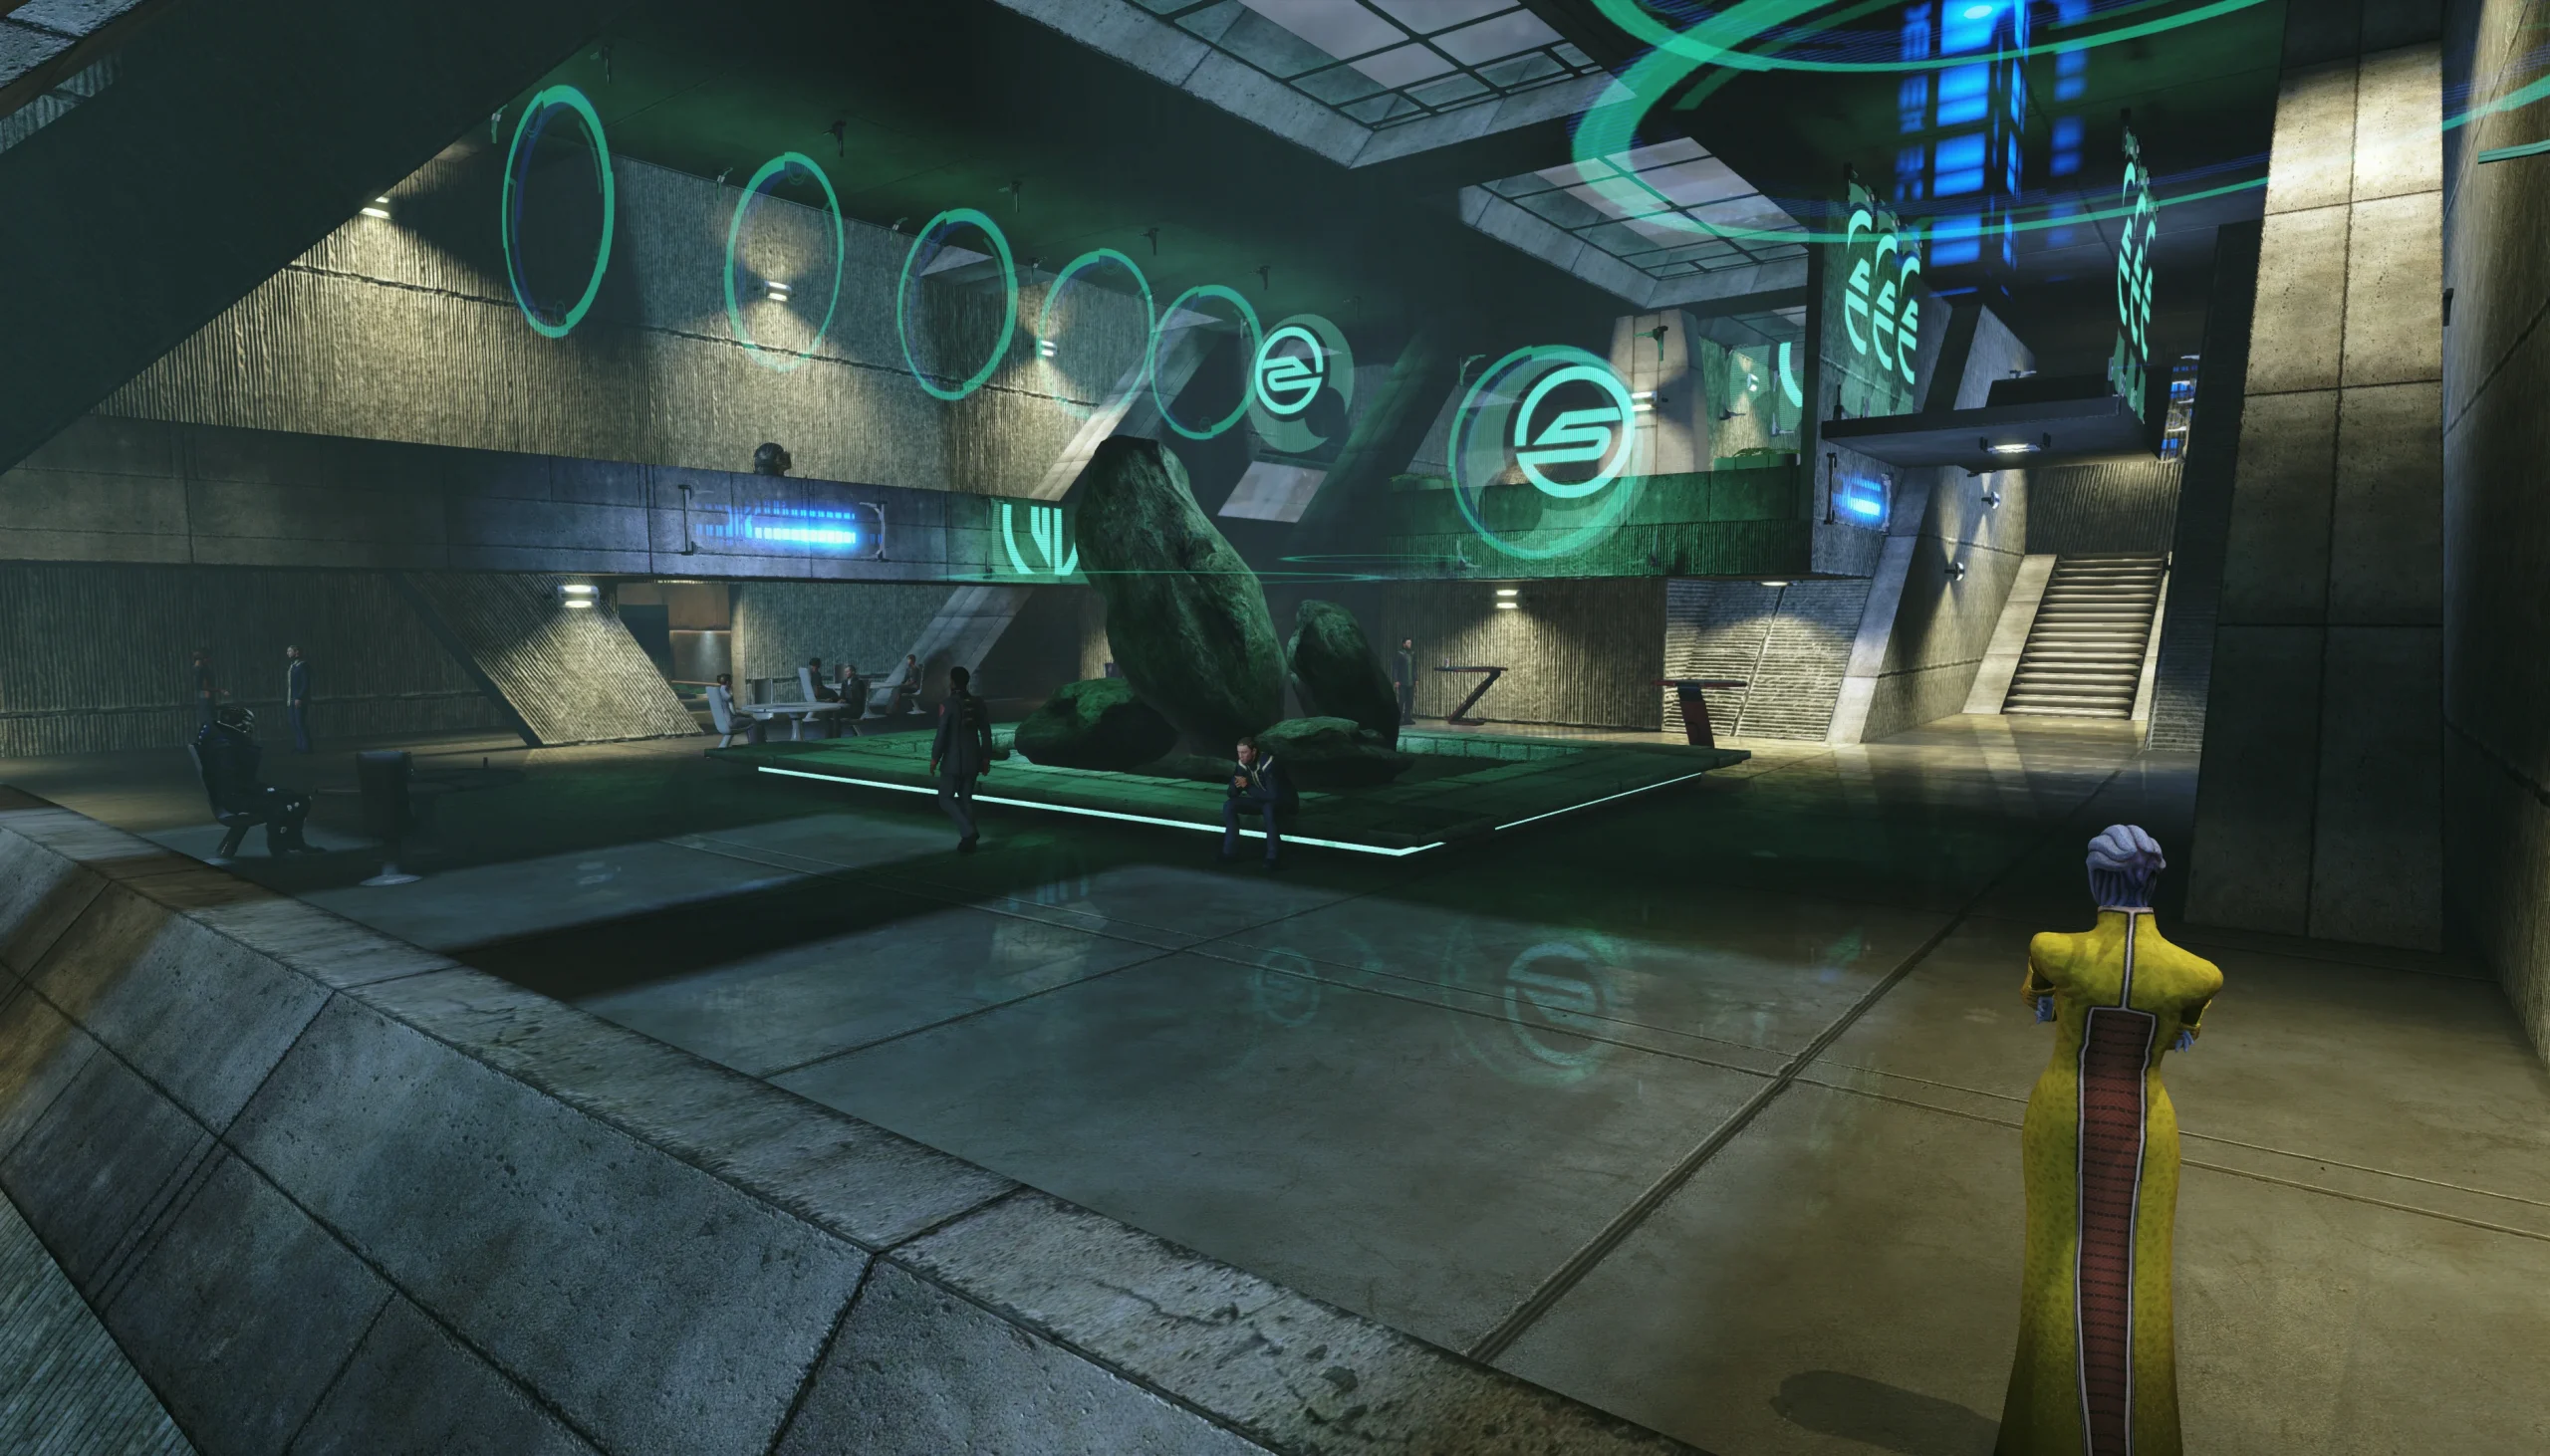
Your first move is to speak with Lorik Qui’in and figure out how to obtain a Garage Pass. Start by going to the Mezzanine. Take the elevator directly across from the main entrance, or—if you’re coming from the garage entrance—go upstairs and head left.
Once you arrive at the Mezzanine, you’ll be stopped at the door by an asari in a yellow dress named Mallene Calis, who asks you for help. This encounter is tied to the “Noveria: Espionage” Assignment. If you’re playing a Paragon style, you’ll want to turn her down for +8 Paragon Points. If you’re leaning Renegade, you’ll likely accept for a possible +9 Renegade Points.
For more information, check the dedicated page for this assignment.
- Noveria: Espionage
Next, talk to Lorik Qui’in. He’s at a table directly across from the entry elevator. Once you reach him, talk to move the story forward. Lorik is unusually kind compared to most people on the planet, and he’s willing to help you gain access to the garage at Port Hanshan almost right away.
After accepting Lorik’s offer, you’ll receive a keycard. With it, you can access the Synthetic Insights office using the elevator near the Garage entrance. There are two additional things you can do in the Mezzanine, both located upstairs.
First, if you’re in the middle of the “Noveria: Smuggling” Assignment, look for the buyer, Inamorda, on the bridge upstairs. If you want bonus XP later—especially if you previously convinced Opold to mention his name—talk to Inamorda and he’ll offer a deal to sell Opold’s package directly to him. Tell him “No” to end the conversation, then speak to him again and respond with “I’m keeping it.” This upsets Inamorda, and he’ll leave in an ominous fashion…
Second, before moving on, head to the southern-most room. In the North-West corner you’ll find a Security Control Unit with Average Decryption. This lets you disable some Assault Drones inside the Synthetic Insights office, reducing the number of enemies you have to fight. Still, it also cuts down the XP and Credits you can earn, so it’s smarter to crack the Security Control Unit after you’ve already looted the office.
- Terminal: Average Decryption. In the middle of this room are three ring-shaped computer pods; the Terminal is the middle one. Crack it to obtain the “UNC: Dead Scientists” Assignment and some XP.
Break-In
With your card, you can now access Synthetic Insights via the elevator in the Garage hallway. Almost immediately after exiting the elevator, two ECRS Guards intercept you. They mean business, but you can talk them into backing off if you have enough Morality Points.
At this point, you effectively have three routes:
- If you have 6 Charm Points, choose “You’re here illegally” to convince them to leave for +8 Paragon Points.
- If you have 8 Intimidate Points, choose “You can’t take us” to intimidate them into leaving for +9 Renegade Points.
- If you select any of the white options on the right side, you’ll be forced into a fight against both guards, plus an Assault Drone if you didn’t decrypt the Security Control Unit earlier. Overall, this route tends to reward more XP, Credits, and loot than the left-hand options.
No matter which approach you take, once you push deeper into the area you’ll face serious enemy resistance. The fighting is spread across two floors, so the first wave you run into won’t represent the entire enemy force. Plan on continuous combat, keep an eye on health and shields for both yourself and your squad, and eliminate every hostile target you encounter.
After you clear the hostilities, you can explore and use the map above to find what you need.
- First floor:
- Upgrade Kit – From the entry area, go into the doorway in the South-West corner. Check the southern end of the shelves on the Eastern wall to find it on the end.
- Locked Crate – Easy Decryption. On the Western wall of the first floor, find a doorway leading to a warmly lit side area. The crate is to the left of that doorway.
- Weapon Locker – Easy Decryption. Go into the Western side room on the first floor, then check the North-West corner.
- Second floor:
- Crate – After climbing the stairs to the second floor, make a U-turn left and follow the wall past the planter to find two crates. One of them is this Crate.
- Door Control – Easy Decryption. On the Northern wall of the second floor, there are three doors. One can be cracked to open the room behind it. In the Legendary Edition, it’s the only doorway lit by a light.
- Technician Kit – Located on the desk directly across from the entrance to the locked Door Control room.
- Medical Kit – On the table in the North-West corner of the locked Door Control room.
- Wall Safe – On the wall next to the Medical Kit in the locked Door Control room.
- Secure Wall Safe – Average Decryption. On the Eastern wall of Lorik’s Office to the South.
- Medical Kit – On the wide table in Lorik’s Office, beside his computer.
- Upgrade Kit – From the entry area, go into the doorway in the South-West corner. Check the southern end of the shelves on the Eastern wall to find it on the end.
- Locked Crate – Easy Decryption. On the Western wall of the first floor, find a doorway leading to a warmly lit side area. The crate is to the left of that doorway.
- Weapon Locker – Easy Decryption. Go into the Western side room on the first floor, then check the North-West corner.
- Crate – After climbing the stairs to the second floor, make a U-turn left and follow the wall past the planter to find two crates. One of them is this Crate.
- Door Control – Easy Decryption. On the Northern wall of the second floor, there are three doors. One can be cracked to open the room behind it. In the Legendary Edition, it’s the only doorway lit by a light.
- Technician Kit – Located on the desk directly across from the entrance to the locked Door Control room.
- Medical Kit – On the table in the North-West corner of the locked Door Control room.
- Wall Safe – On the wall next to the Medical Kit in the locked Door Control room.
- Secure Wall Safe – Average Decryption. On the Eastern wall of Lorik’s Office to the South.
- Medical Kit – On the wide table in Lorik’s Office, beside his computer.
When you’ve collected everything, head to the southern-most room on the second floor—Lorik Qui’in’s office. Find the laptop sitting on the lone central table. That’s his Computer. Open it to continue your main mission.
When you leave, you’ll run into Kaira Stirling, an irritated guard you encountered outside the Normandy. She’s taking money from Anoleis under the table to protect his interests, and that’s exactly the kind of behavior her boss, Maeko Matsuo, can’t stand.
- Choose “They didn’t give me a choice” for +2 Paragon Points.
- Choose “Bring it on” for +2 Renegade Points.
After that, you’ll be forced to fight Kaira and her allies.
Prioritize Kaira, since her biotics let her hit harder. Use the Radar to spot and remove any red triangles that mark enemies in the area. If you’re struggling, fall back into cover and restore health and shields as quickly as you can. Once the threat is fully cleared, head back to the Mezzanine.
Gianna’s Proposal
Return to the elevator and go down to the Garage hallway. You’ll be stopped by Parasini herself. She’s curious about what you were doing up there and pushes you to speak with her at the Mezzanine before you talk to Lorik Qui’in. Because of that, when you go from the Plaza to the Mezzanine (using the elevator), you should locate her first.
If you want, you can head back to the Normandy’s dock and speak with Maeko Matsuo again. She’ll ask about her dead guards at the Synthetic Insights office, and you can respond however you choose.
If you told either Opold or Inamorda that you’d be keeping Opold’s Package, Inamorda and his crew will ambush you outside the Normandy. You can kill them for XP, Credits, and loot. Afterward, go into the Normandy and then back out so you can talk to Matsuo.
Once you reach the Mezzanine, find Gianna waiting for you on the East side of the ground floor. She’ll be to your right when you step out of the elevator. Speak with her to learn she isn’t exactly who she claimed to be. She requests your help, explaining that her boss, Anoleis, is on the move across Noveria. With the evidence you gathered from Lorik’s office combined with Lorik’s testimony, she believes she’ll have enough to take Anoleis down and keep him locked away for a long time.
This effectively opens up many different ways this mission segment can end so you can obtain the Garage Pass. Your options are:
- Hand over Lorik Qui’in’s evidence to him – This awards the Garage Pass and nothing else.
- Persuade Lorik to testify with Charm / Intimidate – This unlocks:
- Tell Parasini you convinced Lorik – Parasini arrests Anoleis, and you receive the Garage Pass.
- Blackmail Anoleis with Lorik’s evidence – You still get the Garage Pass, but Parasini’s investigation is sabotaged.
- Tell Anoleis that Parasini is investigating him – Both of them die for massive Renegade Points, and you can take the Garage Pass from Anoleis’ body.
Regardless of which ending you aim for, your next step is to speak with Lorik Qui’in. Your choices boil down to two main branches. First, select “Testify against Anoleis.”
- If you have 5 Charm, choose “You’d be a hero” to persuade Lorik for +24 Paragon Points.
- If you have 5 Intimidate, choose “Damn right I will” to blackmail Lorik for +25 Renegade Points.
- If you start with any of the options “Take the evidence, then,” “Fine, take it,” or “It’s done,” you’ll hand Qui’in over the evidence and leave Parasini out of the plan.
Lorik Agrees
If you successfully convinced Lorik to testify against Anoleis, head to Anoleis’ office. Before you do, though, if you’re still working on the “Smuggling” side quest, you can talk to Anoleis and choose “Opold wants me to smuggle,” then follow up with “Here you are.”
At this stage, there are three ways to finish the Lorik Qui’in mission:
- If you want the Paragon outcome: speak to Parasini at the front desk and tell her “I convinced Qui’in.” Parasini arrests Anoleis for +8 Paragon Points.
- If you want a negotiated deal with Anoleis: tell him “I have Lorik’s evidence.” When the moment comes and they present dialogue options like “No. You’re guilty” or “What do I get out of this?”, you can then select either the Persuasion answers or “I accept” to earn +9 Renegade Points. Afterward, talk to Parasini to learn exactly how upset she is.
- If you want the strongest Renegade outcome: tell Anoleis “Gianna is investigating you.” Both Anoleis and Gianna will shoot each other dead for +25 Renegade Points. Then Maeko Matsuo will question you—your responses won’t matter. You can finally claim the Garage Pass from Anoleis’ body.
Before you leave, there are two final tasks on the Normandy. First, if Parasini arrested Anoleis, you can speak with Maeko Matsuo one last time.
- Choose “He was a criminal” for +2 Paragon Points.
- Choose “Your opinion doesn’t matter” for +2 Renegade Points.
Second, bring Liara as part of your squad by entering and exiting the Normandy. Liara and Wrex have the most dialogue on Peak 15, but if Shepard lacks Decryption or Electronics capabilities, swap Wrex out for Garrus.
Want more Mass Effect help? Check out the following pages:
- Legendary Edition Changes
- How-To Guides
- Key Choices and Consequences
- Romance Options
- Walkthrough
- Side Quests
Up Next: Peak 15
Top Guide Sections
- Legendary Edition Changes
- Basics
- Tips and Tricks
- How-To Guides