Crimson Desert Interactive Map: Every Treasure Chest Location and Loot
Crimson Desert’s world is a sparse, hostile stretch of land where small settlements cling to life and most meaningful loot is tucked away in caves, cliffs, flooded ruins, and other “you have to look for it” locations. This guide-style breakdown focuses on where each treasure chest is hidden in the titular desert region—and exactly what reward you can pull from each one—along with the key mechanics needed to reach them.
Checklists
The titular region of Crimson Desert is a bleak wasteland with only a few stubborn towns scattered through it. Hidden caches are placed around the desert, with many stored inside caves and along cliffside routes that aren’t visible unless you go off the usual path. Use this Treasure Chest checklist to track down each chest’s position and its reward.
Arehaza Cave Treasure Chest
- Reward: Golden Greed Plate Boots
The chest inside Arehaza Cave sits in a crevice among cliffs near the Sacred Beast’s Cave. Behind it, you’ll spot a bismuth barrier that conceals the actual cave space.
To break in, use Focused Force Palm (L3/LS + R3/RS, then R3/RS) to smash the bismuth barrier and open the route into the cave. Once inside, locate the treasure chest and loot it to receive the Golden Greed Plate Boots.
Bursada Castle Ruins Treasure Chest
- Reward: Golden Greed Plate Armor
In Bursada Castle Ruins, the treasure chest is tucked behind a turning wall on the ground floor. Make your way through the pointed arch into the flooded room at ground level, then head toward the far end to locate the wall.
Use Force Palm on the wall at the end of the corridor to drop yourself into the room where the chest sits. Loot it to obtain the Golden Greed Plate Armor.
Cloister of Enlightenment Treasure Chest
- Reward: Leather Hat of Enlightenment
The Cloister of Enlightenment chest is concealed among a larger spread of valuables. It’s located in a hidden area above a treasure room deep within the compound. Go all the way to the massive chamber at the back, reached by a long staircase that ends at a circular door. From there, look left to find an archway elevated on a ledge, positioned behind four stone pillars.
Move to the rear of that room and jump upward to reach the secret pocket where the chest is stored. Loot it to earn the Leather Hat of Enlightenment.
Leather Hat of Enlightenment
Desert Shipwreck Treasure Chest
- Reward: Light of the Battlefield Plate Boots
The Desert Shipwreck chest is on the second level of the broken wreck inside the Trader’s Expanse.
Climb up to the second level, then go to the far end to find the treasure chest. Loot it to obtain the Light of the Battlefield Plate Boots. Only Damiane may equip these boots.
Howlsands Camp Treasure Chest
- Reward: Light of the Battlefield Plate Armor
The Howlsands Camp chest is in a small alcove on the west side of the camp. The area is affected by a sandstorm that makes visibility difficult, but getting above the ground helps you spot the layout. Look for a circular spot with a cooking pot at the center.
Go into the alcove covered by a blue cloth awning to find the treasure chest inside. Loot it to collect the Light of the Battlefield Plate Armor.
Hyena Den Treasure Chest
- Reward: Goldlight Plate Gloves
The treasure chest near the Hyena Den is located east of the map marker, hidden inside a cave buried in red rock. The entrance is blocked by three bismuth barriers stacked on top of one another.
Use Focused Force Palm (L3/LS + R3/RS, then R3/RS) to dismantle the bismuth barriers and open a route into the cave. Find the treasure chest inside and loot it to obtain the Goldlight Plate Gloves. Only Damiane can equip these gloves.
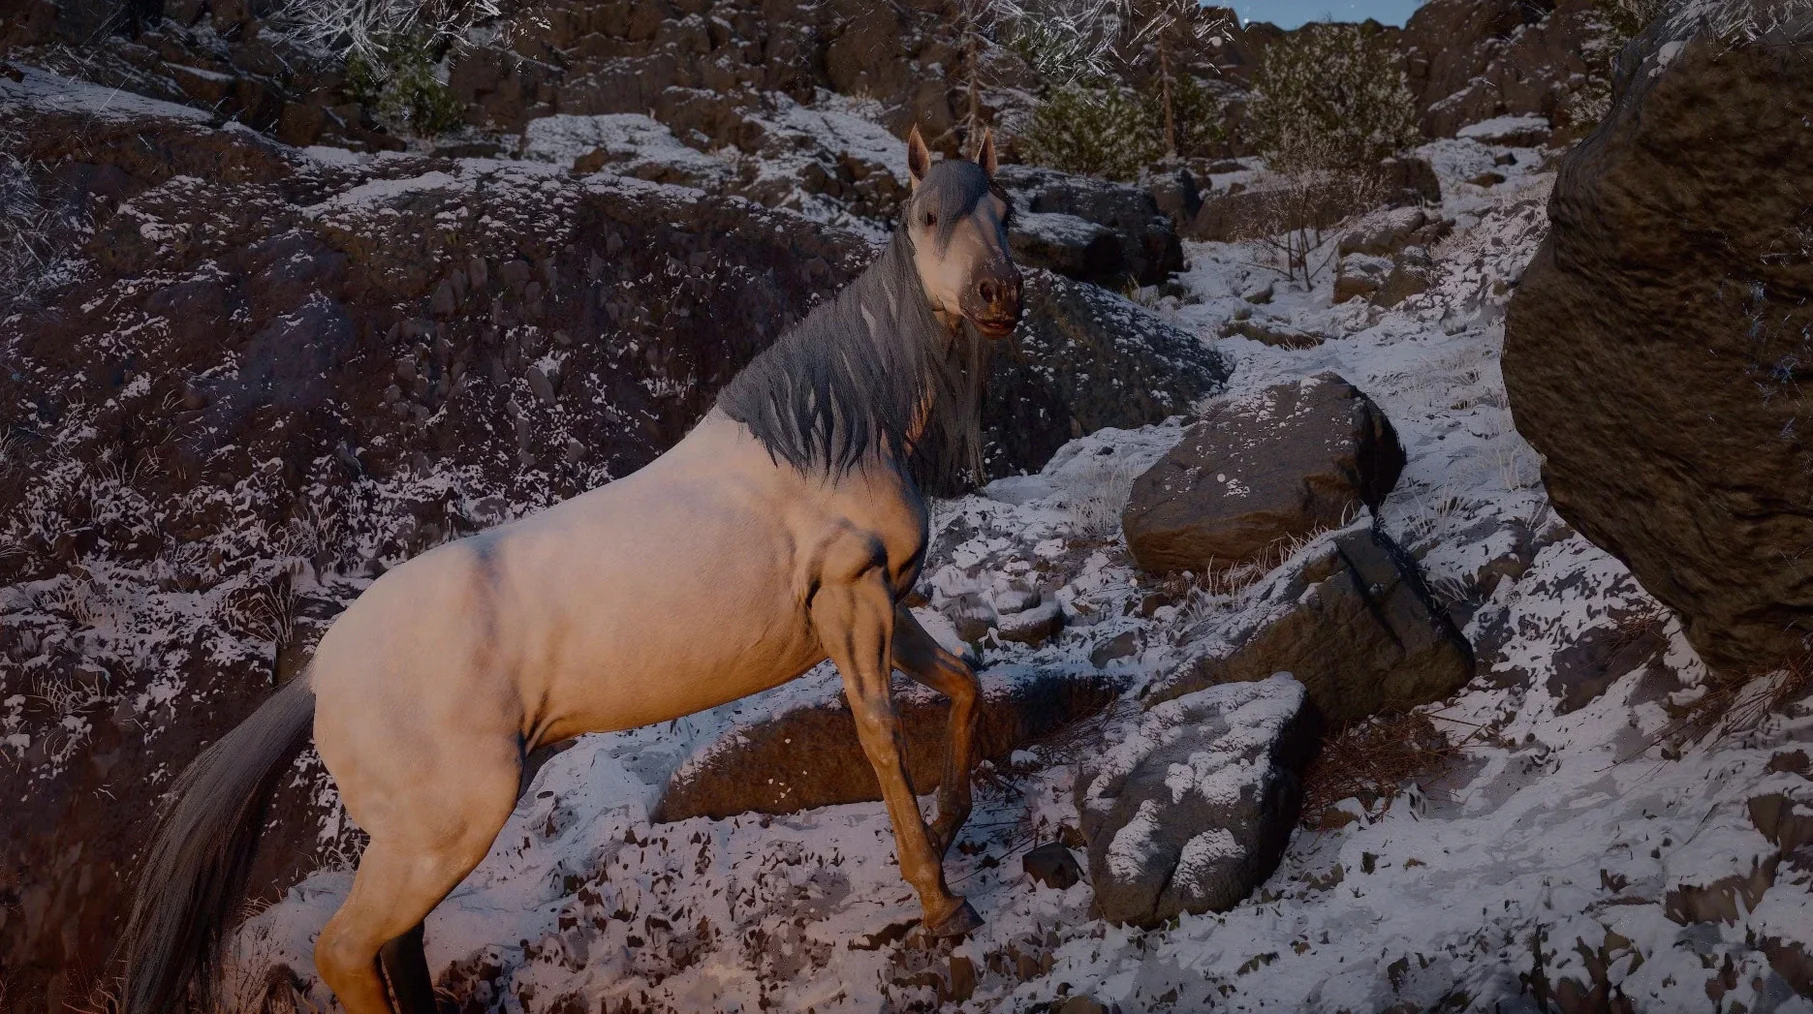
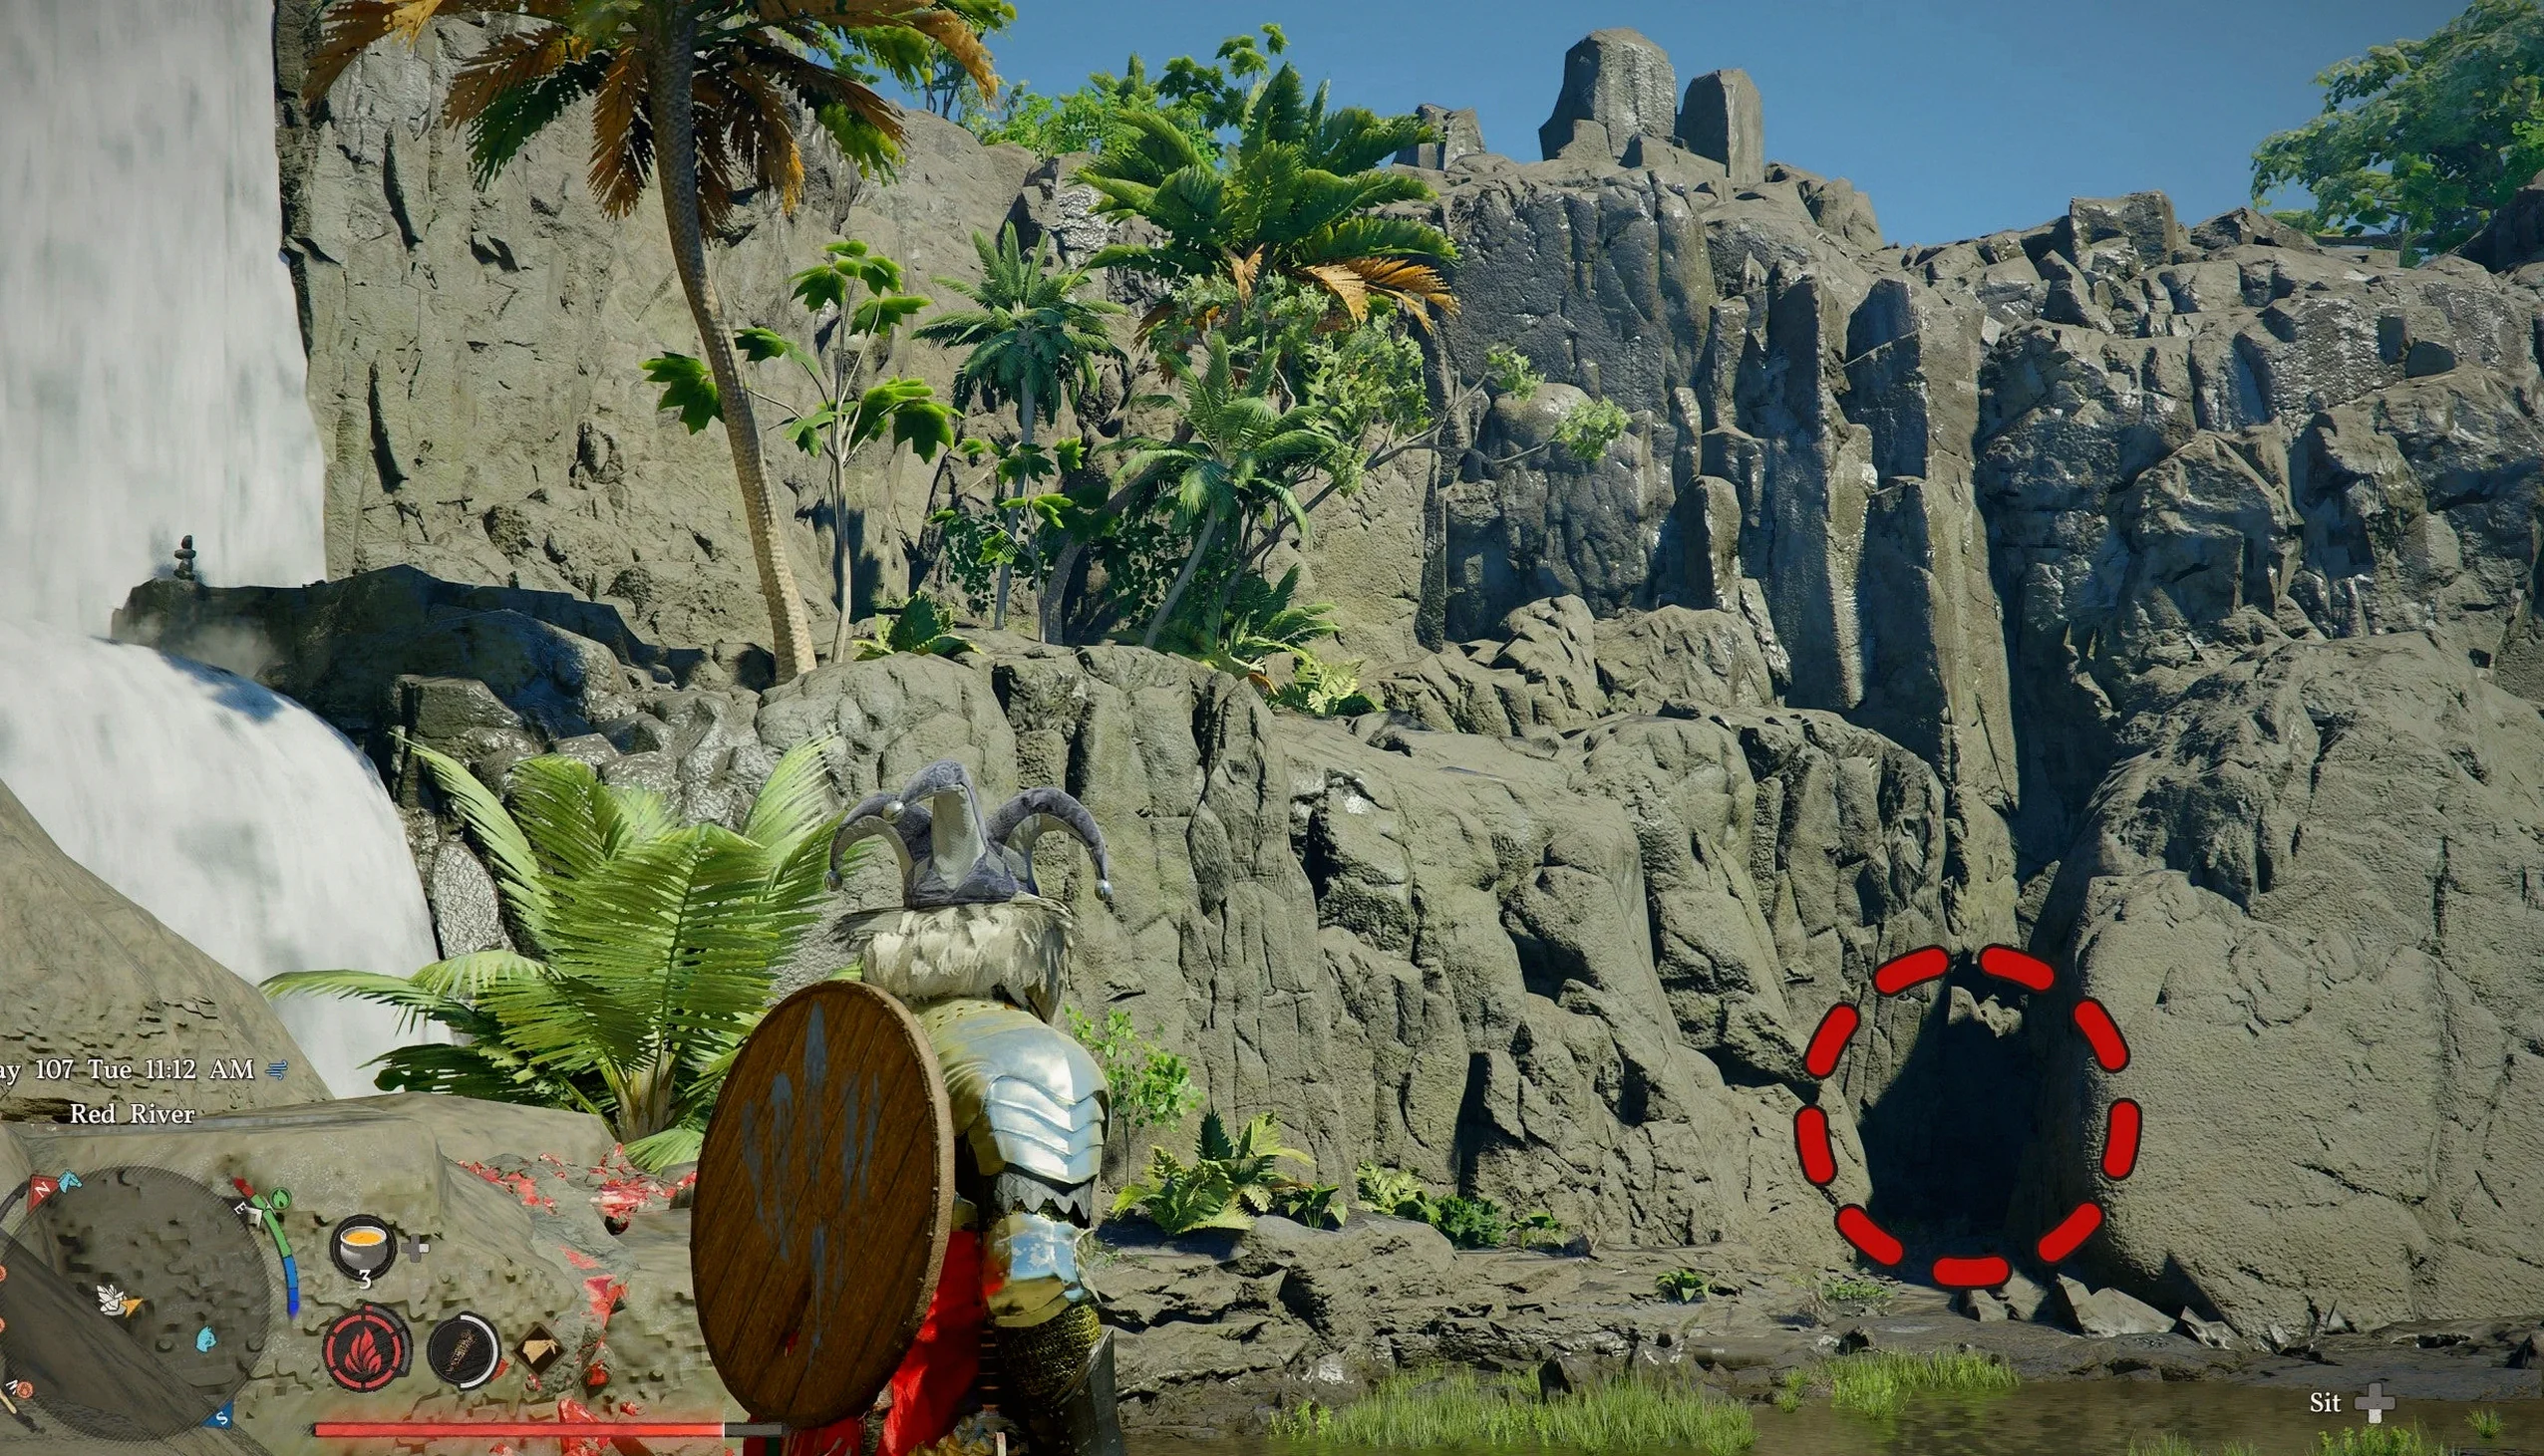
Sacred Beast’s Cave Treasure Chest
- Reward: Golden Greathammer
The Sacred Beast’s Cave chest is hidden behind a waterfall that drains into the Red River. It sits at the base of the higher waterfall. Keep an eye out for a cairn that signals the entry route.
Use Stab (R1/RB + △/Y) to get behind the waterfall, and the chest will be waiting in the small cave beyond it. Open the chest to find the Golden Greathammer.
Sanctum of Renunciation Treasure Chest
- Reward: Golden Greed Plate Helm
The Sanctum of Renunciation chest is tucked away in a small room on the south side of the sanctum, next to a set of stairs.
Light the two nearby lanterns to lower the grate, then locate the chest. Inside, you’ll find the Golden Greed Plate Helm.
Sandshift Basin Treasure Chest
- Reward: The Masked Liberator’s Cloth Cloak
The Sandshift Basin chest is just southeast of the Ironcrawler Station map marker, placed inside a ruined square building.
Light the two stone lanterns nearby—one by the gate and one on the roof—to open access to the chest. Loot it to obtain The Masked Liberator’s Cloth Cloak.
The Masked Liberator’s Cloth Cloak
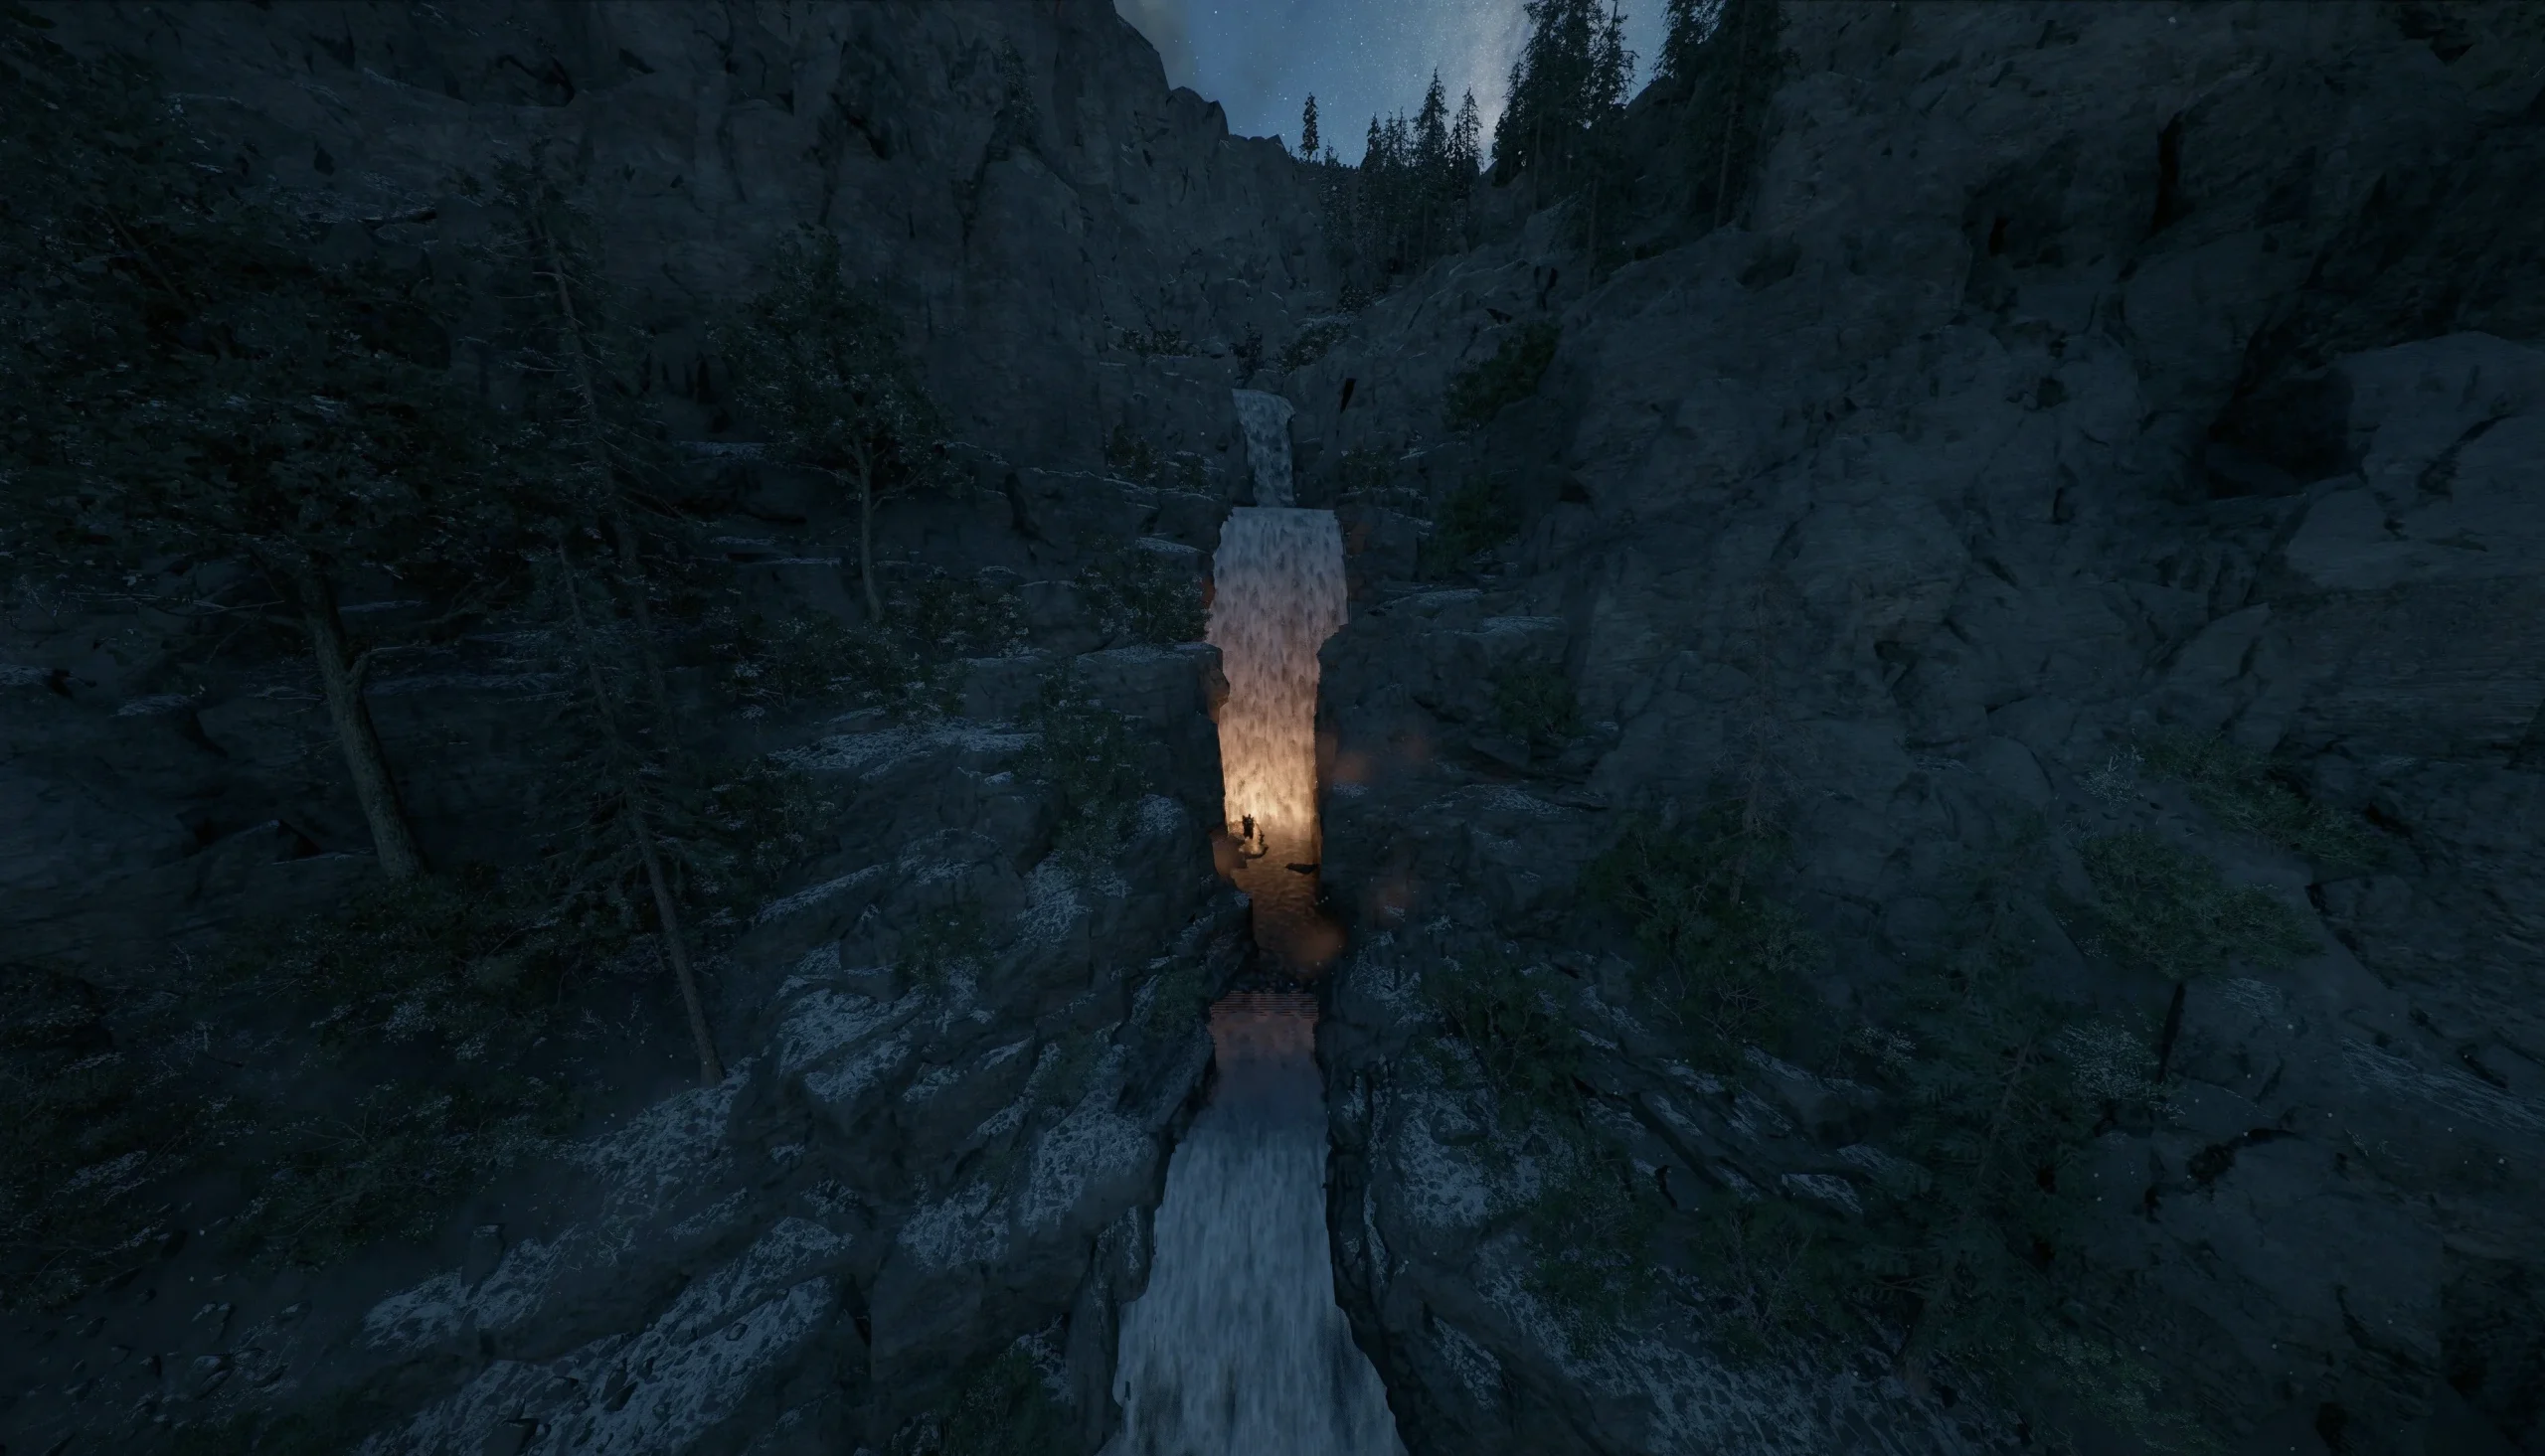
Silentwater Grotto Treasure Chest
- Reward: Golden Shield
The Silentwater Grotto chest is behind a waterfall southeast of the Drywind Valley Ironcrawler Station. It’s the waterfall that empties into a broad ravine lined with dramatic ledges, where multiple animals can often be seen roaming around.
Use Stab (R1/RB + △/Y) to get behind the waterfall, and you’ll find the chest in the small cave beyond it. Open it to secure the Golden Shield.
Trivana Sound Treasure Chest
- Reward: Light of the Battlefield Plate Helm
In Trivana Sound, the treasure chest is located within the middle of a large rock formation that protrudes from the water off the coast of Crimson Desert. You’ll find an Abyss Cresset on top of that formation, and the treasure chest is positioned in a west-facing crook underneath it.
Glide toward the rock formation from the west to land near the chest, then walk into the crevice and loot it to obtain the Light of the Battlefield Plate Helm.
Varnia Treasure Chest 1
- Reward: Light of the Battlefield Plate Gloves
The first Varnia treasure chest is just off one of the roads, behind a broken sewer grate.
Jump down from the road and follow the cliff edge around to find the chest behind the grate. Loot it to obtain the Light of the Battlefield Plate Gloves. Only Damiane may equip these gloves.
Varnia Treasure Chest 2
- Reward: Light of the Battlefield Cloth Cloak
The second Varnia treasure chest is actually underneath the city, placed behind a waterfall that flows into Varnia Gorge. The entrance is on the right side of the falls, near the cairn that marks the spot.
Hop off the road and follow the cliff around to reach the chest behind the grate. Loot it to obtain the Light of the Battlefield Plate Gloves. Only Damiane may equip this cloak.Light of the Battlefield Cloth Cloak
Venomblade Grotto Treasure Chest
- Reward: Golden Greed Plate Cloak
The Venomblade Grotto chest is behind a waterfall at the northern tip of the Red River. The cairn that indicates where to enter is on the left side of the falls.
Use Stab (R1/RB + △/Y) to get behind the waterfall, and you’ll find the chest in the small cave beyond. Open it to obtain the Golden Greed Plate Cloak.
Well of Enlightenment Treasure Chest
- Reward: Goldlight Plate Boots
The treasure chest near the Well of Enlightenment is located just west of the well itself, behind a wall made of Bismuth ore.
Use Focused Force Punch Focus (L3/LS + R3/RS, then R3/RS) to break down the Bismuth and reach the treasure chest behind it. Open it to obtain the Goldlight Plate Boots. These boots can only be worn by Damiane.
Fort Musket Treasure Chest
The Dark Marksman’s Plate Armor is found inside a secret alcove on the southeast wall of Fort Musket. You won’t reach this spot during the main story until the very end, but it’s still possible to claim the armor earlier through properly timed movement.
Start by positioning yourself on the tower across the road from the opening. Then use Aeriel Force Palm (▢/X → R3/RS) three times to gain enough height. Perform an Aerial Roll (◯/B) twice to build speed, and activate Focus (L3/LS + R3/RS) right before you reach the opening. With accurate timing, you should land directly in the alcove. Crouch and move through the door ahead to find the treasure chest within.
Warrior’s Soul Cave Treasure Chest
The Dark Marksman’s Plate Cloak can be obtained inside Warrior’s Soul Cave at the northern tip of Deleysia. Use Stab (R1/RB + △/Y) through the right side of the falls to enter, just beside the tell-tale rock cairn.
Why these treasure chests matter for players
Most chest locations in Crimson Desert revolve around the same set of “player skill” checks—spotting environmental hints, navigating vertical spaces, and using specific combat or movement actions to bypass barriers. That design choice means the rewards aren’t just about numbers; they also encourage exploration loops and mastery of the game’s interaction abilities.
- Barrier-breaking is the recurring gate. Bismuth barriers show up repeatedly and are opened using Focused Force Palm or Focused Force Punch Focus.
- Waterfalls hide more than scenery. Multiple treasures are tucked behind flowing water, requiring Stab (R1/RB + △/Y) to reach the cave beyond.
- Visibility is part of the puzzle. Sandstorms, flooded rooms, and cramped alcoves all make “looking right” as important as “fighting right.”
- Equipment restrictions affect planning. Several rewards explicitly can only be equipped by Damiane, so loot value depends on your current party setup.
Next steps
Up Next: Treasure Map Locations and Solutions
Top guide sections
- Things to Do First in Crimson Desert
- Essential Tips and Tricks
- Walkthrough
- Things Crimson Desert Doesn’t Tell You