Mass Effect UNC: Asari Diplomacy Walkthrough Guide and Key Decisions
Task Search
Checklists
This Mass Effect wiki guide section focuses on the UNC: Asari Diplomacy Assignment, including how to handle the combat encounters and which decisions to make during your run.
- Essential Stats
- Meet with Nassana
- Travel to Macedon
- Land on Sharjila
- Find Dahlia
- Inform Nassana
Essential Stats
- Persuasion Points: N/A
- Minimum Decryption: N/A
- Minimum Electronics: N/A
Meet with Nassana
You can obtain the Asari Diplomacy Assignment in three different ways:
- Start by visiting one of the first three Mission Worlds (Therum, Feros, or Noveria), then leave that world for another system. After that, Nassana Dhantius will contact you to speak in the Presidium Embassies on the Citadel.
- If you find the Stronghold on Sharjila and interact with the terminal on the upper level, you can skip the initial conversation with Nassana.
- If neither of the above applies—meaning you haven’t yet spoken with Nassana on the Citadel or you haven’t used the Stronghold terminal on Sharjila—there’s a third, very unlikely route. When you reach Peak 15 on Noveria, enter the snow-covered cafeteria area where you’ll encounter geth units and bugs. Then check one of the upper-floor rooms for a laptop you can crack using Easy Decryption. Completing this grants a small amount of XP.
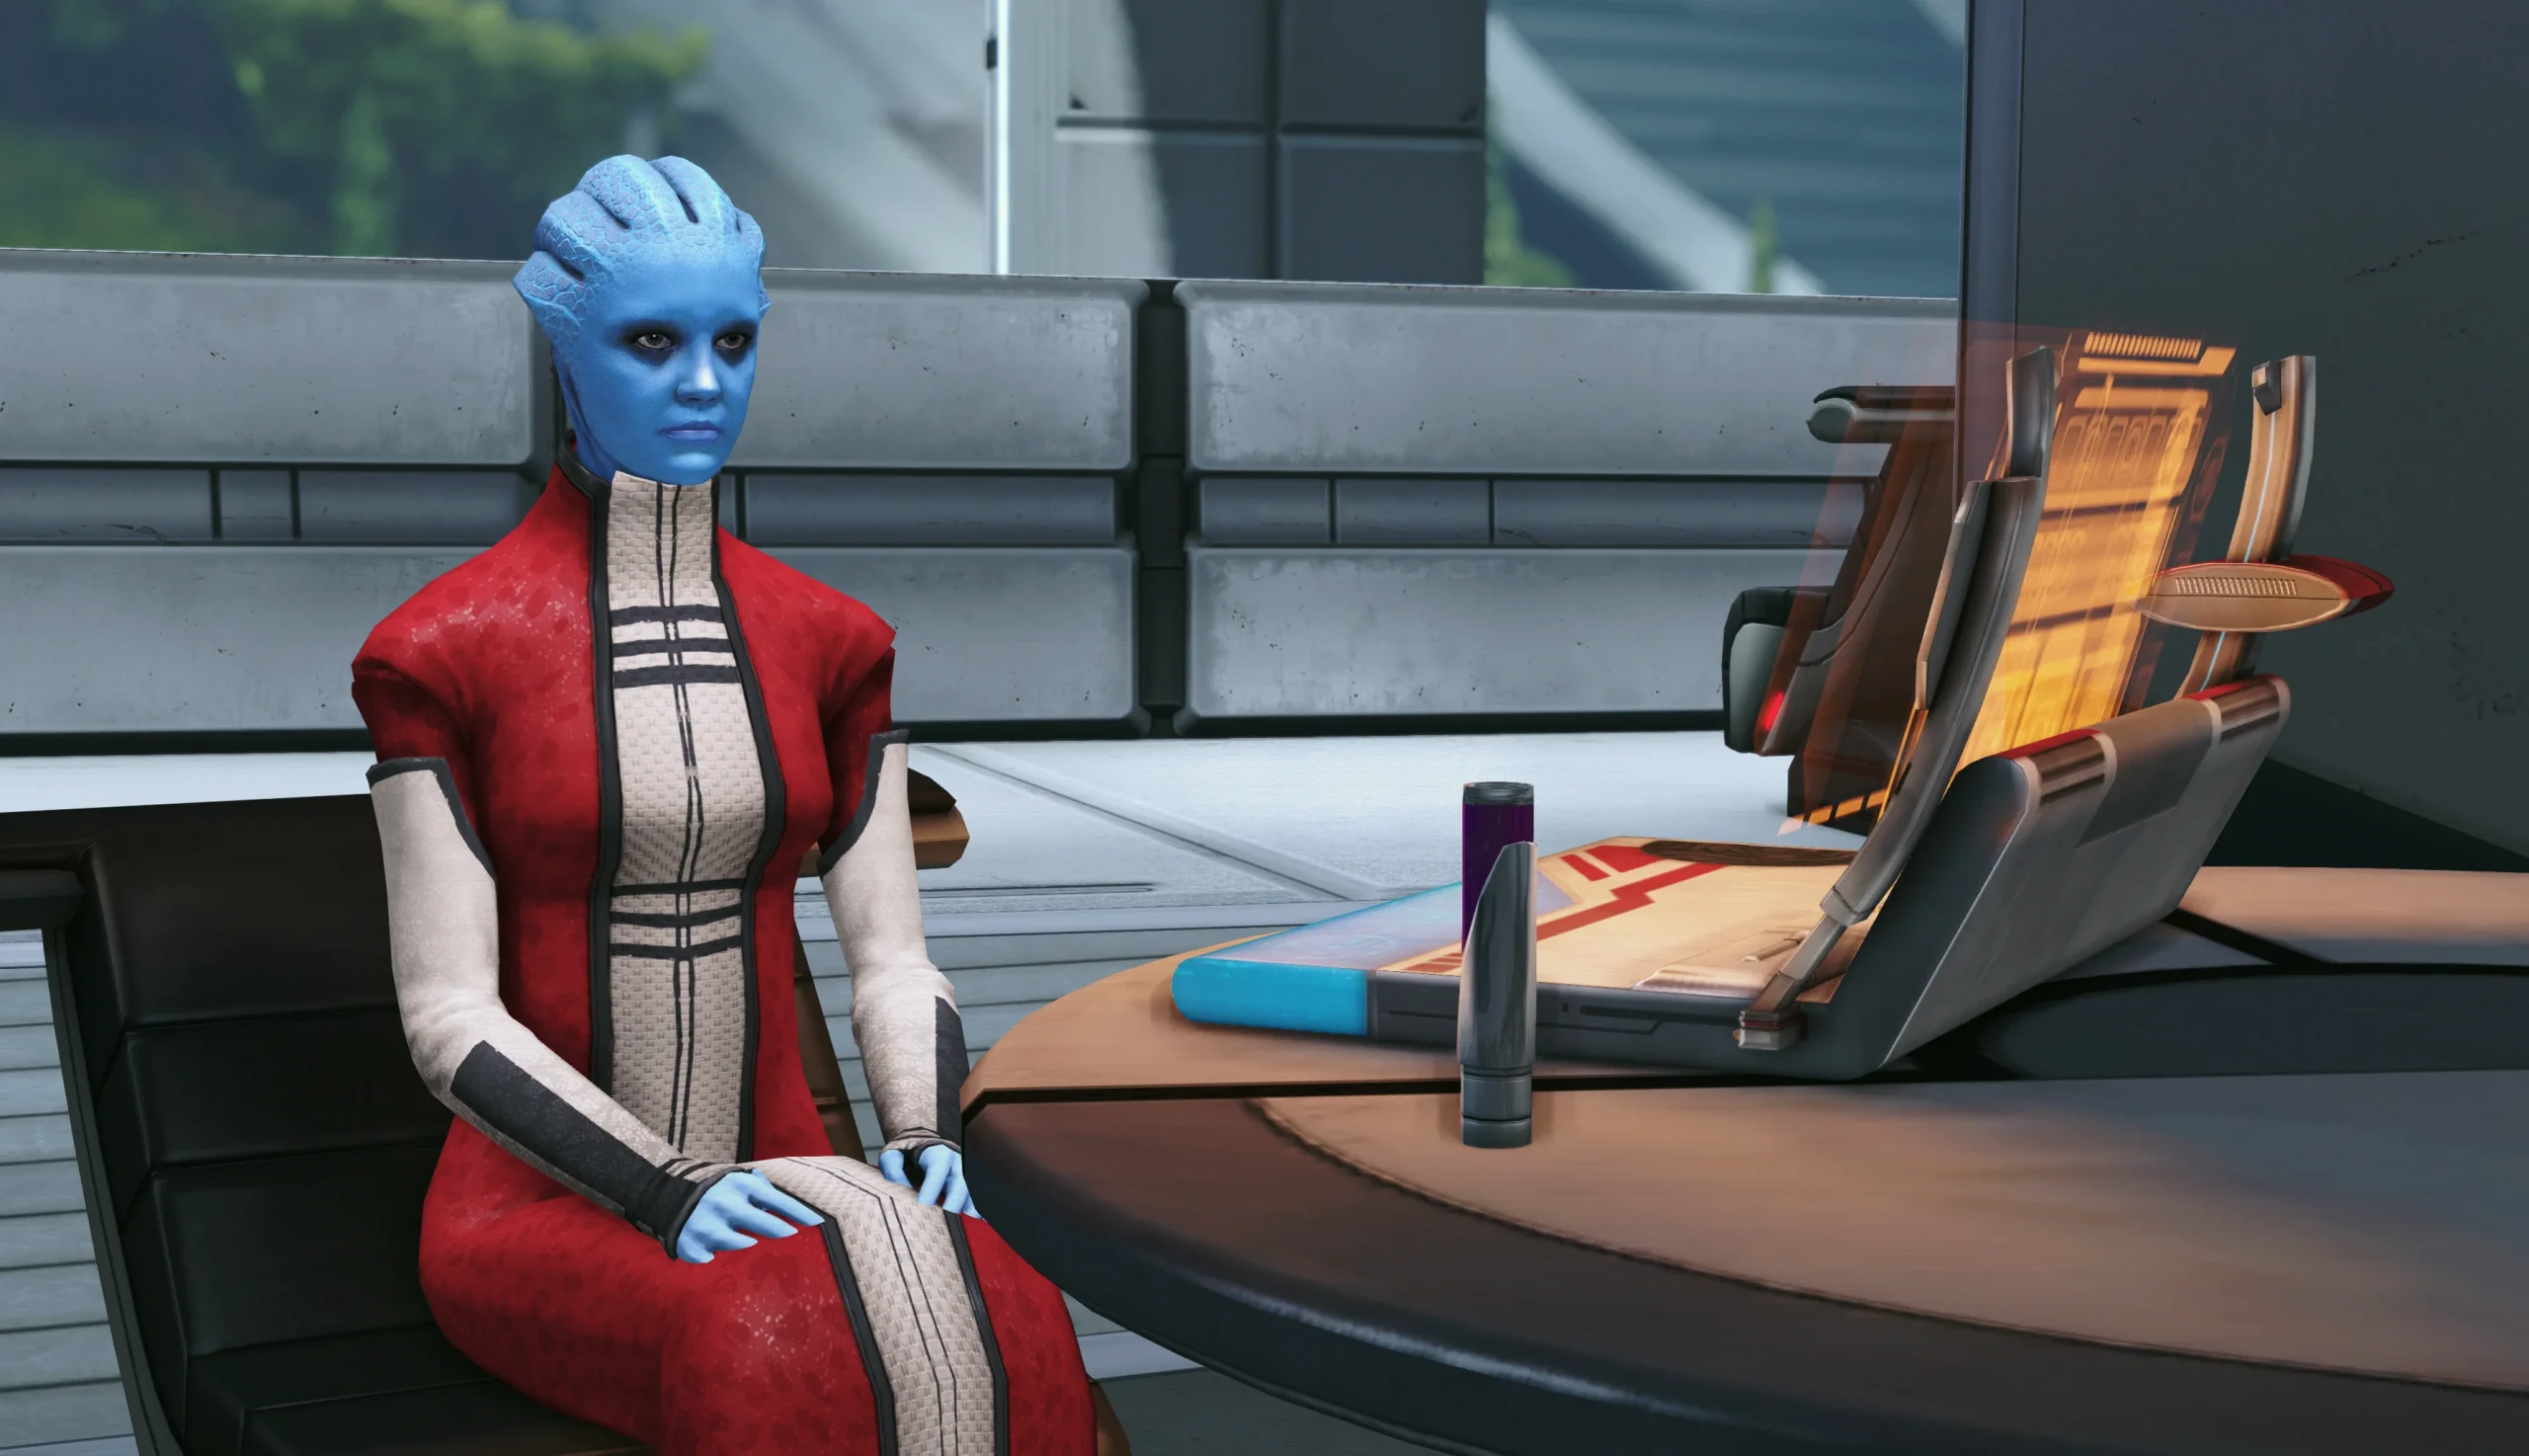
If you didn’t take the Stronghold-terminal shortcut, go to the Bar Lounge section of the Presidium Embassies and look for Nassana. She’ll be the asari in a red dress sitting at a table with a laptop. Talk to her to learn she needs you to rescue her sister, who’s being held by pirates in the Macedon system within the Artemis Tau cluster. This conversation does not award Morality Points, and you can still receive it even if you attempt to refuse the request.
Travel to Macedon
- Location: Artemis Tau – Macedon – Sharjila
No matter how you start, the next step is heading to the Macedon system in the Artemis Tau cluster. The Assignment objective is on Sharjila, but before you land, scan the system to locate the items you can find there.
Recommended Loadout
- Squad Tactics:
- Kaidan and Liara are solid picks here, since this Assignment includes fights against a Krogan and another biotic target you’ll need to hold in place.
- Some loot locations require Hard Decryption, which makes Kaidan an especially convenient choice.
- Shepard’s Loadout:
- The outdoor encounters for this Assignment are extremely punishing. Unless you’re running a lower difficulty (or you plan to use the Mako in the Legendary Edition), it’s best to start once Shepard is Level 30 or higher. If you’d rather not wait, lowering the difficulty is the alternative.
- At this stage, the enemies you’ll face are all organic, so Anti-Personnel / Shredder Rounds are recommended.
- Kaidan and Liara are solid picks here, since this Assignment includes fights against a Krogan and another biotic target you’ll need to hold in place.
- Some loot locations require Hard Decryption, which makes Kaidan an especially convenient choice.
- The outdoor encounters for this Assignment are extremely punishing. Unless you’re running a lower difficulty (or you plan to use the Mako in the Legendary Edition), it’s best to start once Shepard is Level 30 or higher. If you’d rather not wait, lowering the difficulty is the alternative.
- At this stage, the enemies you’ll face are all organic, so Anti-Personnel / Shredder Rounds are recommended.
Land on Sharjila
Your destination is the Stronghold positioned directly north of the landing spot. Outside, you’ll have to clear a wide range of enemies, including tower-based sharpshooters with shockingly accurate fire.
Unless you’re playing the original version of the game, avoid getting out of the Mako during this fight. Instead, use the vehicle’s heavy weapons to remove the threats while driving around and picking them off in sequence. Once the enemies are down, park the Mako in front of the Stronghold entrance, disembark, and then go inside.
Find Dahlia
After entering, proceed into the adjacent chamber connected to the entrance. This is where the enemies will make their last stand. Take cover when necessary, keep an eye on weapon heat so your gun doesn’t overheat, and use any available abilities (including healing) if you need them.
Once the first-floor enemies are cleared, you’ll have open access to the rest of the building with no threats in the way. Move to the upper side-room and examine the laptop sitting on the desk. You’ll learn that Dahlia was the asari you just defeated—and that she was the leader of slavers, while also blackmailing her sister. After that, you should return to Nassana with the information.
Before you leave, be sure to loot the Stronghold:
- Lower Floor:
- Medical Kit – From the entryway looking into the main room, it’s sitting on top of the crates ahead and to your right. You can open it without jumping or vaulting over the crates.
- Upgrade Kit – Located on the south side of the crate pile that surrounds the Medical Kit.
- Crate x3 – In the lower side-room, directly across from the entry door.
- Medical Station – Easy Decryption. Found in the middle of the lower side-room.
- Upper Floor:
- Malfunctioning Object – In the upper side-room, to the left of the entry door.
- Hardened Storage Locker – Hard Decryption. In the upper side-room, across from the entry door and slightly to the right.
- Hardened Wall Safe – Hard Decryption. In the north-west corner of the upper side-room.
- Medical Kit – From the entryway looking into the main room, it’s sitting on top of the crates ahead and to your right. You can open it without jumping or vaulting over the crates.
- Upgrade Kit – Located on the south side of the crate pile that surrounds the Medical Kit.
- Crate x3 – In the lower side-room, directly across from the entry door.
- Medical Station – Easy Decryption. Found in the middle of the lower side-room.
- Malfunctioning Object – In the upper side-room, to the left of the entry door.
- Hardened Storage Locker – Hard Decryption. In the upper side-room, across from the entry door and slightly to the right.
- Hardened Wall Safe – Hard Decryption. In the north-west corner of the upper side-room.
Inform Nassana
Return to the Embassies area of the Presidium and speak with Nassana. She’ll be hanging out in the Bar Lounge. It’s located directly across from the Human and Elcor/Volus Embassies, and you’ll reach it by going up the stairs to the left of the receptionist.
When you explain what you uncovered, she will respond by claiming she already knew—saying she used you to remove a political embarrassment for her family’s reputation, while also helping her stop her sister from continuing to blackmail her.
You’ll then be given multiple ways to finish the conversation:
- Choose “Don’t bother” to gain +2 Paragon Points.
- Choosing “Fair enough” provides no additional rewards beyond the XP and Credits you already have.
- Pick “It better be” to earn +2 Renegade Points.
- You should avoid selecting the Charm or Intimidate options. These options are intended to grant the Armali Council License for the Normandy Requisition Officer, but a bug prevents you from receiving it.
If you want more Mass Effect help, there are additional pages covering:
- Legendary Edition Changes
- How-To Guides
- Key Choices and Consequences
- Romance Options
- Walkthrough
- Side Quests
Up Next: Besieged Base
Top Guide Sections
- Legendary Edition Changes
- Basics
- Tips and Tricks
- How-To Guides


