Mass Effect 3 Rannoch: Admiral Koris Walkthrough—Choices, Loot, Threats
If you’re working through Mass Effect 3’s Rannoch: Admiral Koris side mission, this guide-style walkthrough breaks down what you’ll do, what you can grab along the way, which combat threats to plan around, and which dialogue choices steer later consequences. It also flags the mission’s time-sensitive nature and explains how it ties back to your earlier Mass Effect 2 decisions.
Key takeaways
- Skipping this side mission can prevent an “ideal” outcome later if you didn’t get a perfect Tali-and-Legion run in Mass Effect 2.
- The mission becomes unavailable after the point labeled “Priority: Rannoch.”
- Completing it grants 600 XP and 12,500 credits, plus the Javelin weapon and Armax Arsenal Chestplate armor.
- Expect multiple waves of Geth, including Geth Pyro, Geth Hunter, and Geth Prime, while you disable two AA gun emplacements.
- Your selection during the rescue phase determines whether Admiral Koris or the civilians are prioritized, affecting War Assets and later scenes on the Normandy.
Checklists
This section of the Mass Effect 3 wiki guide focuses on the Rannoch: Admiral Koris side mission. It covers item locations, survival tactics for each combat area, and guidance on making the “right” decisions for your specific playthrough.
NOTICE: This side mission is described as genuinely important. If your Mass Effect 2 run didn’t go perfectly with Tali and Legion, then failing to complete this mission will block access to an ideal resolution in a later mission. The guide also notes that it will time out after “Priority: Rannoch.”
There’s also a quick navigation list so you can jump to specific parts of the checklist, including mission stats, the trip to Tikkun, disabling the first AA gun, disabling the remaining AA guns, rescuing the Quarians, and returning to the Normandy.
Mission Stats
Video Guide
Mission Rewards
- Mission Experience: 600 XP
- Mission Credits: 12,500 credits
- Found Credits: 12,500 credits
- Weapon: Javelin
- Armor: Armax Arsenal Chestplate
- Mods:
- Assault Rifle Magazine Upgrade
- Shotgun Shredder Mod
- SMG Magazine Upgrade
- War Assets:
- Admiral Zaal’Koris (25 TMS)
Mission Enemies
- Geth Trooper
- Geth Hunter
- Geth Prime
- Combat Drone
- Geth Rocket Trooper
- Geth Pyro
- Trip Mine
Travel to Tikkun
- Prerequisite: Complete “Priority: Geth Dreadnought”
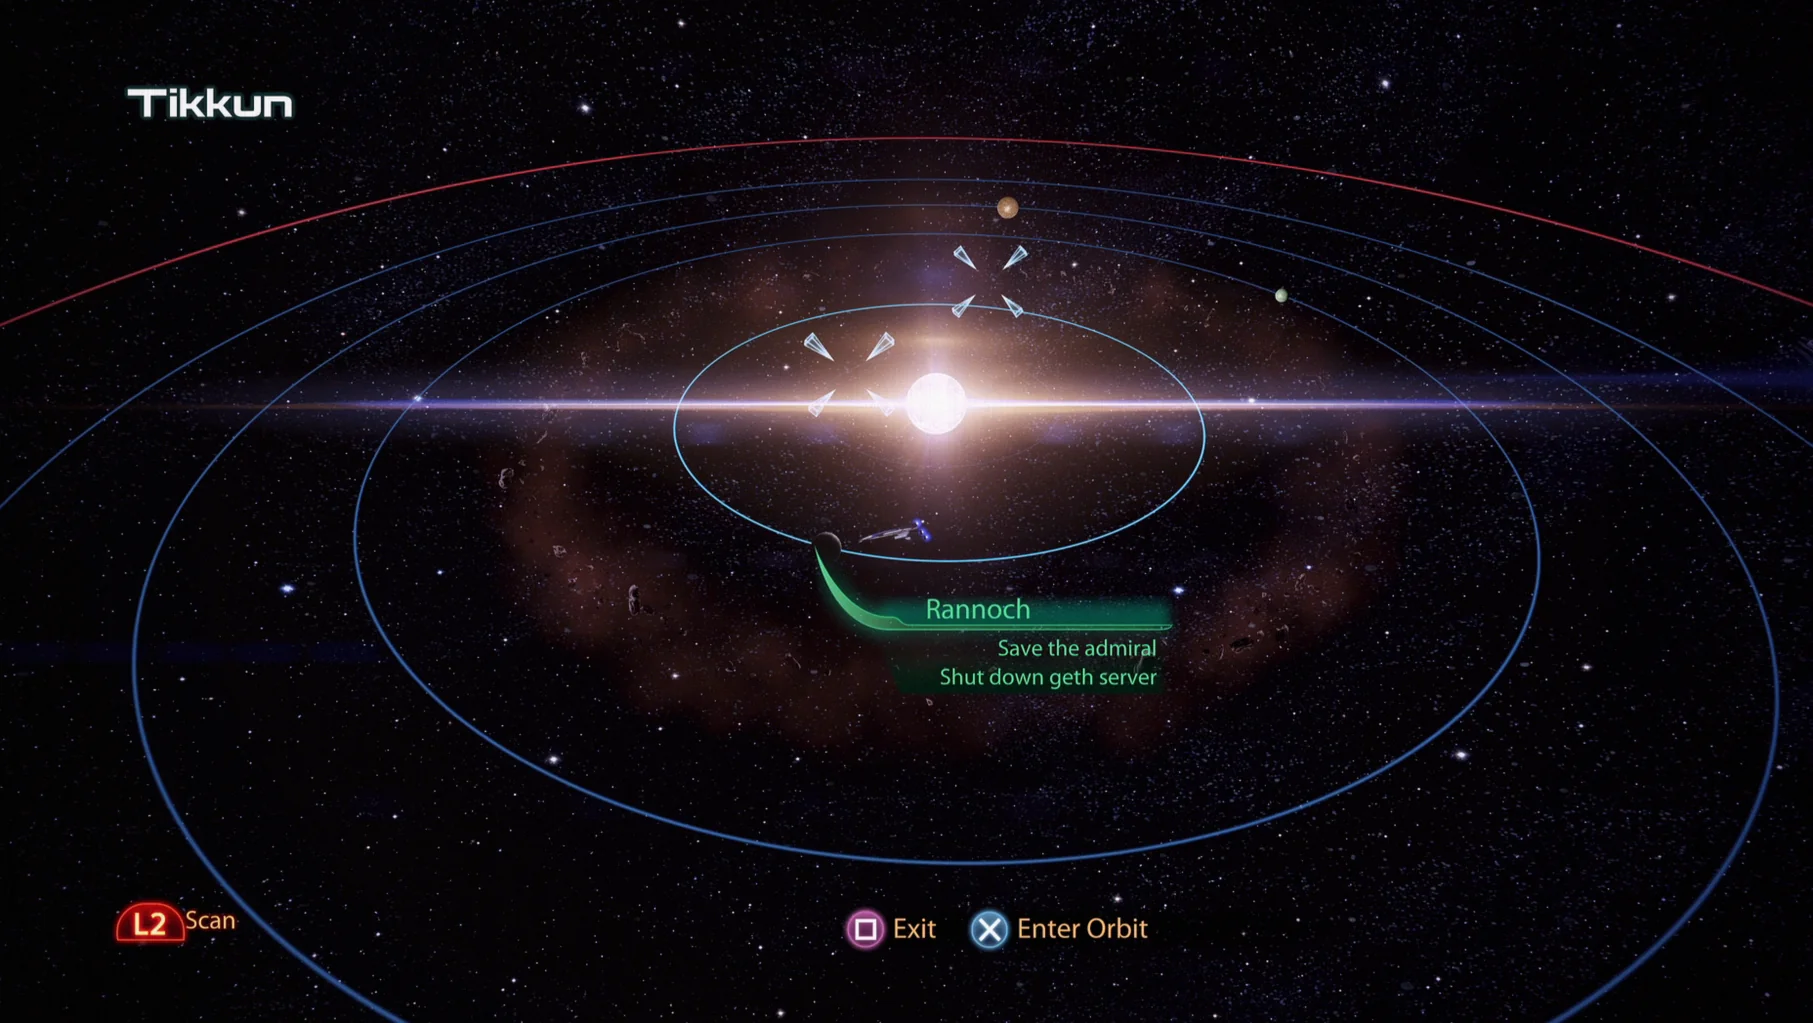
- Location: Perseus Veil – Tikkun – Rannoch
This side mission is made available after you finish “Priority: Geth Dreadnought.” During that mission, Shala’Raan explains that Admiral Koris’ ship was shot down and crashed on Rannoch, setting up why you’re going there in the first place.
When you’re ready, travel to Rannoch in the Tikkun system under the Perseus Veil region. Then, on the southern hemisphere of the planet, find and select the “Quarian Escape Pod” objective marker.
Recommended Loadout
- Squad Tactics:
- EDI is recommended because her kit is centered around tech-based powers.
- Garrus is also suggested, since his abilities can strip both shields and armor.
- Ashley is advised if you have her, because she’s comfortable with sniper rifles and can use Disruptor Ammo.
- Tali can be strong in combat, but the guide says it won’t fit the story setup here.
- Unique Dialogue:
- James gets a notable unique moment in this mission.
- Ashley is described as a good pairing for James, if you brought her along.
- Tali is recommended to be avoided because she has a major Rannoch story beat later in another mission.
- Shepard’s Loadout:
- The guide points out that the arenas have plenty of open space, which helps sniper rifles perform.
Disable First AA Gun
At the start, you’re in the Kodiak shuttle during a conversation with Admiral Xen. He explains that Koris was shot down to destroy a Geth ground cannon, and that since then the Civilian Fleet has suffered heavy losses without Koris’ leadership. This initial exchange also provides chances to earn Morality Points.
You’ll be able to pick answers during the talk. One branch begins by asking “Why is Koris so vital?” which then opens additional option choices:
- Selecting “I don’t blame them” awards +2 Paragon Points.
- Selecting “That’s suicide” awards +2 Renegade Points.
After that, the conversation can continue with either:
- “Protect your civilians” for +2 Paragon Points.
- “Koris could be dead” for +2 Renegade Points.
The guide also shows that regardless of the earlier “why” branch, you can still move forward after choosing from those later options.
Your first resistance pocket is described as close to the starting point, around a crashed escape pod. You’ll likely encounter your first Geth Pyro there. The guide warns that their flames don’t just ignite Shepard—they also repeatedly stagger you, so staying at range is important. Once the music settles and the Geth are cleared, search the area around the escape pod for loot:
- Geth Parts – 2,500 credits. Look for a route to the right of the escape pod that wraps around the cliff edge over the water. At the end, you’ll find an inactive Geth platform; the guide suggests grabbing its parts (and adds a grim aside about how it feels like taking organs).
- Quarian Corpse – The corpse is found by dropping down from the ledge near the Geth Parts location, landing in front of you. A squadmate may be examining it with an omnitool.
- Wreckage – 2,500 credits. This is located to the right of the Quarian Corpse, beside burning wreckage.
As you push ahead, the guide cautions you might be tempted to pick up the Javelin weapon lying on the ground—but there’s a Trip Mine nearby. The mine detonates if you get too close. Instead of approaching carefully, the guide recommends intentionally triggering it: when you hear the “click-bweee!” cue, pull the left stick back and tap Sprint to roll backward quickly, putting distance between Shepard and the blast.
- Javelin – Located just past the first Trip Mine, next to a dead Quarian.
Javelin
The Javelin is described as a distinctive geth sniper rifle—presented as a strange reinterpretation of the well-known M-98 Widow. Its shots can pierce through both cover and armor with no damage reduction, and the weapon’s thermal optic can see through walls. The guide also notes that mods can increase its pierce depth.
However, the rifle has drawbacks: there’s a delay after pulling the trigger, the reload is slow, and the gun is heavy with an even smaller ammo pool than the Widow. The guide notes that squadmates don’t suffer these same penalties, which is why it’s considered the best sniper rifle choice for Garrus and Ashley.
Moving forward, you’ll spot flaming wreckage from the next crashed escape pod, with Geth scavenging at it. Using sniper fire from rock cover here is called fantastic. After the first group is down, continue onward into a second Geth wave. As before, watch for a Trip Mine placed within the crash site.
Further down the clifftop path, you reach the first AA Gun emplacement, which the guide says is guarded by Geth. There’s limited cover as you approach, so you’ll need to play cautiously—especially once reinforcements join.
After the Geth are eliminated, return to the short ramp leading up to the AA Gun and check for additional items:
- Geth Technology – 3,750 credits. Head up the center of the short ramp toward a broad piece of cover. In the middle, on a metal structure, you’ll find this item to the south of the AA gun controls.
- Geth Spitfire – A heavy weapon located on a metal structure on the railing to the right of the AA Gun Controls.
Geth Spitfire
The Geth Spitfire is described as the final new heavy weapon you’ll get for a while. After a brief spin-up period, it fires extremely fast and can drop most enemies in roughly a second. It’s also called extremely accurate, especially if you can see past muzzle flashes. The tradeoff is that it burns ammo just as quickly, so the guide advises being deliberate with each use.
To disable the AA Gun, locate the AA Gun Controls near the Geth Spitfire and choose a squadmate to operate them.
While that squadmate works, you have to hold off incoming Geth attacks from multiple angles. The guide specifically mentions dealing with a Geth Prime as well. The Spitfire can help a lot here, but the combat isn’t as easy as it looks due to the brief spin-up, which can leave you exposed.
Once you clear the first wave, a second wave arrives. The guide says this is often when you run out of Spitfire ammo, so settle into standard combat tactics. Stay alert because a cloaked Geth Hunter is now prowling the area.
Disable Remaining AA Guns
After all Geth are cleared—stated emphatically as not being the enemies shown in the earlier picture—the guide says you can pick up more loot as you move forward. Keep an eye out for a Trip Mine.
- Assault Rifle Magazine Upgrade – Go up the slope where the two Geth waves came from, then make a left turn into a U-shaped path that puts you on a ledge overlooking the first AA Guns. The mod is there.
- Med Kit – 50 XP. Found to the left of the Assault Rifle Magazine Upgrade.
- Shotgun Shredder Mod – After the Trip Mine, you’ll round a bend and see inactive geth platforms ahead. Follow the slightly higher route along the left wall to reach the mod at the end.
- Geth Parts – 3,750 credits. From the Shotgun Shredder Mod location, drop down from the elevated path to reach this item on the nearest inactive geth platform.
Continuing from the Geth Parts area, you eventually find a mortally wounded Quarian named Dorn’Hazt. He can barely speak, but you can still earn Morality Points from what you choose to tell him:
- Choose “Stay still” for +2 Paragon Points.
- Choose “Where’s the admiral?” for +2 Renegade Points.
Whichever option you pick, Dorn’Hazt explains that the Civilian Fleet didn’t want this war with the Geth. He asks that you extract Koris alive and also asks that you tell his son, Jonah, that he made it to the homeworld.
- SMG Magazine Upgrade – After speaking to Dorn’Hazt, climb up onto the ledge (mantle) to find it in the shrubs ahead, to the right of a dead Quarian.
Soon after, you move into the general region of the two remaining AA guns. A path splits toward the right or left AA emplacement, and the guide says it doesn’t matter which you tackle first because both are protected by multiple waves of Geth. As with the first AA gun, you’ll need to leave one squadmate out of the main fight while the gun is disabled—though the guide jokes that James doesn’t get any additional comedic payoff if you ask him to do it.
Geth waves will keep spawning to derail your plans. On the bright side, there are mounted turrets near each AA gun that can pepper enemies as they appear, including Primes and Geth Pyros. Once the first AA gun is disabled, a corridor opens that lets you travel directly to the other emplacement. That corridor also brings you into contact with a Geth Trooper and a Geth Pyro.
After eliminating the enemies in the tunnel, head to the second AA gun, kill its guards, and use the temporary lull to sweep for loot. The mission advances automatically once both AA guns are disabled:
- Armax Arsenal Chestplate – Near the right-side AA Gun Controls, resting on a metal structure protruding from cover.
- Jamming Tower Data – At the left-side AA gun. Go through the tunnel that leads to the right-side AA gun, face toward the right AA gun, then head left down the ledge. Look along the left wall for a holographic terminal. Interact with it to obtain the item for “Citadel: Target Jamming Technology.”
Rescue the Quarians
Once both AA guns are destroyed, Cortez flies in with the Kodiak to take out the jamming tower. This finally allows you to reach Admiral Koris. His condition is described as dire: Geth have him cut off from the rest of the civilians, pushing them toward his position.
At this point, you can respond to Koris with one of two options:
- “We’re on our way” for +2 Paragon Points.
- “Hold them off” for +2 Renegade Points.
Despite this, Koris insists that you save the civilians instead and leaves himself behind. You’re then presented with a VERY significant decision:
- Choose the Charm option “We need a peacemaker” to persuade Koris that Shepard should rescue him so the Geth war can end peacefully. This grants +15 Paragon Points.
- Choose the Intimidate option “You’re a coward” to shame Koris into representing the Civilian Fleet for the sake of his people. This grants +15 Renegade Points.
- Choose “We’ll save them” to save the civilians, earning +2 Paragon Points and +5 Reputation.
- Choose “Your people will be proud” to save the civilians, earning +2 Renegade Points and +5 Reputation.
After your choice, Shepard mounts the Kodiak’s guns to help the escape of the group you decided to save. The guide notes that the exact storage of those guns is unclear, but the practical outcome is that the shuttle is covered during the extraction. The Geth initially focus on the right side; after you clear them, a second wave arrives on the left.
The enemies detonate as soon as you hit them with gunfire, but you still shouldn’t relax because Rocket Troopers will aim at the shuttle to bring it down.
After all Geth are destroyed, Shepard drops in to rescue the chosen party and then departs for the Normandy.
Back on the Normandy
When you arrive on the Normandy, the Comm Room scene changes based on who you decided to save:
- If you saved Zaal’Koris, he reluctantly admits that Shepard was right to choose him. He also believes the Civilian Fleet is in worse shape than he expected. The guide says he can join Shepard’s forces as a War Asset worth 25 TMS.
- If you saved the civilians, you get a call with Han’Gerrel. He says he’s too occupied to take responsibility for the Civilian Fleet and passes the task to his aides. As a result, the Quarian Civilian Fleet War Asset loses 75 TMS.
If this was the first Rannoch side mission you finished after “Priority: Geth Dreadnought,” Admiral Raan will approach you with word that the Reaper Base has been found. Depending on your choices, you can earn up to +6 Paragon Points and +11 Renegade Points.
This sequence unlocks the next mission, “Priority: Rannoch.” The guide strongly recommends completing the other Rannoch side mission as well if you haven’t already.
Beyond that, if this side mission was your first after “Priority: Geth Dreadnought,” you’ll also see two arguments:
- One argument between Admiral Raan and Admiral Gerrel. Supporting Raan reduces the Quarian Heavy Fleet by 10 TMS, while backing Gerrel increases it by 25 TMS. You receive +2 Reputation either way.
- Another argument between Admiral Tali and Admiral Xen. Supporting Tali gives +2 Paragon Points, while supporting Xen gives +2 Renegade Points.
After the scenes conclude, you can do another sweep of the Normandy:
- CIC – Speak with Admiral Raan about the Civilian Fleet. The guide notes a slight new response if you bring Tali, plus you can talk to Traynor, Joker, and EDI.
- Crew Deck – Talk to your Virmire Survivor, visit Garrus for a tense walk-in moment, and speak with Javik in the AI Core to earn +2 Reputation.
- Engineering – Stop by Allers’ room.
- Shuttle Bay – Talk to Cortez.
If you want more Mass Effect 3 help, the guide lists additional pages to consult, including Legendary Edition changes, how-to guides, key choices and consequences, romance guidance, a walkthrough, and a side missions index.
- Legendary Edition Changes
- How-To Guides
- Key Choices and Consequences
- Romance Guide
- Walkthrough
- Side Missions
Up Next: Rannoch: Geth Fighter Squadrons
Top Guide Sections
- Legendary Edition Changes
- Game Basics
- Tips and Tricks
- How-To Guides


