Gothic 1 Remake: Up to His Neck Quest Guide and Fast Route to Bran
Up to His Neck is a new camp quest added to Gothic 1 Remake, sending you after the missing foreman of the Rice Lord’s operation. Your search takes you outside the camp, through a hostile stretch of wildlife, and eventually into the tavern’s basement mystery. If you’d rather not grind through every step, the quest also has a route that lets you jump straight to where Bran is.
Quick facts
- Quest: Up to His Neck (new Camp Quest in Gothic 1 Remake)
- Goal: locate the Rice Lord’s missing foreman, Bran the Foreman
- Prerequisite quest: complete A Few Drops Too Many first
- Key locations: rice fields, Jacko’s Cave, and the tavern basement
- Optional actions: open a chest beside a body; attempt to reveal extra information in the Silas confrontation
- Rewards: 150 XP after confirming Bran’s body; 300 XP more when reporting back; possibly 50 Ore Nuggets if you did the optional chest step
Task Search
Use the objective list to jump directly to the specific part of the quest you need help with. Every major step is covered here, including the full shortcut path that leads straight to where Bran can be found.
- How to Start Up to His Neck
- Talk to the Rice Farmers for Information
- How to Find Jacko’s Cave
- Confronting Jacko
- Solution – Where to Find Bran
- Open the Tavern Chest – Optional
- Confront Silas
- Report Back to the Rice Lord
How to Start Up to His Neck
To begin Up to His Neck, you must first finish A Few Drops Too Many, the Rice Lord’s initial quest. Once you hand that mission in to the Rice Lord, he asks for help again and this new quest starts.
Bran the Foreman has been missing for a while, and the Rice Lord points you toward asking questions first. He recommends checking with other farmers in the rice fields to gather leads before you go looking in person.
Talk to the Rice Farmers for Information
- In-game objective: “I should look for Bran.”
There are more than a dozen farmers out in the fields, but you only need one conversation to get what you’re after.
From Rice Lord’s hut, go down the stairs and head left toward the rice fields. Climb up each tier of the farm, stopping to read each farmer’s name as you go, until you locate Malon.
Ask Malon about Bran. If you speak with him politely, he’ll tell you he saw Bran slip out of the camp and head toward the cave by the pond that Jacko and Renyu use for their Swampweed business.
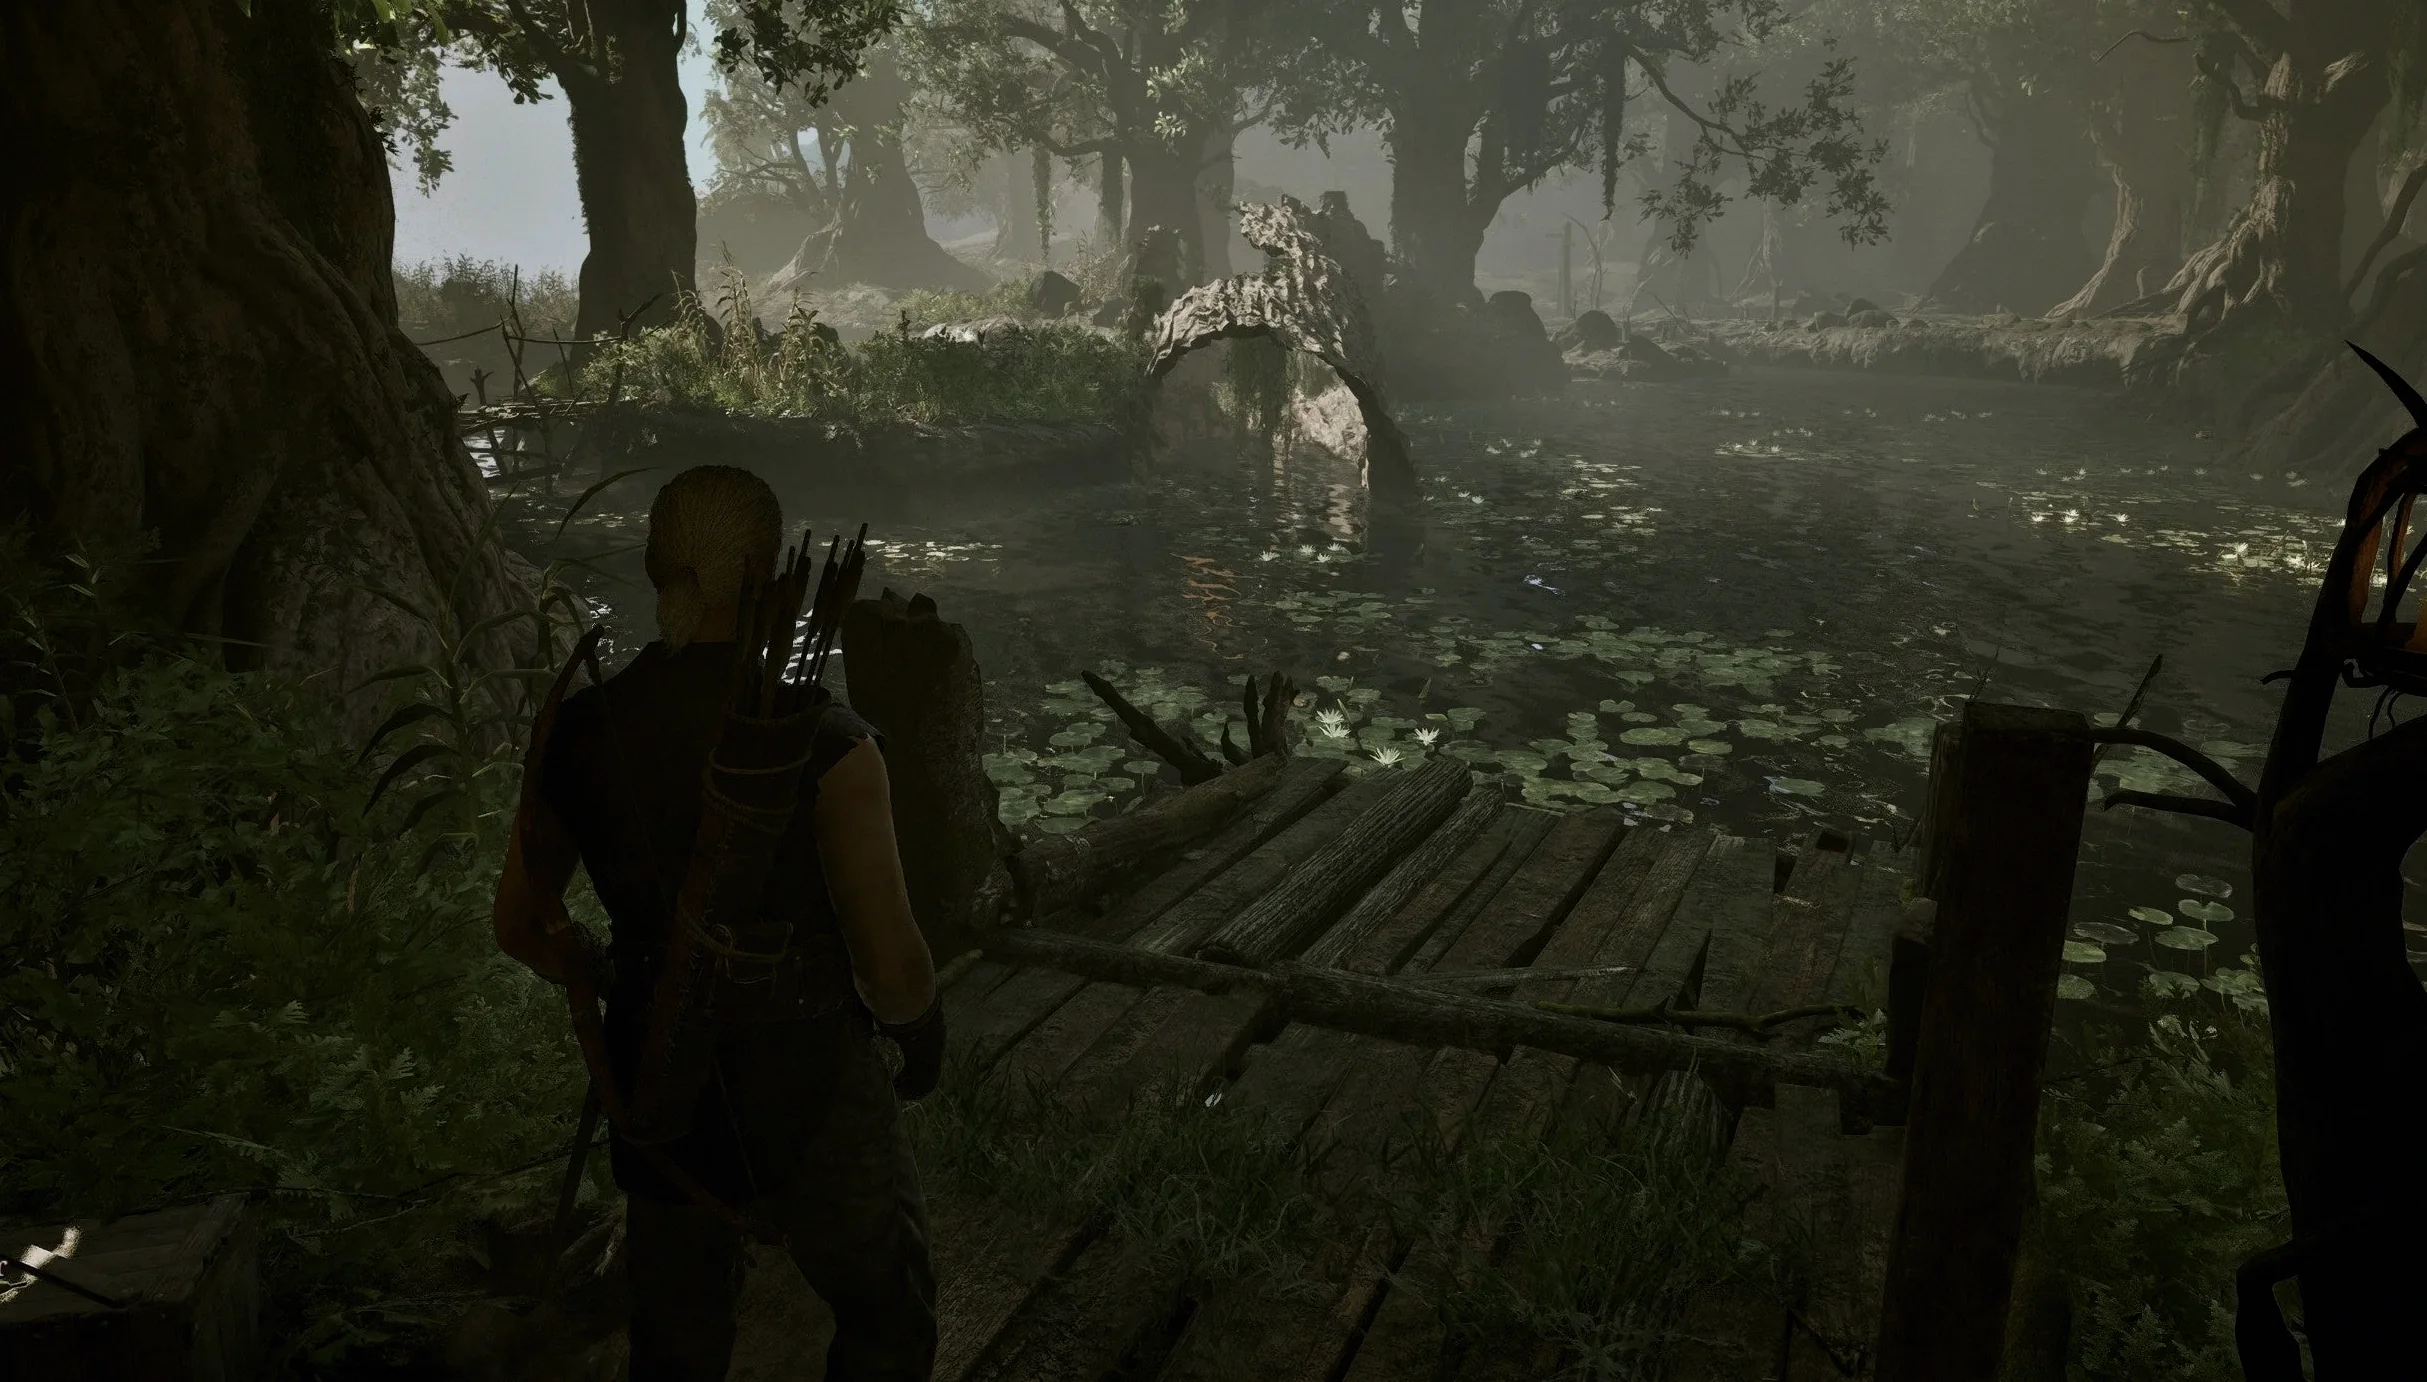
How to Find Jacko’s Cave
When you leave the New Camp entrance, you’ll spot huts and a small pond straight ahead between the trees. Follow the path out of town and down toward those huts.
Lizard Detour
As you explore, watch the grass to the right—there’s a group of Lizards hanging around. They can get in the way if you’re trying to move cleanly.
Once you reach the first hut, keep following the route as it bends to the right along the pond.
Farther ahead, a pack of Adult Scavengers guards the area and can be dangerous. If you can, try hitting one from range to pull it away from its group rather than engaging everyone at once.
When fighting, dodge their attacks and don’t chain too many strikes back-to-back. Get a couple hits in, then wait for another opening. You can also use a downward swing with Level 1 One-Handed Combat training to knock Scavengers down and create breathing room.
Backup!
If the Adult Scavengers feel too tough for your current level, you can aggro the Scavengers and then retreat toward the New Camp gate. Let the guards take over so you don’t have to tank everything yourself.
After the Scavengers are cleared, move onto the path they were protecting. This route runs parallel to the pond, curves right, and leads you to the cave entrance.
At the front of the cave stands Renyu. He normally won’t allow you inside, but with this quest active you can mention that you’re looking for Bran. He’ll point you in and tell you to talk to Jacko instead.
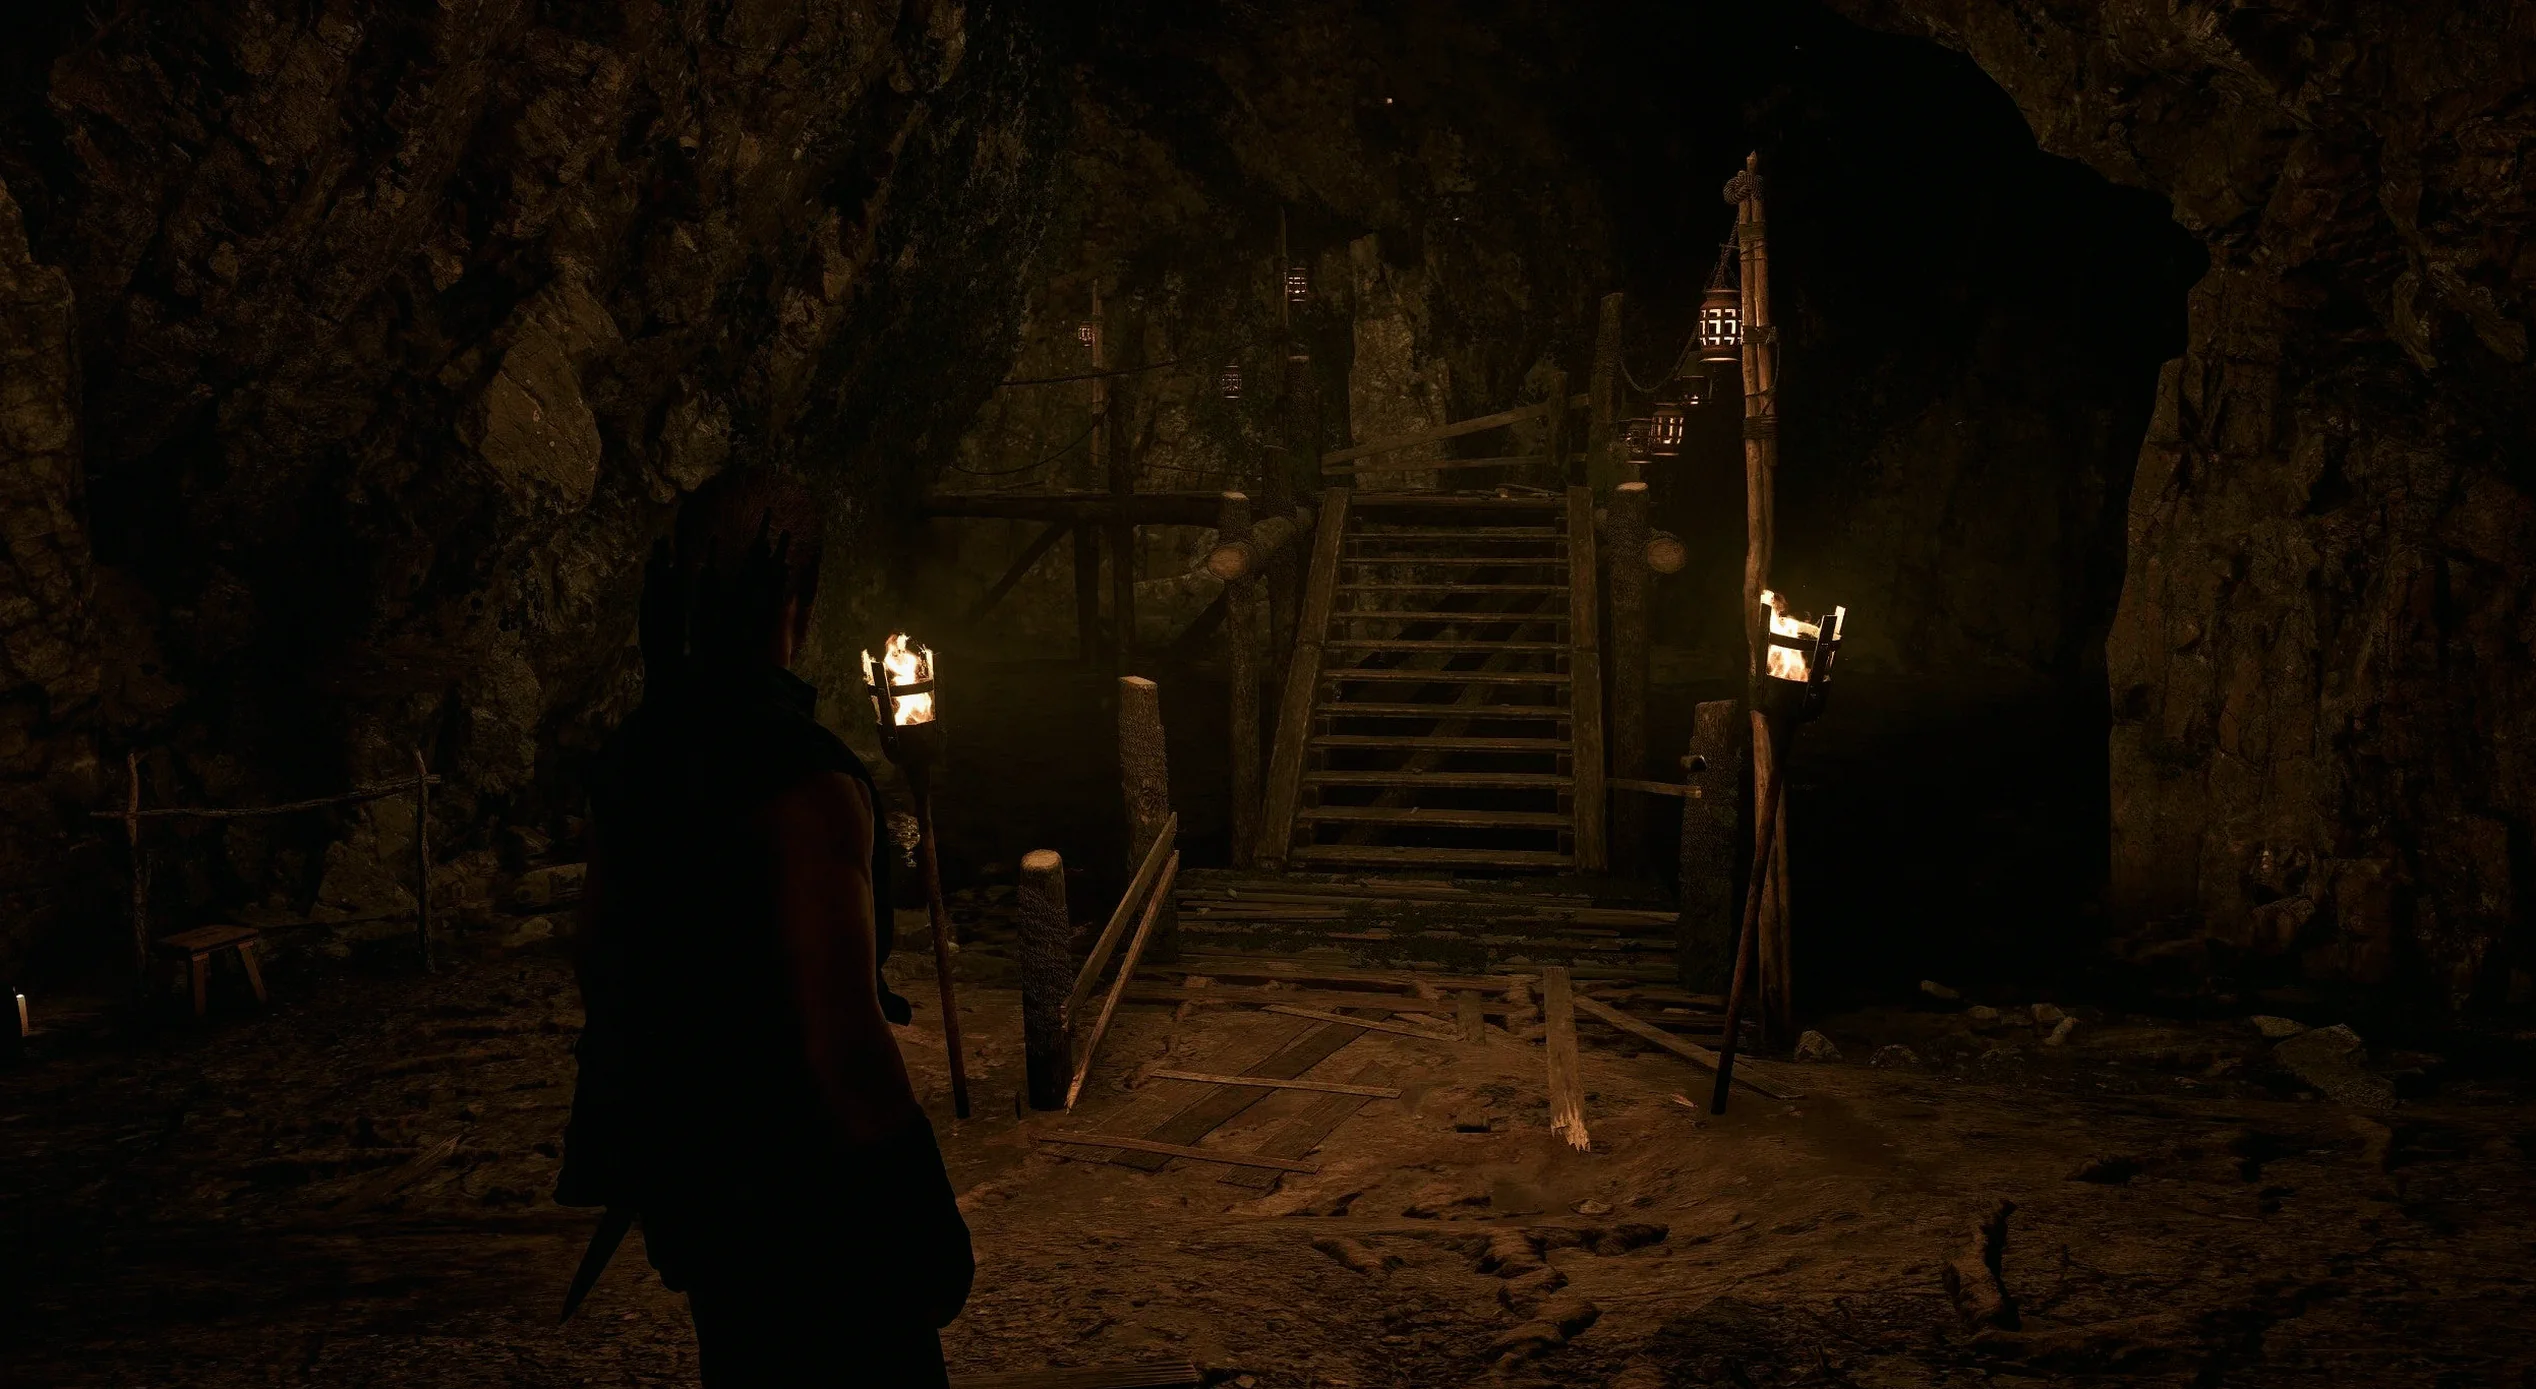
Confronting Jacko
The cave layout is straightforward and linear. Follow the path until you reach some wooden steps, then head toward the nearby area where Jacko waits. Before you speak with him, save your game.
Climb the stairs and turn around at the top landing to find Jacko. Have the conversation first—he quickly decides he’d rather settle things with his weapon than with words.
What Happens if You Fail the Fight
You can beat the quest by using the shortcut later in this guide, but to follow the quest normally you need to win this fight to move forward. If you lose, he not only takes your belongings, but he also refuses to talk and orders you to leave the cave.
If you have One-Handed Weapons training, Jacko takes heavy damage from your three-swipe combo—use it whenever you get an opening.
Jacko’s attacks usually come as either a single powerful upward strike or a left-right-left sequence, but he can also throw in a single sideways swipe. Pay attention as he begins each move; once you recognize the pattern, you can keep your distance and push forward right after he finishes.
After landing a couple of hits, pull back again. He will retaliate eventually, and getting greedy is how you get punished.
Editorial Note
From Kerry Palmer, Guides Editor ⚔️
If you end up fighting another human and manage to knock them down, you can choose to loot them, execute them, or leave them alone. The tip here is that looting downed enemies often comes with little to no negative consequences, so you can usually grab their gear, healing items, Ore Nuggets, or whatever else they’re carrying.
Learn more about Kerry and his gaming experience here.
Once you defeat Jacko, he stands up and finally starts talking to you. The truth comes out: Bran owed Jacko money, and Jacko suggests Bran make up for it by raiding Silas’ stash in the tavern basement. It sounds like this was likely the last time Bran was seen. You’ll confirm you’ve found Bran when you locate his axe—if it’s anywhere to be found.
Solution – Where to Find Bran
Getting into the tavern basement is the next hurdle. To do that, you’ll first need access to the tavern during this quest: entering costs 100 Nuggets so the doormen let you inside.
Once you’re in, ask around at a few of the regulars for information about Bran. Unfortunately, none of them have actually seen him.
You can also ask Silas if he’s noticed Bran recently. He hasn’t—but the door behind him is the one that leads down to the basement. If you try opening it, he quickly turns hostile, so you’ll need to slip in a different way.
There’s another route: an underwater entrance to the tavern basement. From outside the front door, walk around the building to the opposite side until you reach the exposed chimney on the exterior wall.
Stand in line with the chimney, then turn around and jump into the lake.
Swimming Fundamentals
Press Square/X to dive, and Circle/B to resurface. Keep an eye on your oxygen meter—when it hits zero, your character dies immediately.
Underwater, you can spot the current feeding into a gap in the wall beneath the tavern.
Swim through the opening. You can return to the surface at any time to refill air. If you move through parts of the basement while underwater, you’ll be able to pick up lockpicks and other assorted items.
Silas’ so-called stash chest is down here too, but it’s locked. You’ll have to pick the lock while your oxygen timer is draining, making it a challenge best suited for patient, experienced locksmiths.
Follow the basement path until you reach stairs, then climb out of the water. At the top is a body. It definitely looks like Bran, but his axe isn’t on him.
The only items present are a couple of lockpicks, some Nuggets, and an impatient note written from Jacko. You need to read this note to progress the quest. Reading it gives enough information to confront Silas and finish the quest, though you won’t have full proof to back everything up. You do have one more option, however.
Open the Tavern Chest – Optional
If you want to take a more mischievous route (and potentially change what you can get out of this quest), try opening the chest sitting beside the body.
If you only want the lock solution and don’t have Lockpicking training, here it is. It might not be the most efficient method, but it works.
- Plate Six – Right Three
- Plate Three – Right Three
- Plate Five – Left Two
- Plate Three – Right Two
- Plate Four – Left Three
- Plate Six – Right Two
- Plate One – Left Two
- Plate Two – Right One
- Plate Six – Left Two
- Plate Three – Right Three
- Plate Four – Left Three
- Plate Six – Right One
- Plate Two – Right One
- Plate Six – Right One
- Plate Three – Right One
- Plate Four – Left One
How the Lock Plates Move
- The first plate also moves plates two and six at the same time.
- The second plate moves plate three, while plate six moves in the opposite direction.
- The third plate moves plate four in sync.
- The fourth plate operates on its own.
- The fifth plate also moves plates three and six together.
- The sixth plate moves plate three, but in reverse.
Inside the chest are supplies for the tavern, along with…
All right—time to go confront Silas.
Confront Silas
- In-game objective: “I should confront Silas.”
Swim back out of the basement, then return to the tavern and speak to Silas at the bar.
If you didn’t complete the optional chest objective above, Silas will deny any involvement in Bran’s death.
If you did complete that optional objective, you can Tap to Reveal the additional information.
Either way, once you’ve located Bran’s body and told Silas about it, you’ll earn 150 Experience Points. After that, you’re ready to report back to the Rice Lord.
Report Back to the Rice Lord
Now you’re back in front of the Rice Lord. How you report depends on how you handled the mission. You can either tell him you found Bran and don’t know how he died, or—if you opened Silas’ chest—you can Tap to Reveal the extra details.
With Bran confirmed, you receive 300 additional Experience Points. If you completed the optional chest objective, you’ll also gain 50 Ore Nuggets. The Rice Lord will also recommend talking to Lares, which means you’ve made progress on the larger Admission to the New Camp quest.
If you want more help with other New Camp quests while you’re there, check back on the New Camp Quests page.
Up Next: The Raid
Top Guide Sections
- 16 Things to Do First in Gothic 1 Remake
- Walkthrough
- Quests
- How to Travel to New Camp