Gothic 1 Remake: The Raid Quest Guide, Gear, and Ambush Locations
The Raid is the last New Camp quest you’ll need to complete in Gothic 1 Remake to earn acceptance as a New Camper and to finish Admission to the New Camp. After you hand Diego an updated convoy supply list, Lares asks you to join the raid—specifically to steal supplies being transported between Old Camp and the Old Mine. If you want the right gear, the ambush location, and the best way to kick things off, this walkthrough has you covered.
You can use the checklist below to jump straight to the part you need.
Task Search
Checklists
- How to Start The Raid
- Optional – Get a New Weapon from Gorn
- Find Wedge at the Ambush Site
- How to Distract the Old Camp Convoy Guards
- Ambush Combat Tips
- Aftermath of the Raid
- Report Back to Lares
How to Start The Raid
Before you can begin The Raid, you must complete Lares’s quest Something the Matter?. That means bringing Lares the supply list that Diego has you gather for the Old Mine as part of the Test of Faith quest.
You Can Be Locked Out of This Mission
If you already finished Test of Faith by giving Diego the list prior to bringing it to Lares, then you’ll be unable to take on The Raid. You’ll also lose access to joining New Camp. You can still move the story forward by aligning with one of the other camps.
Once Something the Matter? is done, you’ve reached Level 5, and you’ve completed several New Camp side quests tied to Admission to the New Camp, Lares trusts you enough to bring you along for the raid on the convoy traveling from Old Camp to the Old Mine.
Lares will tell you to speak with Gorn to get equipment for the operation, and then your next step is to locate Wedge at the ambush site.
Optional – Get a New Weapon from Gorn
- In-game objective – “Gorn could give me a better weapon.”
Gorn is a mercenary who hangs around the Free Mine. When you step out of Lares’s hut, look to the left—you should see him across the quarry.
Cross the quarry and talk to him.
Gorn will ask what weapon you want to bring into the raid. Your choices are:
- A sword (Judgment Sword, 30 Edge Damage, 20 Strength Requirement)
- A mace (Steel Tongue, 29 Blunt Damage, 26 Strength Requirement)
- A bow (Field Bow, 28 Point Damage, 18 Dex Req)
Need More Strength?
If your stats aren’t high enough to use any of these weapons, you can improve Strength or Dexterity by talking to Lares or Diego. Each stat upgrade costs one Learning Point.
With your gear sorted, it’s time to go find Wedge.
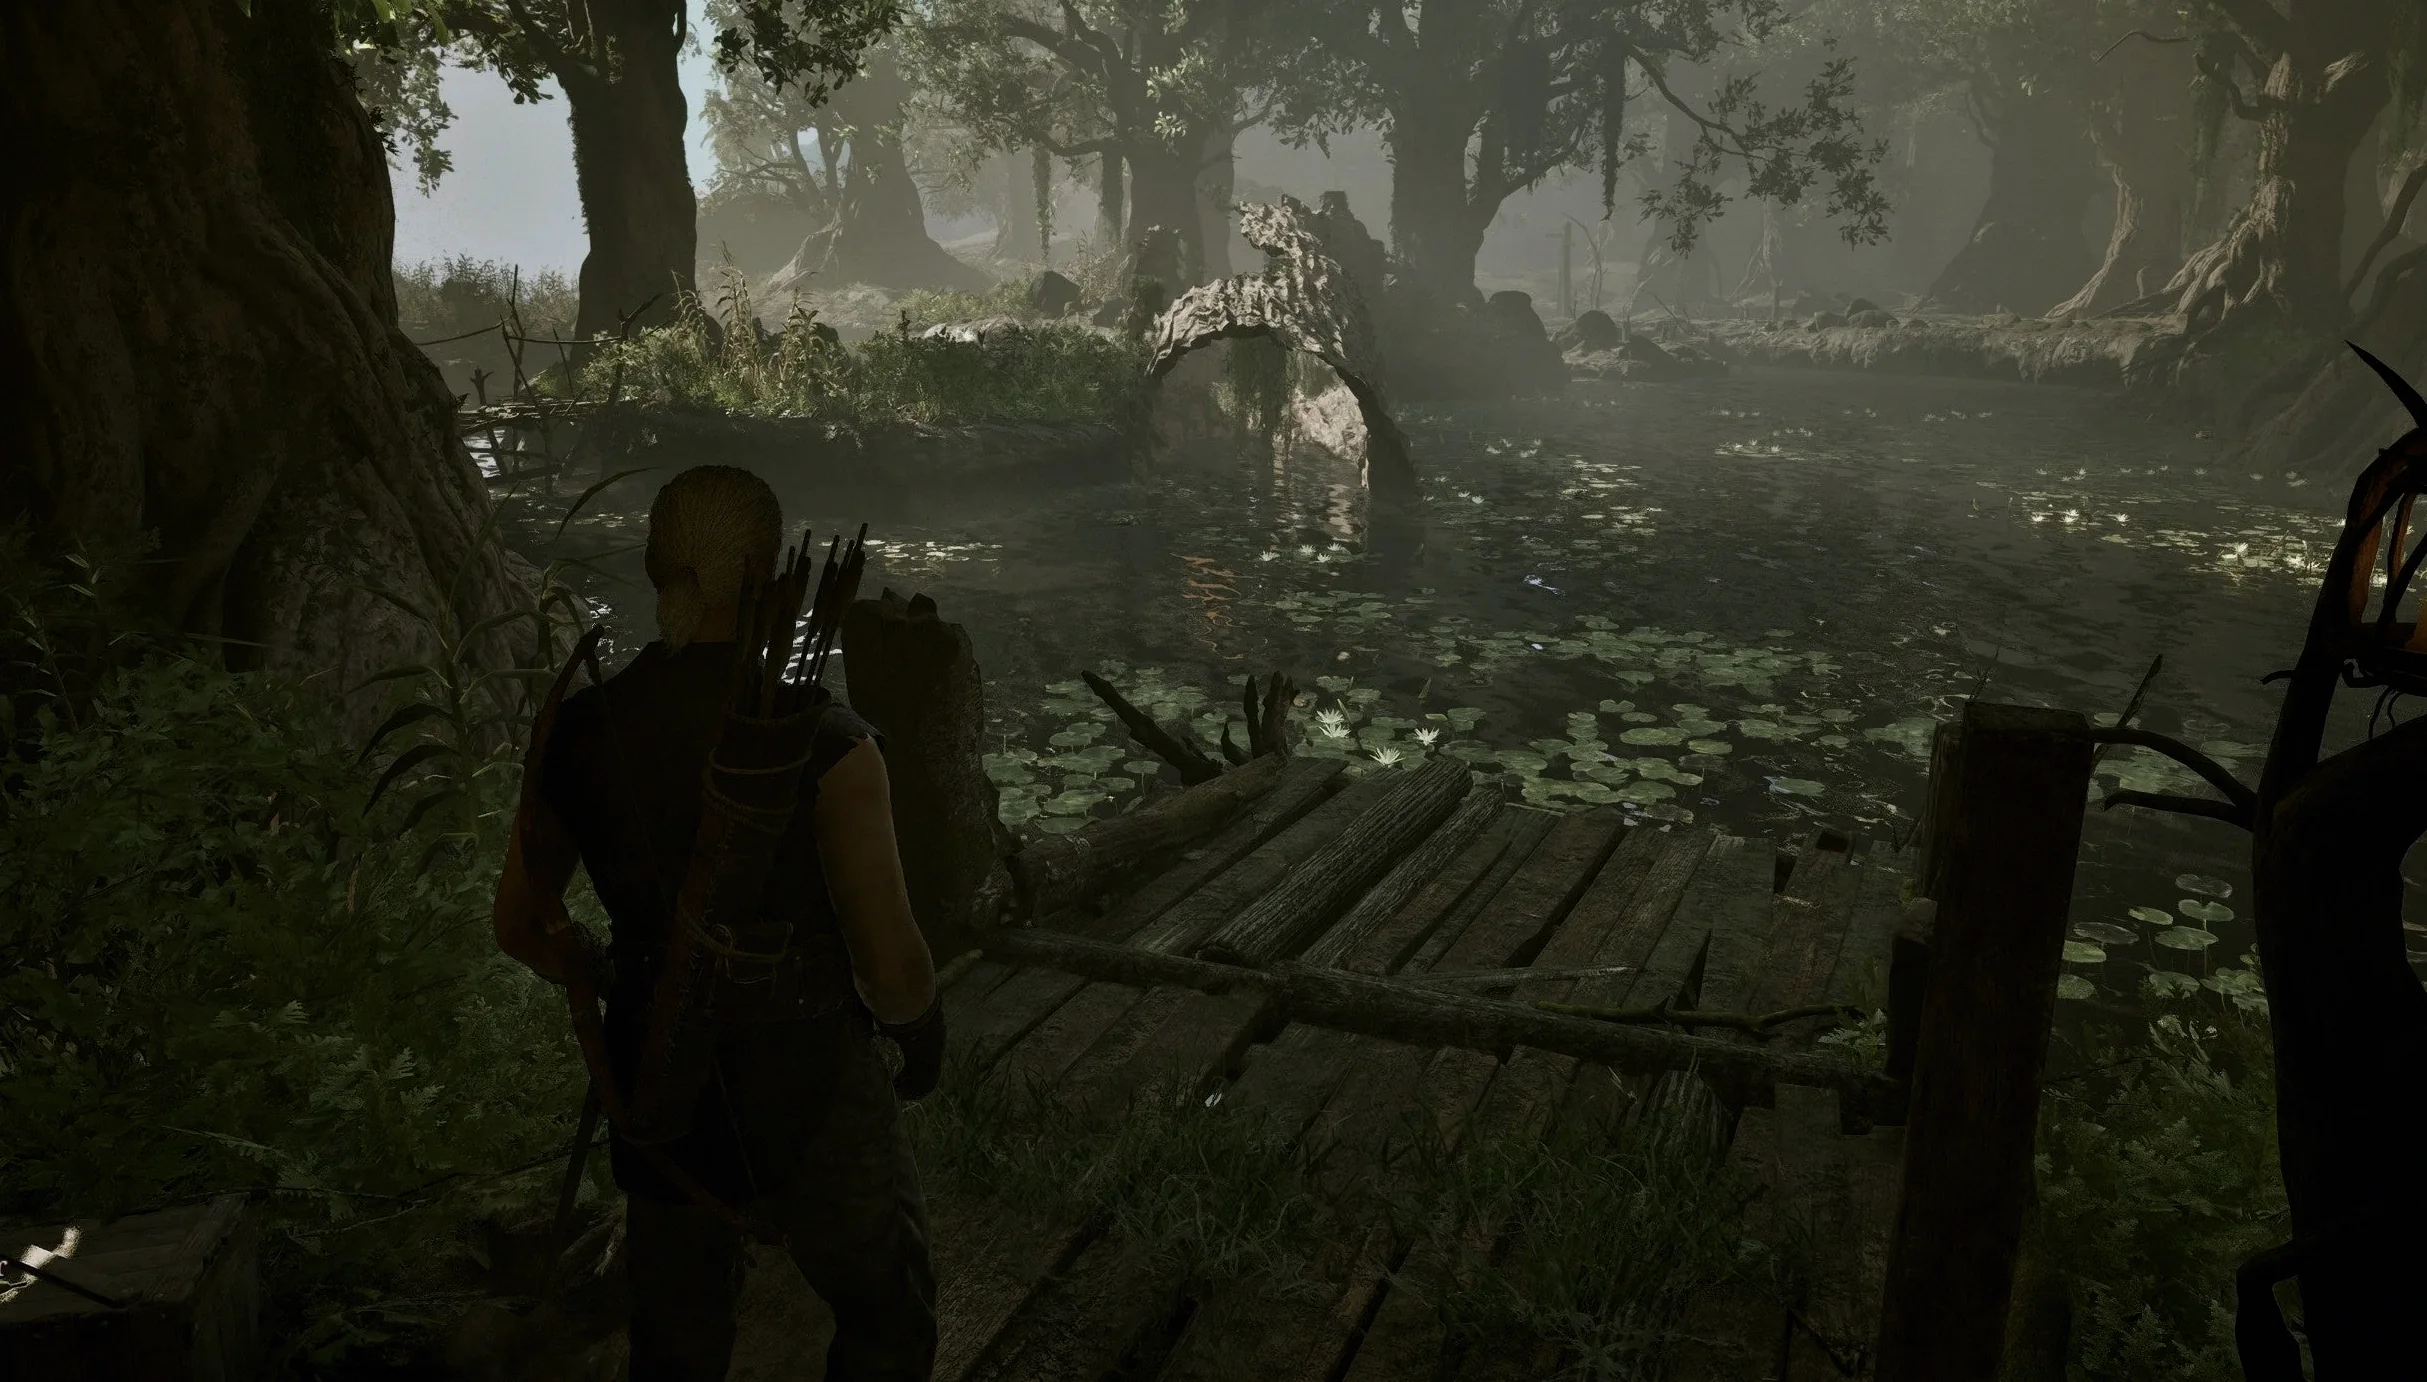
Find Wedge at the Ambush Site
- In-game objective – “Wedge is waiting for me at the ambush site.”
First, head back to Old Camp. When you’re standing outside the North entrance to Old Camp, cross the stone bridge, then immediately turn left toward the Old Mine.
The route should be clear of creatures thanks to your earlier trip to the Old Mine for the supply list. As you approach the bend in the road, you’ll spot guards milling around wagons stuck in mud—that’s the convoy.
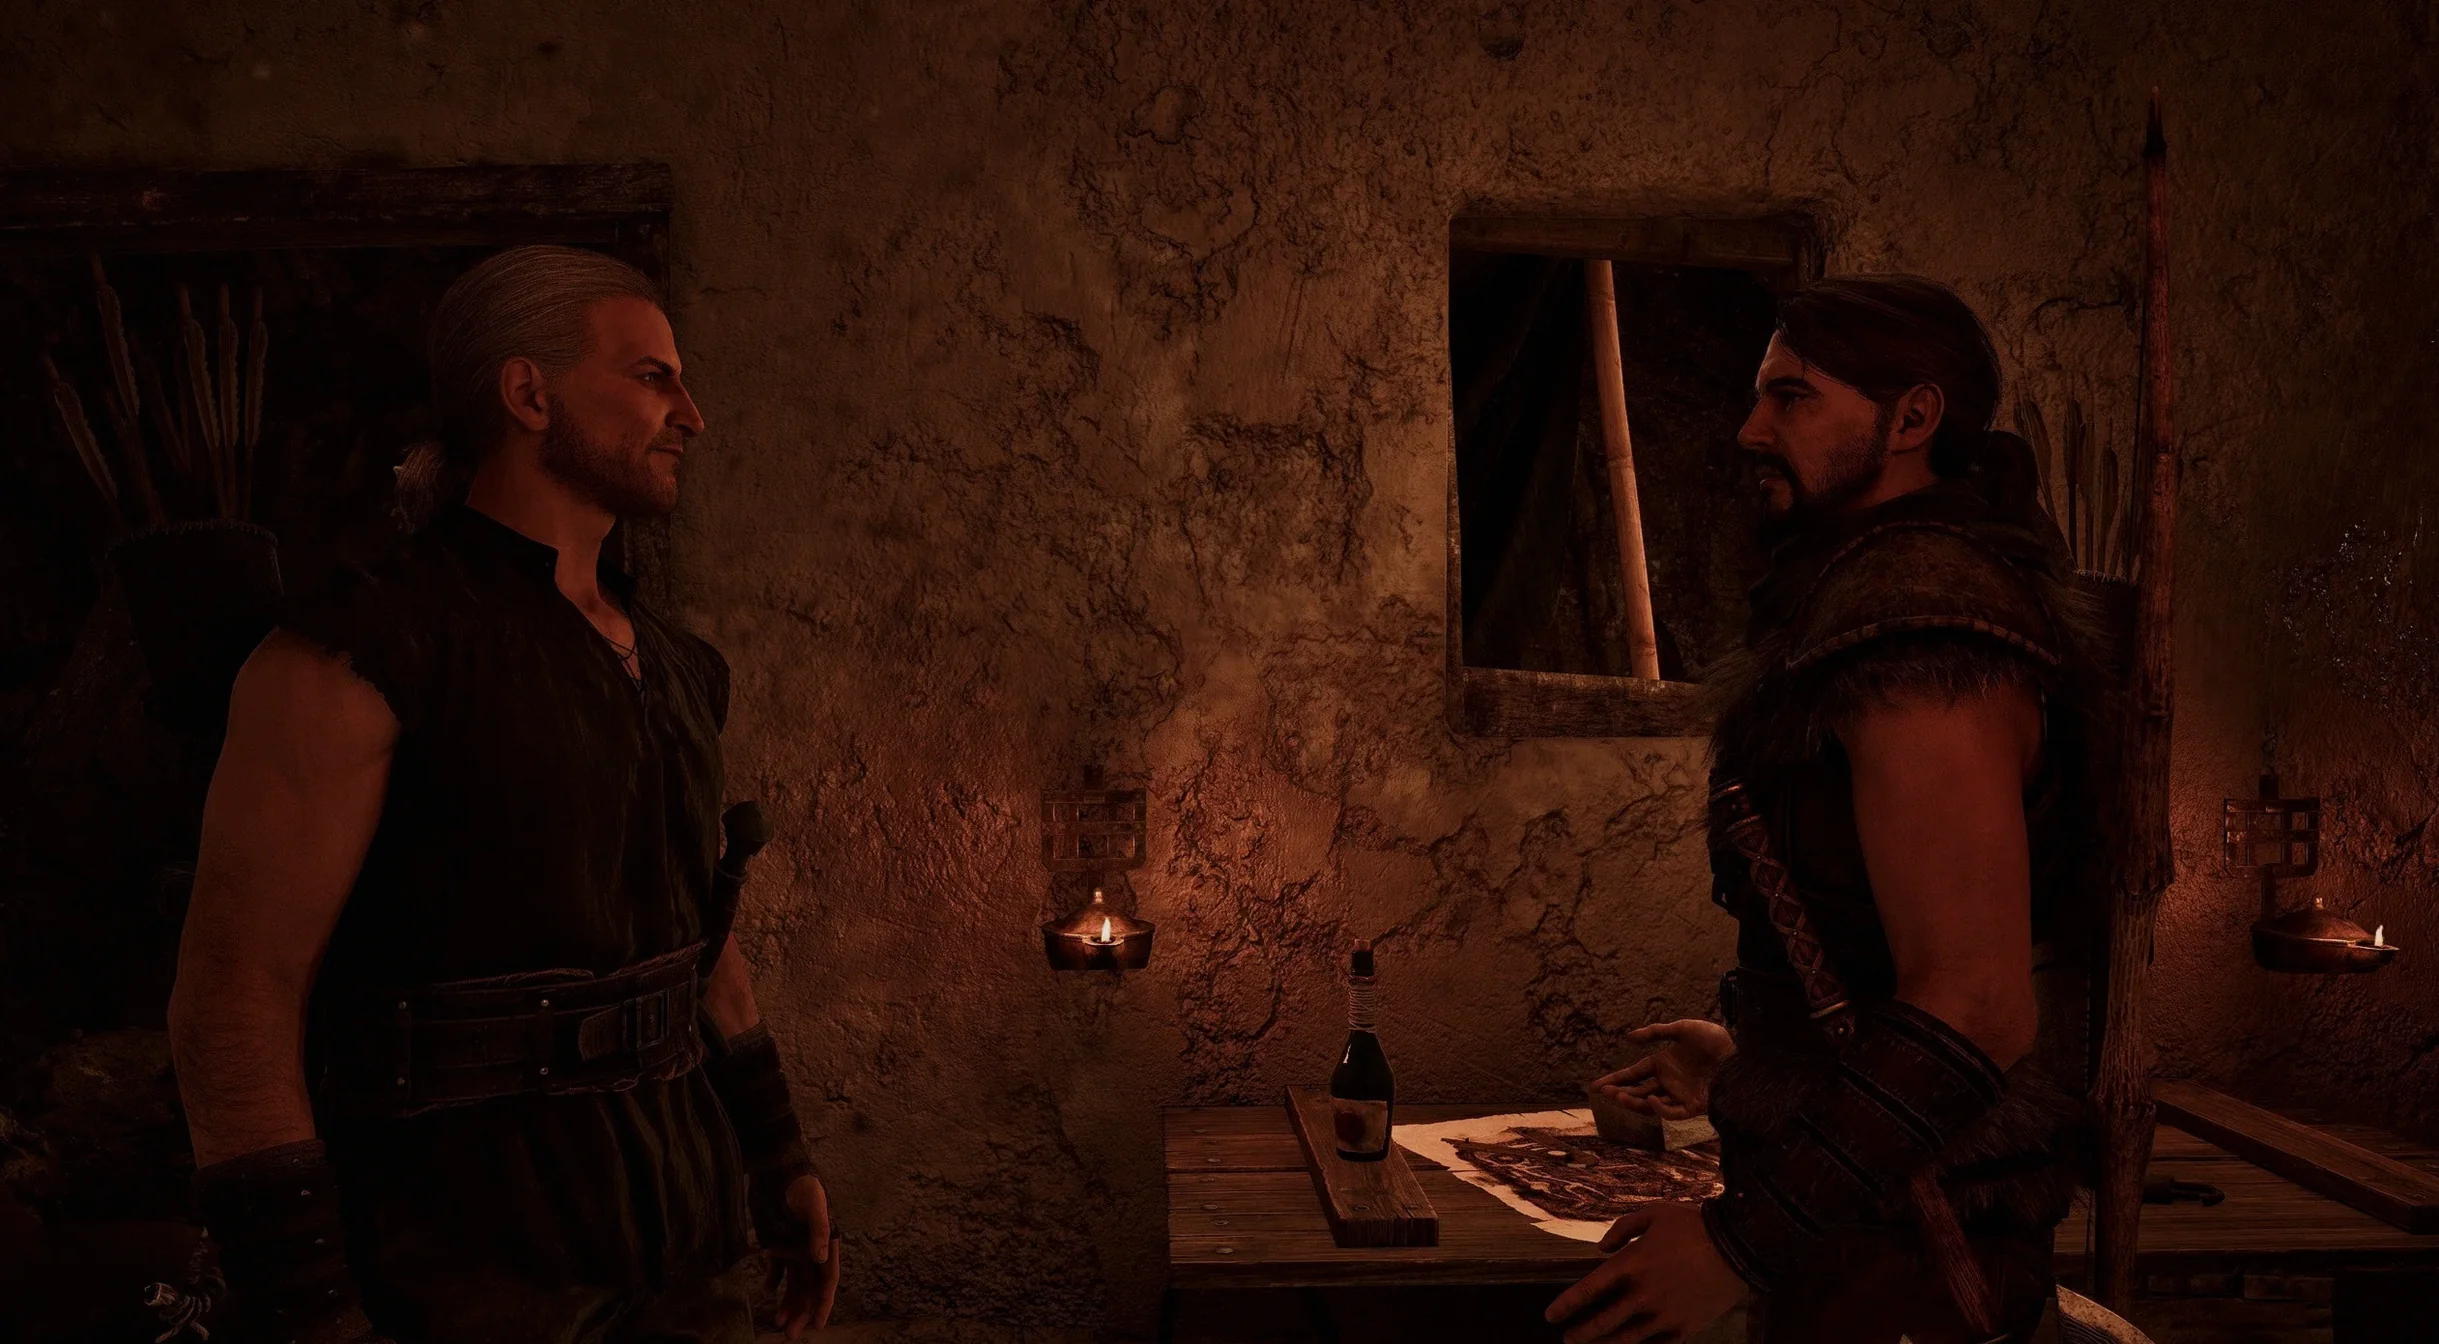
In the forest ahead, up on a small ridge above the path, there’s a cluster of Bandits watching the area. Walk up the ridge to find Wedge and start a conversation.
Wedge says he already knew you were the newcomer Lares mentioned—and that you’re making an impression in this camp. He also repeats an important point: don’t kill any of the convoy guards. Lares doesn’t want this to turn into a full-on war; the plan is only to incapacitate them.
Now you need to head down to the convoy and distract the guards.
How to Distract the Old Camp Convoy Guards
- In-game objective – “I gotta distract the guards.”
Leave the forest and approach the side of the convoy that’s closer to the mine rather than Old Camp. You only need to speak with one guard, and the conversation triggers as soon as you get close.
He’ll tell you to move along, then ask why he doesn’t recognize you.
If you pick the dialogue options “Just a digger” or “Never mind me, just passing through”, the guard will become suspicious and call his men to draw swords on you. That also makes the Bandit ambushers detectable earlier than planned, putting your support group at a major disadvantage.
This approach is riskier, since your Bandit allies are likely to get overwhelmed. If it goes badly, one of the guards will eventually execute you after you’re knocked down, forcing you to reload. While it’s still possible to win in this scenario, it’s far harder.
If instead you choose “Yeah, they just threw me in. What happened? Broke an axle?”, the guard gets distracted by the idea of fixing the wagon. He’ll tell his men to head into the forest to look for timber to repair the problem.
This splits the convoy guards into separate groups and gives your Bandit mates the chance to land the first attacks. Once swords are drawn, you should be able to start swinging right away. With this strategy, your party has the advantage, and the raid becomes much more manageable.
Ambush Combat Tips
This is a large-scale fight against tough human enemies. A new weapon from Gorn will help a lot, and you can play it safer by staying at range if you don’t want to get hit by three guards at once—but expect the encounter to be chaotic.
It’s very likely you’ll be knocked down at least once, mostly because the guards hit hard. The good news is that you can get back up after a moment unless you get executed.
If you prefer melee, stick to the usual rhythm: dodge incoming strikes, then counter when there’s an opening. The biggest threat isn’t a single move—it’s the sheer number of enemies trying to engage you simultaneously, especially if you provoked the guards rather than fooling them into splitting up. When multiple attackers are on you at once, finding a clean attack window gets much harder.
If several guards are focused on you, be ready to dodge as they close in again. You can also try to pull them toward a cluster of your allies so your friends can damage your pursuers while you keep them busy.
If you’ve trained magic too—such as learning Firebolt—you can cast the rune while backing away, allowing you to attack while retreating at the same time.
When no one is targeting you, you have more freedom in how you fight. If you’re using melee, remember you can strike enemies from behind even if they’re guarding, which can help your allies. You can also consider fighting without lock-on in this clash so you have extra control over where you aim and place your attacks.
There’s one key difference between you and your Bandit partners versus the guards: once the guards are downed, they don’t get back up after a short period. When the final guard is lying on the ground, the fight is over.
Aftermath of the Raid
- In-game objective – “I should talk to Wedge.”
After the skirmish, your Bandit allies will take a moment to stand back up (if they were downed) and return to their positions around the convoy. While that’s happening, move through the battlefield and loot the guards you knocked down. You should find a mix of weapons, junk, food, and Ore Nuggets spread across the bodies.
Once Wedge is back up and positioned at the convoy, talk to him. He’ll react to how well you handled the distraction—either calling it a disaster or praising you—but it doesn’t change the mission outcome.
No matter what he says, you’ll get the go-ahead to return to Lares and report that it went well.
Report Back to Lares
- In-game objective – “Lares should hear about this.”
Head back to New Camp and speak with Lares. Tell him the news, and he’ll be so pleased that he’ll make you a member of New Camp immediately. This completes The Raid and also finishes Admission to the New Camp.
You’ll receive 1500 Experience Points right away, plus the Bandit’s Dress armor item. As an extra perk, the Blackmailers posted at the bridge won’t bother you anymore now that you’re part of New Camp.
Since you’ve joined the Bandits, getting Old Camp’s trust will be harder if you still want access to the Old Camp castle to complete A Letter from the Fire Mages. If that becomes an issue, Cronos the Water Mage might be able to help you gain entry, and you can find him in the center of the Free Mine.
Talk to Lares again and he’ll assign you a new quest in the swamp camp called “The Brotherhood’s Plan”. When you begin it, that quest also marks the start of Chapter 2: The Minecrawlers’ Nest.
Up Next: Canvassing Customers
Top Guide Sections
- 16 Things to Do First in Gothic 1 Remake
- Walkthrough
- Quests
- How to Travel to New Camp