Mass Effect 2 Garrus Loyalty Mission Guide: Eye for an Eye Outcome Choices
The Garrus Loyalty Mission “Eye for an Eye” in Mass Effect 2 sends you across the Citadel to track down Sidonis and stop a whole mess of trouble that started on Omega. Expect a mix of dialogue choices, tight combat spaces, and a finale that hinges on whether you let Garrus pull the trigger.
Quick facts
- Mission name: Garrus: Eye for an Eye
- Where it starts: Citadel (on the Crew Deck with Garrus, then the Citadel)
- Location for the Citadel area: Serpent Nebula → Widow → The Citadel
- Key combat zones: Zakera Ward (Security Tunnel, Level 27), Zakera Ward (Level 26 Warehouse side-area), Factory District, and a raised-platform warehouse fight
- Mission rewards: 750 XP, Armor-Piercing Ammo, Sniper Rifle Damage research, 15,000 credits mission payout, 13,800 found credits, 2,000 Iridium
- Notable mechanic: A headshot-based trick against YMIR Mechs can trigger a massive chain explosion
Task Search
Checklists
This wiki guide page for Mass Effect 2’s Garrus Loyalty Mission on the Citadel focuses on everything you need to run “Eye for an Eye” smoothly: clearing each combat segment, locating collectibles, and selecting the dialogue options that shape your playthrough.
If you’re trying to jump straight into the parts you care about, the guide breaks the mission into sections covering the mission overview, talking to Garrus, traveling to the Citadel, locating Fade, confronting Harkin, meeting with Sidonis, and returning to the Normandy.
One thing to note up front: this mission is among the rare cases where the amount of credits you “find” does not match the credits listed as your mission total.
Mission Summary
Mission Rewards
- Experience: 750 XP
- Power: Armor-Piercing Ammo
- Research: Sniper Rifle Damage
- Mission Credits: 15,000
- Found Credits: 13,800
- Resources: 2,000 Iridium
As you may have noticed, the “Found Credits” value does not line up with the listed “Mission Credits” amount for this particular loyalty task.
Talk to Garrus
To begin the quest, you’ll need to wait for Kelly to inform you that Garrus wants to speak with you. That trigger comes after you’ve already secured the Loyalty Missions for Jacob, Miranda, Jack, Mordin, and Grunt (if you picked him up).
Garrus is in his normal spot in the Main Battery on the Crew Deck. When you arrive, he explains he’s uncovered a lead pointing to Sidonis’ location.
Sidonis, a former member of Garrus’ Omega squad, betrayed them to mercenaries—leaving everyone dead except Garrus, and leaving the wreckage you found during “Dossier: Archangel.” Garrus also reveals that Sidonis was spotted alongside a person named Fade, who specializes in hiding others. Garrus wants to track him down and make him pay for the ten men he killed, Hammurabi-style.
Travel to the Citadel
- Location: Serpent Nebula – Widow – The Citadel
As Garrus already hinted, Fade is on the Citadel. If you don’t own the Kasumi DLC and never caught up with Anderson, there’s a solid chance you haven’t visited this area yet.
The guide notes it’s in the south-west section of the Milky Way, slightly north of the Krogan DMZ.
Recommended Loadout
- Squad Tactics: Bring Tali. You’ll run into plenty of mechs, including LOKI, FENRIS, and YMIR units. There’s no special unique dialogue tied to this mission.
Find Fade
When you first arrive at the Citadel area, go through the Security Tunnel and reach Level 27 of Zakera Ward. Once there, turn right and talk to Captain Bailey.
Bailey tells you Fade has been causing problems for C-Sec, and it appears he has access to their systems. That’s why Bailey is eager to see you confront Fade directly—C-Sec’s own attempts haven’t gotten results.
Bailey’s lead takes you to the Warehouse, a small side space on Level 26. Head there and find the blue-lit area with the Shipping Warehouse sign above it, located between the Rapid Transit Terminal and the Sirta Foundation shop. Go through the door and down the hall to confront Fade.
Fade turns out to be a volus. When Garrus suggests he can help someone “reappear,” the volus orders his Krogan bodyguards to attack you—so yes, this is where you’ll earn some Morality Points.
- Use the Renegade Interrupt to shoot down the Krogan for +5 Renegade Points (if you ignore it, they still leave).
- After the Krogan depart, you can say “Shut up” to earn +2 Renegade Points.
Turns out the volus you’re dealing with isn’t Fade himself—it’s an agent working for him. The agent is willing to share where Fade is hiding: the Pre-Fab Foundry in the Factory District.
The guide also identifies Fade as Harkin—the shady figure from the first Mass Effect game you had to talk to in Chora’s Den to get a lead on Garrus so you could expose Saren. That detail explains how Harkin seems to have access to C-Sec systems.
- You can wrap up the exchange with “I can’t wait” for +2 Renegade Points.
To reach the Factory District, exit the Warehouse and head left toward the window to get to the Rapid Transit. When you select your destination, choose the Factory District option at the bottom of the list.
Confront Harkin
Upon arriving, you’ll run into the Blue Suns, a mercenary group tied to Harkin—something the volus mentioned earlier. If you’ve followed the guide’s earlier walkthrough flow, you’ve likely seen the Blue Suns repeatedly during your time in Mass Effect 2.
Harkin is also present, but he slips away quickly by fleeing through a door. That means the next step is combat: the two Blue Suns Troopers who initially rush you should go down without too much trouble, but the room is tight, so take cover first.
After the initial Blue Suns are eliminated, move toward the pair of doors and stop immediately.
- Trash – 600 Credits. In the doorway, turn left on the spot to find two wheelie bins you can loot for Trash.
- Med Kit – Move straight across from the door to find a Med Kit sitting on top of a desk.
As you keep moving left, expect to be attacked by several LOKI Mechs. Take cover behind the nearby crates and return fire to clear these synthetic threats quickly.
The rest of the segment can feel annoying because of all the crates, boxes, and clutter spread around the area. Still, the route is linear, and you can gain an advantage by vaulting onto crates to reach higher ground and then using that position to stay protected.
As you descend toward the far end of the warehouse, additional LOKI Mechs will show up, and the Blue Suns Troopers you face become both tougher and more tactical. In the original 2010 release, ammo is notably harder to find, so plan your shots and swap weapons if you’re running low.
When things finally go quiet, you can search for dropped ammunition, though the guide warns it’s fairly scarce unless you’re playing the Legendary Edition. At the end of this section, you’ll reach a huge pair of warehouse doors.
- Wall Safe – 1,500 Credits. To the left of the giant doors is a blue pickup truck carrying small yellow claws. The Wall Safe is left of that truck, along the wall.
- Circuit Boards – 900 Credits. Go through the huge warehouse doors and continue forward straight, hugging the right side of the blue pickup truck. The Circuit Boards are on a large yellow claw on the ground.
- Med Kit – 100 Credits. Loot the white crates on the left side of the Circuit Boards.
After picking up those items, head to the right-hand side of the big gap for more cover play against LOKI Mechs and Blue Suns. Use the cover to protect yourself while you return fire, and advance in small steps rather than pushing too far ahead. Enemies will pour in from multiple angles here, including LOKI Mechs coming from shipping containers on the right. Overcommitting to one lane too early can end in disaster for both you and your squad.
Once you reach the end of the area, turn around and backtrack slightly to grab more items:
- Circuit Boards – 900 Credits. In a left-side alcove, just to the right of the large yellow claw on the left side of that alcove.
- Circuit Boards – 900 Credits. On the large yellow claw to the right of the previous Circuit Boards location.
Now head back to the far end and search the makeshift office:
- Med Kit – 100 Credits. On top of a crate in the back-left corner near some small yellow claws.
- Power Cells – 100 Credits. To the right of the Med Kit, close to a desk.
- Laptop – 4,500 Credits. Resting on a small desk to the right of the Power Cells.
- 2,000 Refined Iridium – On the shelves to the right of the small desk holding the Laptop.
Next, locate the Bridge Control Terminal in the nearby corner and use it to lower the bridge. The firefight continues here against Blue Suns Troopers, with LOKI Mechs and Commanders mixed in as well.
The biggest danger is the YMIR Mech that drops into your area. You’ve fought YMIR units multiple times by now, but this fight is in close quarters, so cover matters even more than usual.
Once everyone is finally on the ground, check for loot:
- Med Kit – 100 Credits. On large dark-grey crates near the landing spot where the YMIR Mech originally touched down.
- Circuit Boards – 1,200 Credits. Immediately to the right of the forward door, on a large yellow claw.
After you finish looting, enter the next room—a small office:
- Medical Station – 100 Credits. On the left side of the door, right next to the doorframe.
- Power Cells – 100 Credits. In the far left portion of the room, in the left corner.
- Wall Safe – 2,100 Credits. To the right of the Power Cells, in the opposite corner.
For an optional dialogue moment inside the office, use the Window Console terminal to talk with Garrus.
When you’re ready to continue, go through the door on the right side of the Window Console.
- Terminal – Sniper Rifle Research. Found in the right corner of the small side room.
The final part of the warehouse is unique because some floor sections are raised into platform-like areas. You can vault up these platforms by taking cover first, then holding forward on the left stick and pressing the Cover button.
What you should do here is vault up to the platform on the right side of the room, then climb to the next platform and take cover behind the crates on the left. This gives you a strong position to eliminate the three Blue Suns firing at you while staying out of reach of the LOKI Mechs. Use your best long-range option first, then clear the LOKI units below.
- Datapad – 1,200 Credits. Hard to spot in the maze. From the crate cover mentioned earlier, go right across the platform, then go left around the end corner—it’s on the floor there.
Now for the last push. Move to the lowest part of the room, follow the path through a bottleneck, and go up the slope. Garrus will interrupt with “Aw crap!”, and the reason is immediate: you’ll have to fight TWO YMIR Mechs. Take cover at once.
Your best approach is to focus on downing one target first, then the other. Once you bring one mech down, the second becomes far easier to finish.
There’s also a high-risk, high-reward technique you can attempt. YMIR Mechs explode when destroyed, but if you kill them with a headshot they collapse and, after a short delay, detonate in a massive explosion that wipes out every enemy in the room. Use this by targeting the YMIR mech farther up the slope and landing a headshot. Its body will slide down toward the other mech, instantly removing it and saving you a ton of trouble.
After they’re cleared, advance toward the room where Harkin is hiding. As you move in, you’ll be forced to climb raised platforms on your left, and you’ll be hit by two LOKI Mechs at the top. These two LOKI units are the last enemies you’ll actively fight during the mission segment—after that, more combat happens through cutscenes.
When you finally reach Harkin, he tries to escape, but Garrus catches him off guard and roughs him up. This section also awards Morality Points.
- Start with “Ouch” for +2 Renegade Points.
- When Harkin refuses to reveal Sidonis’ location, answer “Be reasonable” for +2 Paragon Points.
Once Harkin agrees to set up a meeting, he tries to leave. Garrus won’t allow it, since Harkin is still a criminal. When Harkin claims killing him isn’t Garrus’ style, Garrus lines up a shot at his legs to “slow him down a little.”
- Paragon players should use the Paragon Interrupt here to stop Garrus for +5 Paragon Points.
- If you miss the timing or ignore the interrupt, you can still score Morality Points:
- Choose “That wasn’t necessary” for +2 Paragon Points.
- Choose “Shut up” or “Quit complaining” for +2 Renegade Points (the Renegade line you get depends on Shepard’s gender).
- Choose “That wasn’t necessary” for +2 Paragon Points.
- Choose “Shut up” or “Quit complaining” for +2 Renegade Points (the specific line depends on Shepard’s gender).
Meet with Sidonis
Next comes the mission’s climax. Shepard talks with Sidonis while Garrus prepares the shot. During the approach, Shepard has a conversation with Garrus in the vehicle, and there are multiple choices available.
The guide makes it simple to read: the upper response options lean Paragon, while the lower ones lean Renegade.
To maximize Morality Points in the car, the guide recommends:
- Pick “You okay?”, “I don’t know”, “Give me a chance,” and “Do you really believe that?” for a combined +8 Paragon Points.
- Pick “He’s not worth it,” then “You bet” for a combined +4 Renegade Points.
Now you reach the confrontation itself. Shepard meets Sidonis while Garrus aims from a distance on a balcony. Like the vehicle section, there are many permutations depending on what you choose, but the intent stays consistent: Paragon paths aim to get in the way of the shot, while Renegade paths move aside and allow Garrus to fire.
Important detail for Paragon play: there is a Paragon Interrupt during this sequence that you must take if you want to negotiate with Garrus, spare Sidonis, and hear more of his story. If you miss it, Sidonis will die.
Likewise, if at any point you select “[Let Garrus take the shot],” Sidonis will die.
With that in mind, here’s the route each alignment should follow for Morality totals:
- Paragon: Select “[Warn Sidonis],” take the Paragon Interrupt, then “[Keep talking]”, “Don’t do it, Garrus,” and “You’re lucky.” This should convince Garrus to let Sidonis walk away alive, awarding +26 Paragon Points total.
- Renegade: Choose “[Move to the side]”, then “[Let Garrus take the shot].” Garrus kills Sidonis and you earn +17 Renegade Points.
Regardless of what happens earlier, you’ll reunite with Garrus back at the balcony afterward.
- If Sidonis was spared, choose “It’s for the best,” “I understand,” and “Trust your heart” for +6 Paragon Points total.
- If you allowed Garrus to kill Sidonis, choose “You done with this?” for +2 Renegade Points.
Back on the Normandy
Finishing this loyalty mission brings you back to Zakera Ward. Still, the guide suggests checking in on the Normandy for fresh dialogue after the mission ends.
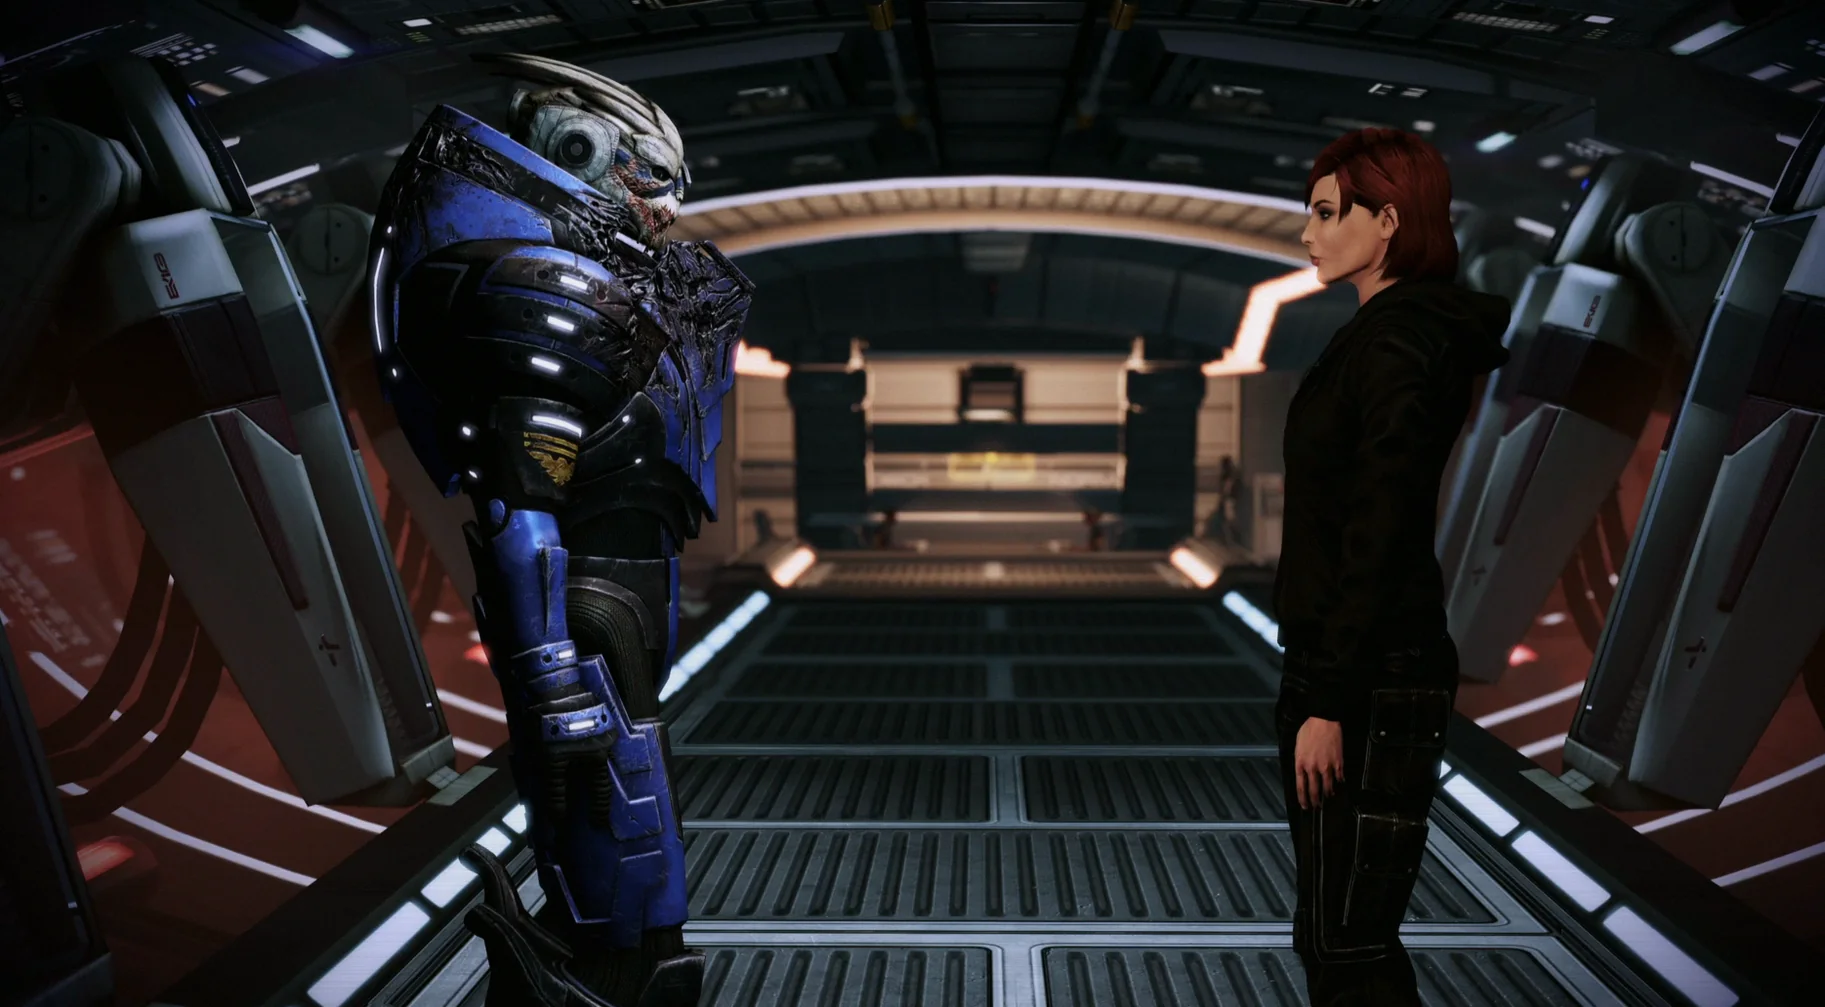
- Crew Deck – Garrus has more to say. For female Shepards, this is the earliest moment you can start a romance with him. The guide points you toward its “How to Romance Garrus Vakarian” page for steps.
- Engineering – If you’ve followed the guide’s order, Jack will have new dialogue here as well.
Up Next: Grunt – Rite of Passage
Top Guide Sections
- Legendary Edition Changes
- Basics
- Tips and Tricks
- How-To Guides