Tuchanka: Turian Platoon Guide—Rewards, Combat Tips, and Key Choices
Mass Effect 3’s Tuchanka: Turian Platoon side mission sends you into the Krogan DMZ to recover a lost Turian squad, but timing and platform-specific bugs can meaningfully affect how smoothly the run goes. Here’s a full breakdown of rewards, combat advice, and the key choices that shape what happens right after you return to the Normandy.
Mission overview: what to know before you start
This guide section covers the Tuchanka: Turian Platoon side mission, including where to find items, how to handle every fight you’ll run into, and how to make the “right” decision on your playthrough.
While Tuchanka: Turian Platoon never expires, the very next mission in the same chain—Tuchanka: Bomb—does. Specifically, “Bomb” becomes unavailable three missions after you finish “Turian Platoon.” If you want the most distinctive dialogue opportunities in “Bomb,” it’s recommended that you delay “Turian Platoon.” That way, you can keep “Bomb” in reach when you’re ready. The guide suggests waiting until after Priority: The Citadel 2 and/or Priority: Rannoch.
Looking for a specific part of the mission? The page breaks the walkthrough into sections: Mission Stats, Travel to Aralakh, Reach Lieutenant Victus, and Back on the Normandy.
Mission stats: rewards, enemies, and loadout ideas
Mission rewards
- Mission Experience: 600 XP
- Reputation: +12
- Mission Credits: 12,500 credits
- Found Credits: 12,500 credits
- Weapons:
- M-9 Tempest
- Phaeston (only if you didn’t already get it in Omega: Aria T’Loak)
- Armor:
- Hahne-Kedar Chestplate
- Mods:
- Shotgun Smart Choke
- SMG Ultralight Materials
- Sniper Rifle Extended Barrel
- Sniper Rifle Spare Ammo
Recommended loadout
- Squad tactics:
- James is a strong pick due to armor-removal tools: Incendiary Ammo and Carnage.
- Garrus is also useful thanks to Armor-Piercing Ammo.
- Unique dialogue:
- Garrus offers the most distinctive dialogue for this side mission; if you don’t have him, choose James.
- EDI can provide alternative lines at the start of the mission.
- The side mission after this one, Tuchanka: Bomb, includes very unique dialogue. However, “Bomb” expires three missions after unlocking once you complete “Turian Platoon” (the guide notes “drastic consequences”). To make that easier, delay “Turian Platoon” so the unique dialogue is more likely to stay available. The suggested timing is to wait until after Priority: The Citadel 2 and/or Priority: Rannoch.
- Shepard’s loadout:
- The level leans heavily toward tight corridors and enclosed spaces, so bringing a Sniper Rifle mostly adds weight without much payoff. Instead, prioritize short- to mid-range weapons such as SMGs, shotguns, and assault rifles.
Mission enemies
- Husk
- Cannibal
- Harvester
- Marauder
- Brute
Travel to Aralakh: unlocking the mission and landing decisions
- Prerequisite: Complete Priority: Sur’Kesh
- Location: Krogan DMZ – Aralakh – Tuchanka
Tuchanka: Turian Platoon becomes available after Priority: Sur’Kesh. After the related aftermath cutscene, you’re asked to meet Primarch Victus about a sensitive matter. The situation: the Turians have lost a platoon on Tuchanka, led by Victus’ son.
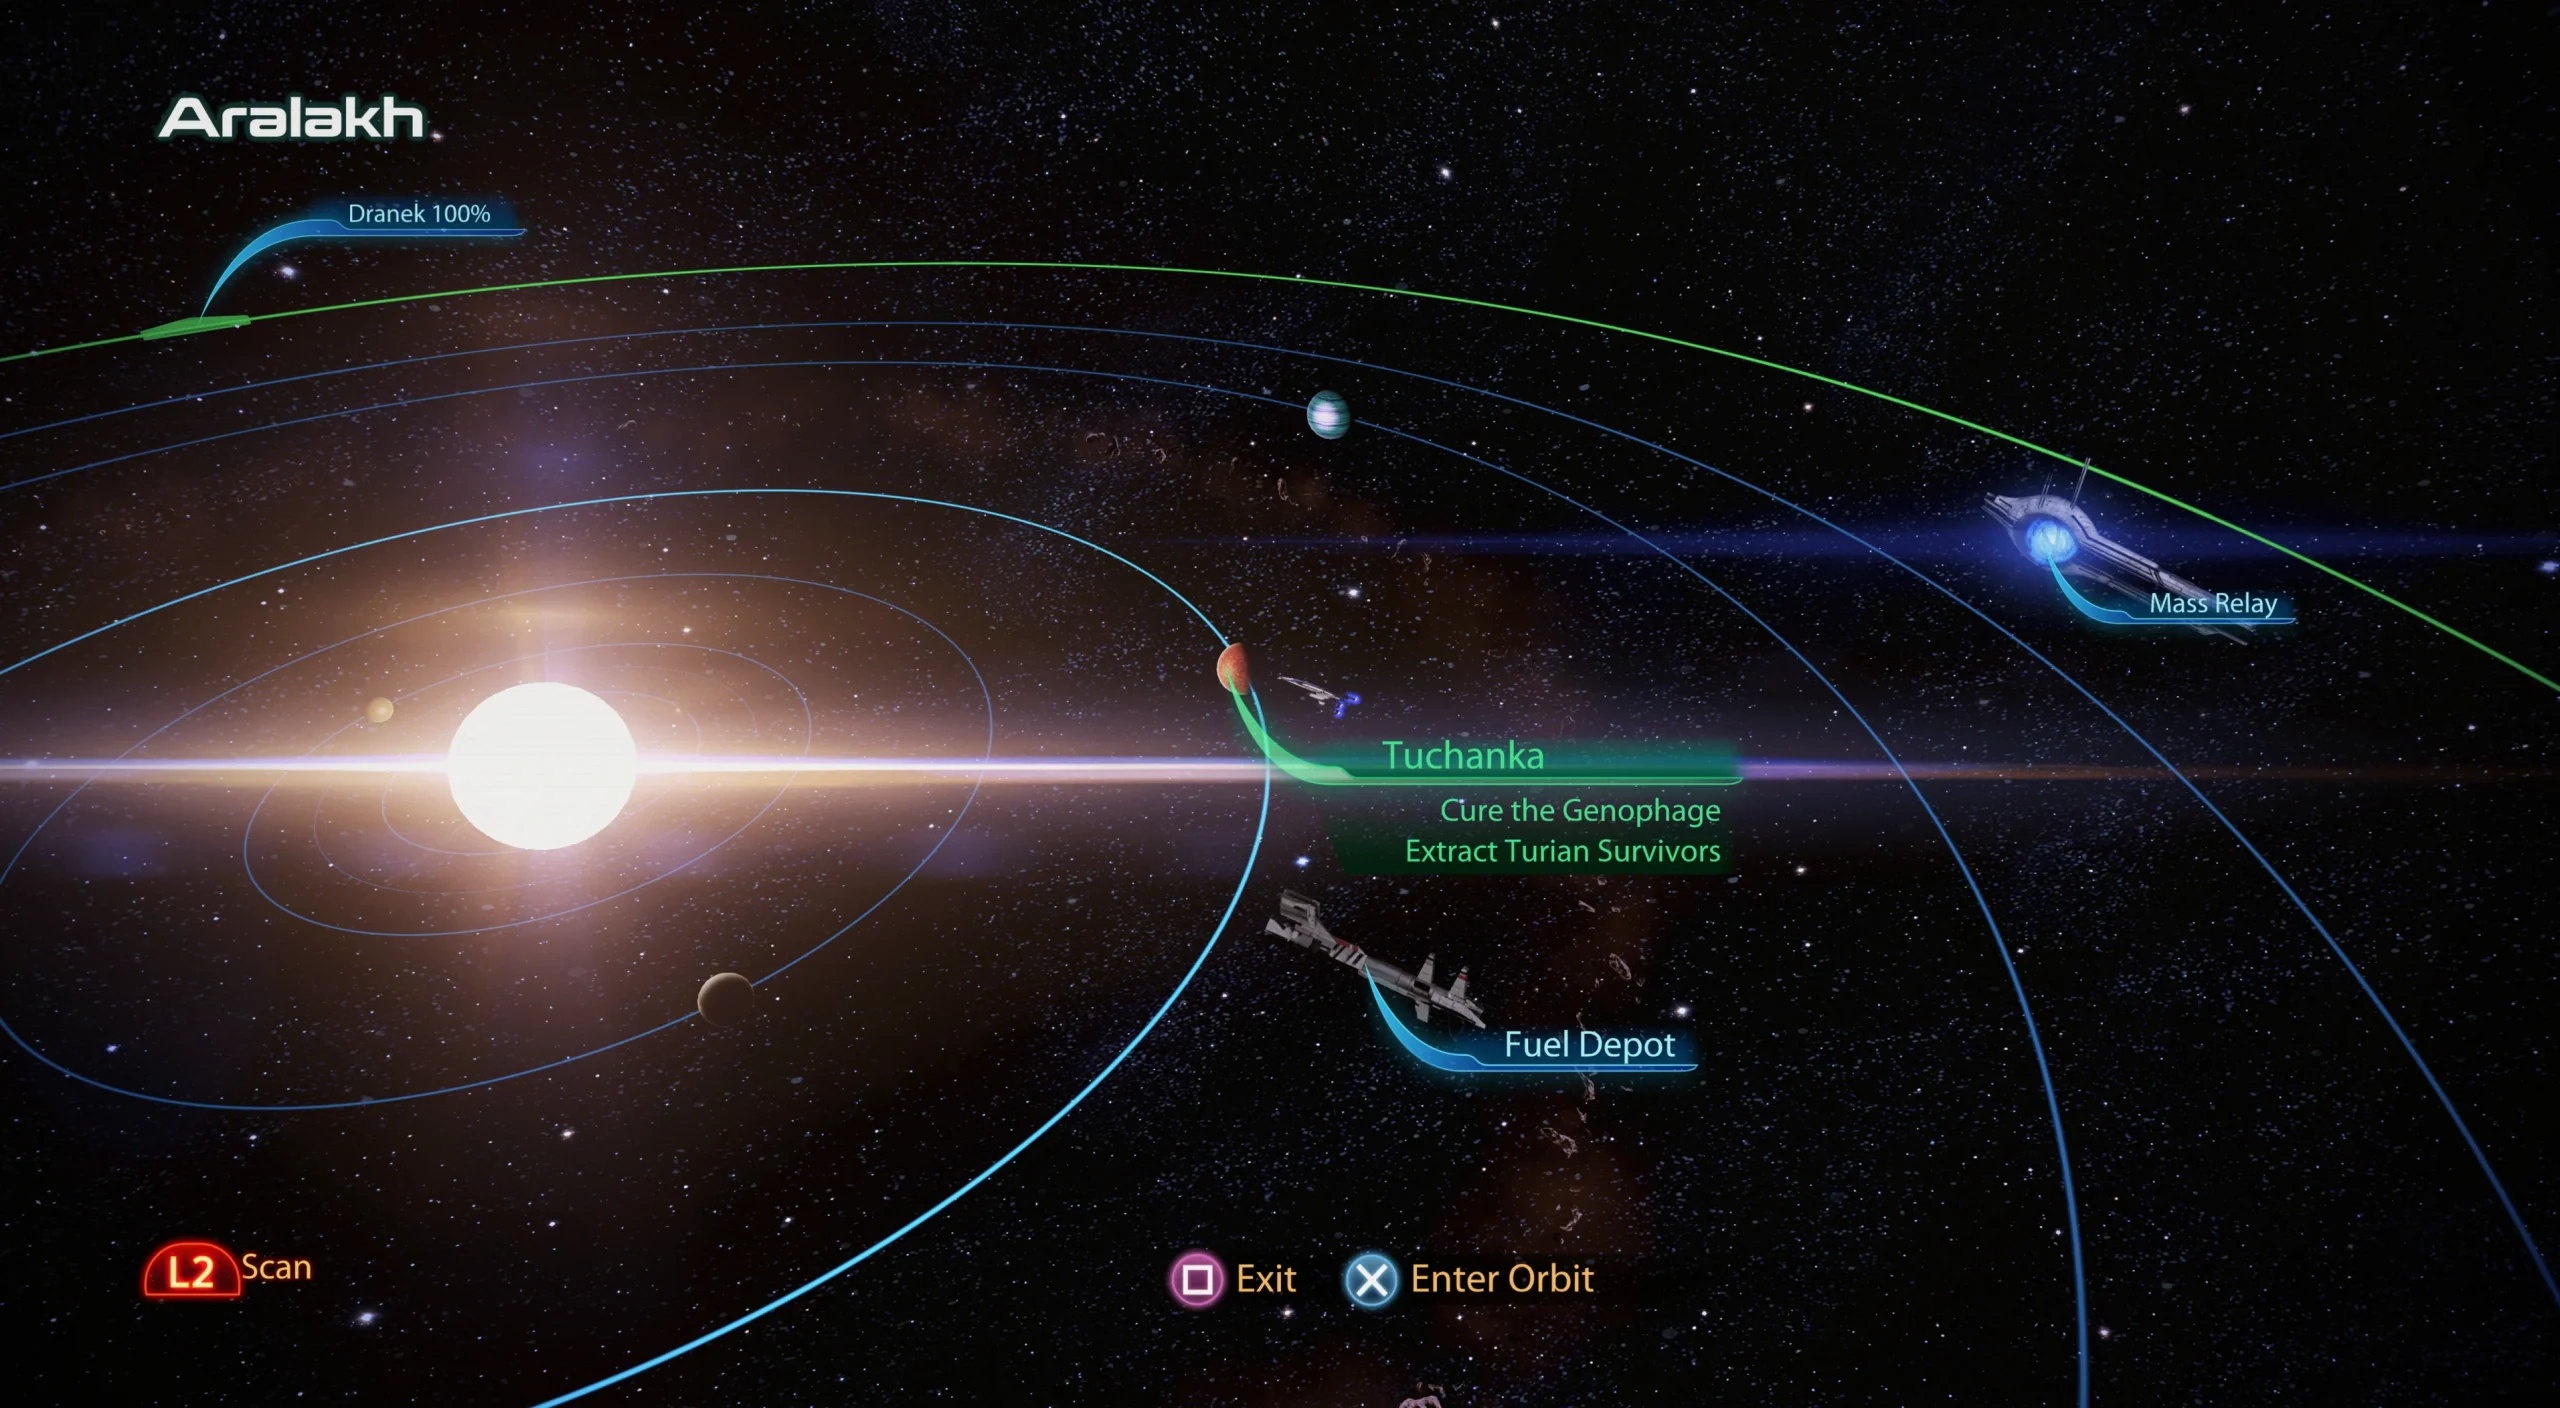
Because Tuchanka is a major world for this phase of the story, its system—Krogan DMZ—appears with a flashing white marker on the Galaxy Map. You’ll be dropped into the Aralakh system, with Tuchanka as the third planet in that area.
You can land at a few spots on Tuchanka. The guide recommends choosing the landing point marked “Downed Vessel.” It also suggests that, while you’re here, you may want to grab Search and Rescue items from other systems within the Krogan DMZ, with Nith noted as optional since it only contains Fuel.
Reach Lieutenant Victus: bug warning and combat flow
WARNING: Harvesters can soft-lock the original release
For players on the original Mass Effect 3 release for Xbox 360, PS3, or PC, there’s a bug tied to the Harvesters in this side mission. If you defeat either of the first two Harvesters, then the fourth Harvester that should appear at the end won’t spawn, causing the mission to become stuck (a soft-lock).
If you run into that issue, the guide advises using the Restart Mission save file from the Load Screen and attempting the segment again. Players using Legendary Edition or the Wii U Special Edition don’t have to worry because the bug is reported as fixed in those versions.
Terrain also affects your landing: Cortez can’t get close to the crashed Turian frigate due to the bad ground, but this creates an unintended advantage. You land far enough back that the Reaper forces don’t immediately detect your presence. Once you touch down, Shepard receives Victus’ approximate location via a signal flare, and the side mission begins.
Search and rescue items during the approach
- SMG Magazine Upgrade: From the start, the path turns right toward a ladder. Instead of going right, turn left to locate this upgrade in the rubble.
- Spare Parts: 3,125 credits. From the SMG Magazine Upgrade route, climb the ladder and push through the debris. Ahead you’ll face three Husks; eliminate them quickly, then check the debris area where they were positioned to find the credits.
- M-9 Tempest: From the Spare Parts described above, climb the ladder to reach a crashed escape pod with three dead Turians in front of it. Jump the gap, then inspect the bodies to claim the new weapon.
M-9 Tempest section: how to use it and how to survive the first Harvester encounter
The M-9 Tempest is described as a solid all-purpose SMG. It shares the strengths of the M-4 Shuriken but trades into higher damage. The downside is heavy recoil, which makes it harder to reliably land hits on distant targets. The guide notes that squadmates aren’t affected by the same recoil problem.
As you vault over the fallen column on the left, you’ll trigger a cutscene where Shepard spots Cannibals ahead, unaware you’re nearby. After the scene, push forward and take advantage of the “preemptive strike” window before they notice you. Then, a Harvester arrives.
Again, on the original release (Xbox 360, PS3, or PC, but not Wii U), killing the first Harvester can prevent the final Harvester from spawning at the end of the level, which results in a soft-lock. If you eliminate it, the fix is to load the Restart Mission option in the Load Menu.
The Harvester is presented as a major threat that requires respect in combat.
- Its primary cannons hit with heavy area damage, so stay in cover at all times and spread out your squad to reduce collateral splash damage. Infiltrators can bypass some pressure by using Tactical Cloak to snipe freely.
- Harvesters keep their distance, sometimes far enough that you can’t reach them for melee, so you don’t need to worry about melee threats from them.
- It’s difficult to bring down a Harvester while taking fire, so clear out all other enemies before you commit your focus to the Harvester itself.
- Harvesters have Armor as their only visible bar, so use Incendiary or Armor-Piercing Ammo along with Incinerate and Carnage to strip away chunks of that Armor.
This encounter also ties into a unique mechanic for the level:
- The Harvester will begin firing at the Escape Pod, weakening its health and gradually killing the two Turian soldiers at each pod.
- You can pull its attention by shooting the Harvester; it will target you instead of the Escape Pod. If you let it linger too long, it will eventually switch back to the Escape Pod.
- You do not need to kill the Harvester. It will retreat once you’ve damaged it until roughly half its Armor is gone.
When the Harvester is down, surviving Turians thank you and point you toward another pod just ahead. To continue, check the right-hand wall for a ladder to climb.
- Sniper Rifle Spare Ammo: When you reach the top of the ladder, stop. Look left to find this mod on rubble.
- Spare Parts: 6,250 credits. From the Sniper Rifle Spare Ammo location, go down the drop ahead. You’ll find a dead Turian; move past it and look right to locate this pile of Spare Parts.
- Phaeston: From the Spare Parts pile, return to the dead Turian, then go left. Ahead you’ll find another dead Turian with the Phaeston next to him. Note: this won’t be present if you already picked up a Phaeston during Omega DLC.
- SMG Ultralight Materials: From the Phaeston area, move forward into the dark space and turn left to spot the mod under rubble.
- Med Kit: 50 XP. After dropping down the next ladder, directly ahead you’ll see a stone column leaning against the right wall. Check behind the column to find the kit.
Phaeston section: second Harvester, chests, and the final push to Victus
The Phaeston is positioned as a more committed, heavier take on the M-8 Avenger. It’s described as weighing more and dealing lower damage per shot, but it compensates with a faster fire rate and larger ammo capacity, including 50 rounds per reload.
On the original release (Xbox 360, PS3, or PC, but not Wii U), killing the second Harvester can cause the final Harvester at the end of the level not to spawn, soft-locking the mission. If you eliminate it, load the Restart Mission file from the Load Menu.
The next conflict includes everything you’ve faced so far—plus a Marauder and another Harvester. The strategy suggested is to remove threats quickly, then drive the Harvester away to save the Turians. The guide adds that this can be done when the Harvester is left with about one-third of its Armor.
Once the area is quiet, head right and descend the drop to continue.
- Hahne-Kedar Chestplate: After the drop, turn right and vault over a fallen column. The chestplate sits on a ledge to your left.
- Flight Recorder: From the chestplate location, drop down the hole in the ground ahead. A Datapad near rubble provides insight into how the men feel about Victus’ leadership.
- Shotgun Smart Choke: From the Flight Recorder, turn left to find this mod on rubble in the corner ahead.
- Junk: 3,125 credits. From the Smart Choke location, turn right and you’ll trigger three Husks that drop down in front of you. Kill them, then check the Turian body the Husks landed near. Make sure to pick up the credits before dropping down the next ladder.
Difficulty rises again when another Harvester shows up. The good news is that it retreats with only a sliver of health remaining. The guide recommends handling it where it first appears at the top of the ramp, since driving it away immediately prevents it from flying down the ramp and spawning a much larger wave of Reaper enemies.
Move forward and go downhill through the collapsed ruins. At the bottom, you’ll finally spot the crashed Turian ship commanded by Lieutenant Victus. From there, the route turns right.
- Med Kit: After dropping down a short ledge, check the right-hand wall.
- Sniper Rifle Extended Barrel: From the Med Kit, drop down a second ledge that’s much higher. Look left to locate this mod. After scaring off the third Harvester, continue down and pick it up along the path.
The next section acts as a crucial choke point. A Brute is thrown into your squad alongside Cannibals and Marauders. If the Brute is giving you trouble, there’s a Reaper Blackstar at the base of a column across from the entry point. The guide claims it’s strong enough to one-shot the Brute on any difficulty. You might also consider saving it for the Harvester, which is set to “bookend” the encounter.
Once the Harvester and any remaining Reaper forces are defeated, you meet Lt. Victus. He explains how his team ended up pinned down by Reapers. At that point, you can choose between two options:
- “Bad calls happen” for +2 Paragon Points.
- “Get over it” for +2 Renegade Points.
After that, Lt. Victus explains why they came to Tuchanka: there’s a bomb in Cerberus’ possession that the Turians were sent to deactivate, but it’s now in Cerberus’ hands. Unfortunately, the men are low on morale and want to walk away. You’ll need to motivate them by choosing:
- “Appeal to their honor” for +2 Paragon Points.
- “Kick their asses!” for +2 Renegade Points.
Either decision is successful, and Shepard returns to the Normandy.
Back on the Normandy: Hackett, the Primarch, and extra updates
Shepard has a conversation with Hackett, and both agree that it doesn’t make sense that Cerberus just happens to have a bomb on Tuchanka. After the call ends, Shepard approaches Primarch Victus. He stays guarded and asks whether Shepard would share information that could endanger Earth. You can answer with:
- “Yes. I have to trust you” for +2 Paragon Points.
- “No. Earth comes first” for +2 Renegade Points.
The guide notes that neither response convinces him. You’ll hopefully learn more later when you reunite with the Primarch’s son back on Tuchanka.
If this side mission was the first main mission you completed after Priority: Sur’Kesh, you’ll now be approached by your STG Doctor, who says he has developed a cure.
Depending on your choices, you can earn up to +4 Paragon Points or +4 Renegade Points. You’ll also unlock Priority: Tuchanka. The guide emphasizes that you still have the option to ignore it.
After the cutscenes, do another sweep of the Normandy:
- CIC: Talk with the Primarch again, plus your Krogan leader, Traynor, Joker, and EDI.
- Crew Deck: Visit Garrus and Liara in Port Observation. The guide highlights an additional discussion when you open the door to depart.
- Engineering: Stop by Javik’s area for a few comments. Gabby and Ken will also exchange dialogue if you have the Deluxe Edition KEI 9 mech installed in the Shuttle Bay, and Allers has a news recording you can overhear.
- If you completed this side mission after Priority: Rannoch, you may also overhear an exchange between Tali and EDI.
- Shuttle Bay: Speak with James for a very brief comment.
- If you completed this side mission after Priority: Rannoch, you may also overhear an exchange between Tali and EDI.
Want more Mass Effect 3 help? The page points readers toward Legendary Edition changes, how-to guides, key choices and consequences, romance guidance, walkthroughs, and the broader side missions hub.
What’s next: Tuchanka: Bomb
The next step in the chain is Tuchanka: Bomb.


