Mass Effect UNC: Major Kyle Guide—All Key Items, Survival Tips, Choices
IGN’s Mass Effect wiki guide tackles the UNC: Major Kyle assignment, walking you through where to locate every key item, how to stay alive during the mission’s combat sections, and which dialogue decisions shape your playthrough.
Looking for something specific? Click the sections below to jump to…
- Assignment Stats
- Major Kyle Acquisition
- Travel to Century
- Find the Commune
- Investigate Major Kyle’s Compound
- Talk to the Major
Assignment Stats
Video Guide
Essential Stats
- Persuasion Points:
- Charm: 8 suggested, 7 minimum
- Intimidate: 10 suggested, 8 minimum
- Minimum Decryption: Easy Decryption
- Minimum Electronics: Easy Electronics
- Charm: 8 suggested, 7 minimum
- Intimidate: 10 suggested, 8 minimum
Major Kyle Acquisition
There are multiple routes to obtain this assignment early, including one presented as a “Strange Transmission.” While all of the options are technically optional, the Citadel method is the recommended one since it also grants experience from a hack. Here are the ways to pick it up:
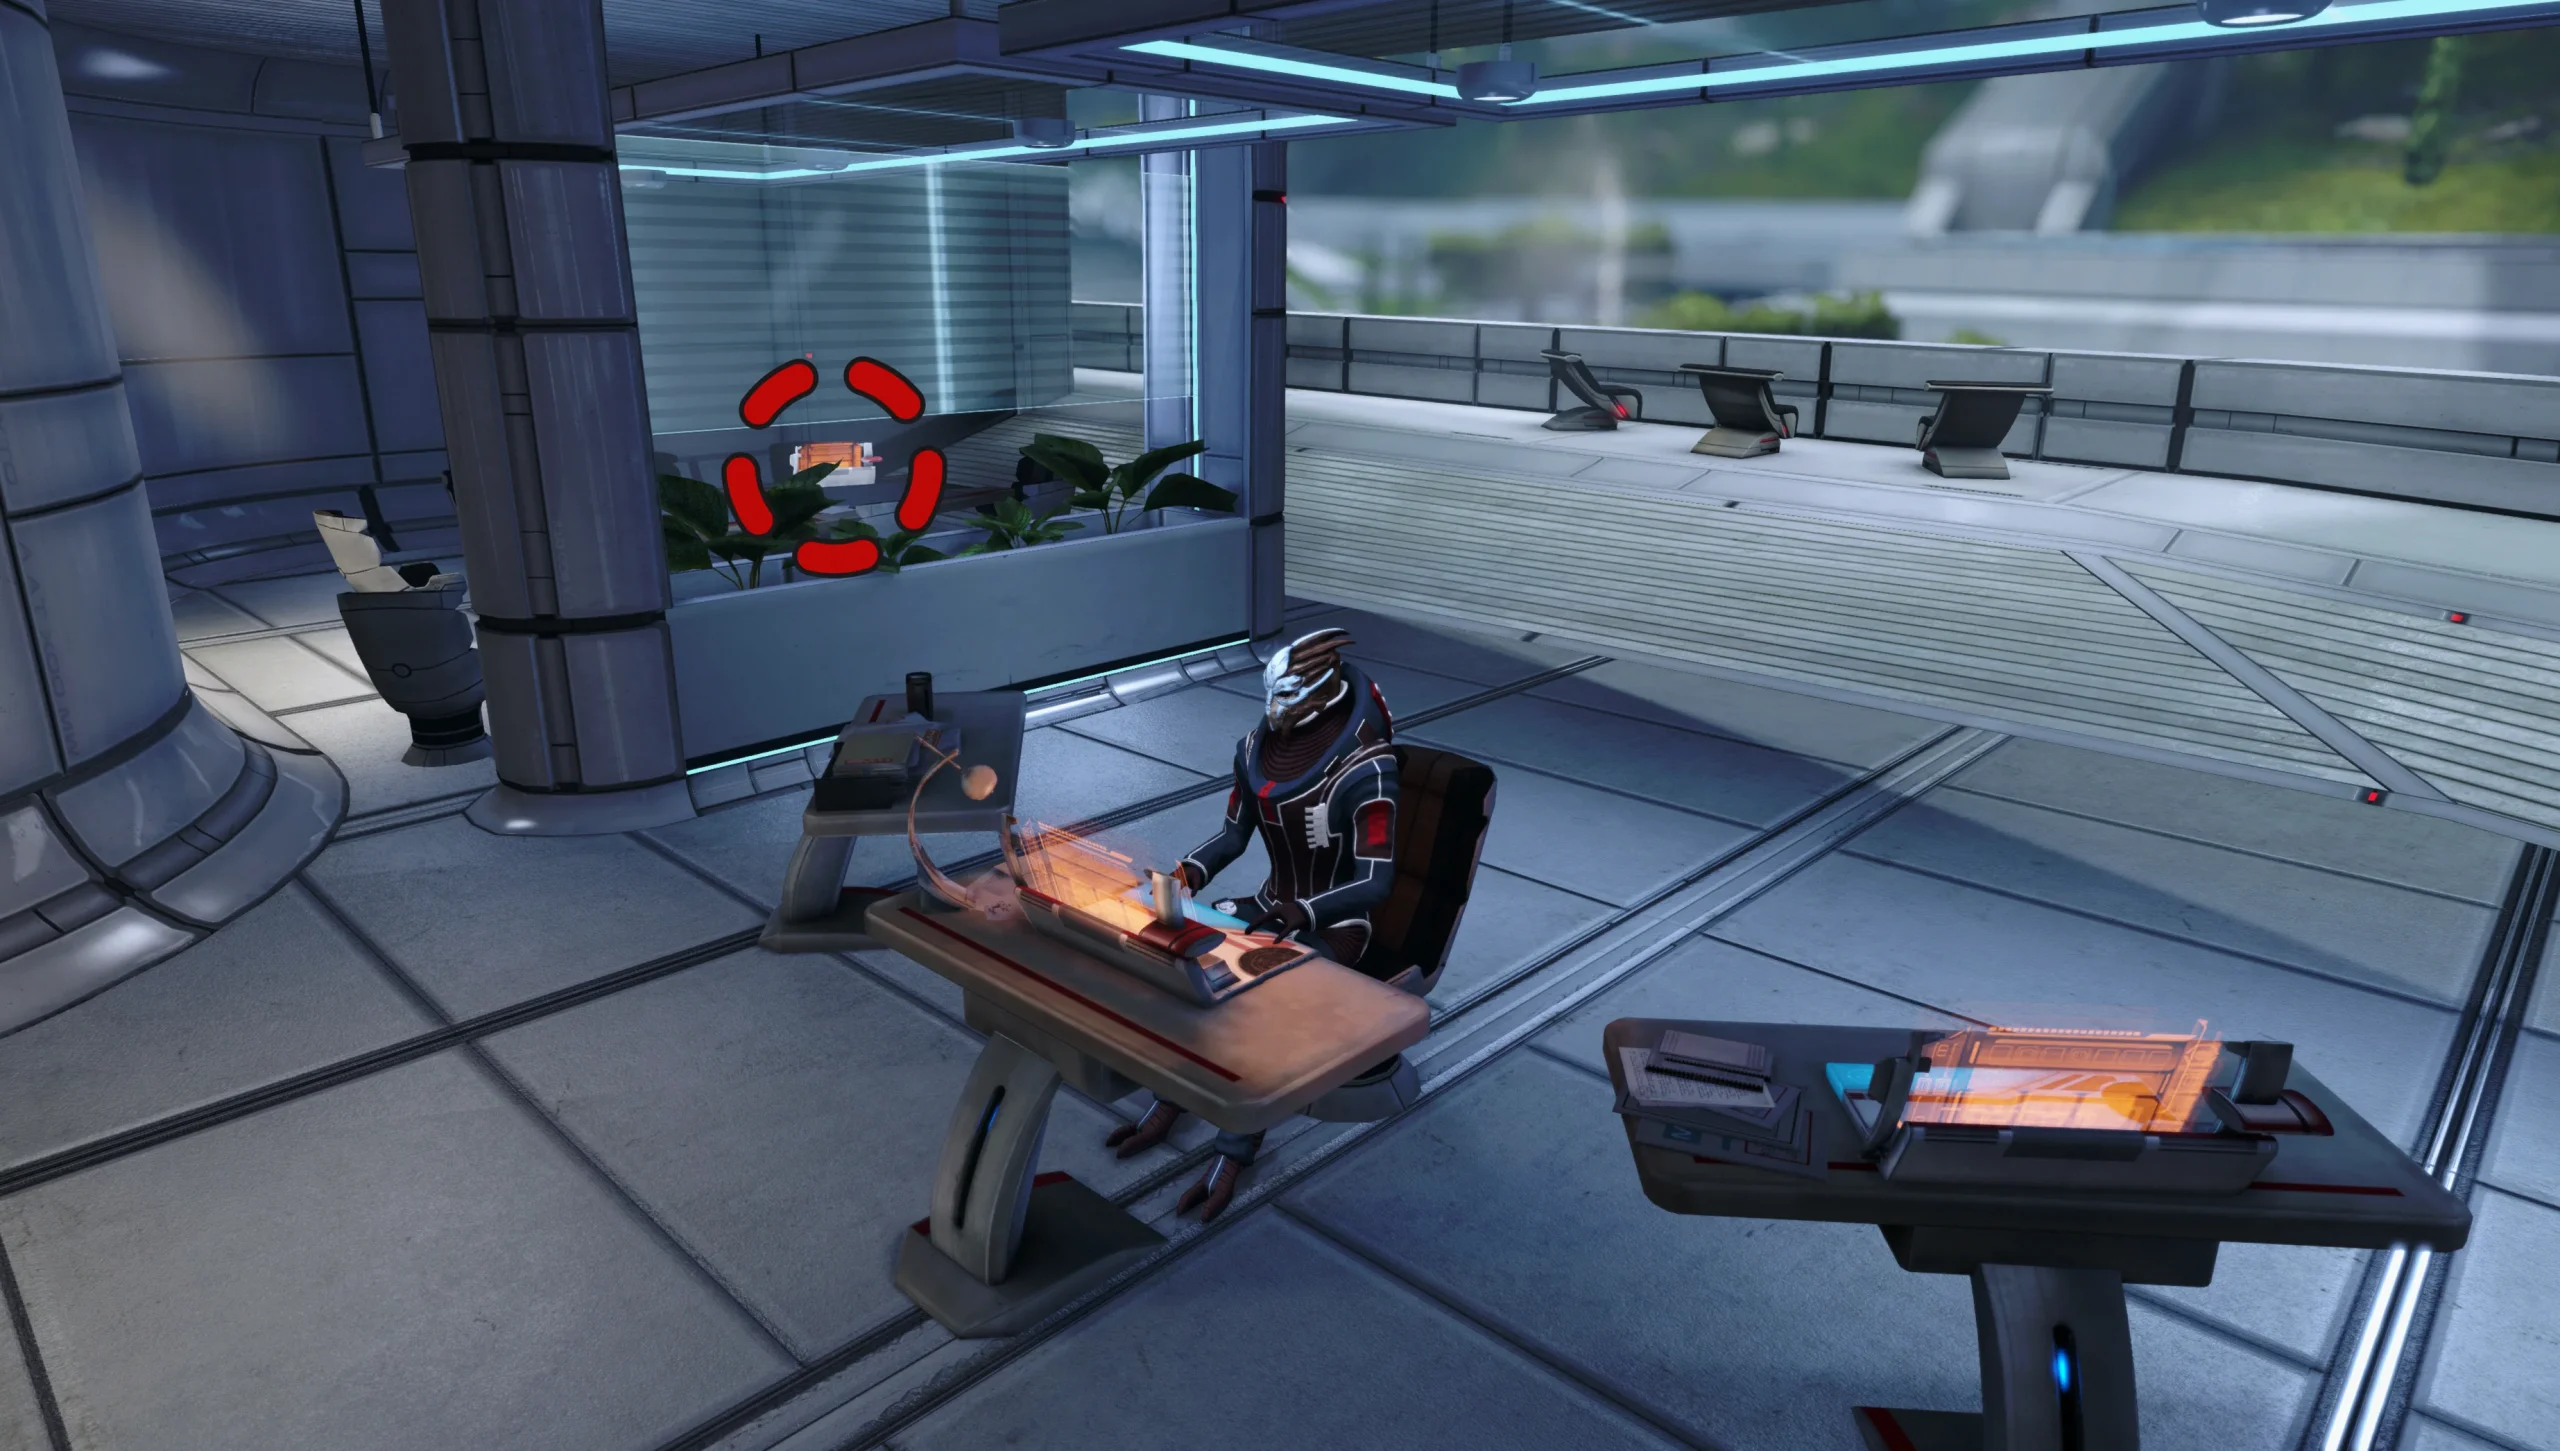
- On the Citadel, hack a laptop in Executor Pallin’s office at C-Sec HQ, located in the Presidium Embassies.
- On the Citadel, you can also catch a new alert about Major Kyle while riding the elevators.
- On Feros, examine a Server Node beside the ExoGeni VI while you’re in the ExoGeni headquarters.
- On Noveria, examine a Server Node in the Reactor Repair area, on the second floor of that section.
Travel to Century
- Location: Hawking Eta – Century – Presrop
After acquiring the assignment via “Strange Transmission” (or not), head to the Hawking Eta cluster. It’s the farthest north cluster in the Milky Way when excluding Sentry Omega and the Pangaea Expanse, and it’s also the closest cluster to the yellow galactic core.
Once you arrive, Admiral Hackett contacts you to explain what’s going on: an Alliance veteran has begun a biotic cult under the name “Father Kyle,” and his followers have killed two Alliance operatives who attempted to negotiate with him.
- If you choose “Maybe I can reason with him,” you earn +2 Paragon Points.
Before you leave, make sure you collect the Discoveries available during this phase.
After that, travel to Presrop. It’s the moon of Klendagon, and it’s the second planet in its system.
Recommended Loadout
- Squad Tactics:
- Even though fighting isn’t strictly required, you should assume you may run into trouble here—especially because the encounter features a lot of biotics. For that reason, Liara and Tali are recommended thanks to their immobilization toolkit, including Neural Shock, Damping, Singularity, and Throw.
- Shepard’s Loadout:
- If combat does break out during this assignment, you’ll mostly be dealing with organic enemies. In that case, bring Anti-Personnel / Shredder Rounds as a precaution.
- Even if you aren’t forced into a fight, expect heavy use of biotic powers in this area. That makes Liara and Tali solid picks for crowd control, especially with options like Neural Shock, Damping, Singularity, and Throw.
- If the assignment turns into a firefight, plan for primarily organic targets and consider Anti-Personnel / Shredder Rounds.
Find the Commune
From the starting point, travel South-South-West across the mountains until you reach the Biotic Compound.
When you arrive, you’ll see a large concrete disc acting as the entrance to the East half of the compound. Major Kyle is inside—but the entrance is locked. Your only real option is to go to the large building nearby instead.
- Med Kit – On the East side of the building, there’s another container room; check the shelves inside it.
Investigate Major Kyle’s Compound
When you attempt to enter the compound, you’ll be told that outsiders aren’t welcome. Depending on what you do next, the situation can go a few different ways:
- Choosing “You can’t keep me out!” at any point will turn every person in both halves of the compound hostile. The East side—where Major Kyle is—will stay sealed, forcing you to enter the West half, fight through biotic enemies, and then use a Terminal inside to manually open the area.
- Choose “I’m here to see Major Kyle,” then select either “I’m here to help” or “Alliance officers are dead.” After that, you’ll be presented with Persuasion options:
- If you have 3 Charm, pick “You can’t help them now” to convince them to peacefully unlock the East half of the compound, earning +2 Paragon Points.
- If you have 5 Intimidate, pick “He’ll get you all killed!” to convince them to peacefully unlock the East half, earning +2 Renegade Points.
- If you have 3 Charm, pick “You can’t help them now” to convince them to peacefully unlock the East half and earn +2 Paragon Points.
- If you have 5 Intimidate, pick “He’ll get you all killed!” to convince them to peacefully unlock the East half and earn +2 Renegade Points.
No matter whether you succeeded with Persuasion, you should still consider entering the Western half anyway, since it contains loot. Just remember: if you managed it peacefully, firing on the biotics will convert them into hostiles.
If you couldn’t persuade the biotics to open the East half, you’ll need to hack into the Western half, then locate a Terminal in the lower side-room and hack it to unlock the East half. If your Squad can’t perform Easy Decryption, you’ll have to leave and return with a teammate who can.
Here’s everything you can find inside the Western half of the compound:
- Lower floor:
- Locked Crate – Easy Decryption. In the “lobby” room, on your left behind the large boxes.
- Locked Crate – Easy Decryption. In the main room. To locate it, stand at the entry door facing South. Move forward past the giant claw-like objects, then do a U-turn to the left around the large boxes between the second and third “claws.” You’ll find the Locked Crate among those boxes.
- Technician Kit – In the side-room, at the bottom of the shelves on your left as soon as you open the entry door.
- Terminal – Easy Decryption. In the side-room between two servers. You must hack this to access the Eastern half of the complex.
- Malfunctioning Object – In the South-West corner of the side-room near the Terminal.
- Upper floor:
- Medical Kit – In the side-room, on shelves to your right when you’re standing in the entry door.
- Aid Station – In the South-West corner of the side-room.
- Locked Crate – Easy Decryption. In the “lobby” room, on your left behind the large boxes.
- Locked Crate – Easy Decryption. In the main room. To locate it, stand at the entry door facing South. Move forward past the giant claw-like objects, then do a U-turn to the left around the large boxes between the second and third “claws.” You’ll find the Locked Crate among those boxes.
- Technician Kit – In the side-room, at the bottom of the shelves on your left as soon as you open the entry door.
- Terminal – Easy Decryption. In the side-room between two servers. You must hack this to access the Eastern half of the complex.
- Malfunctioning Object – In the South-West corner of the side-room near the Terminal.
- Medical Kit – In the side-room, on shelves to your right when you’re standing in the entry door.
- Aid Station – In the South-West corner of the side-room.
When you’re finished, head back outside. Then use the Mako to drive to the Eastern half of the compound.
Talk to the Major
Inside the Eastern half, if you haven’t already angered the biotics, keep your conduct steady: shooting them will make all of them hostile. If you entered the Western half by force, they’ll be hostile already.
You’ll locate Major Kyle in the South-West room of the compound. The dialogue choices here can be a bit tricky, so here’s how the conversation outcomes work:
- Selecting “Enough crazy talk” at any point will result in Shepard killing Major Kyle for +2 Renegade Points, and it will also turn every remaining biotic in the compound hostile.
- Choose “I tried to help you” when it appears, and Shepard will be forced to kill Major Kyle for +2 Paragon Points.
- Pick “You will pay for your crime,” and Shepard will be forced to kill Major Kyle with no Morality Points awarded.
- If you have 8 Charm, choose “You can’t help them now” to persuade Major Kyle into standing down for +8 Paragon Points. Afterward, all remaining biotics become non-hostile and can’t be shot at.
- This path needs 10 Charm if you hacked your way into the Western half of the compound.
- If you have 8 Intimidate, choose “Surrender or they all die!” to force Major Kyle to stand down for +9 Renegade Points. Afterward, all remaining biotics become non-hostile and can’t be shot at.
- This path needs 10 Intimidate if you hacked your way into the Western half of the compound.
- This option requires 10 Charm if you hacked your way into the Western half of the compound.
- This option requires 10 Intimidate if you hacked your way into the Western half of the compound.
Even if you used a Persuasion choice, the showdown isn’t automatically finished. Major Kyle insists he can’t leave with Shepard because his followers would get the wrong idea—and you’d end up killing them in self-defense.
If you select “Forget it!” and then “No!”, Shepard will be compelled to kill Major Kyle, and any biotics in the compound will turn hostile. Any other set of selections leads to a peaceful conclusion to the assignment.
Whichever way the confrontation ends, you should do a sweep for items afterward (and if you had to fight, that means after eliminating the hostile biotics). The loot you can locate includes:
- Crate – From the entry into the main room, move along the wall counter-clockwise until you find it behind two concrete pillars.
- Medical Kit – On the Western side of the North-Western pillar in the main room.
- Storage Locker – On the Northern side of the South-Western pillar in the main room.
- Technician Kit – On your left when entering the South-East room, among three beds.
- Malfunctioning Object – In the South-West corner of the room near some shelves.
If you reached this area peacefully but still had to kill Major Kyle, you might as well clear out the Western half as well—finish off the biotics there for additional loot, experience, and credits. In this scenario, sparing them won’t unlock any “good deed” bonus, so it’s more efficient to make the most of the fight.
Want more Mass Effect assistance? Check out these other pages:
- Legendary Edition Changes
- How-To Guides
- Key Choices and Consequences
- Romance Options
- Walkthrough
- Side Quests
Up Next: Missing Marines
Top Guide Sections
- Legendary Edition Changes
- Basics
- Tips and Tricks
- How-To Guides


