Mass Effect 2 Guide: Jarrahe Station Walkthrough for the Rogue VI
Mass Effect 2’s “Abandoned Research Station” assignment sends you to the Jarrahe Station inside the Eagle Nebula region, where a rogue VI has taken control and locks parts of the facility down. This walkthrough-style guide breaks down the full route—what to pick up, which terminals to use, and the puzzle logic you’ll need to restore power, redirect a laser, and finally shut the VI down.
Release and availability notes
| Item | Details |
|---|---|
| Game | Mass Effect 2 |
| Assignment | Abandoned Research Station |
| Unlock method | Finish the N7 side quest “Wrecked Merchant Freighter,” then return to the Normandy to receive a follow-up message that points you to the new destination |
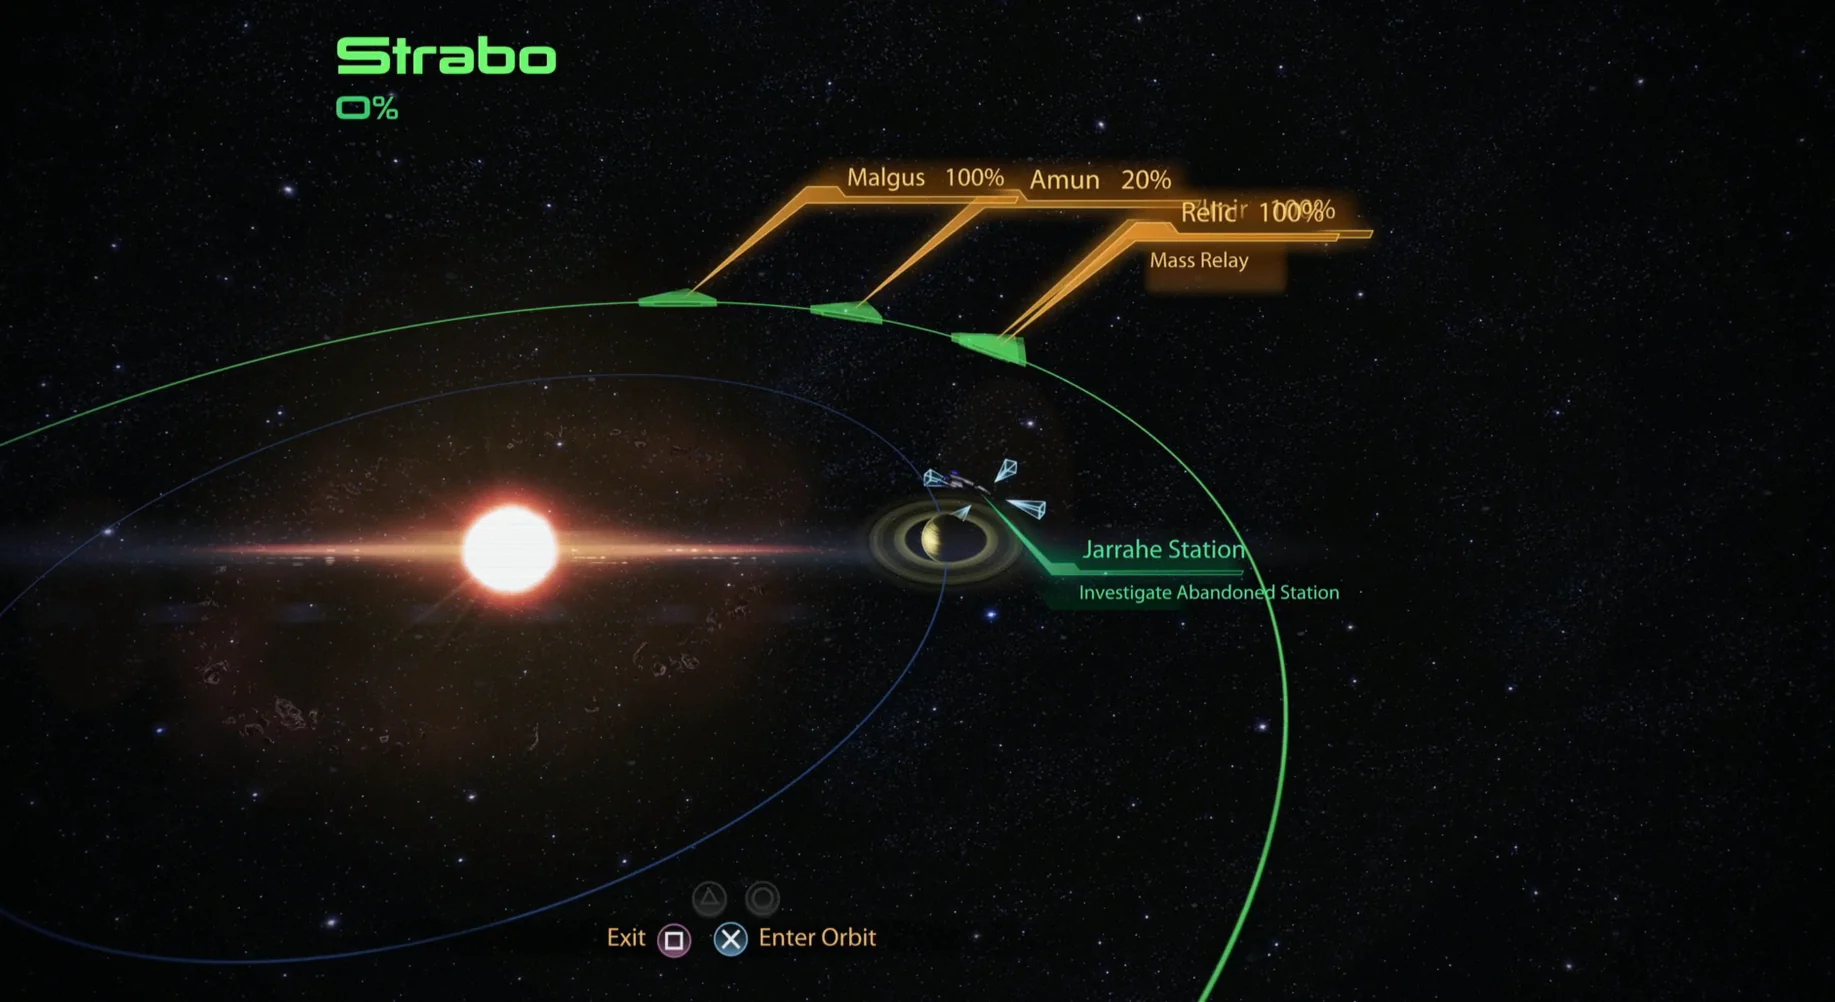
| Key travel location | Eagle Nebula – Strabo – Jarrahe |
Checklist overview
- Assignment stats
- Travel to Strabo
- Explore Jarrahe Station
- Escape Jarrahe Station
- Living Quarters
- Engineering
- Research Lab
- Hub Area
- Back on the Normandy
- Living Quarters
- Engineering
- Research Lab
Assignment stats
Assignment rewards
- Experience: 125 XP
- Mission credits: 3,750 credits
- Found credits: 3,750 credits
- Resources: 2,000 Iridium
Travel to Strabo
- Prerequisite: complete “N7: Wrecked Merchant Freighter”
- Location: Eagle Nebula – Strabo – Jarrahe
To start this assignment, you must clear the N7 side quest called “Wrecked Merchant Freighter.” After finishing it and coming back to the Normandy, you should receive a message that analyzes the data from that earlier side quest and then gives you a new target to head toward.
This system doesn’t offer Rich planets to mine, so the best move is to go straight to Jarrahe Station near planet Antigar and begin your search.
Explore Jarrahe Station
You’ll arrive in Jarrahe Station’s Docking Bay area.
- Datapad: straight ahead after entering, read it beside a male corpse on the floor.
From that datapad, turn right around the corner to find two doors. Only the right-hand door is open, so go inside and loot the room:
- 400 Refined Iridium: on a bench in the corner to your left, near some seats.
- 600 Refined Iridium: on a desk on the right side of the room, close to the Docking Area Power terminal.
Use the computer terminal in the room to bring power back online across the ship. Soon after, you’ll hear that the station’s rogue VI isn’t pleased with what you’ve done. The nearby door that used to be locked is now accessible, so head through it and take the short hallway into the next area.
This central space contains three doors leading to other sections. The center pair of doors connect to isolated areas that are sealed shut by the rogue VI running the station.
- PDA: when you enter from the Docking Bay, turn right to find it near another corpse.
Eventually, you’ll need to shut the VI down the hard way, and that’s exactly what you’ll do next.
Escape Jarrahe Station
Living Quarters
From the central room, return to the Docking Bay door. Stand facing the center of the room, then take the right-hand door into the Living Quarters.
- PDA: in the back-right corner of the room, on a corpse lit by red light.
Keep going through the next door and down the hallway. The door on the left is locked, so instead, head right into the Medical Bay.
- Med Kit: 100 credits, located on the left-side window sill as you enter the Medical Bay.
Inside the Medical Bay, use the Living Quarters Controls terminal to restore power to the nearby Station Control computers. There are three of these, and you’ll need to activate the correct ones to unlock the door you passed earlier.
Once the door is open, cross into the Dorm room. On the back wall between the bunk beds, you can collect the following items:
- Personal Locker: 525 credits, on the right side of the back wall.
- Personal Locker: 750 credits, on the left side of the back wall.
- Personal Locker: 375 credits, in the back-left corner of the room.
Engineering
Go back to the central VI core room, then head into Engineering. If you’re coming from the Living Quarters, Engineering is the door on your right. This section requires moving through corridors where plasma steam jet vents periodically.
After you clear the first two plasma vent areas, turn right to locate a side room with more loot:
- PDA: on the left-hand side of the side room.
- Personal Locker: 750 credits, in the back-left corner of the side room.
- Personal Locker: 1,350 credits, in the back-right section of the side room.
Continue forward through Engineering, sprinting past the plasma vent hazards as you go. Don’t panic if your squad gets dropped by the vents—once you reach the end and restore power to Engineering, they’ll be brought back. Two areas down, one left!
Research Lab
The last stop is the Research Lab. When you exit Engineering, it’s the door on your right. In the room beyond, pick up these items:
- 400 Refined Iridium: on the table to your right when you enter.
- 600 Refined Iridium: on the table in the center of the left wall of the Engineering-side room.
Use the Research Lab Power terminal. On a balcony across the room, four computers will power up. Each one rotates a reflective plate in the laser area below. You’ll need to use each computer a specific number of times to redirect the laser into the power core:
- Computer 1: use once
- Computer 2: use twice
- Computer 3: use once
- Computer 4: use three times
With the laser properly redirected, it will hit the power core, destroying it and supplying power to the VI Core. After that, return to the central Hub Area.
Hub Area
Back in the central room, the two doors leading to the main computer terminal are still disabled at first. However, you can access and shut down the Hub Area Power terminal located between them. Once you do, those doors will finally open, giving you access to the rogue VI.
Inspect the VI Mainframe to trigger a cutscene that ends the side quest. The VI tries to fight back, but Shepard can shut it down permanently. With the rogue presence neutralized—and with no LOKI Mechs or other robotic threats to deal with—the side quest concludes, and you’re automatically transported back to the Normandy.
Back on the Normandy
When you complete the side quest, you’ll receive a Private Terminal message confirming that you’ve unlocked “N7: Hahne-Kedar Facility.” Before you move on, you can also handle a couple of things on the Normandy:
- CIC: Joker has run out of fresh comments and will switch to a default line for now, though you’ll still get four new ambient remarks.
- Engineering: you can talk with Grunt again to see how he’s doing.
If you want more Mass Effect 2 help, the guide list includes pages for Legendary Edition changes, general how-to content, key choices and consequences, romance options, walkthroughs, and side quests.
Up next: N7 – Anomalous Weather Detected
Top guide sections
- Legendary Edition Changes
- Basics
- Tips and Tricks
- How-To Guides


