Mass Effect 2 Abandoned Mine Guide: Fighting Husks and Finding Loot
Mass Effect 2’s Abandoned Mine side assignment on Aequitas is less “explore and leave” and more “hold the line while the mine keeps spawning Husks.” This walkthrough-style guide breaks down what you can expect from the combat, where the containers and datapads are hidden, what resources you should be watching for, and what decisions you need to make to finish the job.
Release & availability tracking (what you need to start)
The Abandoned Mine Assignment can’t be taken immediately. It only becomes available after you purchase the Minos Wasteland Star Charts from the Baria Frontiers store on Illium. Those charts cost 500 credits. Once you’ve bought them, travel to the Minos Wasteland cluster, which places you directly into the Fortis system.
| Category | Details |
|---|---|
| Prerequisite | Buy Minos Wasteland Star Charts from Baria Frontiers on Illium (cost: 500 credits) |
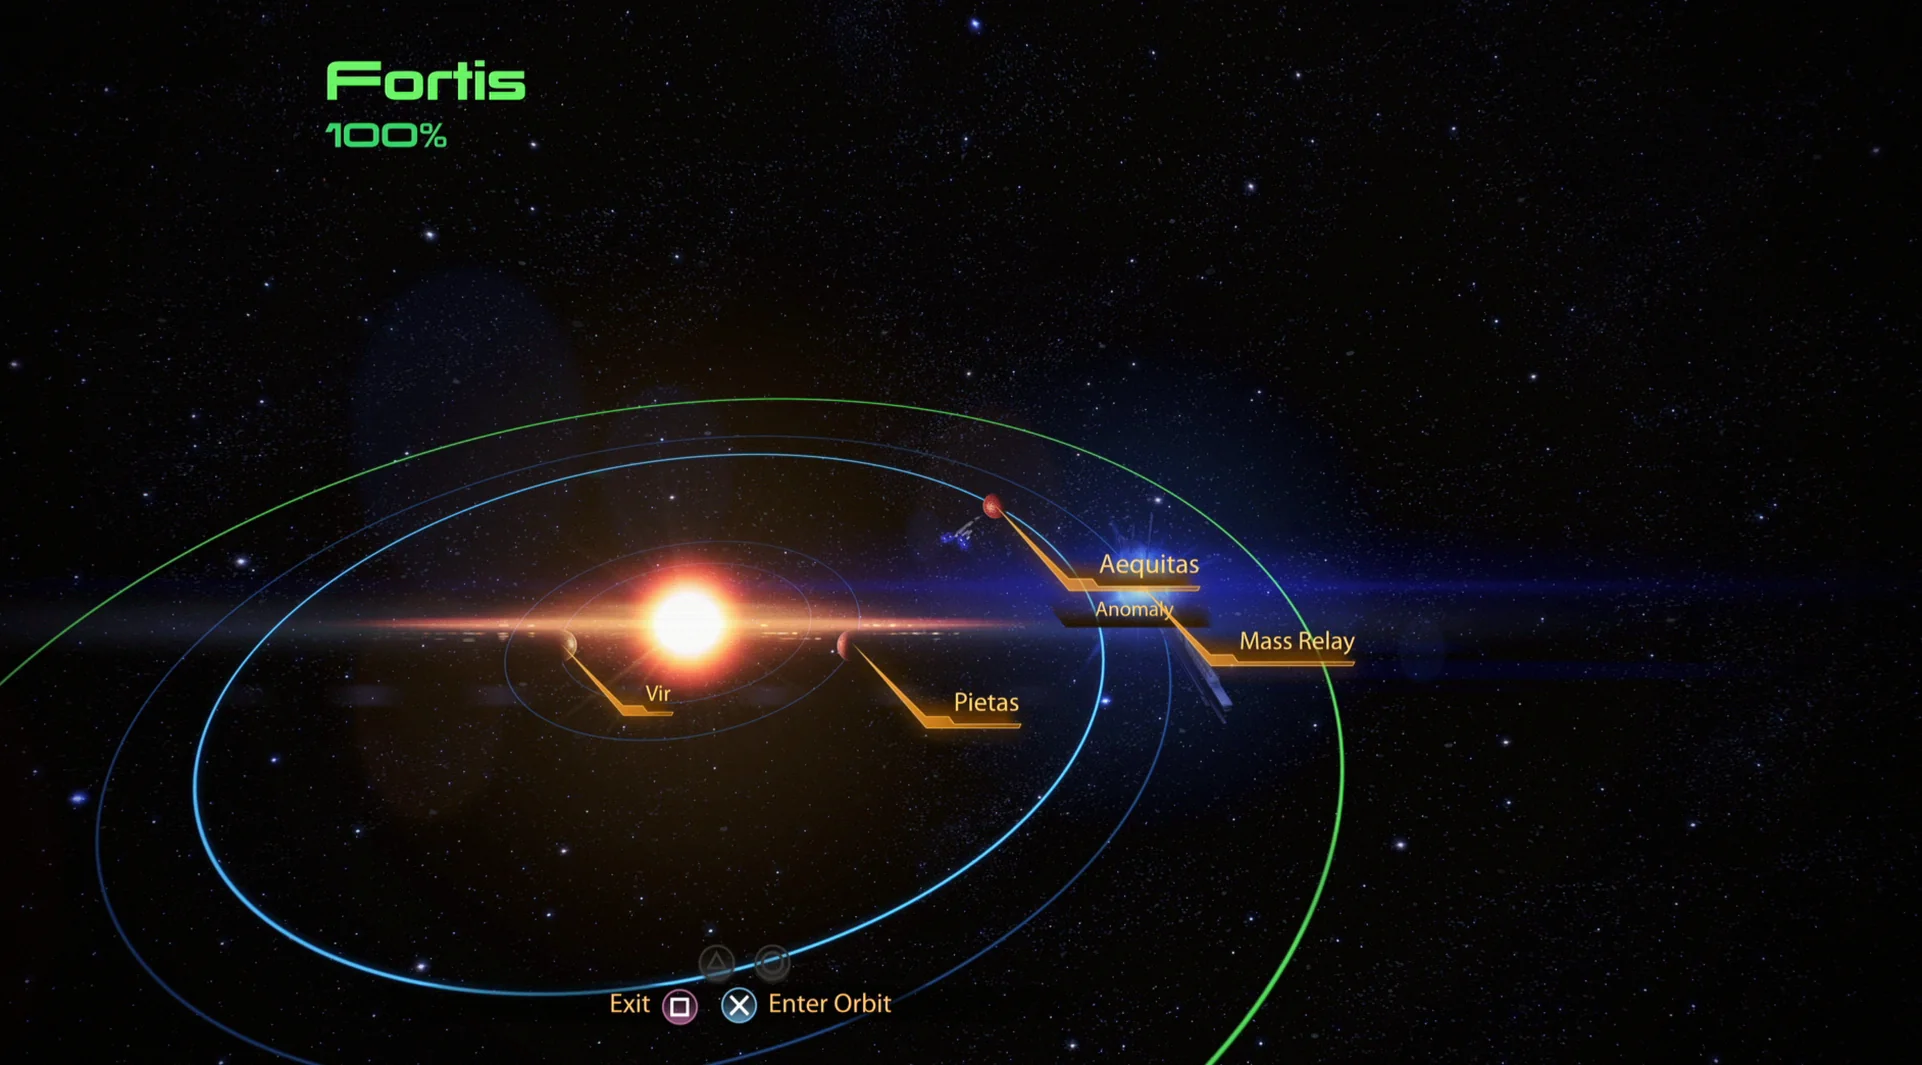
| Target area | Pylos Nebula → Fortis → Aequitas |
Assignment rewards
- Experience: 125 XP
- Mission credits: 3,750 credits
- Found credits: 3,750 credits
- Resources: 2,000 Iridium
Travel to Fortis
- Prerequisite: Purchase the Pylos Nebula Star Charts from Baria Frontiers on Illium
- Location: Pylos Nebula – Fortis – Aequitas
Recommended loadout
- Squad tactics:
- You’re walking into an effective “zombie horde” situation here, which makes Grunt a strong choice thanks to his splash damage options.
- Mordin pairs well with his Cryo Freeze ability, and Jack is also useful due to her Shockwave.
Investigate Abandoned Mine
Your surface task on Aequitas is to explore the mine, and the entrance is right in front of you—but don’t step inside yet. There’s loot outside first.
- Container: 2,250 credits. From your starting point, remain outside and move to the right of the mine’s entrance into a side space. In that area you’ll find a grey skeleton with the item next to it.
Now you can enter. Keep your weapons ready, because a few Husks (yes—Husks) will charge in. They’re manageable, but they’re faster than you might expect, so you’ll need to kill them quickly.
- Datapad: located on the table directly across from the mine’s entrance.
- Refined Iridium: 440. Starting from the datapad, go to the right to find it at the base of the far wall.
Push deeper into the cave and take a corner to reach another open area where Husks drop in. This time, one stronger enemy joins them: an Abomination. Prioritize him first—he can punish your squad hard by detonating when he gets close. Still, you can flip that threat into an advantage by using the Abomination’s explosions to damage the other Husks.
- Refined Iridium: 600. After you clear the Husks and the Abomination, check the front-left corner of the room.
The next chamber brings more Husks and another Abomination. There’s a ramp on the right, but stay at ground level so you can focus fire on the undead targets. Once the room is secured, loot is waiting:
- Refined Iridium: 560. Found on the left-hand wall inside the circular, doorway-like structure.
- Locker: 1,050 credits. Set on a table at the top of the ramp.
- Refined Iridium: 400. From the locker location, move into the tunnel and around the corner. At the bottom of the slope, look left in the dark.
After the second Iridium box listed above, you’ll reach an open intersection. Husks will drop in from above, and others will enter from nearby hallways—again including an Abomination. Clear them out, then search for additional items:
- Mine Logs: placed against the left-hand wall of the intersection.
- Medical Station: 100 credits. Located on the wall to the right of the Mine Logs.
- Power Cells: after reaching the Medical Station, go into the hallway next to it. At the end, near a wall with a huge hole, you’ll find these on the right-hand side.
- Power Cells: return to the intersection and turn left. Go up the ramp and look for them on the table to your right.
When you approach the second set of Power Cells, EDI will alert you that she detects a powerful alien presence nearby—possibly the reason the Husks are appearing. This is the point where you’ll face an extremely large wave of Husks inside the mine. It may feel endless, but the swarm is finite and will stop eventually. Just be aware: ammo can become a serious bottleneck if you decide to try and wipe out every last one.
The Husks will converge on you during this stretch, but you’re not locked into one fight angle. Since the route splits from the previous room, going left gives you a way to shoot them through a hole in the wall, while going right lets you fight from a raised position.
Move into the mine’s building-like interior structure to trigger another long-lasting Husks invasion. If you clear them all, you’ll be able to grab the remaining loot objects:
- Med Kit: in the entrance to the building structure, facing the alien artifact. Turn right to face a long corridor where many Husks dropped in. The med kit is on the right-hand wall.
- Locker: 450 credits. Inside the building structure, on the left-hand side of the doorway leading to the alien artifact.
Even if you collect the loot or leave it behind, the Assignment still ends the same way: you must bury the alien artifact (notably tied to Reaper origin). To do that, look for the bombs on the left and right flanks of the artifact. Shoot those explosives to detonate them, and the end cutscene will play, concluding the Abandoned Mine Assignment.
Looking for more help with Mass Effect 2? There are additional pages covering Legendary Edition changes, walkthrough basics, tips and tricks, key choices and consequences, romance options, and broader side quest guidance.
Up next: N7 – Abandoned Research Station
Top guide sections
- Legendary Edition Changes
- Basics
- Tips and Tricks
- How-To Guides


