Chapter 5 Garden Guide: Reach Asgore in the Dark World, Meet a Plant Ally
Chapter 5: The Garden is pushing players into a fresh Dark World inside Asgore’s Flower King shop, forcing Kris and Susie to sprint through a new stretch of territory to find Asgore before the Knight arrives—while meeting a surprise plant-powered ally along the way.
Checklists
With the Festival wrapping up in Hometown, Kris and Susie need to race into the new area inside Asgore’s Flower King shop. The goal is simple: locate Asgore before the Knight does. The challenge, however, comes with an unexpected guide appearing early in the run.
- Garden – The Beginning
- After Flowery Helped
- The Diner
- The Wrong Way Home
- Shrine of the Feather
The Beginning
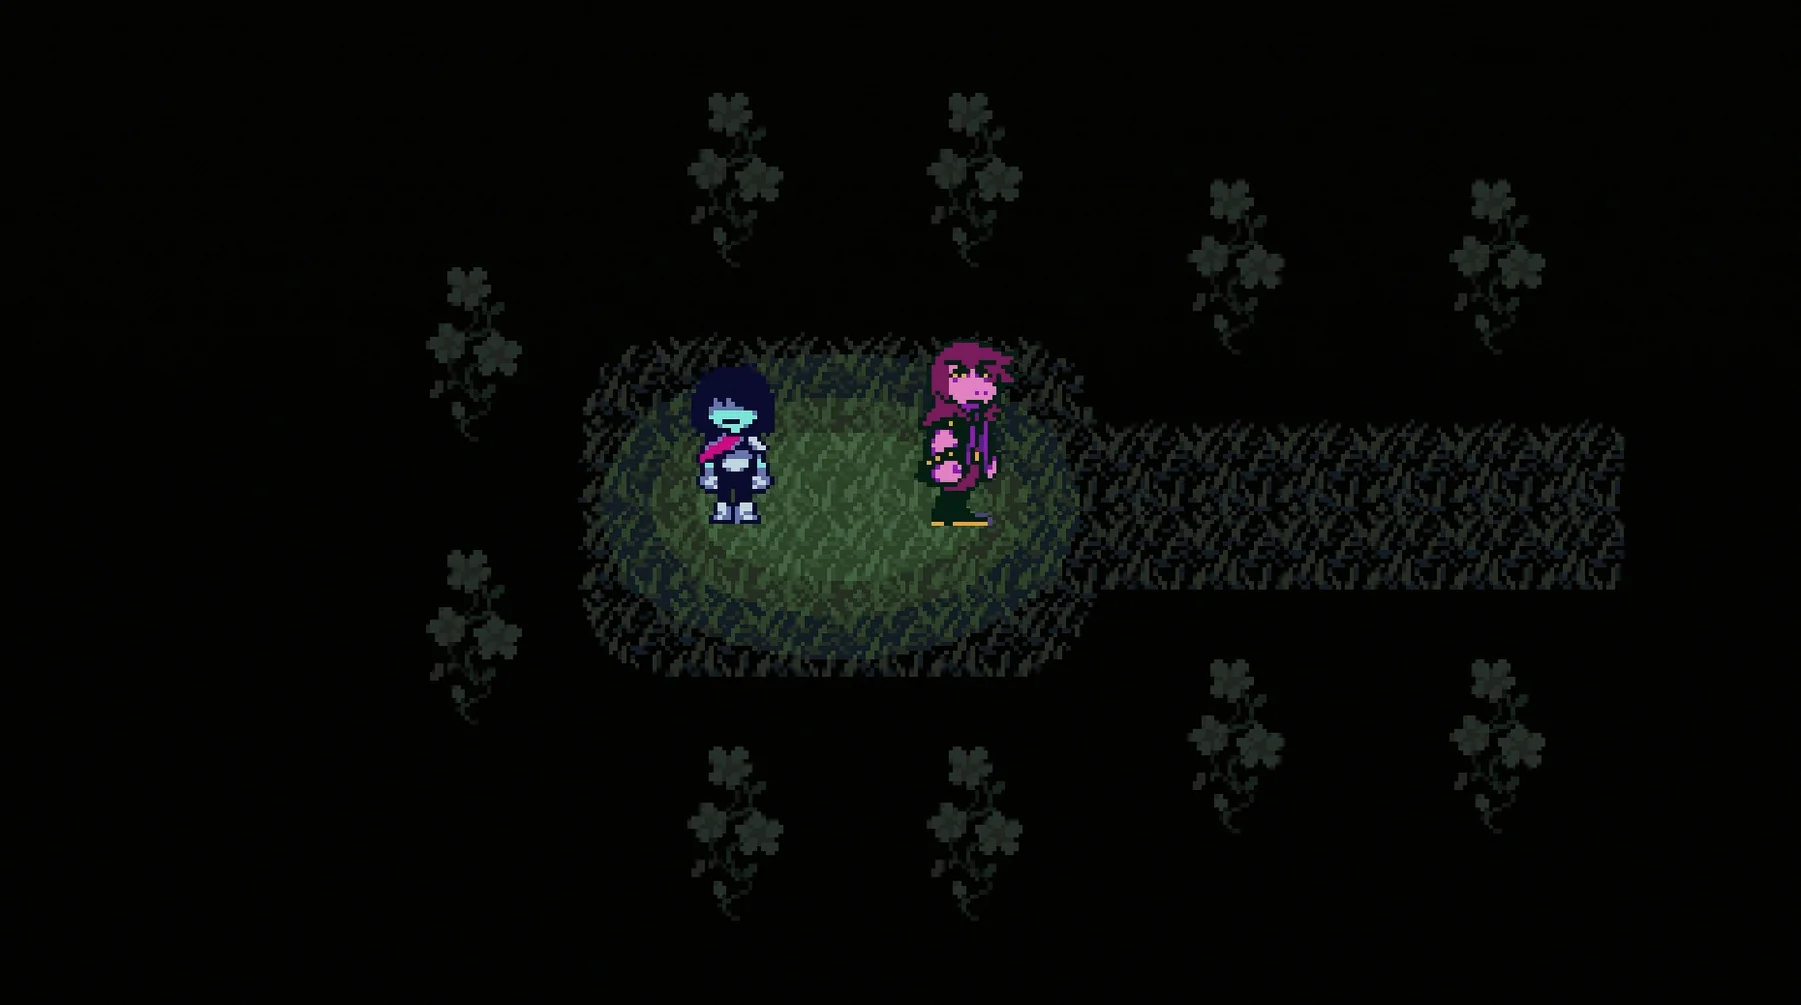
As Kris joins Susie, the two of you find yourselves in a shadowy floral corridor featuring a new Save Point. Look to the right to spot Asgore far off in the distance—then immediately notice a new face waiting for you.
Meet Flowery, Dad’s Best Friend. This human-shaped plant appears to be in charge of the Dark World’s area, and strongly suggests Asgore shouldn’t see you. Flowery then heads out with Kris’s father, leaving Kris and Susie behind with plants that look suspiciously like they’re trying to imitate people.
Once Flowery has bolted, you can interact with the plants for quick jokes and gags before chasing Flowery deeper.
You can also explore the wardrobes in the next room, which are packed with items that won’t matter much—until the final one. That last wardrobe reveals Ralsei, and the party is back together, though Ralsei looks more irritated than usual. There’s even a cabinet where Ralsei fell out, and it contains Ralsei-themed hats you can wear temporarily. Flowery forces Ralsei to put on his old hat too, setting up a nostalgic beat that kicks into full force as you enter the Garden of Hopes and Dreams.
As the garden shifts into vivid pink, you’ll reach another Save Point marking the garden’s start. When you cross a bridge, keep an eye on a chest sitting below. Then, a new enemy erupts from the plants and jumps into the fight.
New Enemy – Floradinn
- Check: Flowers are sweeter than diamonds, according to Floradinn’s logic.
Triangular thorn bullets appear along the top of the battle box, turn white, and then fire downward at angles.
Floradinn swings a collar of thorns around its head toward a targeted area. When the collar lands, it detonates and sends bullets outward in all directions.
Battle Strategy: Floradinn is a Rudinn-like enemy that plays similarly to other recent fights, making it easy to fall back into combat rhythm. A simple plan is to have Kris try to get Susie to flirt—though Susie refuses that request, Kris still contributes, and combining their actions should bring the group to 100% for an easy spare. If Kris is spending time with items or defending to build TP, you can instead have Ralsei make Kris or Susie tired so Susie can use her new Scythe-Mare ability to spare tired foes.
The patterns are fairly readable. Use the lower area of the battle box to dodge attacks coming from above, and avoid any briar rings Floradinn throws at you. You only need two successful spares to recruit Floradinn, and you can accomplish that in the first battle against it.
After the first battle, head south—but detour west across a lower bridge first. Going upward from that spot leads to a Treasure Chest containing RedRibbon Armor. Susie seems unexpectedly willing to wear ribbons, so try it with this or any other ribbon items you’ve gathered. Still, she quickly backtracks on the idea of wearing them in her hair.
Continuing south brings you to an optional room. Read a sign to learn what Flowery and Asgore are doing, and take in a few quirky NPCs. When you’re done, go back up and cross the bridge toward the east.
The next room features an older block puzzle that’s solved with a few pushes, opening a route north. That path lets you peek into an optional cowboy theater moment.
Heading right brings another block puzzle, but this time the block can’t quite reach the other side. A friendly Floradinn explains it can help if you provide a mushroom. Go south under a long tree branch to find several mushrooms. Kris can eat them to sprout some on their head, which is important for the next step.
As you return north, all mushrooms except one fall to the ground. Nearby objects transform into foxes that rush in and devour the mushrooms. If you try to hand the mushroom over, the game makes it clear you need two mushrooms—but the foxes also reveal the real clue: the block you’re supposed to push is actually a fox in disguise.
Grab as many mushrooms as you can, then cross back. When the foxes pounce, keep track of the fox that transformed from a box and interact with it while it’s eating to claim it. Carry it to the pressure pad and drop it on the floor. It reverts into a block, opens the path, and reveals the true form of Floradinn.
Move north into a larger room where flowers are trimmed repeatedly by shears swinging back and forth. There’s a chest in the center, but it’s just out of reach for now. Instead, stick to the right edge to find an alternate route leading to a room with a strange character doing jumping jacks. Hopschef looks especially proud of his “Sauerdough.”
Just past him is a fast travel door that can’t be used yet, along with a mysterious structure you also can’t interact with at the moment.
Head to the top of the shears room and time your runs as the scissors pass. This leads to an area with a large locked door. The inscription reads: “Flowers are symbols of Love. Defeat the enemies in the manner befitting of a Flower.”
To the left, you’ll find another Floradinn to test your “love” mechanics. For the battle, use the highlighted ShowLove Act involving Susie and Ralsei. Things don’t go as planned, so you switch to Susie’s Idea instead while Ralsei defends or heals. After that fails too, use Ralsei’s Idea. The unimpressed Floradinn simply walks away.
When you return to check the door, Flowery arrives and disrupts Ralsei—then joins your party. Take a moment to review Flowery’s stats, spells, and gear (including an absurd “999ll” in everything). Sadly, you can’t take his equipment for yourself.
Instead of lingering, move right to find another Floradinn. Flowery handles the rest—“All according to plant,” as the moment implies.
Flowery Helped
After Flowery leaves dramatically, the door is open. A nearby Save Point appears, along with a Treasure Chest that contains “infinite money.” Ralsei immediately protests, restricting you to taking only one Flowery Dollar at a time—though there’s nothing stopping you from repeating the interaction as often as you like. These aren’t Dark Dollars; they’re a new currency that will matter later in the chapter, and you’ll earn plenty more through other approaches.
The unlocked room includes a useful traversal tool: a green Watering Can that Kris balances on their head. Moving side to side reveals blue highlights on dirt or purple ground that are normally out of bounds. By pressing the interact button, you can water those spots to uncover new paths that were hidden before.
Return to the earlier shears room and water the dark soil along the sides to avoid the blades entirely. With better positioning, you can grow a route to the Treasure Chest in the center from either side. Inside is a GreanTea Recovery Item.
You can also move directly left of the central chest. Pour water onto another darkened trail to form a path heading west. This leads to a dark river you can walk along; the “waves” are actually birds. At the far end, you’ll find the first of multiple special Treasure Chests holding Pink Coin pickups. These will be important for discovering a secret boss later in the chapter, so collect as many as you can.
You can backtrack and water other NPCs for extra dialogue, including helping the worm on the far side of the river develop. Otherwise, continue by watering a path to the right of where Flowery spared the Floradinns before leaving you.
That takes you into a new stretch where flowers are clipped by moving shears. A strange umbrella yokai comments that the scissors cut anything they can find. If they can’t locate something to cut, they keep turning right a few times before returning to the start.
Looking ahead, there’s a trail leading to a Floradinn plant blocking the way. Water a sequence of flowers so the scissors follow it, including the right turns all the way around to reach a route north. If you need to reset the puzzle, you can ring the bell.
After guiding the shears north, they get stuck in a new section with a larger trail leading to a big Flowery plant being trimmed. Water a path up to that plant, and the trimming enemies will finally turn their attention toward you.
New Enemy – Sheary
- Check: An elegant dancer with sharp legs, part of Blue’s dance troupe that Aqua also attends.
A large scissor slices the battle box in half, shifting the box position. Smaller scissors move across one side while a larger scissor moves across the other half. As the gap causes misalignment, their positions shift when they cross it.
Battle Strategy: Sheary’s gimmick is minigames. All Kris-controlled ACT commands require you to “cut” along shapes, similar to a Mario Party-style activity. Controls feel intentionally odd: you must adjust direction like a tank before moving forward. Sometimes it’s better to pause movement entirely to re-position, then push the scissors forward. Other times you’ll need to slowly steer direction while advancing.
The upside is that even a light attempt usually earns lots of Mercy, as long as you don’t run out the timer and actually connect the line at the end. If you’re confident, Kris’s Hypercut is the fastest option. If you want more time and a larger finish bonus, having everyone use SalonCut helps.
If it’s still not clicking, keep Kris defending and stay on the side of the battle box where the smaller scissors pass first. That way, when the scene shifts into the second half, you’re less likely to get surprised. Then let Susie and Ralsei use their own actions for steady Mercy or healing. Only two spares are required to recruit Sheary, which you can earn at the end of the first Sheary battle.
Once the route opens, create a flower trail that reaches the far right so the scissors can tear through a Floradinn plant and reveal an alternate path. In that room, switch to a larger watering can to reveal a familiar face in the center of the flowers.
Flowery shows up to annoy you, then leaves behind a Treasure Chest containing the Thatchet Weapon for Susie. On the way back down, you can also spot another Treasure Chest with 50 Flowery Dollars, even if Ralsei doesn’t want them.
Return to the previous room and go up the new route you carved. This area is filled with piles of pink petals and stones, plus a chest in the back that holds yet more petals. The standout moment here is moving through a Japanese-style Tori Gate: the trio sprints at high speed until they reach another Tori Gate—or slam into a wall.
Because the dash stops right before the wall, you can bypass the issue by hunting for a small passage above the gate where you stop. Enter from the left side, crash through the leaf piles, and land in a stone group on the far right. That opens a path south, leading to another mysterious structure. From there, you can also look down at Hopschef on a lower ledge to the left, though you can’t reach him from this angle.
Ideal Diner
Head north and you’ll find yourself inside… a Diner. Flowery attempts to charm the situation to distract Asgore from noticing you. Whether you call out remains up to you, but the friendly chef Green at least offers Root Beer. When the table vanishes, a new Save Point appears in its place.
Take a moment to rest and talk with everyone in the diner. Then check the menu on the counter: it lets you sell unused items and purchase new ones. Note that this still costs Dark Dollars, not the newer Flower Dollars you’ve begun finding.
After chatting with Yellow the cowboy, head east into another room full of Tori Gates. Sprint through them, but between the two gates you can’t keep running across the water. Go down the stairs and dash back left to clear some petal piles. That should reveal a Treasure Chest—though it turns out to be another fox in disguise.
New Enemy – Netskie
- Check: Tail looks like this.
A trail of greyed-out bullets leads to Netskie forming a giant paw print inside the battle box. The impact point fires bullets in every direction. The toe sections become bullets too, and as the paw fades, it steps toward you again.
Battle Strategy: Netskie is a bit more durable than many enemies you’ve faced, but the fight is still spare-friendly if you play carefully. The main attack follows you around; the best response is to move gradually from corner to corner to avoid the advancing paw print while dodging the bullets that burst outward.
A helpful trick is to use the Faker ACT to force Netskie into another enemy’s attack pattern, usually something easier to avoid. Watch the bullets closely for faces—if you’re quick, you can build Mercy rapidly. If not, have Kris focus on doing Impressions while Susie and Ralsei heal or defend as needed.
To recruit Netskie, you only need to spare it once after defeating it.
After Netskie is down, go up the central stairs to the upper ledge. Run through the right-side Tori Gate to cross the water above the falls and find a Treasure Chest with a ReviveMint Recovery Item. Slide down below to return to a dash point; if you went all the way to the top first and rushed through Floradinn’s picnic, that shortcut now places you down here. Continue along the top right side to reach the exit.
Next you’ll encounter a nostalgic puzzle from early Chapter 1 where you step on lit tiles as a team. Susie handles the left side while Ralsei takes the right. Focus on the middle four tiles and step on them as soon as the lights appear.
The next puzzle doesn’t cooperate. It seems to require four people to solve, prompting Susie to look for a “player 4” while Ralsei gets annoyed. You can either attempt it with only the two of you by hitting the switch again, or talk to Ralsei so he can guide Kris over spikes. It’s notable that Ralsei can apparently allow Kris to go “out of bounds.”
In the following room, Susie chats with Flowery before skating down a slope to find something to drink. After Ralsei gets annoyed again, you’re reminded you can disable Voice Clips in the config—though it may also accidentally “disable” Ralsei too.
Slide all the way down to reach another block puzzle with a twist. Normally, Ralsei would solve it automatically because he’s above the puzzle, but if you set “Ralseis” to “Off” in the Config Menu, he can’t speak or help at all.
You can fail repeatedly to make him sweat bullets, using the bell to restart. If you want the solution, hit the block jutting out on the left upward, then the lower right block. Next, move the middle block from the top row down, then kick it left into the bottom-left corner. Finish by kicking the two blocks on the top row into each top corner.
As Susie shows up wearing a new ribbon, hints slip out that she really shouldn’t know. This time, Ralsei confesses a half-truth about the Dark World, peeling back a meta layer about Deltarune’s structure—how the menus and the underlying nature of the experience work, and how certain people might be able to see it.
Once you move past that, head back up the stairs Flowery created to return to the puzzle room. Watch Flowery solve the rest with his radical moves, and then proceed through the now-open northern door.
The Way Home
In a dark corner of the Garden, Flowery claims he found the end of your journey—but it isn’t the fountain. He clearly wants you out of the picture, and staying in place would put you at odds with what’s happening. Turning back isn’t a real option, though you can try—Susie will simply drag you back down. There’s another fast travel door here you can’t use yet, plus a Save Point.
Trying to move right shows Flowery and Asgore high above, but the vines don’t climb high enough to reach them. A strange structure nearby suggests there’s a connection to reaching them. If you go back left toward the exit sign, there’s another climbable vine leading to a room containing a small structure.
With no other routes available, head west from the Dark World’s false exit and sprint through the Tori Gate to the far left side, where a small pink jar hangs in midair. Keep that location in mind for later.
Going south brings you back down to the Ideal Diner, which is now empty aside from a Floradinn blocking access to the southern garden. Grab a Flowery Dollar from the cash register and restock healing items from the menu. Then go up the new path by the “kitchen.”
There’s a large darkened maze here with branching routes that look like dead ends. Start by taking the first right, then go straight up. Take the first right again, then head upward to find another green Watering Can.
As expected, the watering can reveals hidden pathways in this maze. It may take some time to uncover them all. Look for blue highlights to know where watering will matter; otherwise, you’ll just raise extra foliage. Begin by watering left from where you entered the area to reach the next pathway.
As you descend, water to the left to find a path halfway down that runs right under a Treasure Chest. When you reach the left wall, go up and then back right, watering the route back the way you came. This opens the way again and lets you retrieve another GreenTea Recovery Item.
Go back down the left route until you reach the bottom. You’ll spot a red Tori Gate off to the left. Use the watering can to expose a path to it. Keep going past that point to find a second Tori Gate beneath you, then descend to connect a path back to the start of the maze.
Just above the second Tori Gate, water a new route left to reveal a larger hidden square field. In the center is a heart-shaped mass. When it’s fully revealed, a Treasure Chest appears containing a second RedRibbon Armor. To continue, go north through the first Tori Gate you previously passed and go straight up into the next room.
In this second darkened area, you hear two voices arguing quickly before one leaves. You then meet the owner of the second voice. They don’t want you finding a mysterious feather, and this flower girl calling herself human seems far more childlike than Flowery—though she’s dangerous on her own once she offers to play a game.
Boss Fight – Aqua
- Check: Aqua provides a rambling readout: Kris is a human, Attack is 24, Defenses is 13, “Magic is none,” and Aqua comments on knives, including the idea that Kris has one too but isn’t using it.
Aqua fires four quick spinning knives out toward the other sides of the battle box, then returns through the center to target your most recent position.
It also draws two long knife rows as wide as the battle box, then snaps them together like jaws multiple times.
Next, Aqua forms a circular fan of knives that resembles a flower. The spiral-out pattern accelerates as time progresses.
Finally, it creates multiple large spinning knives that fill the screen, rotating clockwise in sync while the giant knives move around the battle box with very few safe gaps.
Battle Strategy: This fight is harsh and requires you to adapt quickly. Kris is separated from Ralsei and Susie for the duration, meaning you rely entirely on healing items—and also sacrifice turns that could have improved Mercy. The only progress condition is to use five unique command inputs once each, including Check, which also increases Mercy. Aqua rejects repeated commands, so using the same option twice wastes time.
For the most part, you’ll dodge one of three knife attacks. The first sends multiple knives around the border before returning to your last known position. If they spread out enough, you can dart between them; otherwise, wait on the opposite side and move only once the blades begin clustering so you can weave through.
The second attack creates two long knife lines that close like jaws. Even though it looks dangerous, you can slide through by shifting slightly left or right when the two rows meet.
The third attack demands mobility. As the knife “petals” spin outward, move with their motion instead of fighting against it. Evade the closest threats while staying alert for new spirals forming.
Once Mercy is built up, Aqua asks for a matching magic attack using an “Omega” move reminiscent of an Undertale-style mechanic. Large knives spin across the screen, and you must rotate with them. You can’t move faster than their rotation, so choose a few knives to dart between. Avoid the edges of the battle box, or you risk being pinned by tall blades and unable to squeeze past. Survive briefly, and Aqua stops to see if Kris can match it—then realizes Kris has no magic, ending the fight.
After Aqua is defeated, the little girl rewards you by allowing passage to the feather you apparently aren’t supposed to collect. Go through the opening and slide down into the next area.
The Shrine
At the bottom of a long vine stalk, you’ll find a new Save Point and a path to the shrine. There’s another fast travel door on the left among hanging bells that won’t open yet, so take the right-hand path.
Climb the long stairs and claim the Petal Feather as your Key Item. In certain areas, this item changes your perspective from top-down to side view, completely remaking how the game plays. The RPG structure turns into an action platformer.
Get used to the new kit: rapid attacks, higher jumps (with attack options midair), and a pause-time targeting mode that lets you select nearby team targets for ACT actions after selection. The downside is that you lose access to the menu and config while in this mode.
Test platforming by returning to the left room with the tall vine stalk. The stalk’s leaf sections now act as platforms leading to a cluster of bells above. Switch into ACT mode, target the bells, and select Susie’s contextual Bellbuster. When you release, Susie automatically smashes the bells, dropping a shower of Flowery Dollars for you to collect. Head to the final room on the left to bash the last bells too, but watch Susie’s cooldown so she can ACT again.
To continue, move right from the shrine. In normal mode the route was impassable, but now you can hop and leap between ledges. When you reach a tree from earlier that bears Dark Candy Fruit like Chapter 1, open the ACT menu to target a low-hanging branch so Ralsei can hang from it. That creates a temporary platform to reach the ledge above.
Alternatively, Susie can use her “Fruitbuster” to destroy all three Dark Candies, knocking the tree down and creating a permanent slope for upward movement.
Keep moving right and slash vines and plants for extra Flowery Dollars. Susie won’t help with vine destruction, so you’ll do the attacking. There’s a nearby Wardrobe that Ralsei encourages you to target in the ACT menu, revealing a way to access your menu so you can use items, equip gear, or open the config to swap jump and attack controls.
On the other side, Aqua returns, excited to test the new abilities in a real-time combat scenario. This time you don’t need pacifism or Mercy—just fight.
Aqua’s pattern teleports around and creates three large knives with red outlines. Knives fire outward one at a time, then the pattern repositions briefly—your window to strike. When knives begin spreading, jump through the gaps while in the air, then dash to the next safe spot as Aqua teleports again to land a few hits before the knives appear once more.
As damage ramps up, more knives appear with each projectile cycle. This is a good time to use Susie’s ACT right after the projectiles launch or at the moment the pattern begins teleporting, since Susie can stun the enemy briefly and let you land more hits.
Keep attacking through the gaps in the knives until Aqua is defeated, earning a payout of Flowery Dollars.
Return to the right to reach the mysterious structure near the top of the vine where the Dark World false exit used to be. Its true function becomes clear: it swaps between platforming and normal mode. Before leaving, jump right a bit more so Ralsei can hang from a root to reveal a surprise. Jump off him to reach a high ledge with more bells for Susie to break.
Climb back down to the False Exit. With the platforming tools unlocked, you can finally reach Flowery and Asgore above—but there are still secrets worth revisiting.
Go back to the Ideal Diner and head south, then cut right through the opening you made earlier near the leaf piles and stones. This routes you to another mysterious structure on an elevated ledge above the dancing Hopschef. Before proceeding, look right for tall vines you can cut away.
This leads to a different kind of bullet pattern enemy. Instead of firing projectiles, it bounces and hops around the arena, becoming more mobile as you damage it. Use the high ledge if you need distance, and rely on Susie’s Stunbuster to stop it from smacking you. Two more enemies appear after the first is defeated, so focus on taking them out one at a time to limit how many fast movers are active.
Move to the right side to find a place for Ralsei to latch on. Use him to bounce up across the platforms back toward the left and reach a high platform. From there, revert to normal movement and enter the doorway.
Inside, dash across a long water pool. As you go, one of the Starwalker Birds from Chapter 1 appears, creating projectile rows. You’ll need to rapidly alternate up-and-down movements to dodge, like a Battletoads-style sequence. Reach the other side and ring the bell to spawn another Treasure Chest with a Pink Coin. If you’ve been finding Starwalker in earlier chapters, you may also encounter a Tropical Starwalker on the way back.
Return the way you came, and in platforming mode run all the way left from this area to view Hopschef from a different angle. With a sword in hand, you can ruin his bread—though he’s ready for it.
Hopschef challenges you to a minigame. The next time you attack his bread, you get 20 seconds to hit all of his circular dough targets in the area above, or it will revive itself. It’s designed as a fun break built around the bouncing flowers that launch you at different angles depending on where you attack in the air.
Try knocking yourself up and then to the right. Use Susie’s buster attack to break the center dough as you move up the right side. Then launch over to the right and slice dough as you go. Finally, drop down and have Susie hit another dough on the side of the ledge you land on.
If you clear it in under 20 seconds, your reward is a TreeCake Recovery Item that heals the full party. You need to switch back to regular mode before you can interact with it. Hopschef also offers a time improvement challenge, granting more Flowery Dollars for better results: $10 for under 20 seconds, and $20 for under 10.
When you’re done, return to the False Exit and head right to transform using the Petal Feather. Before climbing up to reach Flowery, keep heading left to cross a long body of water and find a Pink Bell on the far side you could see earlier. Have Susie hit it to reveal one more Pink Coin.
After that, ascend the leafy platforms next to the Dark World Exit and alternate using Ralsei as a step-stool to climb the top of the vine stalk.
From the top, switch back to normal mode and climb the final vines to overlook a distant castle with the Fountain pouring out of it. To reach it, you’ll need to pass through the Flower Kingdom’s Garden Cliffs.
Up Next: Weird Routes
Top Guide Sections
- Walkthrough
- How-To Guides
- Boss Guides
- Secrets


