Mass Effect 2 Base Infiltration Guide: Vent Route & Critical Suicide Mission Choices
Mass Effect 2’s Suicide Mission is where preparation pays off—and where one wrong call can cost you squadmates for good. This guide section focuses on the Base Infiltration stretch, walking you through the combat rooms inside the Collector Base, the vent-based route to the central hub, and the key briefing decisions that determine whether your Vent Specialist makes it out alive.
Key takeaways
- The infiltration plan splits the operation into three jobs: a Vent Specialist, Shepard’s Strike Team, and a Fire Team.
- For the Vent Specialist, the viable candidates are Tali, Kasumi, and Legion, while disloyal picks are extremely dangerous.
- For the Fire Team Leader, Miranda, Garrus, and Jacob are the recommended options, with disloyal choices again risking lives.
- The recommended combat squad leans on Miranda, Jack, and Samara for stripping Collector biotic barriers.
- Tali or Legion can help create openings using Combat Drones, and Kasumi’s Flashbang is also effective against Harbinger.
- After the final vent lever, whether the Vent Specialist survives depends on loyalty combinations from the briefing room.
Checklists
This part of the Mass Effect 2 wiki guide is dedicated to the Base Infiltration portion of the Suicide Mission. It covers how to handle every major combat encounter you’ll face, plus exactly which selections to make so you can maximize the number of Squad Mates who survive.
As a result, spoilers for the Suicide Mission are present here. Even so, the section delays discussion of outcomes until the moment those consequences actually happen, so if you don’t scroll too far ahead, you can avoid learning key results prematurely.
If you’re searching for something specific, the page points you to jumps for “Before We Begin,” “The Vent Plan,” “Enter Base,” and “Reunion.”
Before We Begin
The purpose of this segment is to provide general guidance on what options you should choose during the Suicide Mission. The goal is simple: keep Shepard and as many Squad Mates alive as possible. That said, absolute success may not be achievable if your prior setup wasn’t thorough—this guide is meant to help you make the best decisions with what you’ve got.
It also assumes you’ve already cleared the Tartarus Debris Field section earlier, which is the route that brings you to this point in the guide.
The Vent Plan
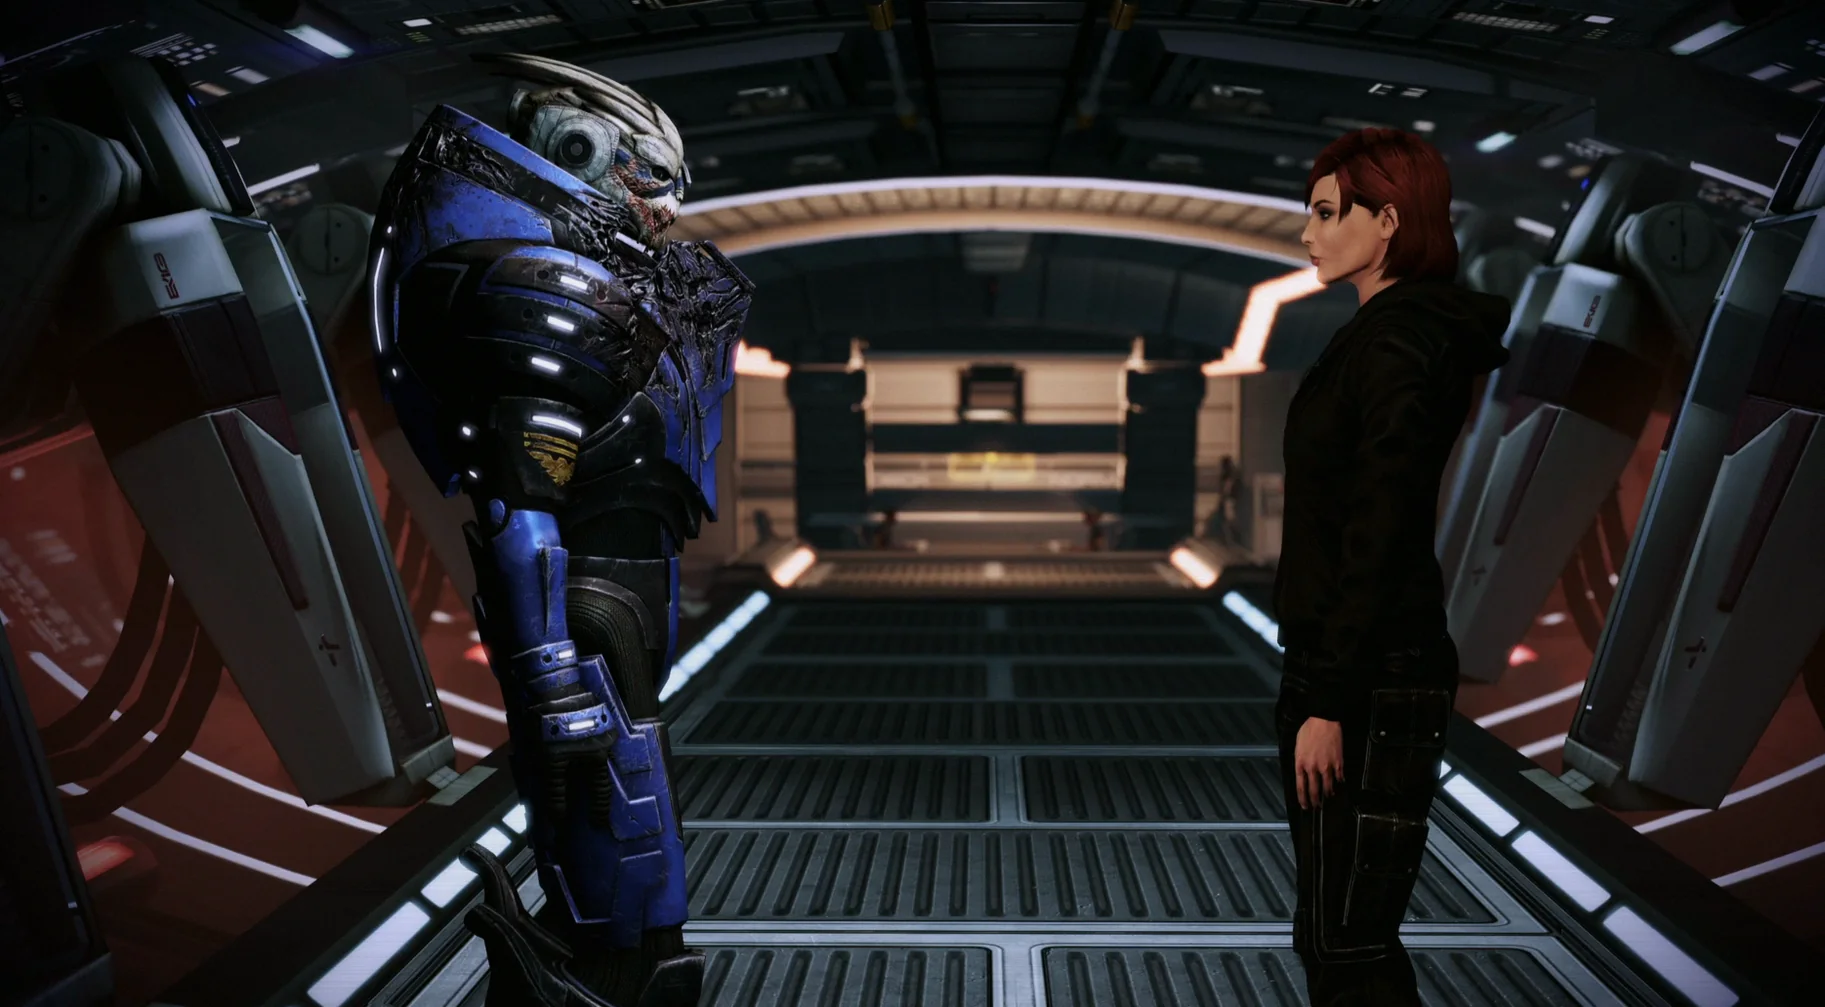
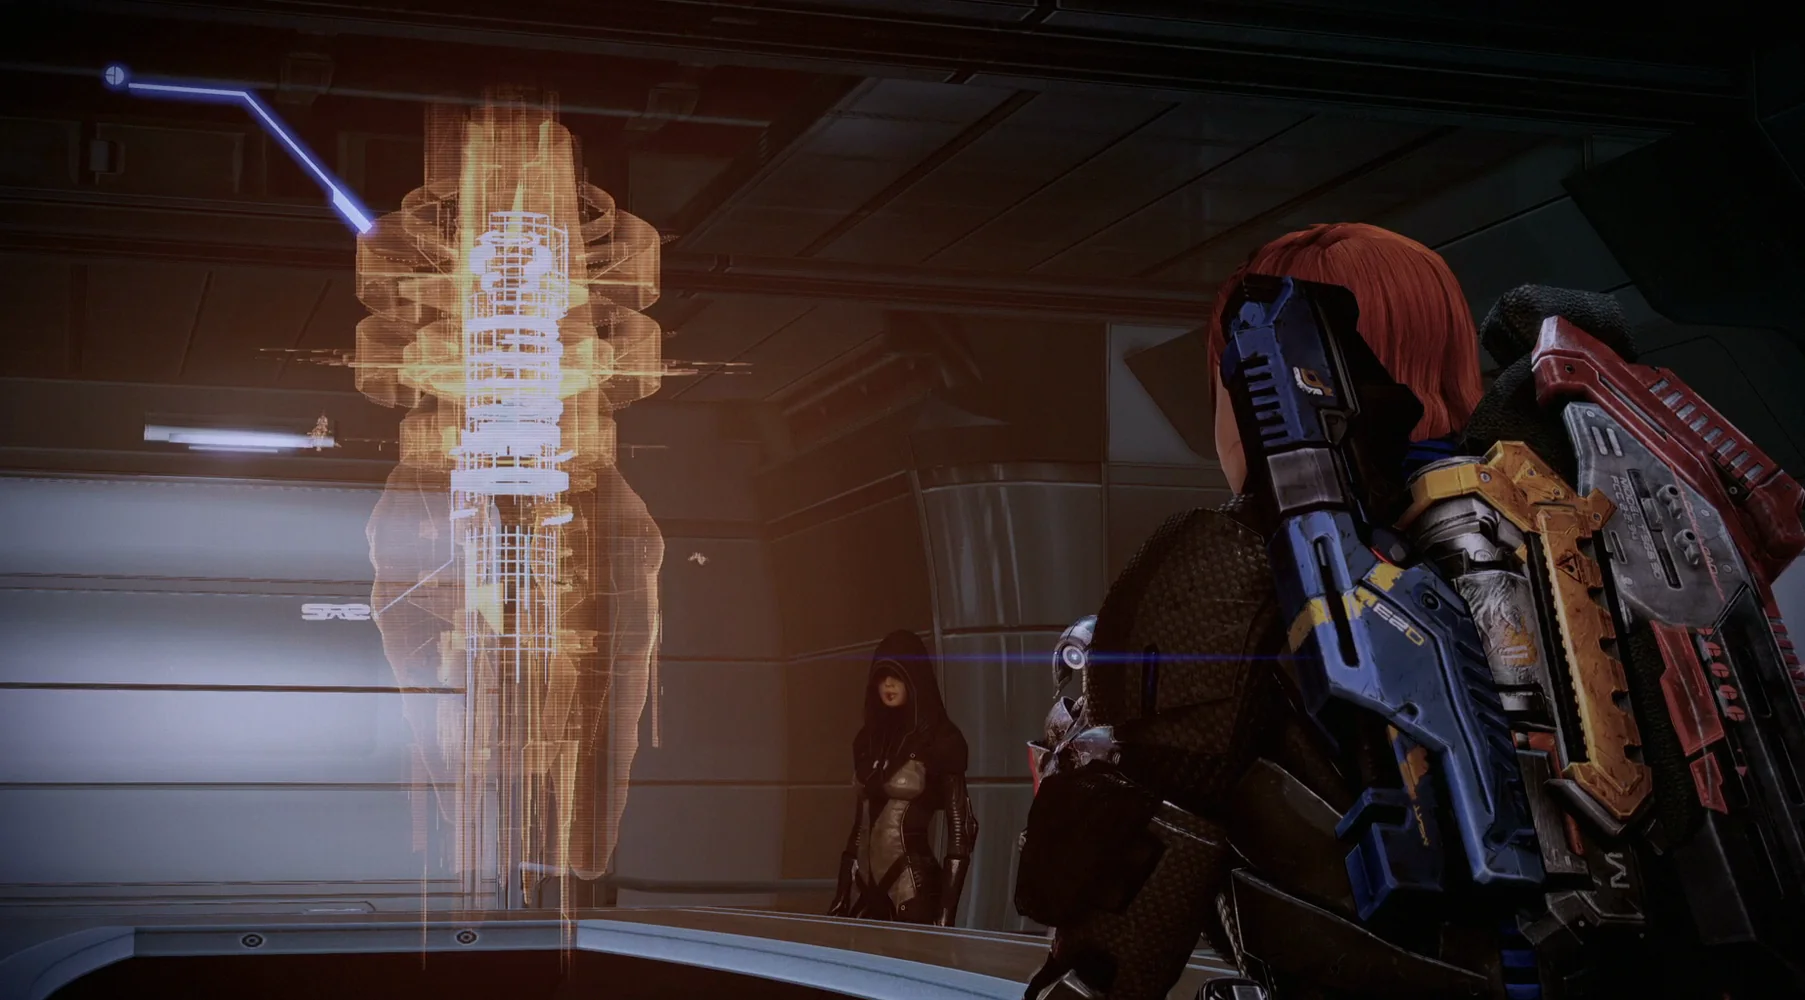
After the Normandy crashes onto the Collector Base’s hull, Shepard meets with the squad in the Debriefing Room to outline the infiltration. The two paths toward the central control hub run through the heart of the ship, the area that’s likely holding the colonists and the Normandy’s crew. Unfortunately, the doors at the end are sealed from the far side, meaning someone has to take the vent route.
That reality creates three distinct roles: a Vent Specialist, a Strike Team (Shepard’s squad), and a Fire Team (everyone else).
The first decision is who will serve as the Vent Specialist. Miranda explains that this role requires strong hacking and technical ability.
- Tali, Kasumi, and Legion are the viable Vent Specialist options.
- Do not choose anyone who is Disloyal, since they’ll be in extreme danger during the operation.
- Mordin, Thane, Garrus, and Jacob are not viable for this job.
- Do not choose anyone who is Disloyal, since they’ll be in extreme danger during the operation.
The Fire Team Leader is handled differently. This person needs the experience and authority to command a team of fighters while the Strike Team and Vent Specialist push forward.
- Miranda, Garrus, and Jacob are the considerations for Fire Team Leader.
- Avoid selecting someone Disloyal, because that choice places a team member at risk.
- Mordin, Zaeed, Grunt, Samara, Jack, Thane, Kasumi, and Legion are not viable for this leadership role.
- Avoid selecting someone Disloyal, because that choice places a team member at risk.
Recommended Loadout
After roles are set, you still need to choose your actual squad for the fights ahead. Since you’ll be dealing with Collectors here, the guide recommends the following approach.
-
Squad Tactics:
- Miranda, Jack, and Samara are highlighted as strong picks because each has an ability that helps remove the Collector’s biotic barriers.
- Tali or Legion are suggested as good options since their Combat Drones can draw attention from a Harbinger-possessed Collector, giving you a chance to damage him.
- Kasumi is also recommended because her Flashbang can work even when Harbinger is involved.
Enter Base
Once you’ve selected the candidates, they exit the Normandy and you finally get full control of your squad inside the Collector Base. From here, you can focus on the infiltration itself. The corridor ahead is linear, so navigating should be straightforward despite the unsettling atmosphere.
Soon enough, waist-high walls and similar cover elements appear—an obvious sign that a firefight is about to start. If that was your read, you’re correct. Collector Drones begin attacking from your right side, and one of them is likely to be taken over by Harbinger. Move into cover and return fire when it’s safe to do so.
If you’re able to do it, try flanking. The guide advises pushing left from a more sheltered area: place your party where you first entered, jump over obstacles to your left, and then shoot the Collectors who haven’t realized where you are. The result is that they tend to fall faster and with less effort.
When the first exchange ends, your Vent Specialist calls in over the radio. They’ve hit a snag and need you to locate a panel that can open a Heat Exchanger Valve blocking their path. That panel appears as a glowing green hexagon visible through the doorway at the far end of the area where the first fight just took place. Find it and pull the lever quickly.
Then follow the Vent Specialist through the pipe-lined corridor. Before long you’ll face three Collector Drones, with one again likely to be taken over by Harbinger. At the same time, the Vent Specialist encounters another obstacle. Take cover immediately, eliminate both threats, vault over the wall, and look left for Valve #2 so the specialist can continue.
As you move onward, additional Collector Drones and Harbinger appear. Keep in mind you can damage or even kill Collectors while they’re airborne, though it’s tricky. Successfully doing so can stop their advance and potentially remove them before they get a chance to fire back. After taking them down, search further along the pipe for Valve #3 and activate it so your Vent Specialist can move forward.
Near the end of this stretch, you vault up a small ledge through a doorway. Valve #4 is waiting to your left along the path, and you don’t need to fight or use any special trickery just to reach it.
From here, things become more complicated. Far across a wide open space sit Valves #5 and #6, but getting to them quickly is difficult because you’ll be overrun. The guide’s advice is to make every shot count: defeat the Collectors so your Vent Specialist doesn’t get stuck overheating in the ventilation shaft.
As soon as the first enemy force arrives, take cover and return fire. After the initial group is cleared, you can advance—but be ready for another wave, since two more Drones and Harbinger will show up again.
Once the area calms down, you should be able to climb far over to the back-left side of the space where Valve #5 is located. Hit it, keep climbing, and reach the exit where the vent pipe leads forward. From there you’ll descend a metal slope, spotting Valve #6 on the left. Only two more steps remain.
Before rounding the next corner, the guide warns to be extremely careful. Three Collector Drones are positioned there, and you won’t have cover nearby. Either sprint straight to the cover wall immediately or hide behind the corner for extra distance first. Because they’re clustered together, using an area-of-effect power is recommended.
However, the guide also points out a new threat: a Collector Assassin armed with a beam weapon is waiting in the next room. Take cover behind the ledge and remove him before continuing.
Enter the room and activate Valve #7 quickly, since the final Collector wave arrives ahead and lands in that area. Take cover and work through the heavy numbers of Collector Drones, Assassins, and Harbinger himself attempting to finish you. You’ll have plenty of space to fight, meaning a sniper rifle is useful for dealing with distant threats, but their cover makes things difficult.
You’ve likely already noticed the seventh switch ahead on your left. When the fight finally eases off, run up to it and flip it to give the Vent Specialist more time and space to keep moving. At that point, there should be just one switch left before the Vent Specialist reaches safety.
Reunion
After the last lever is activated, the Vent Specialist reaches the far side of the doors and can open the route for the Fire Team. The Strike Team door, however, is more difficult to secure. The Strike Team has to work frantically to get it open while the Fire Team leader handles suppressive fire.
This is where the earlier Briefing Room decisions matter most.
- If you did not pick a Loyal Tali, Kasumi, or Legion as the Vent Specialist, or if the Fire Team Leader wasn’t a Loyal Miranda, Garrus, or Jacob, then your Vent Specialist will die.
- If you selected a Loyal Tali, Legion, or Kasumi as the Vent Specialist and the Fire Team Leader was a Loyal Miranda, Garrus, or Jacob, then your Vent Specialist will live.
Once that sequence completes, the infiltration transitions into the third phase of the Suicide Mission: The Long Walk.
If you want more Mass Effect 2 help, the page lists additional sections to check out, including Legendary Edition Changes, How-To Guides, Key Choices and Consequences, Romance Options, Walkthrough, and Side Quests.
Up Next: The Long Walk
Top Guide Sections
- Legendary Edition Changes
- Basics
- Tips and Tricks
- How-To Guides