Star Fox’s Macbeth Mission Guide: Routes, Checkpoints, and Difficulty Tips
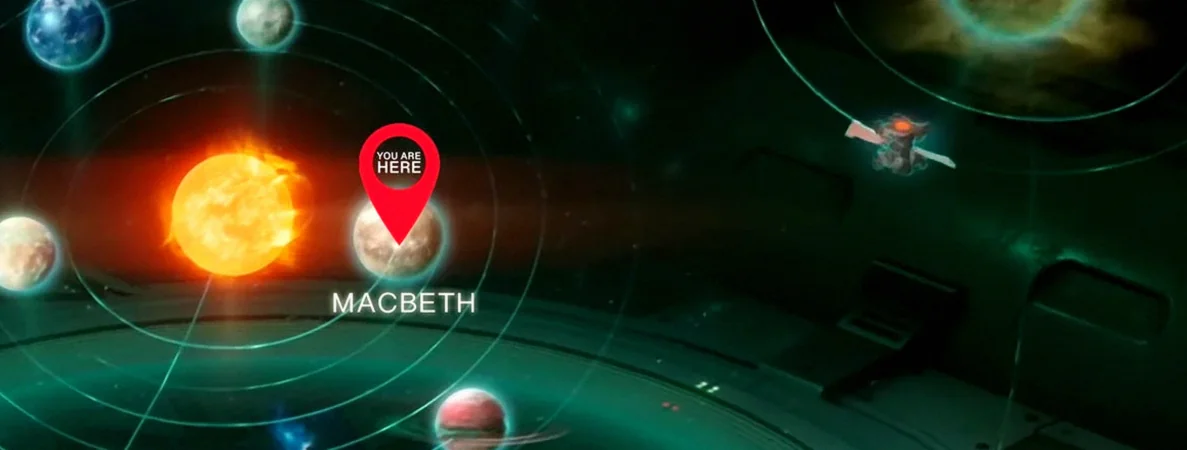
Macbeth is an industrial battleground that serves as home base for Andross’s war machinery, including weapons production facilities. The planet’s landscape is heavily structured by rail lines, creating tight routes through a world full of factories, tracks, and defensive fire.
Macbeth Structure, Difficulty Routes, and Key Checkpoints
Star Fox’s Macbeth mission includes two overall exits. Neither route is tied to a “failed” outcome, but the higher-difficulty exit demands more discipline and faster reactions—resulting in a more dramatic, though actually simpler-feeling, finish.
The Forever Train: Rail Combat, Choice Points, and Survival Tactics
Tracking the supply convoy under fire
Most of your time on Macbeth is spent hunting an industrial supply train guarded by Cannon Cars. Each car can be destroyed, but you won’t get to focus solely on the convoy; waves and defensive units push you away from your main objective. If you prioritize targets properly, you can rack up more hits by concentrating on enemies both in the air and along the ground around the train.
You’re given a decision immediately. You can start by attacking the units on the right side—there’s even a chance to obtain a Bomb by hovering over a destroyed gun turret—or you can go straight for easier train car takedowns to make what comes next less punishing.
Option A: Break ore cars early to control the battlefield
If you choose the “easy train cars” plan, hit the convoy first. At the start, several ore cars are within range. Just pursue the train and fire at the last attached car. By destroying these ore cars, you stop them from dumping boulders into your path later.
If boulders do end up blocking your way, you have a few ways to respond: rapid-fire the boulders right in front of you, or use your boosters and hover above the falling obstacles.
If you have bombs available, you can also take out a Cannon Car. Once two—or even three—cars have been destroyed, switch your focus to the enemy forces firing at you and the gun towers. Hitting the car becomes noticeably harder once it’s angled above your position.
Lock on to airborne threats and shoot them down, then fire into trackside turrets. Those turrets drop Rings that help refill your shields. When you need vertical access for power-ups, remember to strike both boosters to hover up. Also keep an eye out for a Bomb on the left side of the track.
If you didn’t remove every ore car, you’ll still need to handle additional dumped boulders. Blast them or boost/hover over them when necessary. Continue locking on to and destroying the Tripod fighters in the sky. If you manage to eliminate all five, you earn a Gold Ring.
If the Cannon Car is still functioning, it will start throwing even more boulders into your route by firing into the canyon walls above.
You can shoot those threats, but the simpler approach is to hit your boosters and float over them when required. As you near a tunnel, protect Falco by locking onto his attackers before continuing.
Through the tunnel: hover through girders and keep firing
Once you enter the tunnel to keep pursuing the train, the driver triggers girders to obstruct your path. Hover above them to pass safely while continuing to shoot at the train. When your view clears, you should be able to destroy several train cars right away.
After exiting the tunnel, a new problem appears. Before you deal with that, move through the Checkpoint Ring. If you’re aiming for the alternate exit on the harder route, you need to be able to stop from this point rather than replay everything from the start.
Gate sequence: Rings and Bomb upgrades with timed braking
Ahead are gates with doors that open and close automatically. Time your approach so you can drive through to pick up Rings and Bomb upgrades. You can’t shoot the doors themselves; instead, use your brake and boost to get through during the open window.
After pushing through the first two gates, choose the left option among the two side-by-side gates. That gate requires you to shoot it open, and it rewards you with both a Gold Ring and a Silver Ring.
Two Ways to Beat the Boss on the Road to Venom
Choose your route: Bolse for easy progress or Area 6 for a harder approach
From Macbeth toward Venom, you can take either an easier route via Bolse or a tougher alternate approach through Area 6. The mission setup forces a decision, and your actions around railway switches determine how each route plays out.
To chase the easier boss run, ignore the large numbered railway track switches. For the harder path (despite an “easy end” to the Macbeth mission), you must shoot every switch and ensure they all show a green signal.
Select your path, then follow the instructions below.
Path 1 and Path 2: How to Handle Mechbeth
Path 1: Defeat Mechbeth (ignore the switches)
Requirement: Don’t involve the switches—ignore them (don’t hit all eight)—and fight the Boss.
If you’re not going for switch activation, the suggestion is to stay with the train’s movement along the track. Since this exit doesn’t require switch work, there’s an alternate detour through the gate area: you can hover up to a higher route on the right. While it may feel easier, it comes with a downside—you miss power-ups if you take it.
For this route, grab the Gold Ring from the longer tunnel that requires braking, then drive to the right beneath the elevated passage. There you’ll find a hidden Bomb. This method can make it a bit harder to reach one of the switches—still doable, but it may take practice—yet it’s a strong fit for this exit choice.
Now it’s time to fight Mechbeth, the floating mech tethered to the supply train. The boss uses three main attacks: an energy beam you must evade by moving and hovering around, a tail strike that you can avoid with a quick flip-roll, and a barrage of large metal poles. Colliding with those poles causes damage.
Start by shooting the poles in front of you, then shift your laser to Mechbeth’s head section and destroy it.
After that, target the tail and arms, since those parts are also vulnerable. Peppy and Slippy may draw trouble, so pause briefly to lock on to Mechbeth’s pursuers and eliminate them. Restore energy by blowing up moving turrets; there’s a set of three that each rewards a Silver Ring.
Mechbeth will then add more disruptive behavior: extra targeted blasts and a weapon that creates a field of electric sparks. Getting too close to that field damages you, so roll away or hover out of its reach.
When enough damage is done, a control panel on the train at the bottom of Mechbeth’s tether will open. Look for the ring highlighted by yellow lights—this marks the vulnerable point. Lock on, concentrate your fire there, and you’ll finally bring the combat kite down for good.
Mission Complete (Path 1)
You’ve defeated Mechbeth and can continue on the easier route onward to Bolse.
Path 2: Divert Mechbeth (shoot all eight switches and derail the train)
Requirement: Shoot all eight switches and derail the train.
If you’re aiming for the switch sequence, the recommendation is to stay with the train and follow the track. You can destroy the final two train cars as you get closer. Tossing a Bomb can speed things up for the second car.
Peppy provides a hint about your optional objective during this segment.
The first two gates, labeled 1 and 2, are positioned to the right. Activate both by hitting them until they flip over and turn green.
Once both are activated, you can lock on and destroy the Tripods overhead. Keep shooting forward as well, because the fourth switch sits on a pedestal directly ahead.
Immediately aim left. If you already broke the train cars, switch #3 becomes an easier target since it’s aligned parallel to switch #4.
If the cars block your line, stop using the brakes and bank left in time to reach switch #3. After it turns green, return to the right side of the track and head toward the gate.
To make the run more intense, you’ll also receive an Incoming ROB64 call. Hit the button quickly so a Supply Crate appears behind the next gate on the right side of the track. Shoot it open, then take the power-up.
Switch #5 is located on the left side. Move back to the right side of the track right away afterward; a closed gate will be waiting ahead.
As you close in, fire at the gate so it opens. Behind it, you’ll spot the sixth switch—shoot it.
The next switch is on the far side again. Ignore the boss for the moment, but shoot the pole obstacles he places in your path so you can pass without taking damage. Even so, the switch is the priority here, so concentrate on landing your shots and flip switch #7.
Switch #8 demands speed. Shoot the metal barricades; it’s on the right side of the track beside the tower.
Shoot it to flip it green. A display panel will tell you whether you hit every switch—or which one you missed. If they’re all green, the platform will open and reveal a large mechanical switch.
Finally, shoot that mechanism to switch the track. This diversion pulls the train involved in the Mechbeth battle machine to the right, causing the entire convoy to crash into the weapons factory and explode.
Mission Accomplished (Path 2)
Taking this option sends you through to Area 6.
Macbeth Medal Rewards and Requirements
To earn the medal conditions, destroy the ore cars attached to the train for a total of seven hits. However, when smaller enemies swarm in, avoid focusing all your fire on the car—use your shots where they matter most to survive the pressure.
Up Next and Guide Navigation
Up Next: Titania
Top Guide Sections
- Essential Tips and Tricks
- Walkthrough
- Challenge Mode
- All Alternate Routes